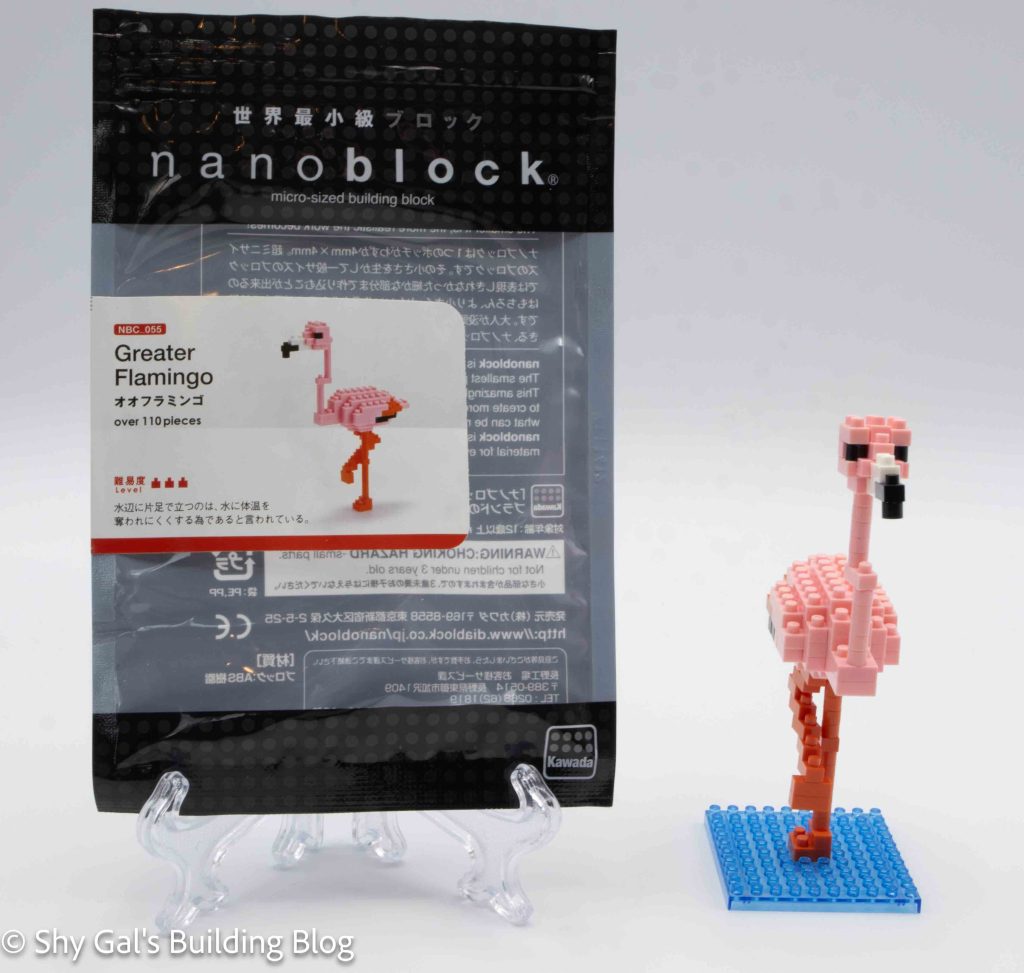
Review of nanoblock Greater Flamingo NBC_055

Greater Flamingo build and package

This post is a review of the nanoblock Greater Flamingo build. Greater Flamingo is part of the nanoblock Mini Collection series. Wondering what else is part of the Mini Collection? Click here for a list.

Number: NBC_055

Number of Pieces: 110

Difficulty Rating: 3
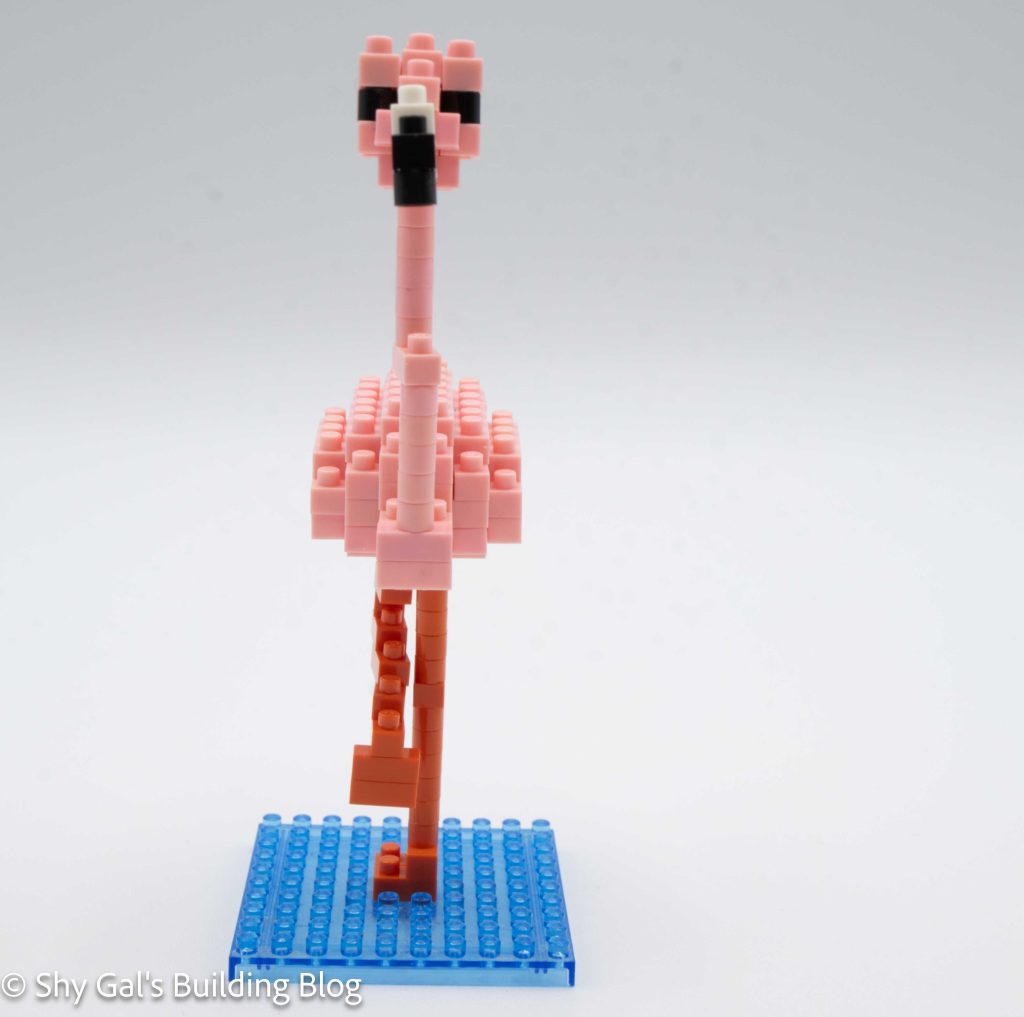
Greater Flamingo  build front view

I bought this kit used, which meant it had been opened and possibly built before. I wasn’t sure if all the pieces were included when I bought the kit. Sadly when I opened the kit, I learned that I had all the pieces, but there was some discoloration of the white and light pink bricks.

The instructions for this kit are unusual because instead of step-by-step instructions, there is a picture of the finished flamingo and instructions for how to build each section: the body, head, and leg.
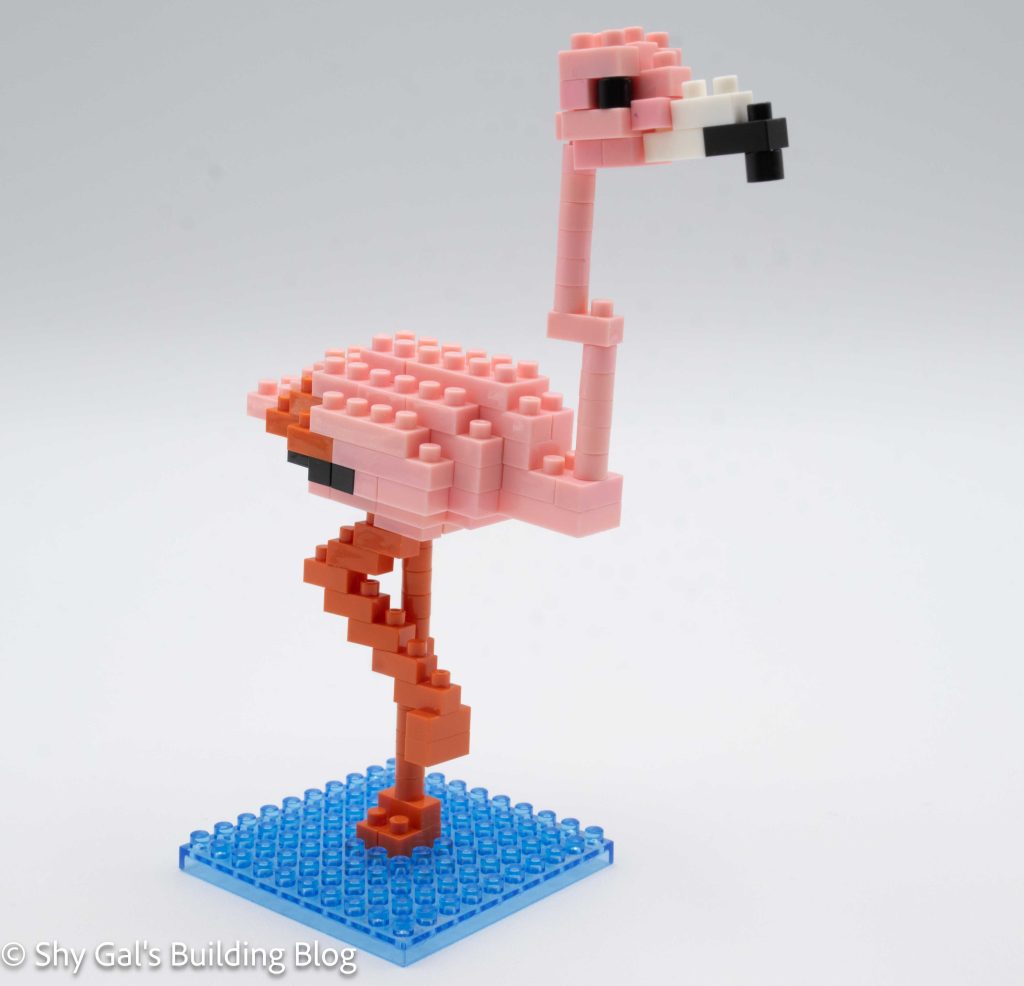
Greater Flamingo build front 3/4 view

The leg is the most simple section. It is simply a stack of 1×1 bricks on the base.

I built the body on my nanoblock pad. I laid out the base layer and added the layers to create and close up the top of the build. Then, I flipped the build over, added some more detail, and added the second leg. The second leg is a stack of bricks built to look like stairs.
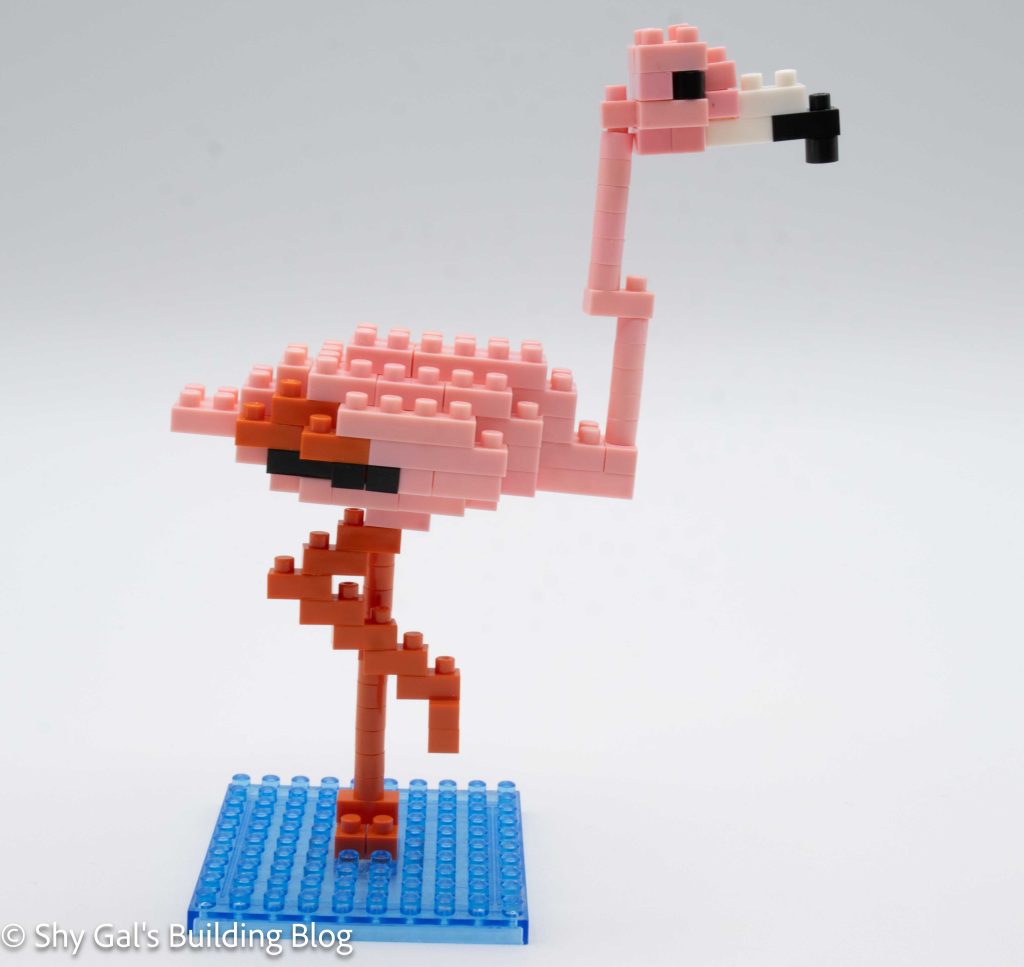
Greater Flamingo build side view

The head and neck are very straightforward. The neck is a stack of 1x1s broken in the middle by a 2×1. The head is simply a few layers of bricks.

To complete the build, all three sections are combined to complete the finished flamingo.
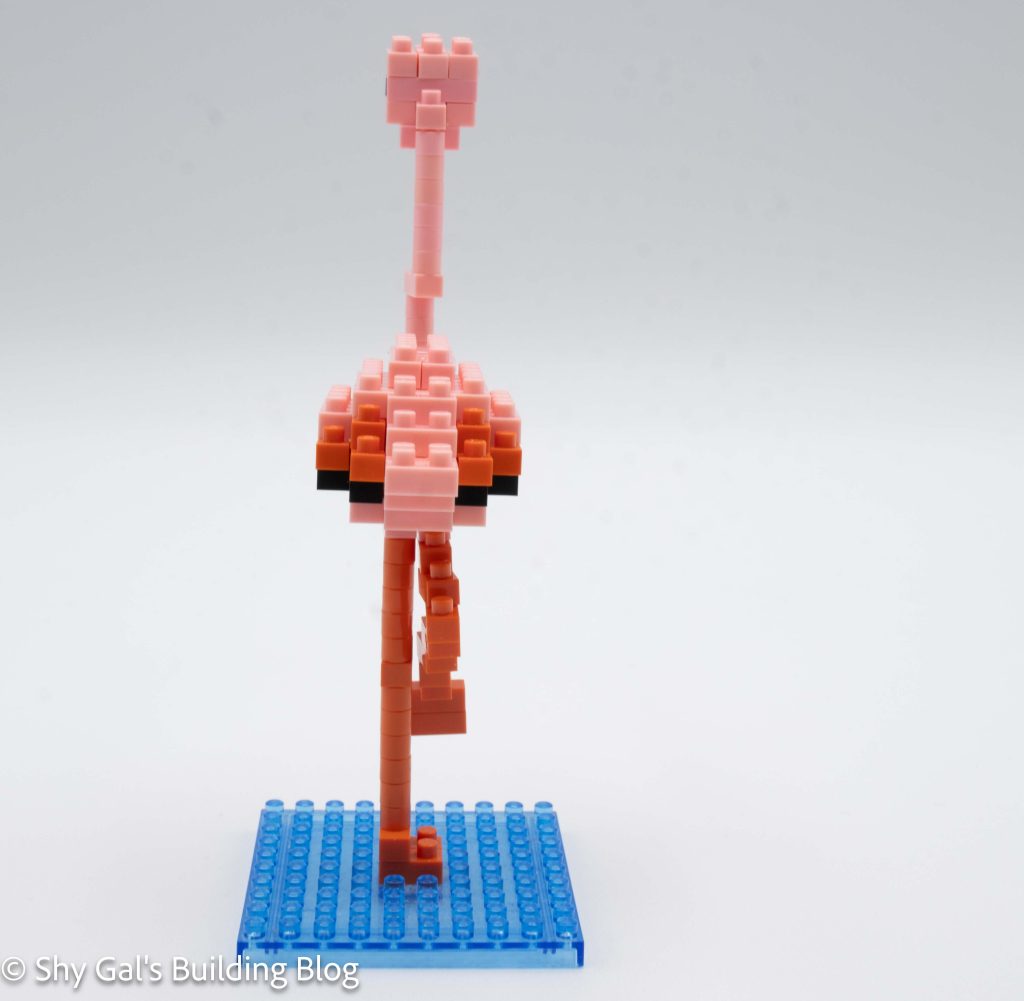
Greater Flamingo build back view

Things I liked:

  • I find the fact that the build is fairly stable; standing just one leg is impressive.

Things I didn’t like:

  • Sadly since this is a kit I bought used, there is some discoloration of the white and light pink bricks
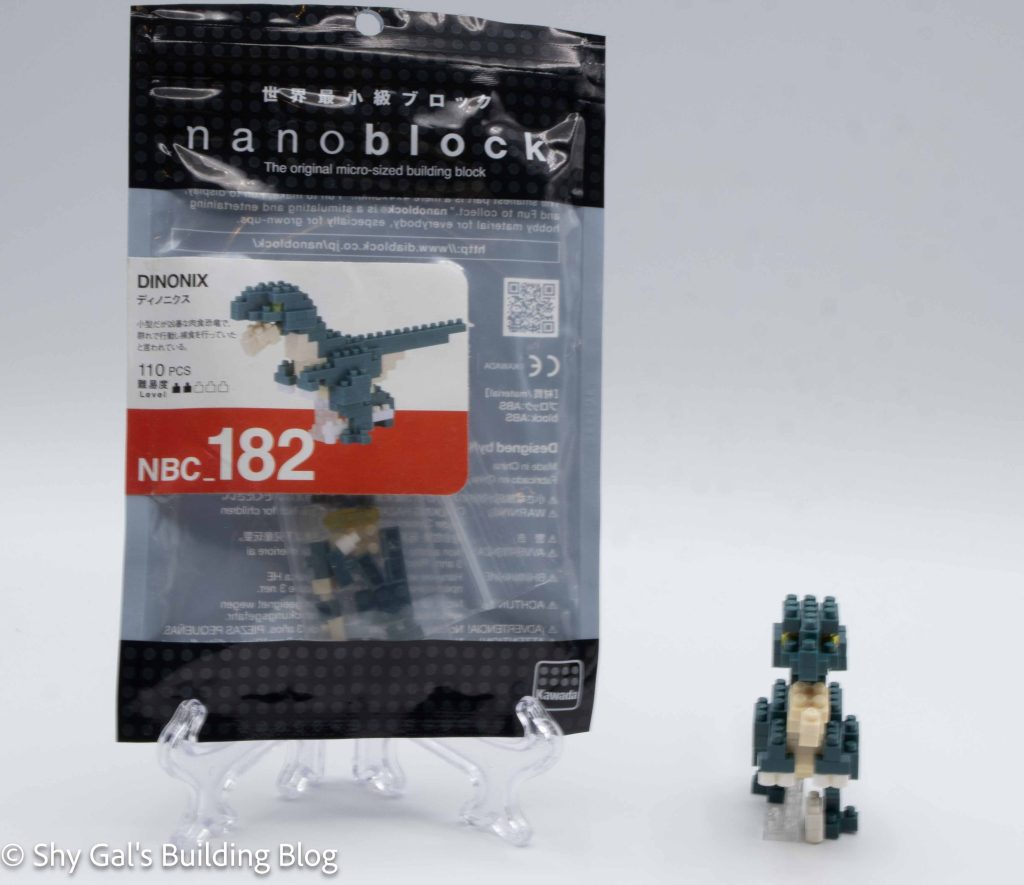
Review of nanoblock Dinonix NBC_182

Dinonix build and package

This post is a review of the nanoblock Dinonix build. Dinonix is part of the nanoblock Mini Collection series. Wondering what else is part of the Mini Collection? Click here for a list.

Number: NBC_182 

Number of Pieces: 110

Difficulty Rating: 2/5

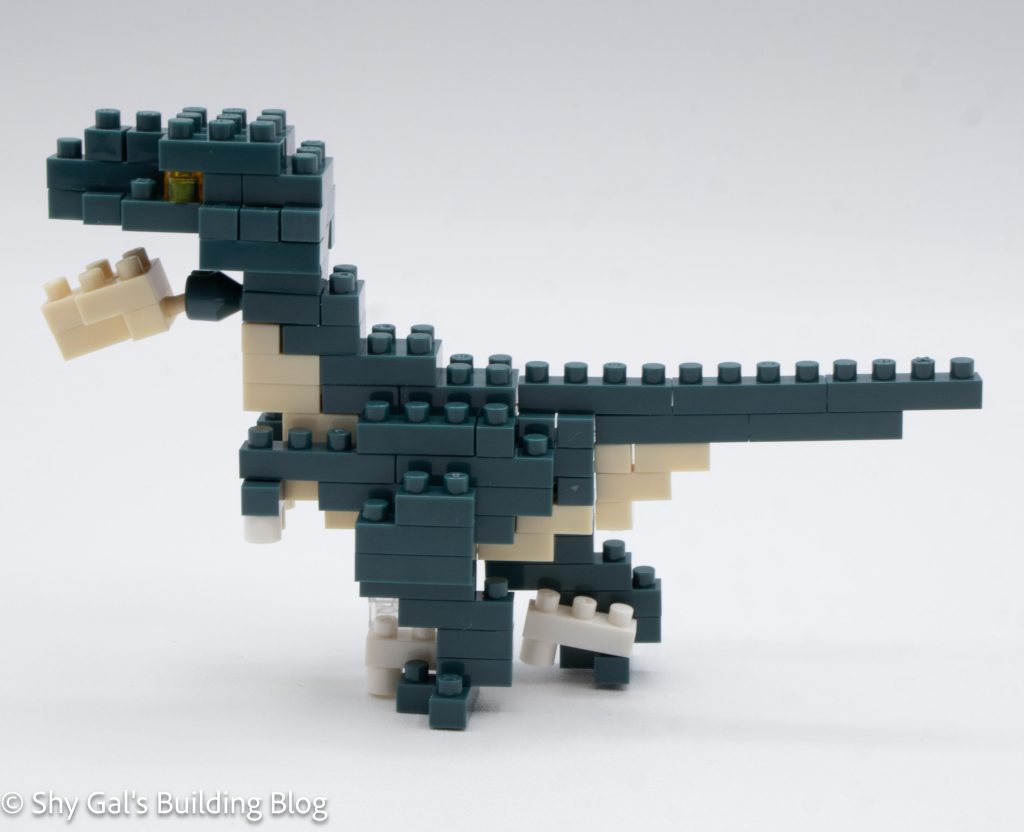
Dinonix build front view

The build begins by building the body. Unlike a lot of builds, the legs are not symmetrical, so the body isn’t the same from side to side. The build goes up in fairly straightforward layers, including adding the front arms.

There is a step where the tail is added. I initially missed there was more to the step than just the tail, so I needed to go back and finish the step. I think it’s because the additional instructions were on the edge; I missed them.

Dinonix build side view

Then, the head is built. The head is fairly straightforward, other than most of the build being off-center. The head is then attached to the head. I found the directions for where to add the head as really rough. It wasn’t clear where to attach the head to the body. I think if they had given a different view of the Dinonix, it would be much clearer how to attach the head.

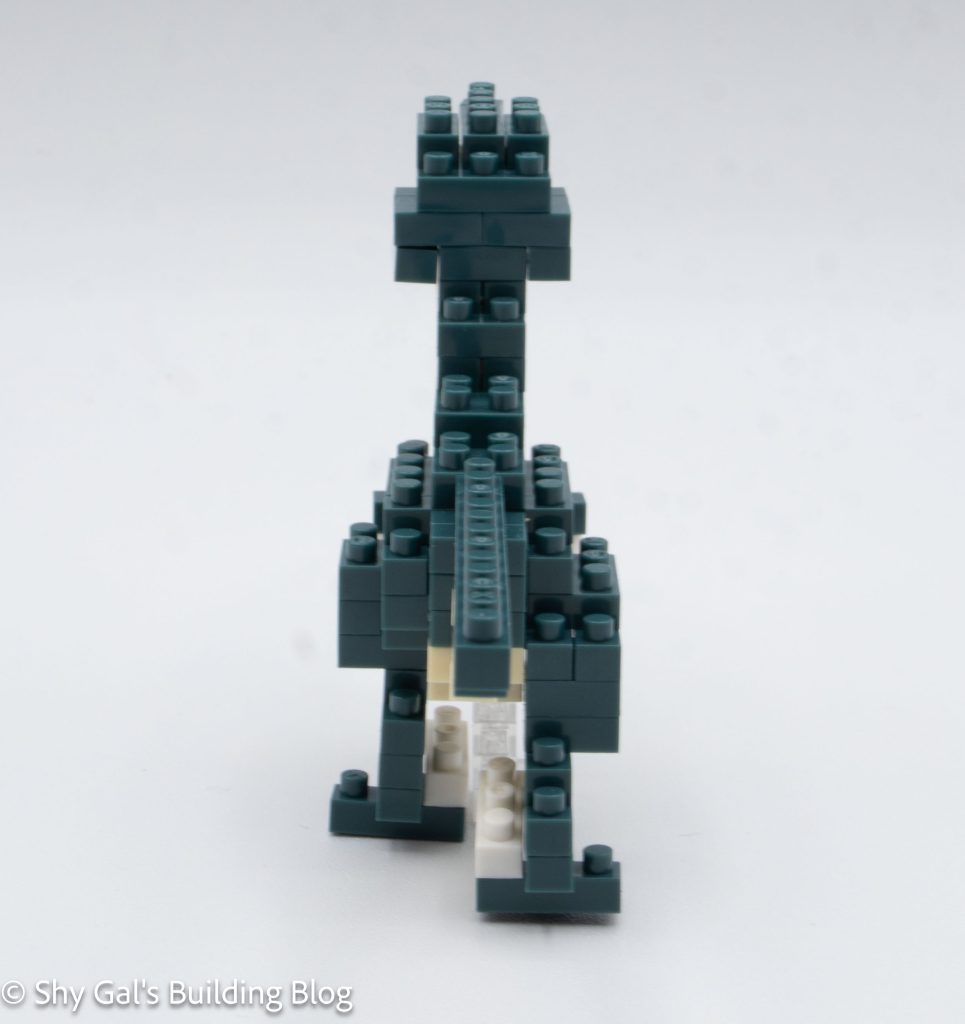
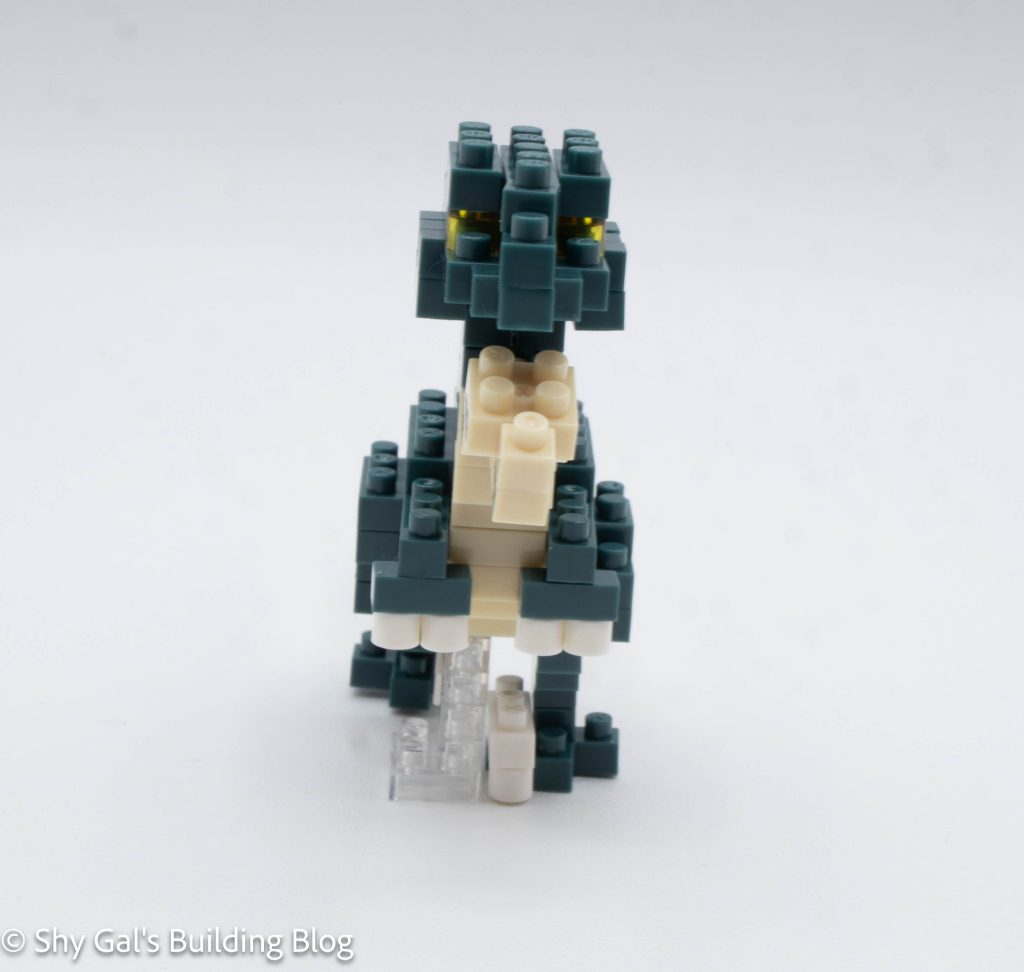
Dinonix build back view

The last step is to build the legs. They are a bit tricky because there are bricks just hanging out and hanging off the legs. The legs are not symmetrical, which is a nice detail to the build.

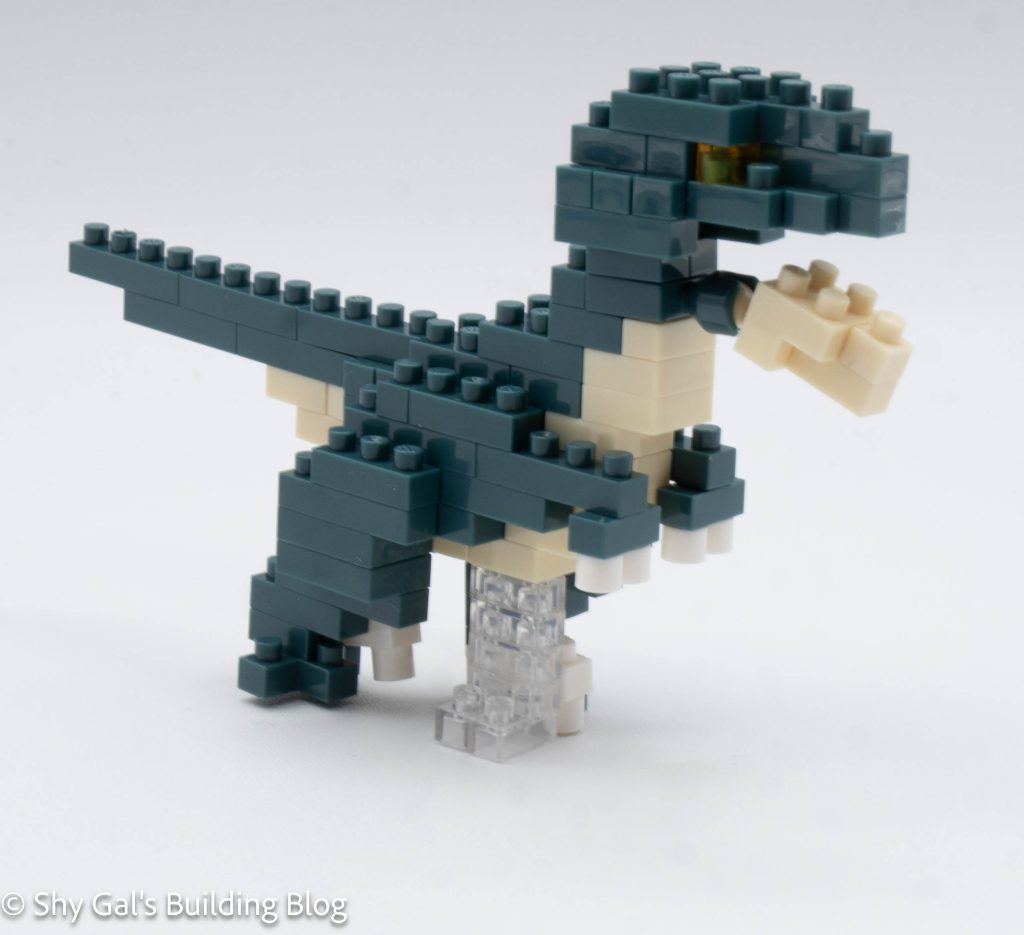
Dinonix build front 3/4 view

Things I liked:

  • I like that the legs are not symmetrical. This is a nice detail to the build

Things I didn’t like:

  • I didn’t like the directions for attaching the head to the body

Review of nanoblock Raccoon Dog NBC_303

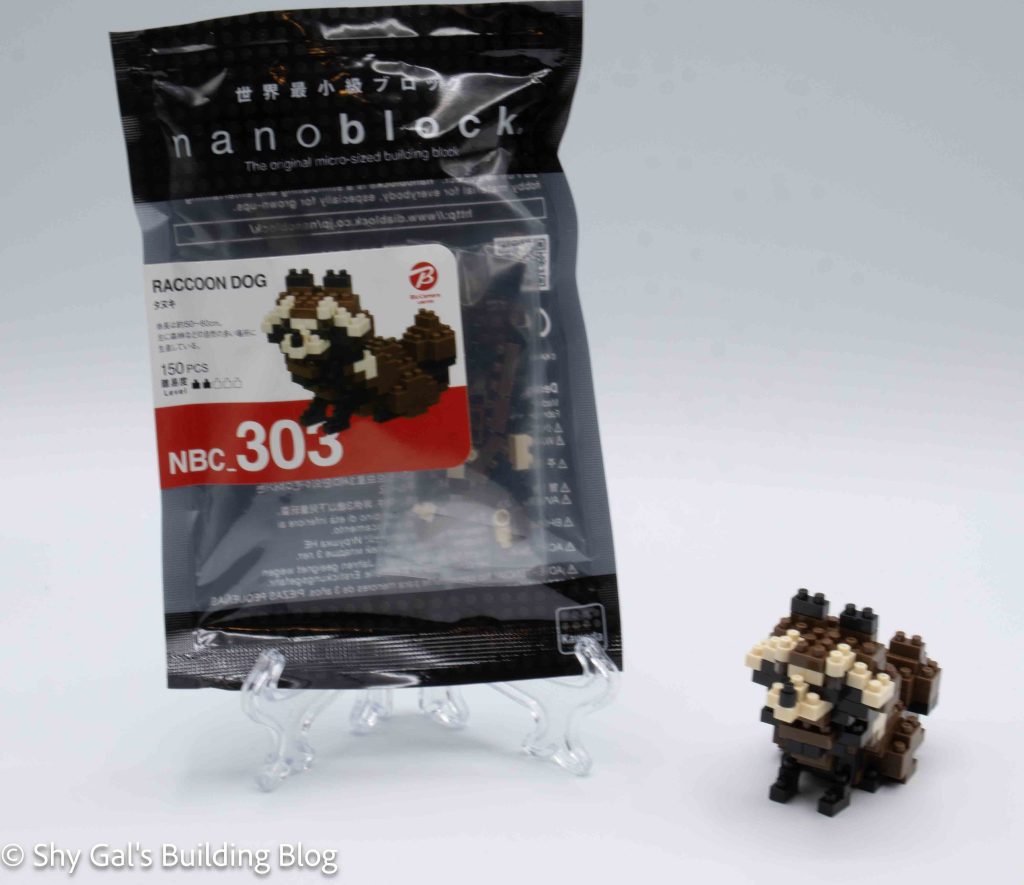
Raccoon Dog build and package

This post is a review of the nanoblock Racoon Dog build. Raccoon Dog is part of the nanoblock Mini Collection series. Wondering what else is part of the Mini Collection? Click here for a list.

Number: NBC_303

Number of Pieces: 150

Difficulty Rating: 2/5

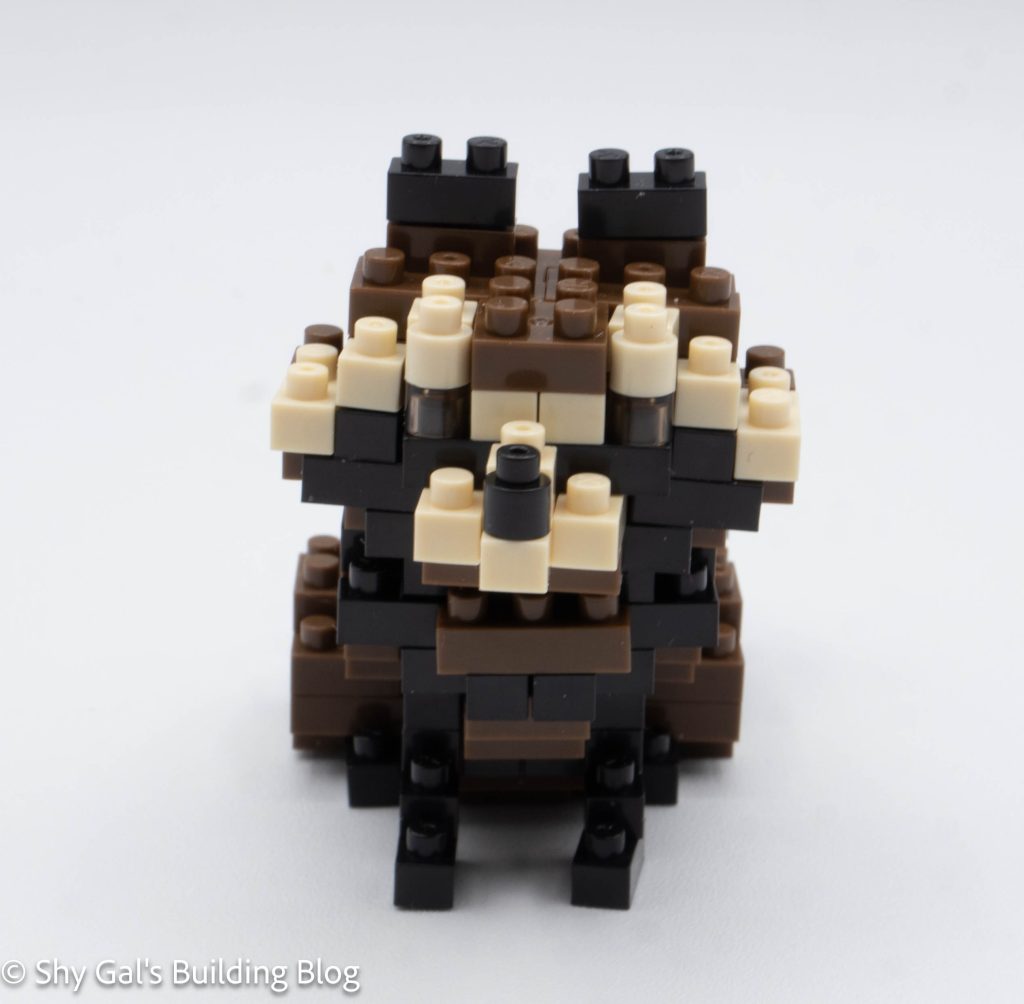
This build has 2 major sections, the head, and the body.

Raccoon Dog build front view

I began the body by laying my base layer on my nanoblock pad. I was able to easily follow the directions for all the layers. The layers seemed a bit haphazard, and it was hard to tell what I was creating as I put the bricks together.

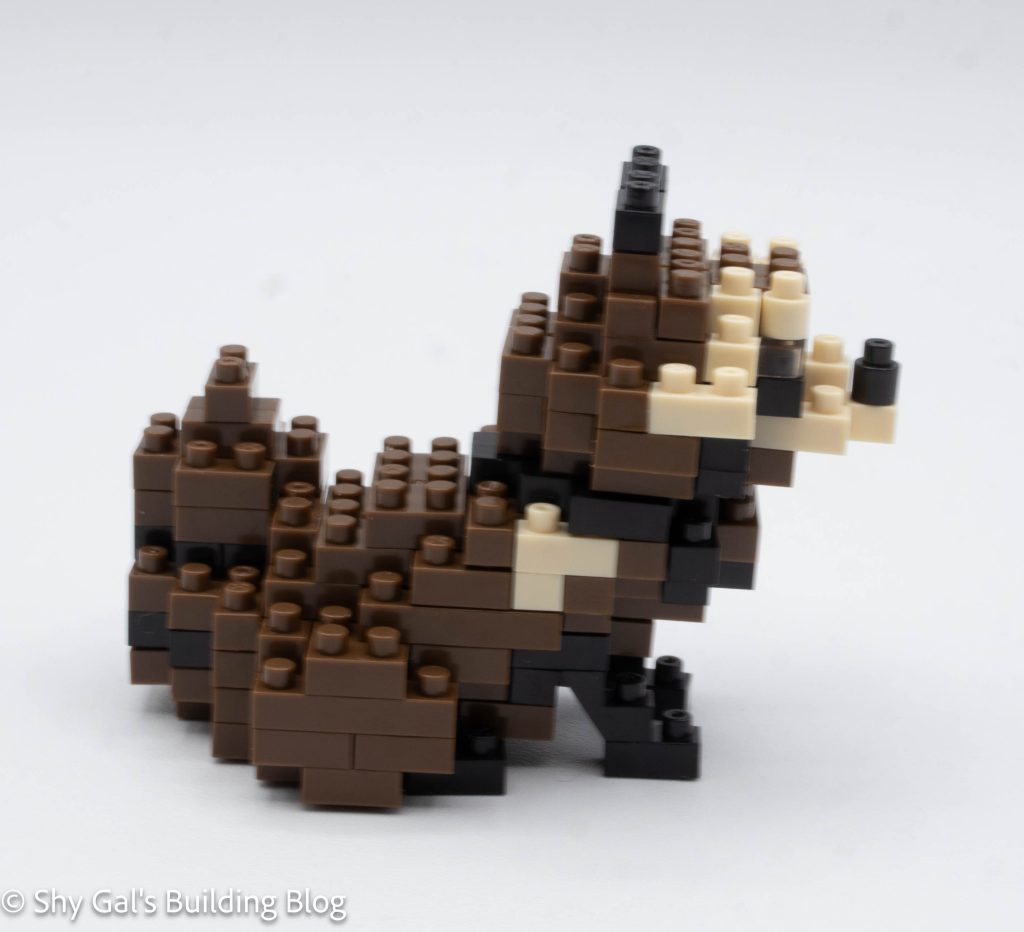
Raccoon Dog build side view

The top of the body has a layer of flat bricks where the head will be attached. Because there is a flat layer with only 1 stud to hold the head, the head can rotate around.

I wasn’t able to figure out how to lay the head out on my nanoblock pad, so I just built it on the table. Other than lining up the front and back sections, the head is fairly straightforward.

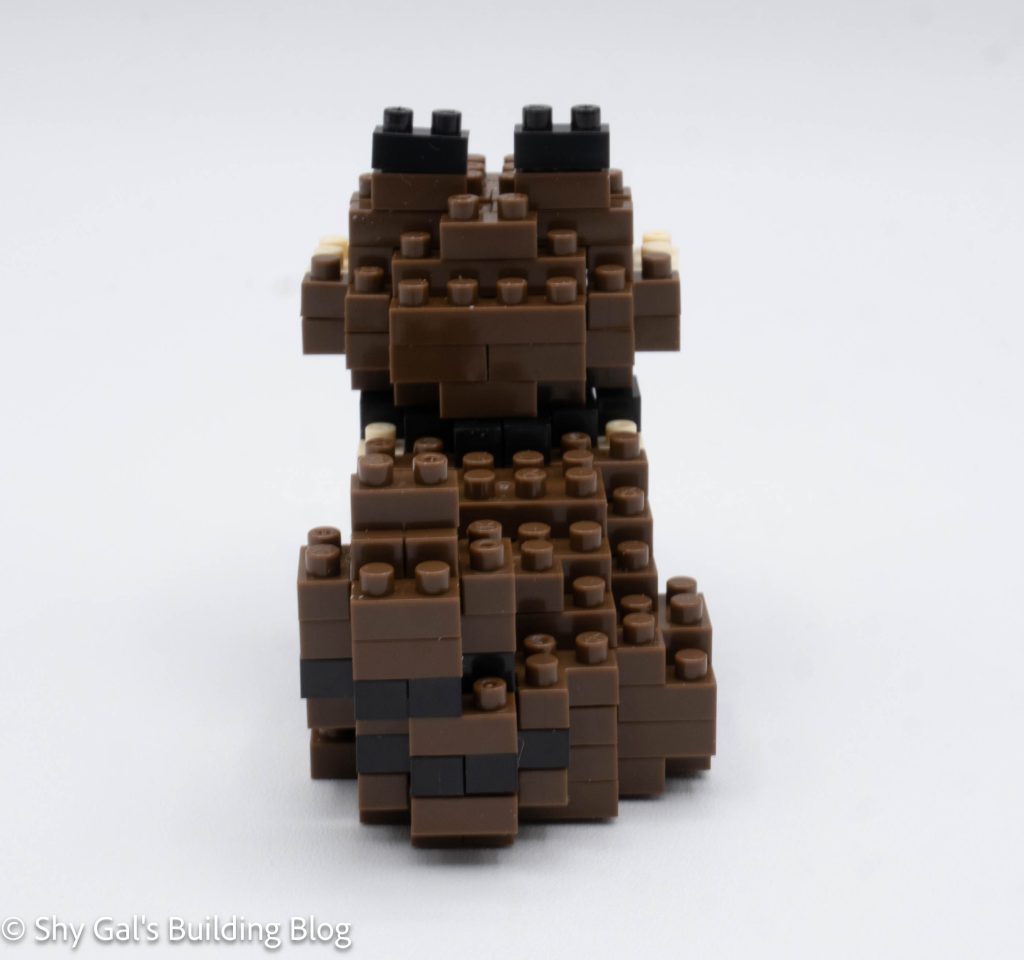
Raccoon Dog build back view

The final steps are to add the front legs and attach the head. The front legs are very straightforward. Figuring out exactly where to attach the head was a bit tricky but the instructions did make sense on close inspection.

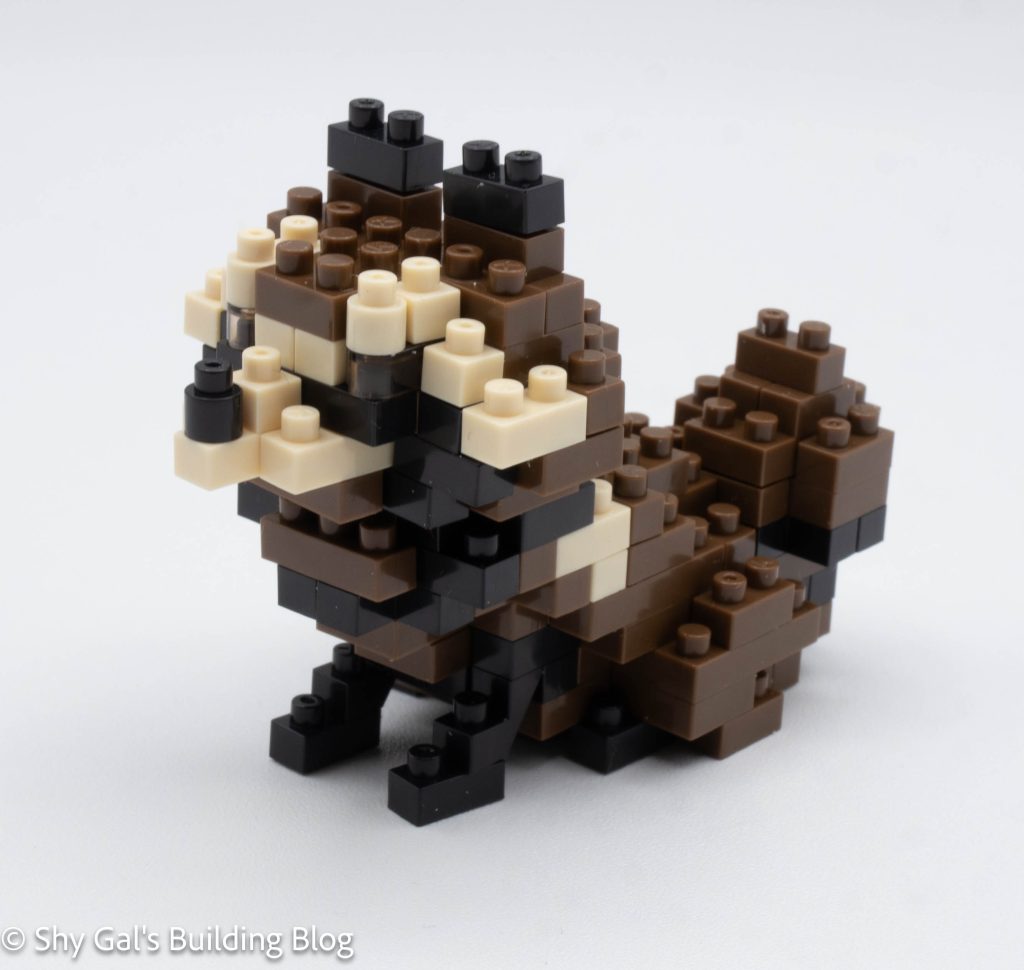
Raccoon Dog build front 3/4 view

Things I liked:

  • I really like the stripy tail and how the head looks
  • I like that the head is posable

Things I didn’t like:

  • When I picked the build off my pad, I kept popping off the hind legs

Review of nanoblock Giant Panda NBC_328

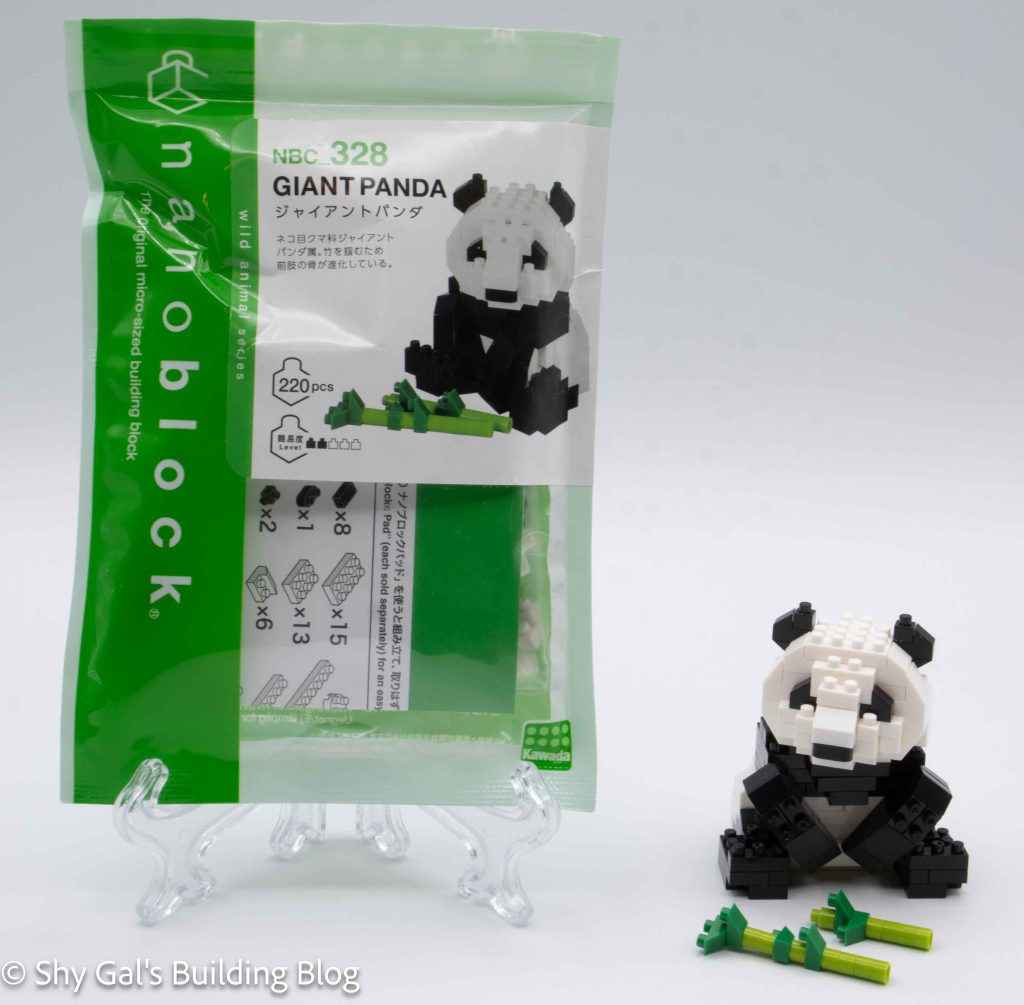
Giant Panda build and package

This post is a review of the nanoblock Giant Panda build. Giant Panda is part of the nanoblock Mini Collection series. Wondering what else is part of the Mini Collection? Click here for a list.

Number: NBC_328

Number of Pieces: 220

Difficulty Rating: 2/5

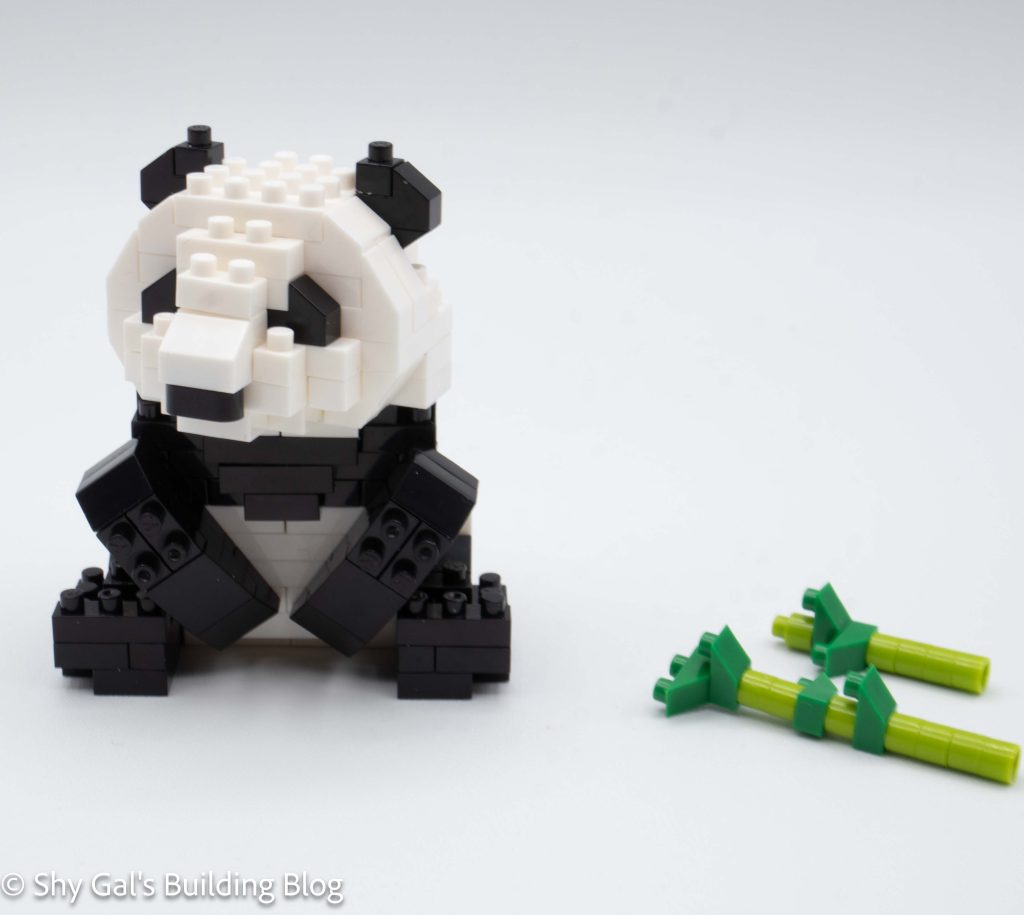
Giant Panda build with bamboo

This build has 3 sections. There is the body, the head, and the bamboo.

The body begins with a base layer of black and white bricks. I used my nanoblock pad to lay out the first layer. The body then goes up in layers. The instructions are fairly straightforward, but caution is required to avoid missing the use of similarly shaped pieces.

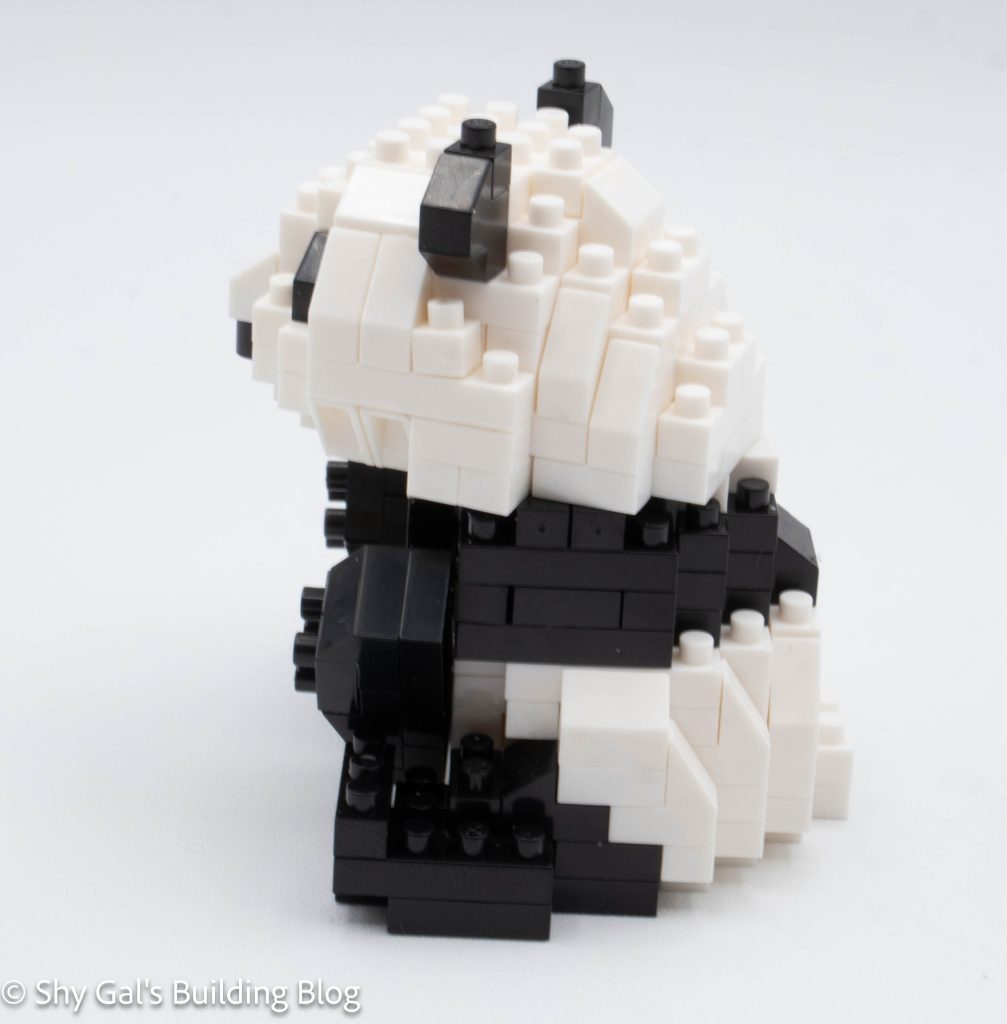
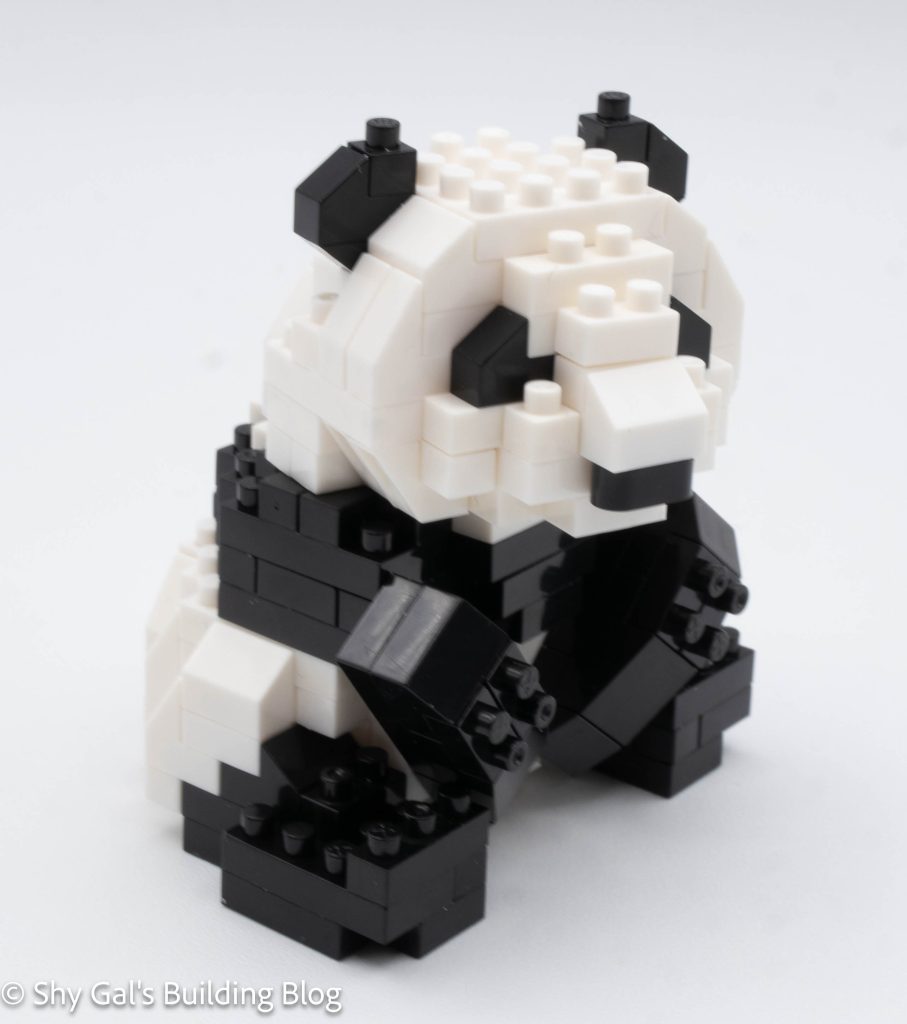
Giant Panda build

Once the main body is built, the top layer is mostly flat bricks with a single stud available on top. This means that once the head is attached the head can rotate.

The final step of building the body is to build the arms of the panda.

The head is built out of a base layer featuring lots of smaller bricks. I once again used my nanoblock pad to layout the head. When building the head, I needed to be careful to make sure that I used the correct piece and that each 1×1 that is partly hidden in the instructions was visible.

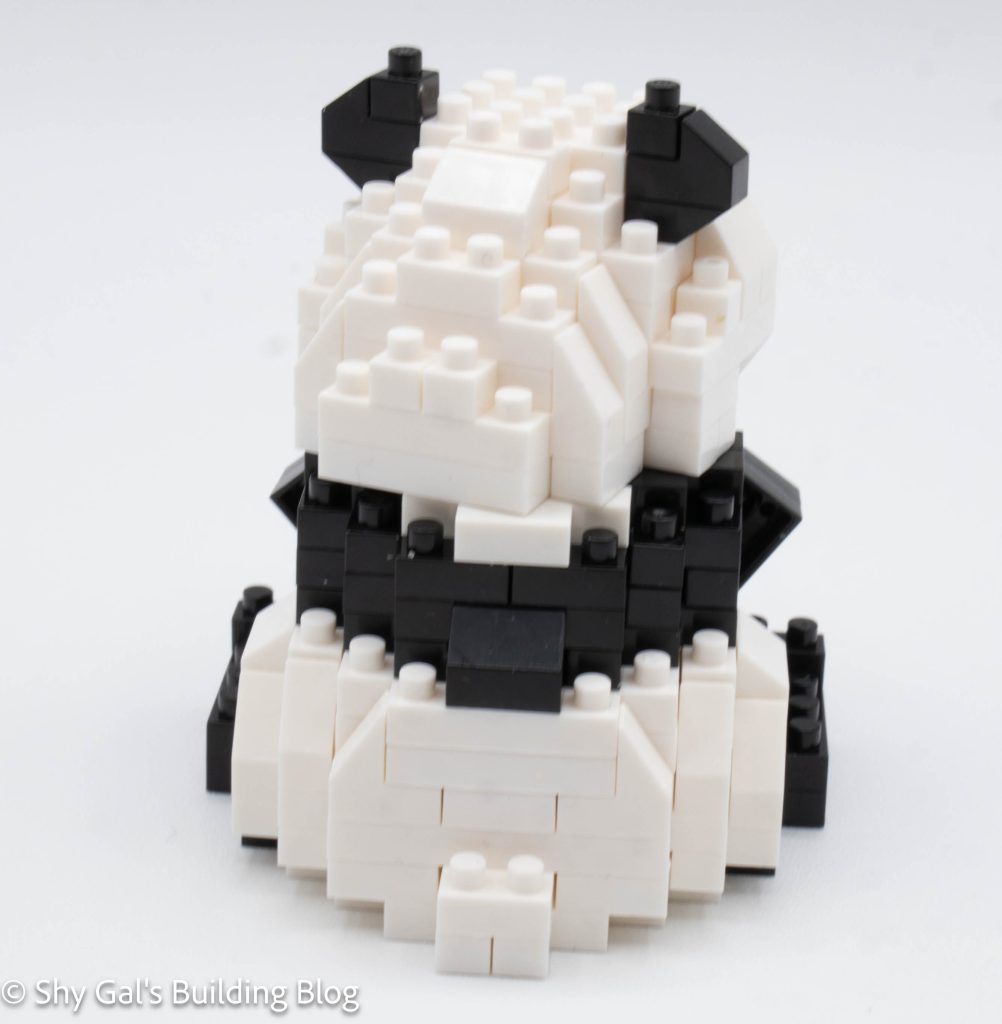
Giant Panda build

After building the head, I attached it to the body of the panda, making sure to get things lined up properly. The head appears to be more forward than in the pictures.

The bamboo is a couple of stacks of bricks and is very straightforward to put together. It simply lies near the panda. I wish there was a good way to have the panda hold the bamboo.

Giant Panda build

Things I liked:

  • I like that the head can rotate to create a more dynamic pose

Things I didn’t like:

  • I wish there was a way for the panda to hold the bamboo
  • I think the panda looks like its head is out further in the build than in the pictures