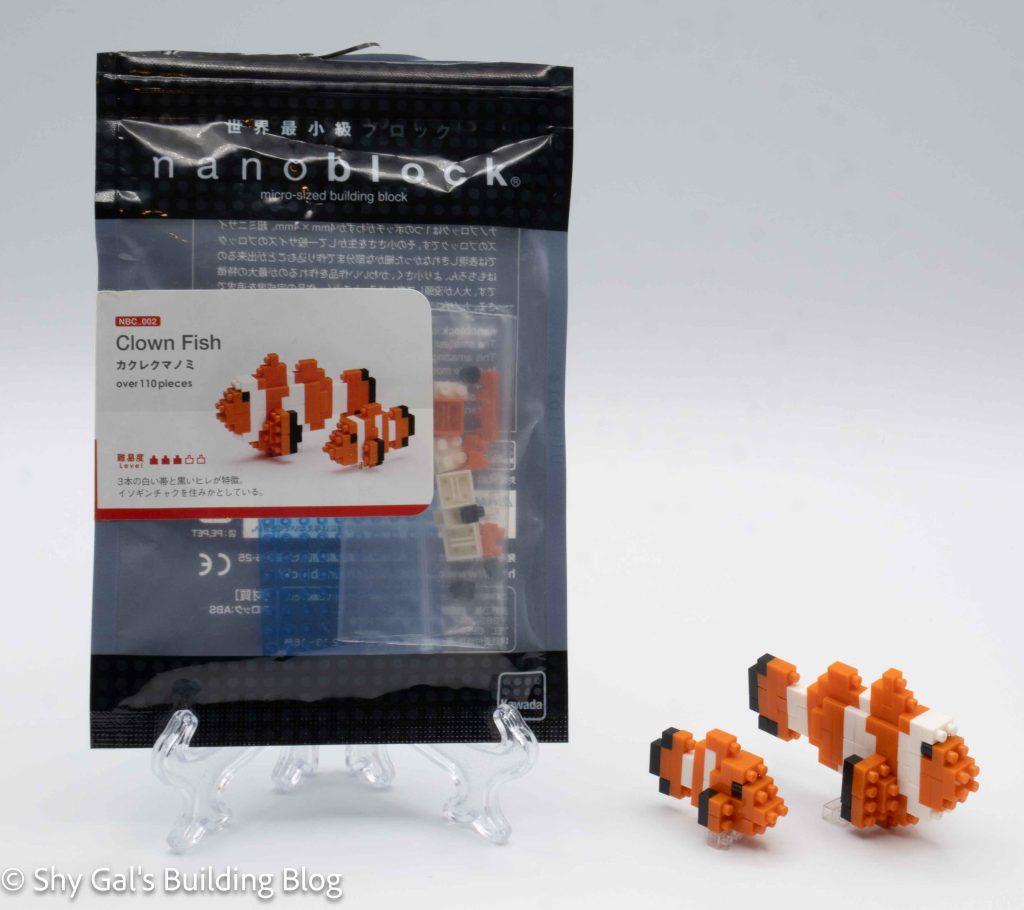
This post is a review of the nanoblock Clown Fish build. Clown Fish is part of the nanoblock Mini Collection series. Wondering what else is part of the Mini Collection? Click here for a list.
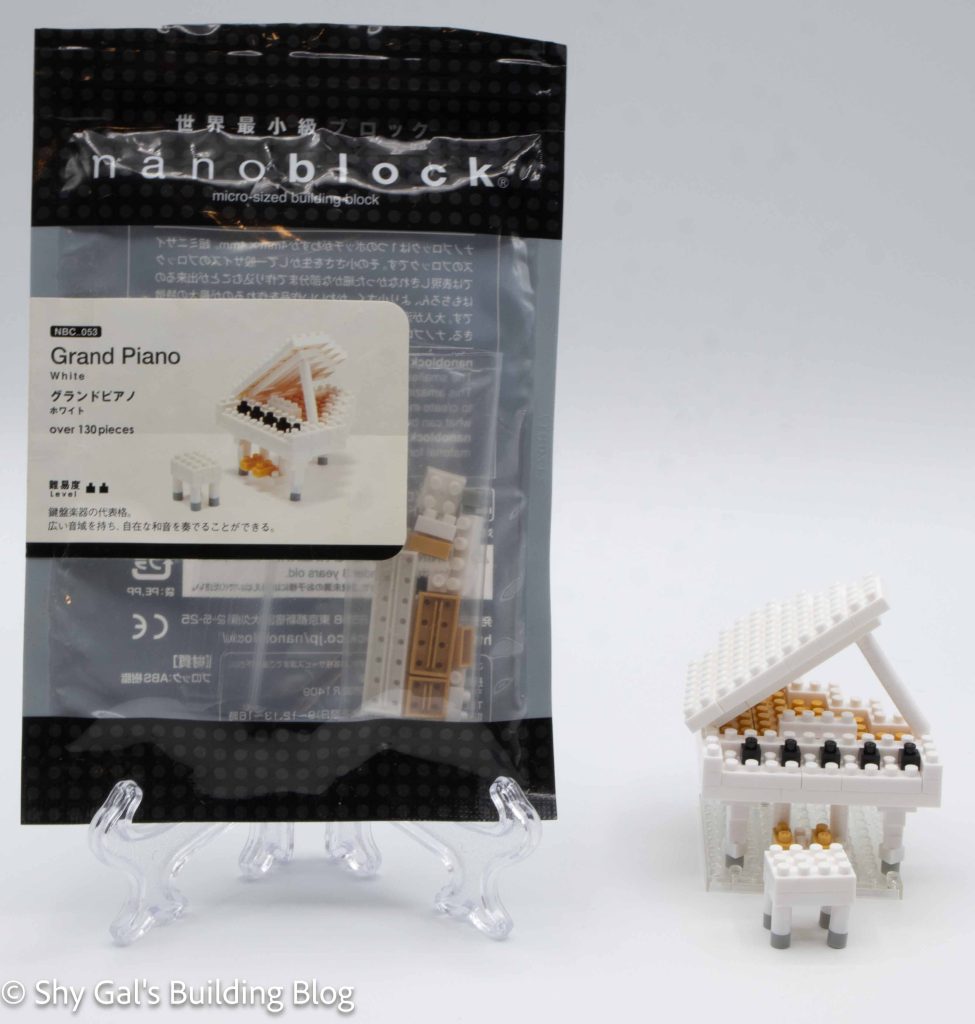
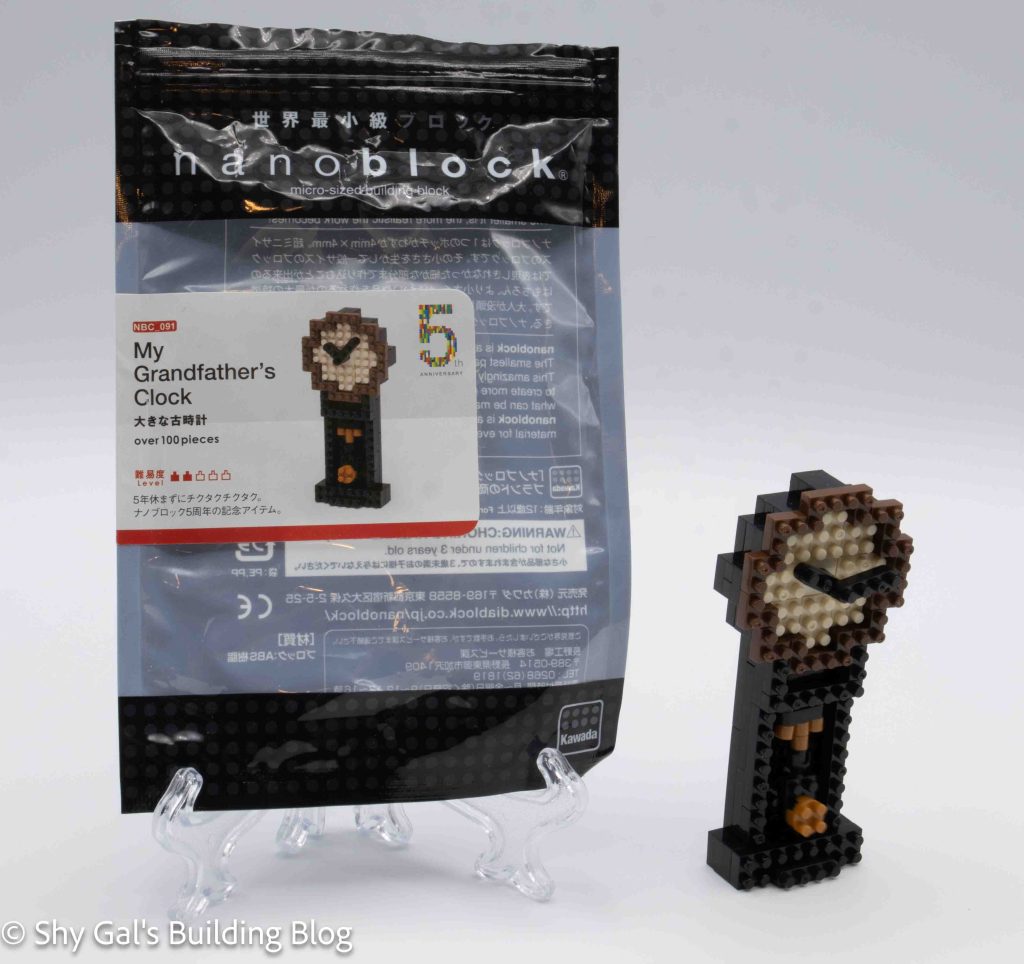
Number: NBC_002
Number of Pieces: 110
Difficulty Rating: 2/3
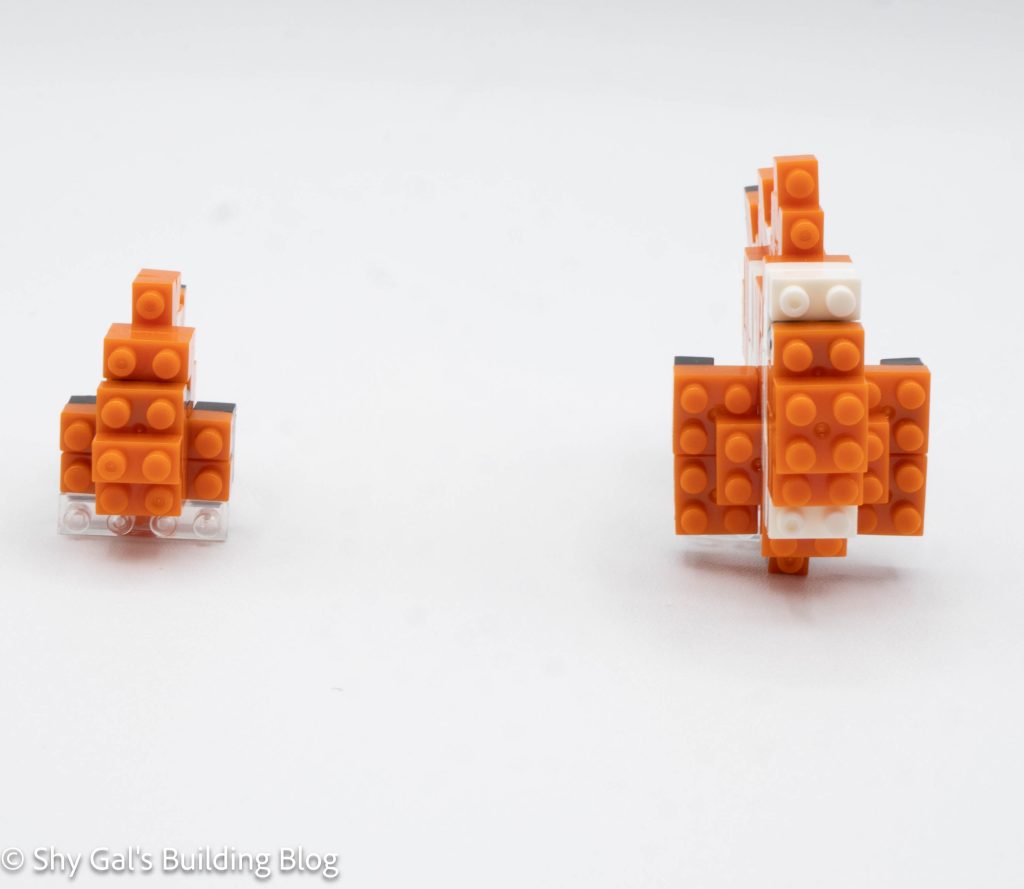
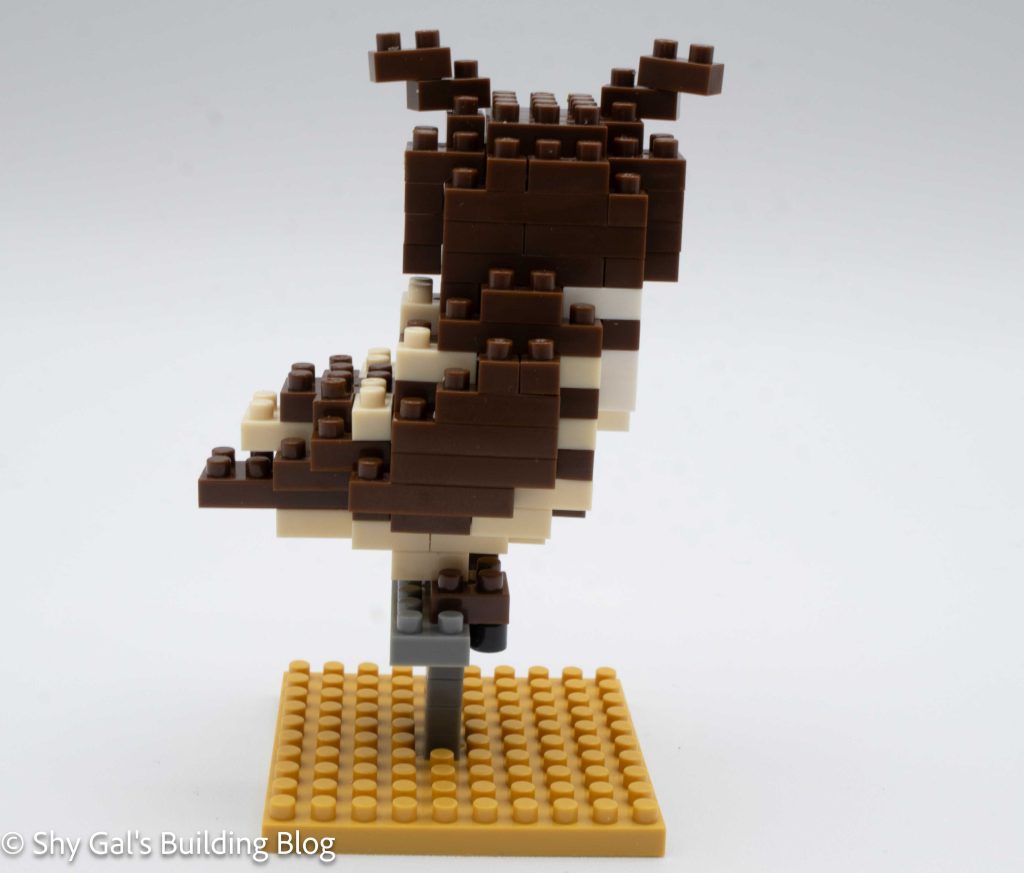
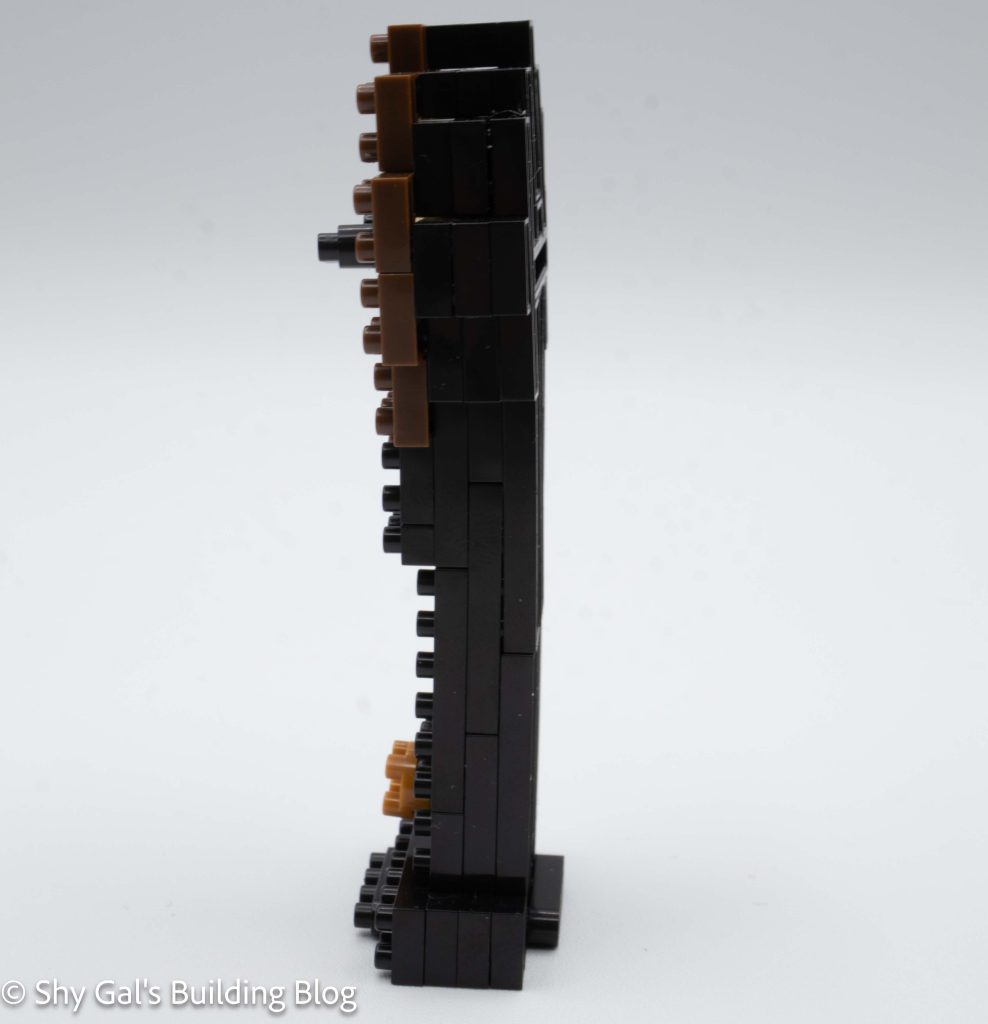
This build is fairly unusual because the nanoblocks in the set are on their sides.
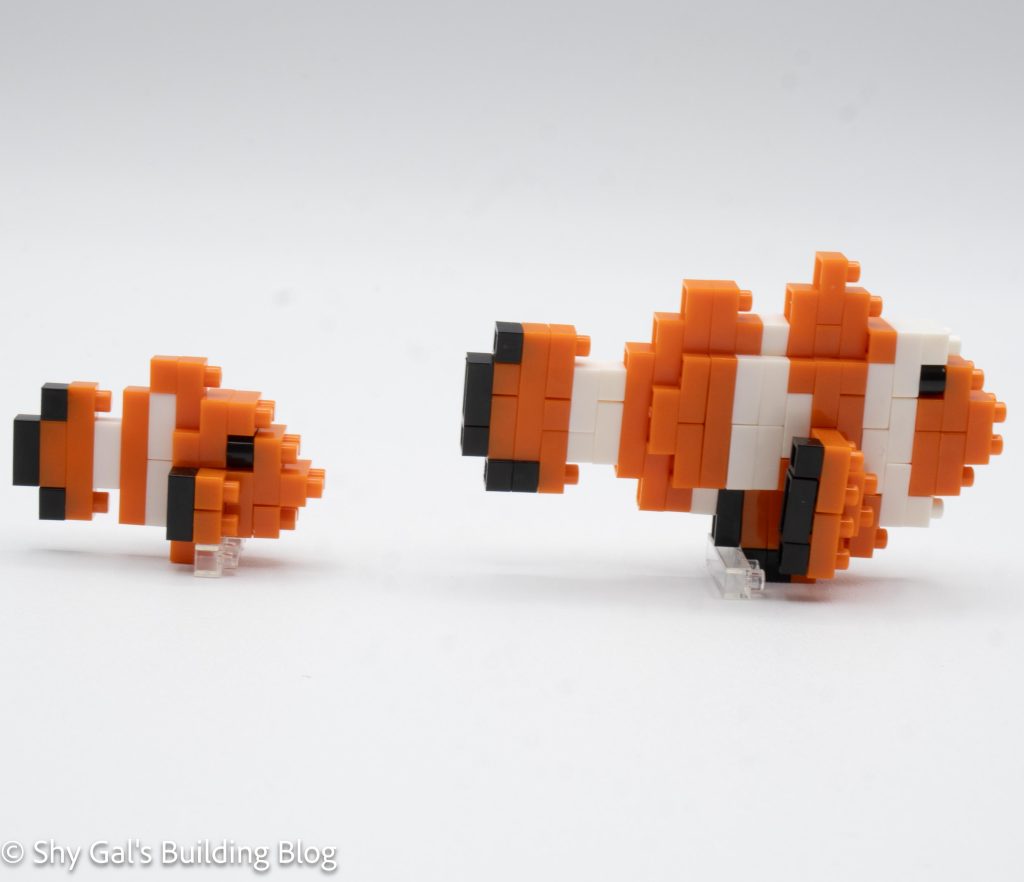
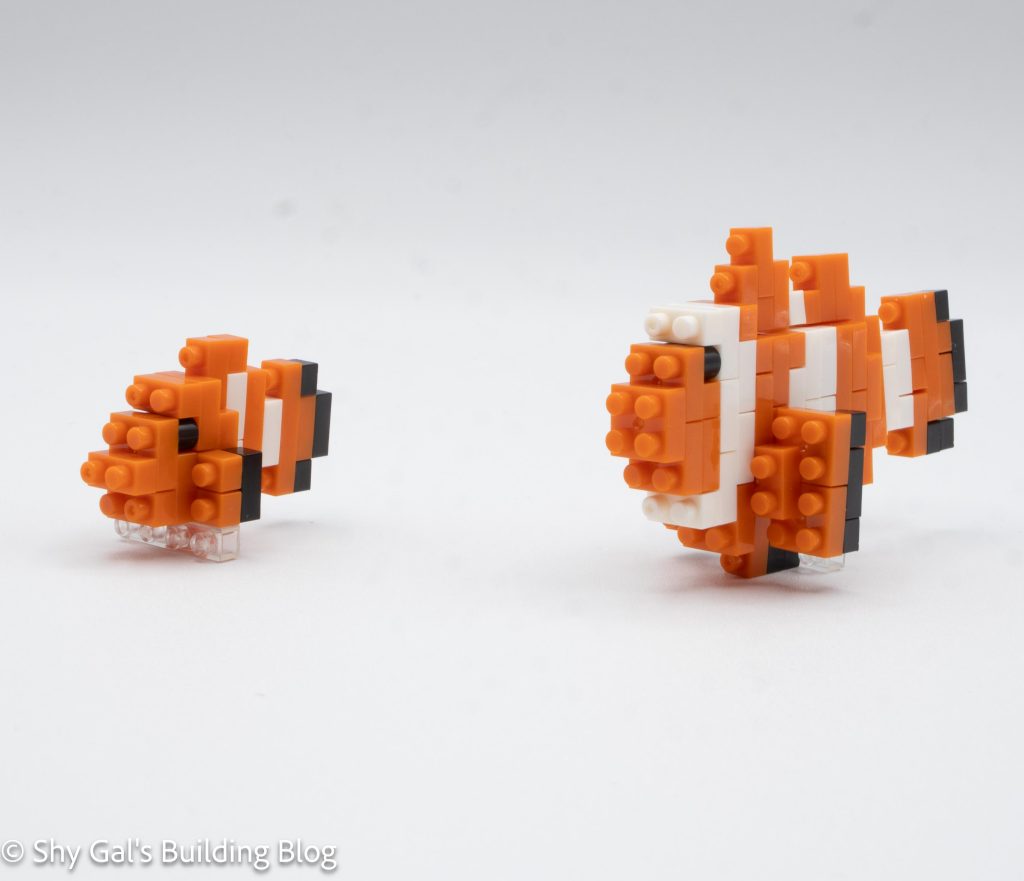
This kit contains instructions and materials to make 2 clown fish, one large and one smaller fish. They follow the same pattern for creating the fish.
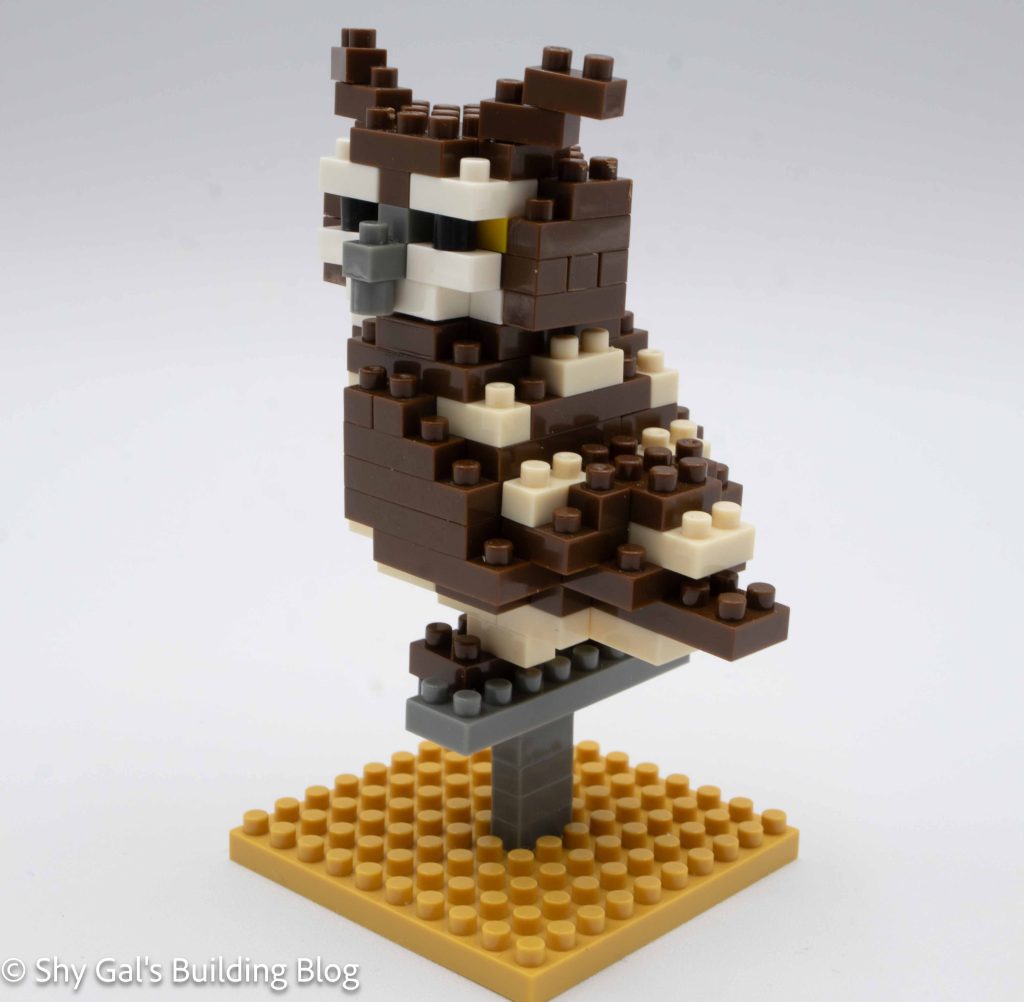
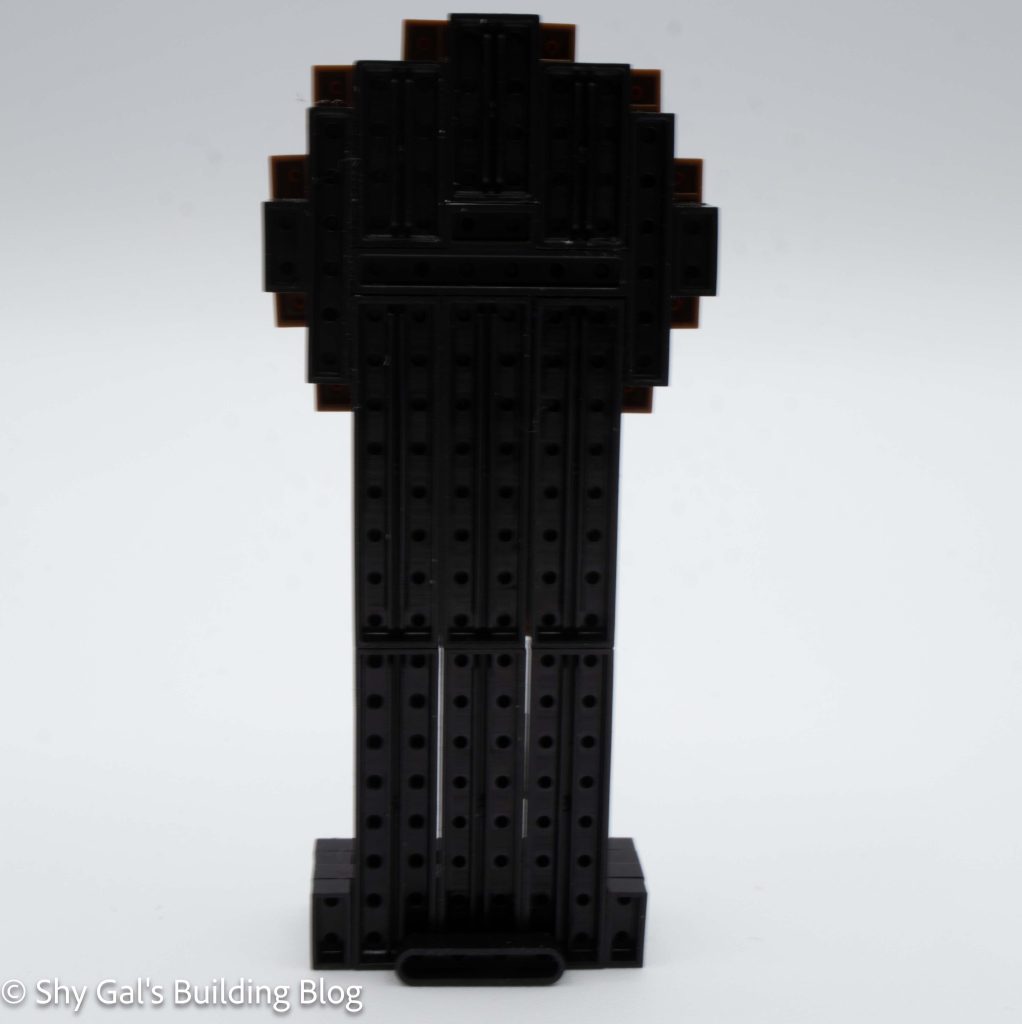
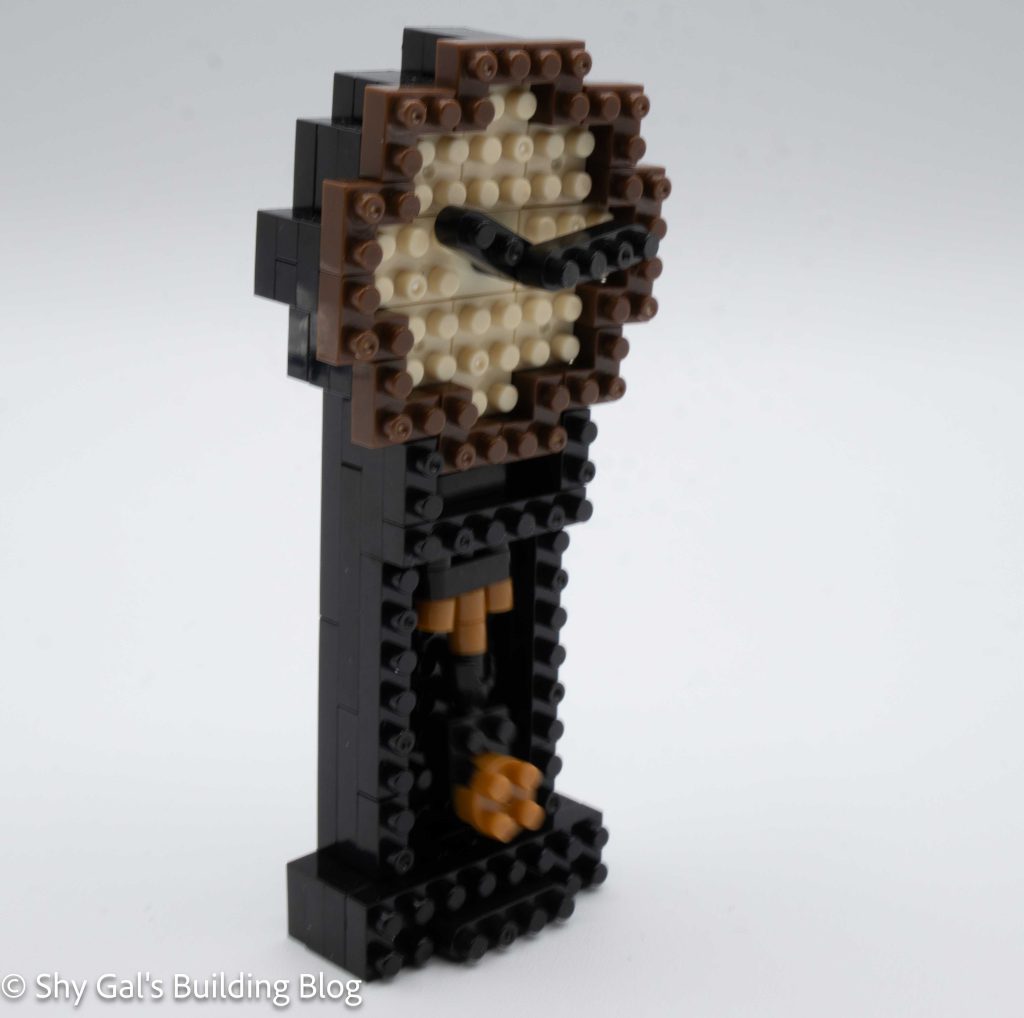
Each fish begins at the back of the tail. The body is then built as a single stack of bricks. At some point, there is a 2×2 that widens the fish. Each layer adds the stripes of the clown fish.
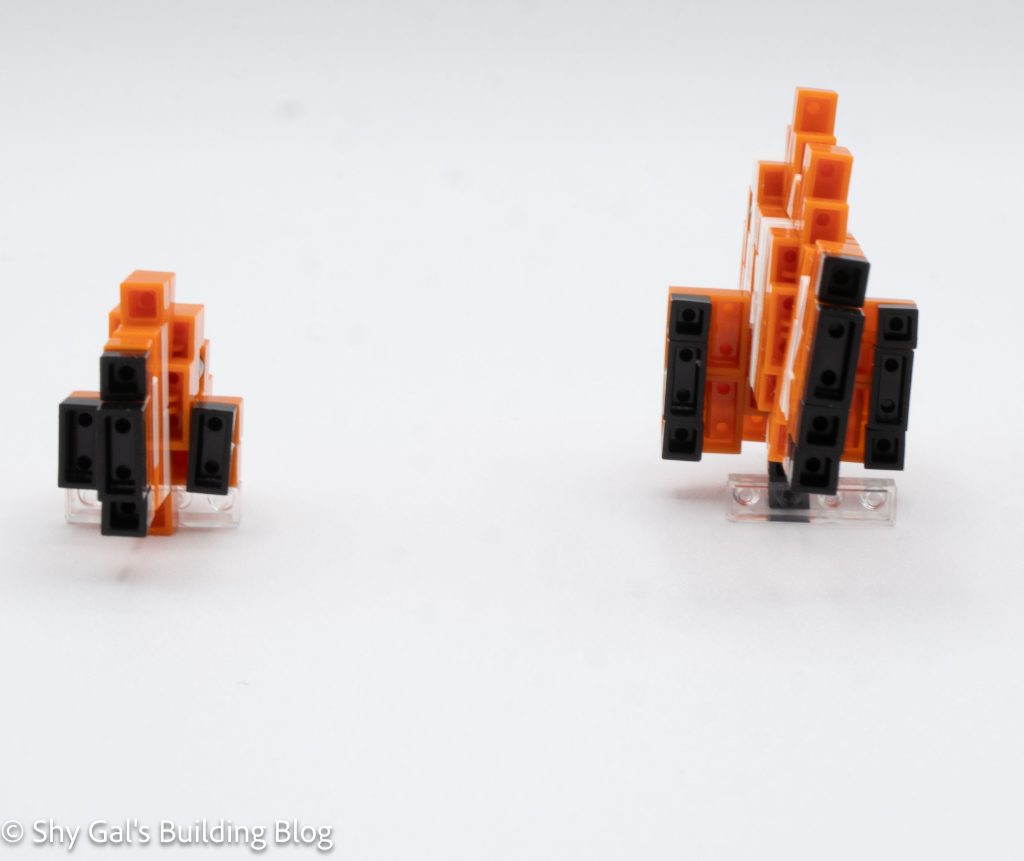
Each fish is held up by a 1×4 clear brick on its side. It is placed at the bottom of the fish.
The kit comes with a clear blue base plate. Since there isn’t a way to attach the base, I haven’t used the provided base.
Things I liked:
- I feel that both of the fish are highly recognizable as clown fish.
Things I didn’t like:
- I wish there was a way to attach the fish to the base