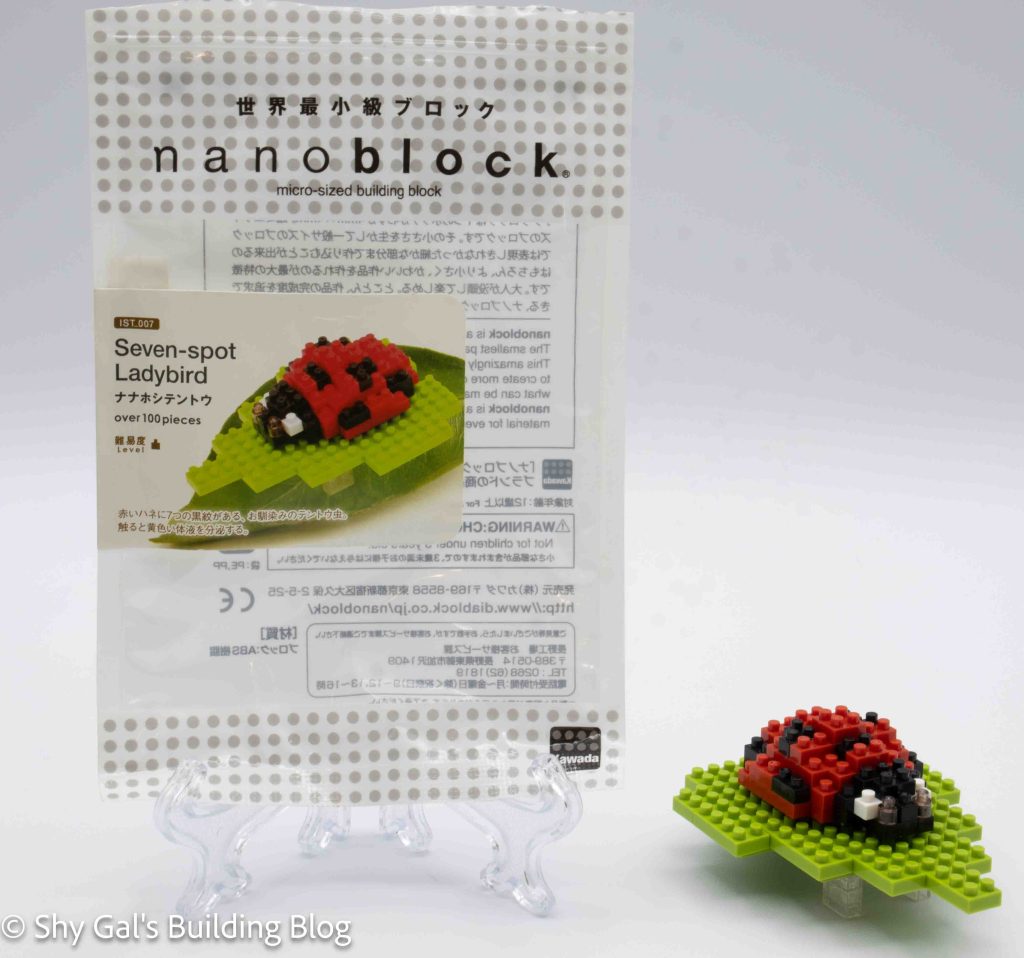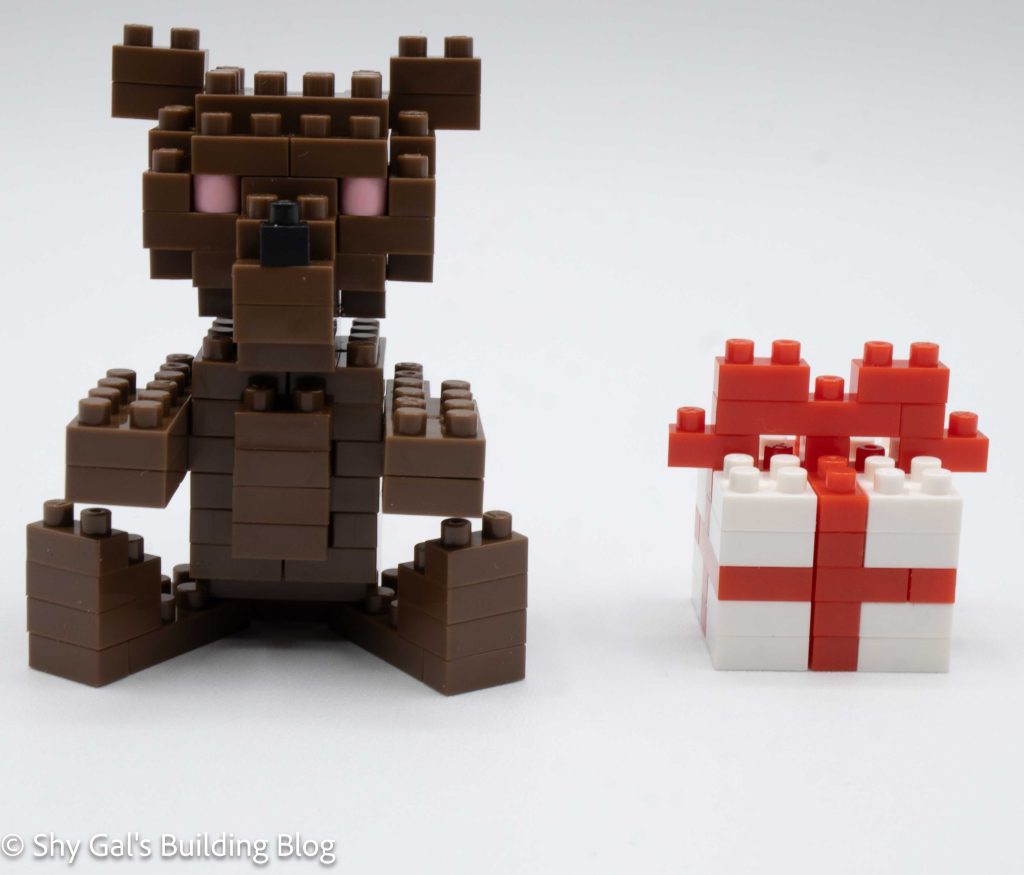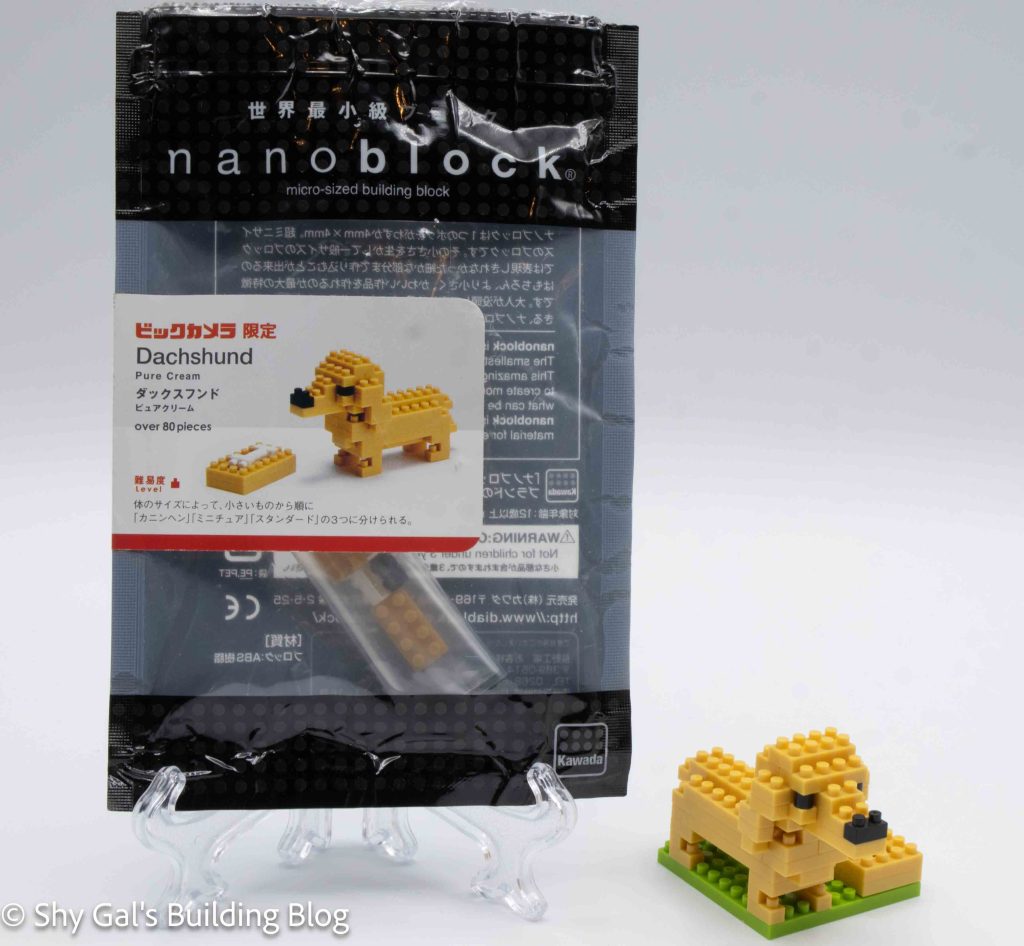
This post is a review of the nanoblock Dachshund Pure Cream build. Dachshund Pure Cream is part of the nanoblock Mini Collection series. Wondering what else is part of the Mini Collection? Click here for a list.
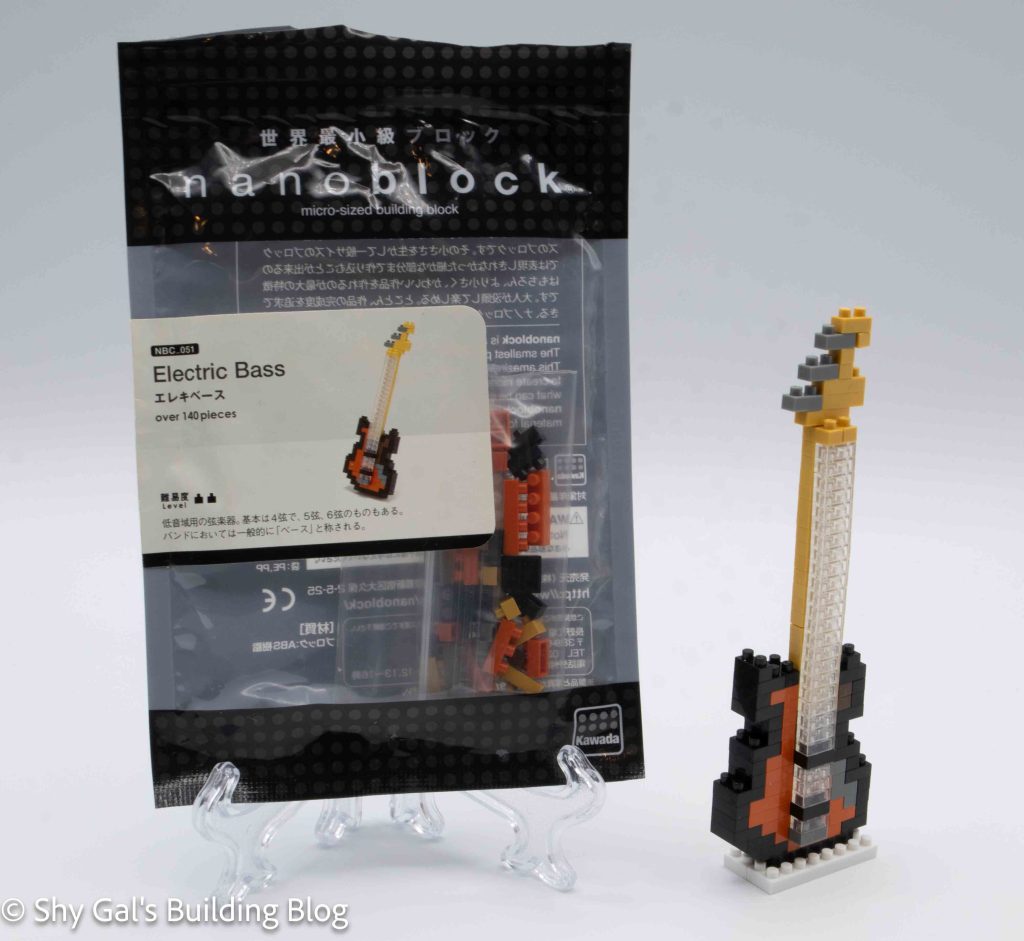
Number: NBC_039
Number of Pieces: 80
Difficulty Rating: 2
This kit’s instructions were in black and white with the colors labeled in Japanese. It was still fairly easy to put the kit together because most of the build is the golden brick color.
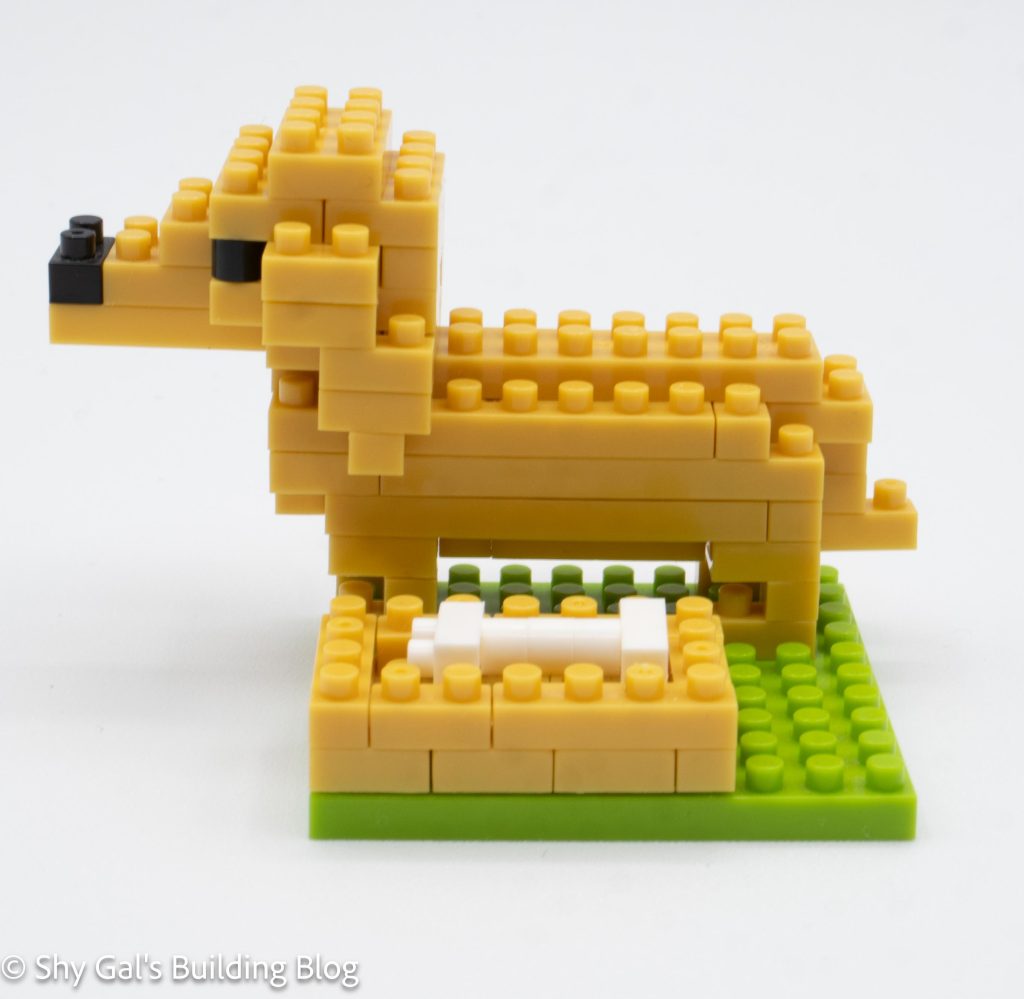
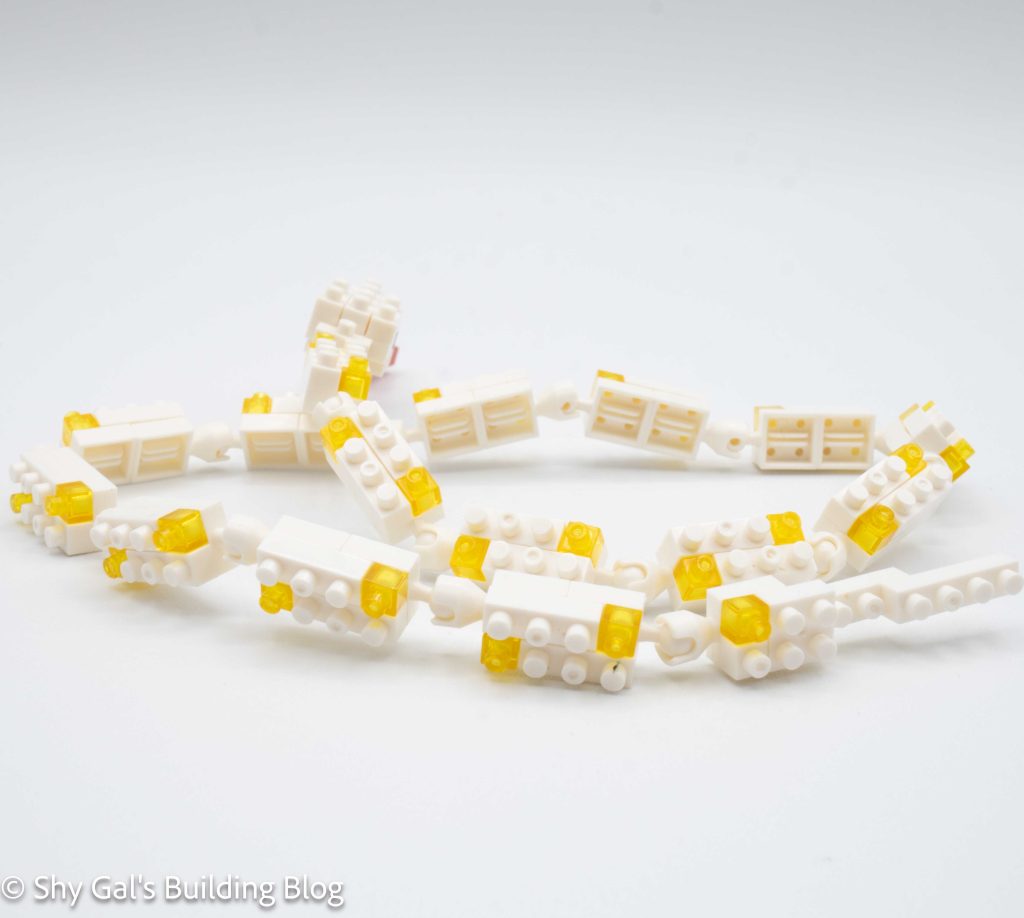
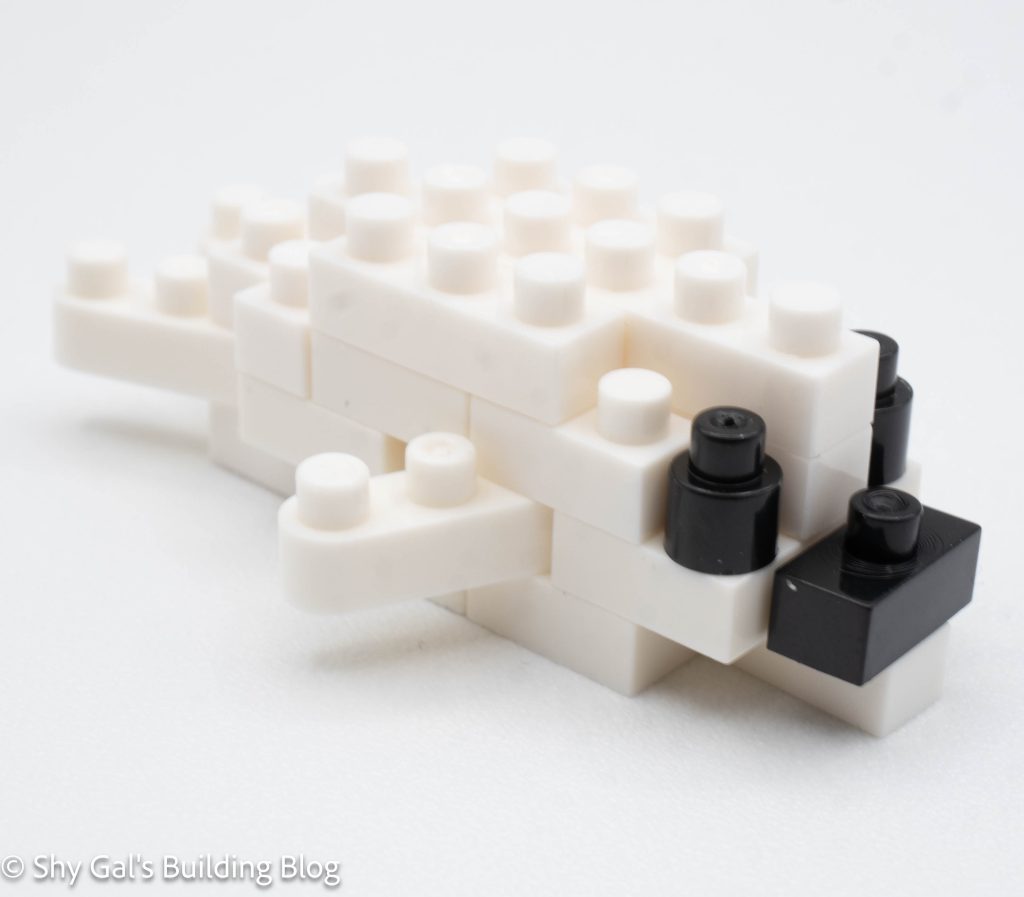
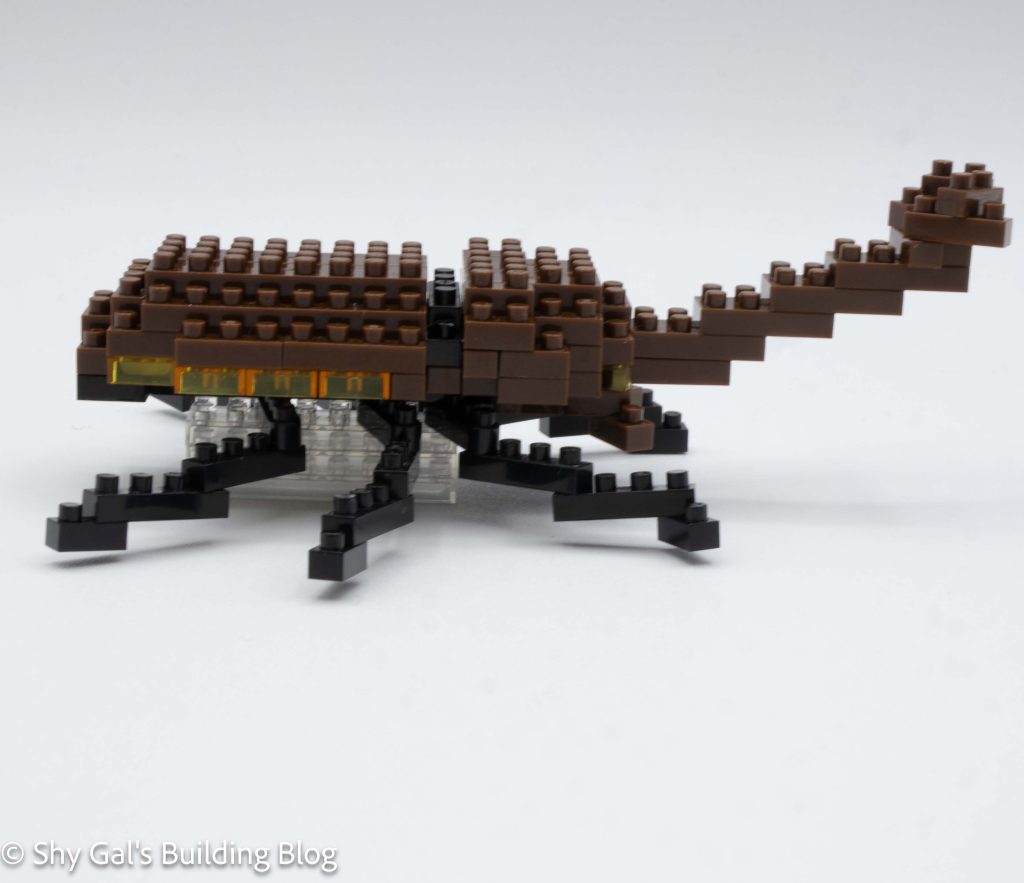
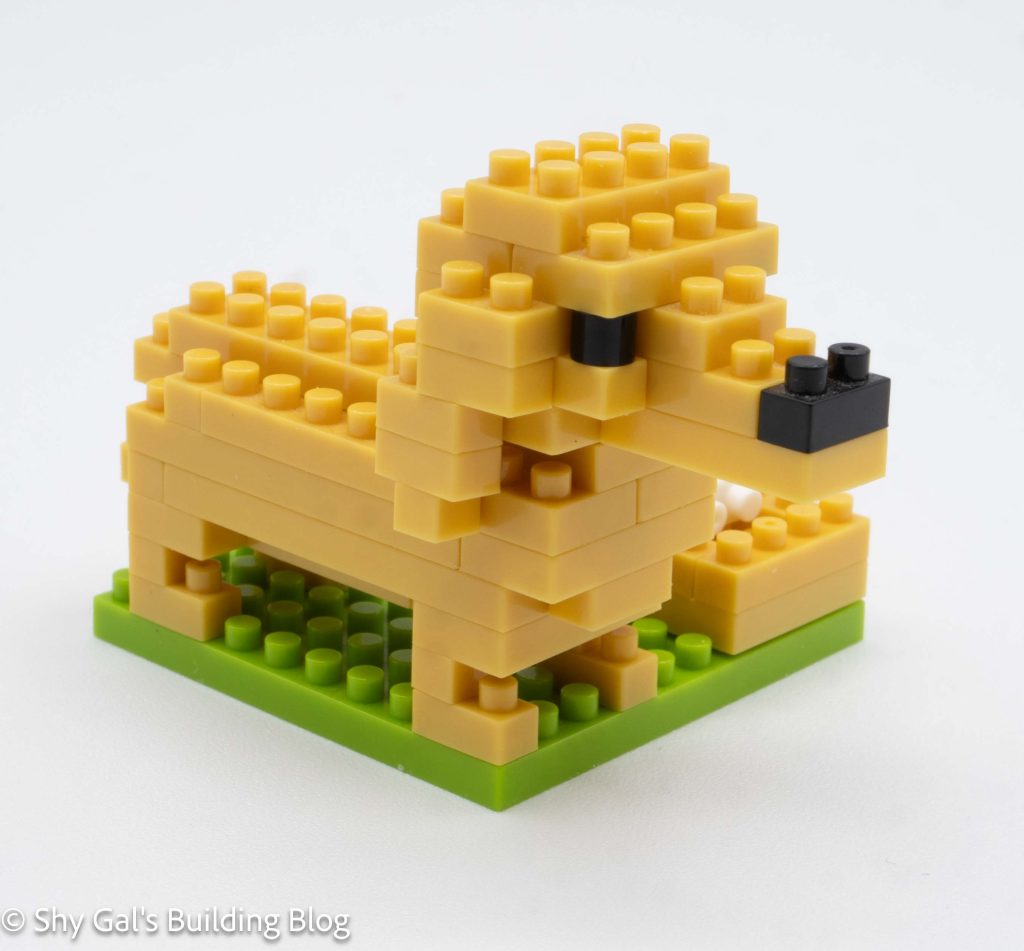
The build begins with a layer of golden yellow bricks. I lay the bricks out on my nanoblock pad. The body of the dog goes up in layers to create the entire body.
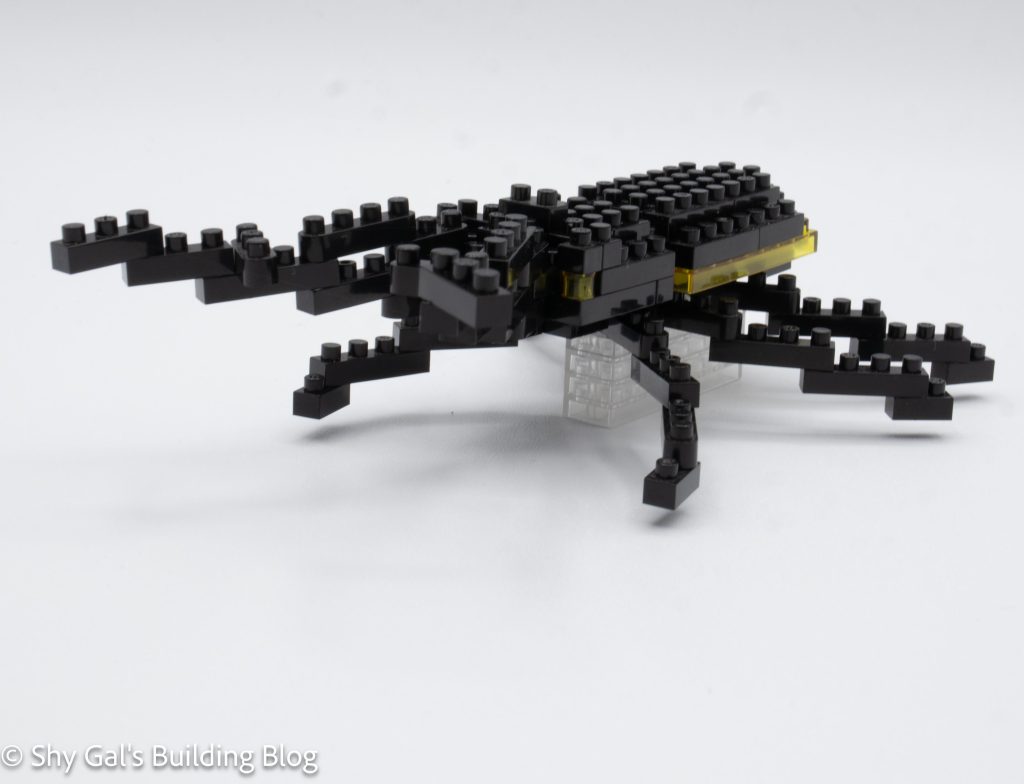
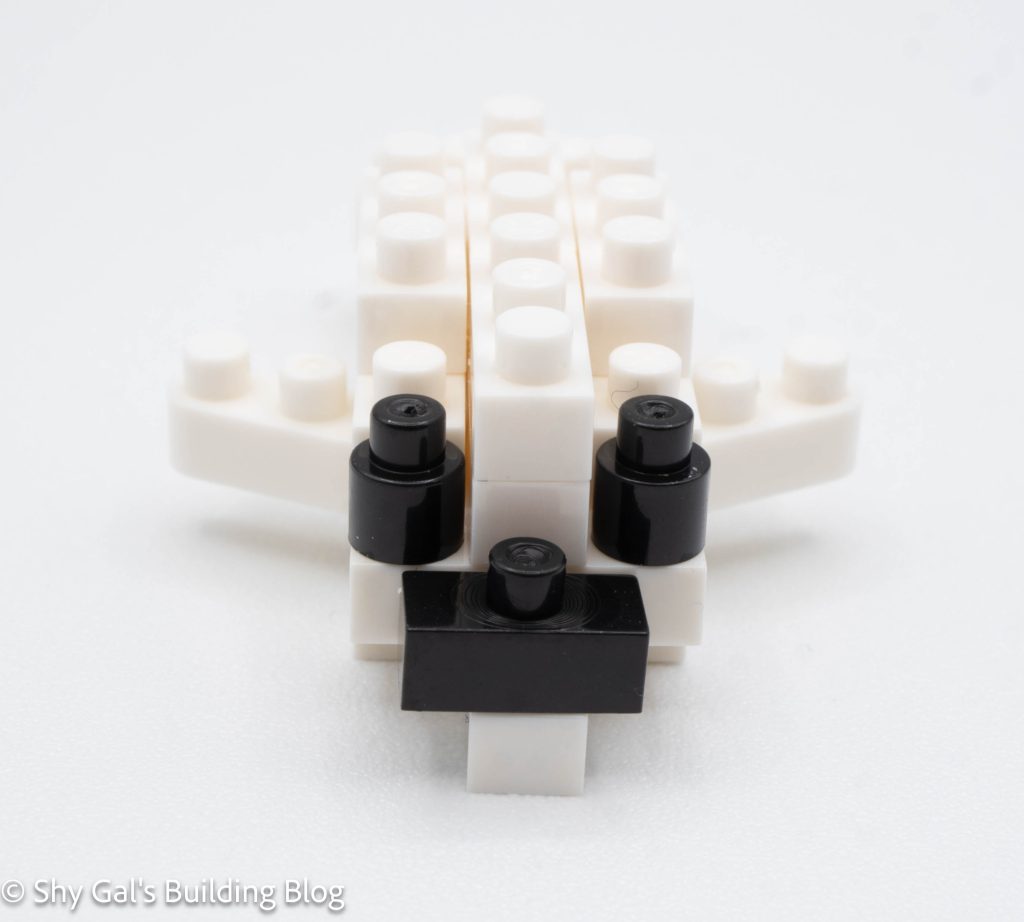
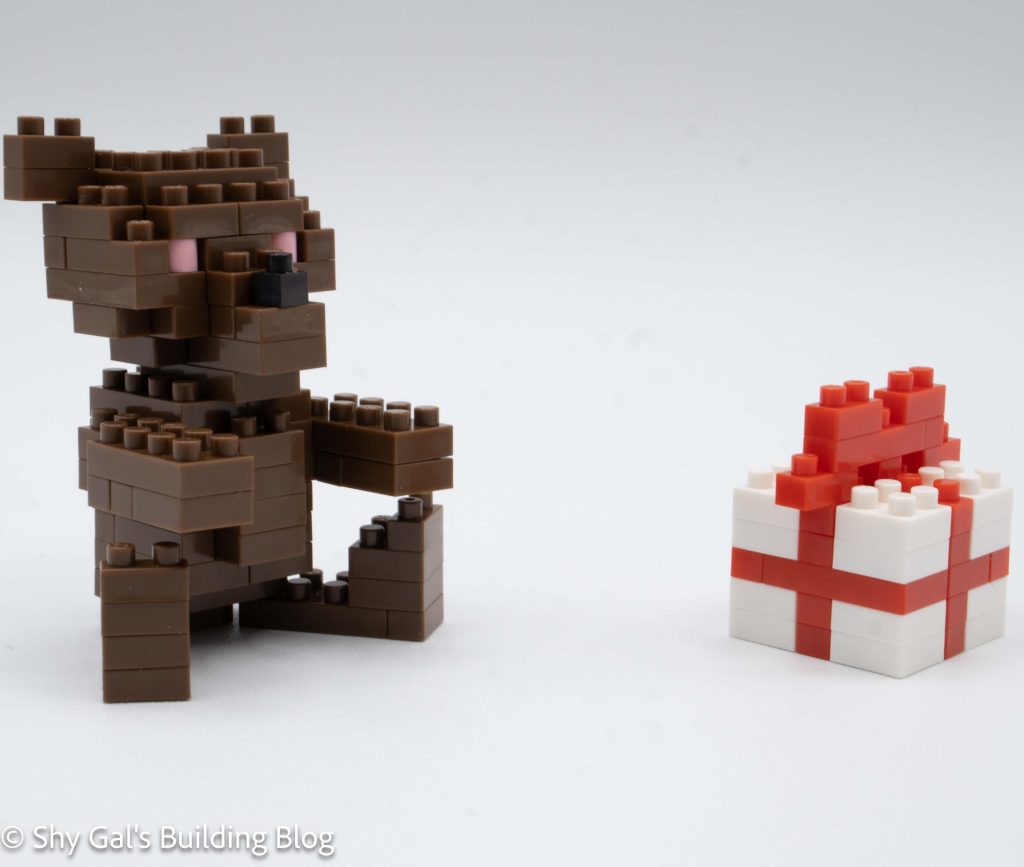
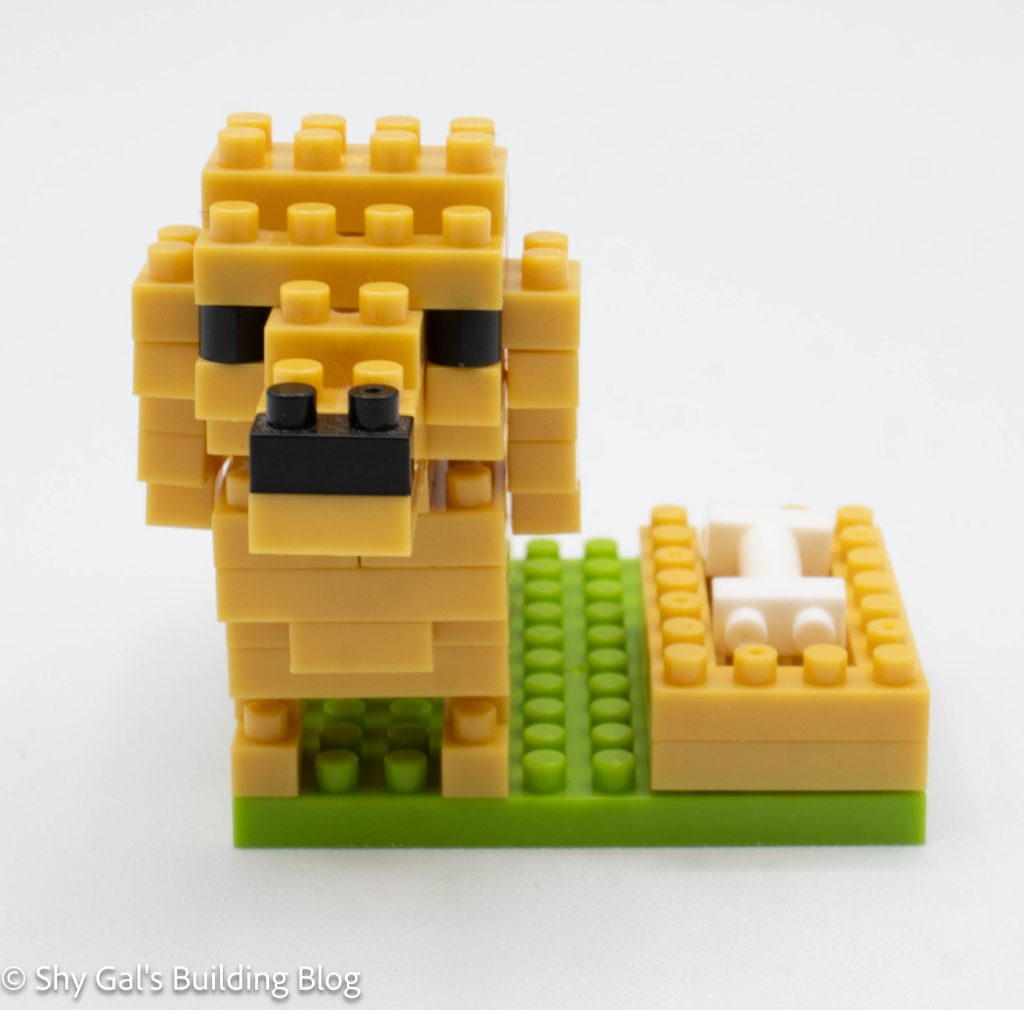
The next step is to build the head. The head is constructed in straightforward layers. Black details create the eyes and nose. The head is flipped over, and the ears are added.
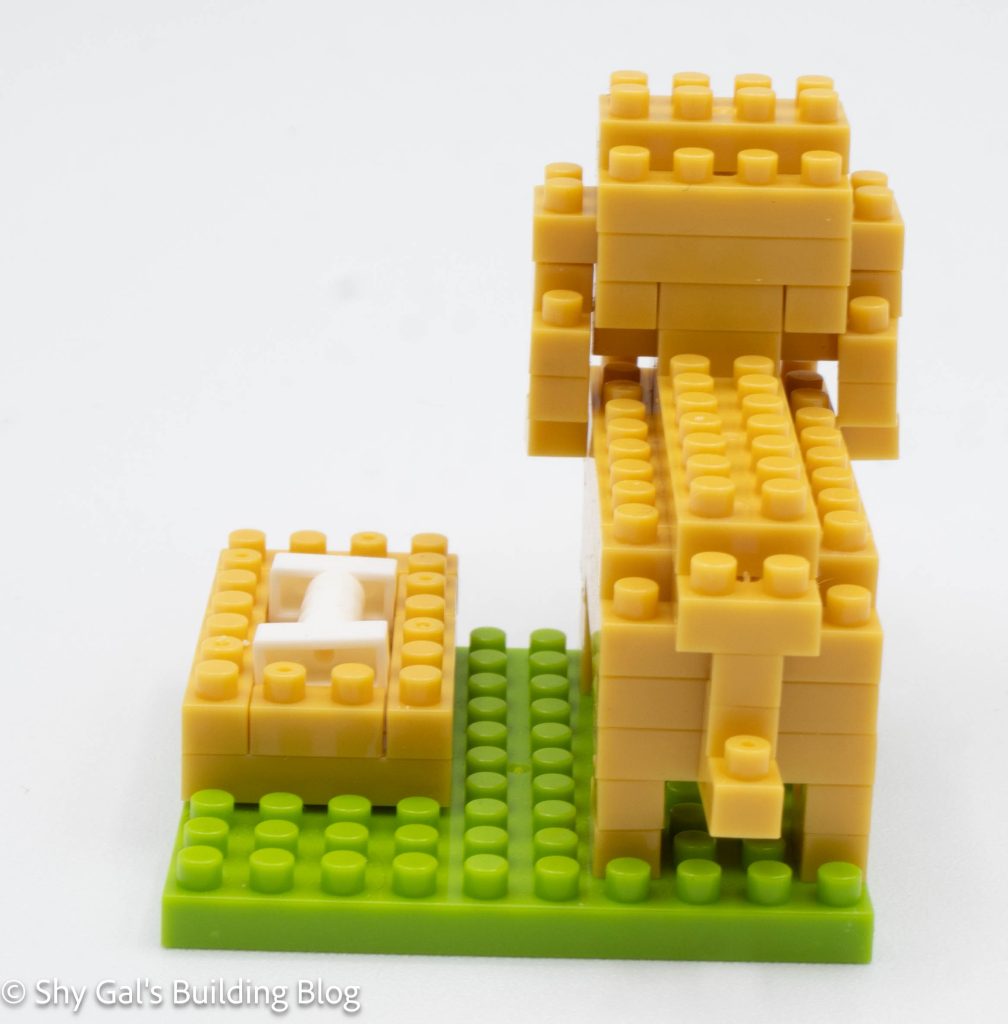
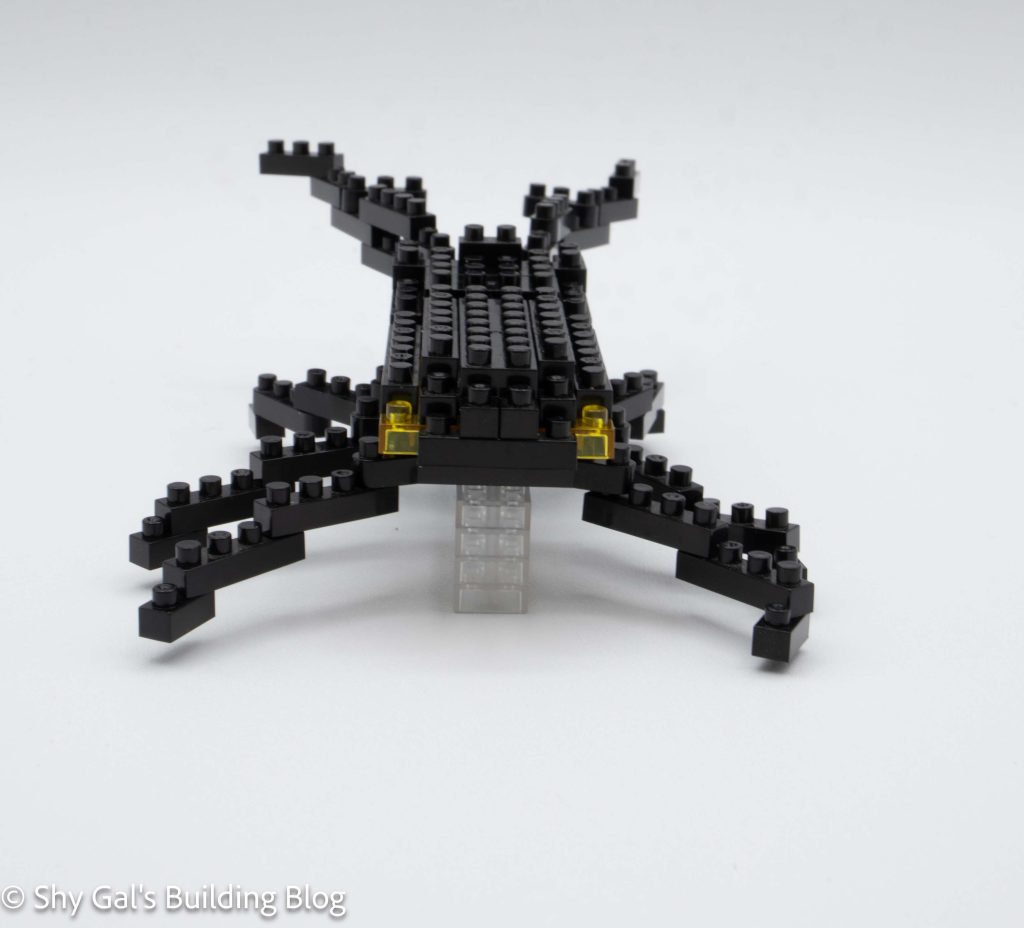
The dog’s body is flipped over, and the legs and paws are added. I attached the head to the body, and then I attached the finished dog to the build.
The final step is to build the food bowl and bone. The bowl is very straightforward, and the bone is loose and can fall out.
Things I liked:
- I really like the color of the Dachshund
Things I didn’t like:
- I don’t like that the bone is loose. I never like it when there are loose parts to the build