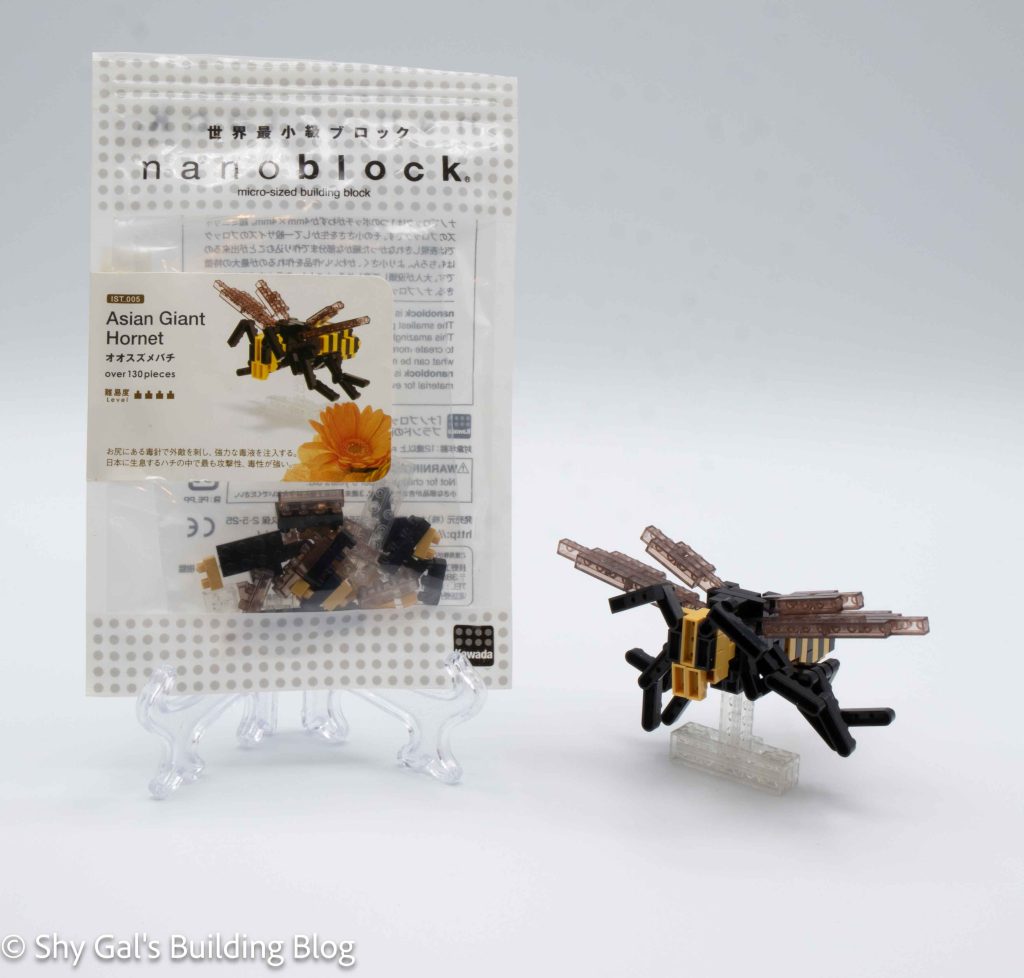
Review of nanoblock Asian Giant Hornet IST_005

Asian Giant Hornet build and package

This post is a review of the nanoblock Asian Giant Hornet build. Asian Giant Hornet is part of the nanoblock Insect collection. Wondering what else is part of the Insect collection? Click here for a list.
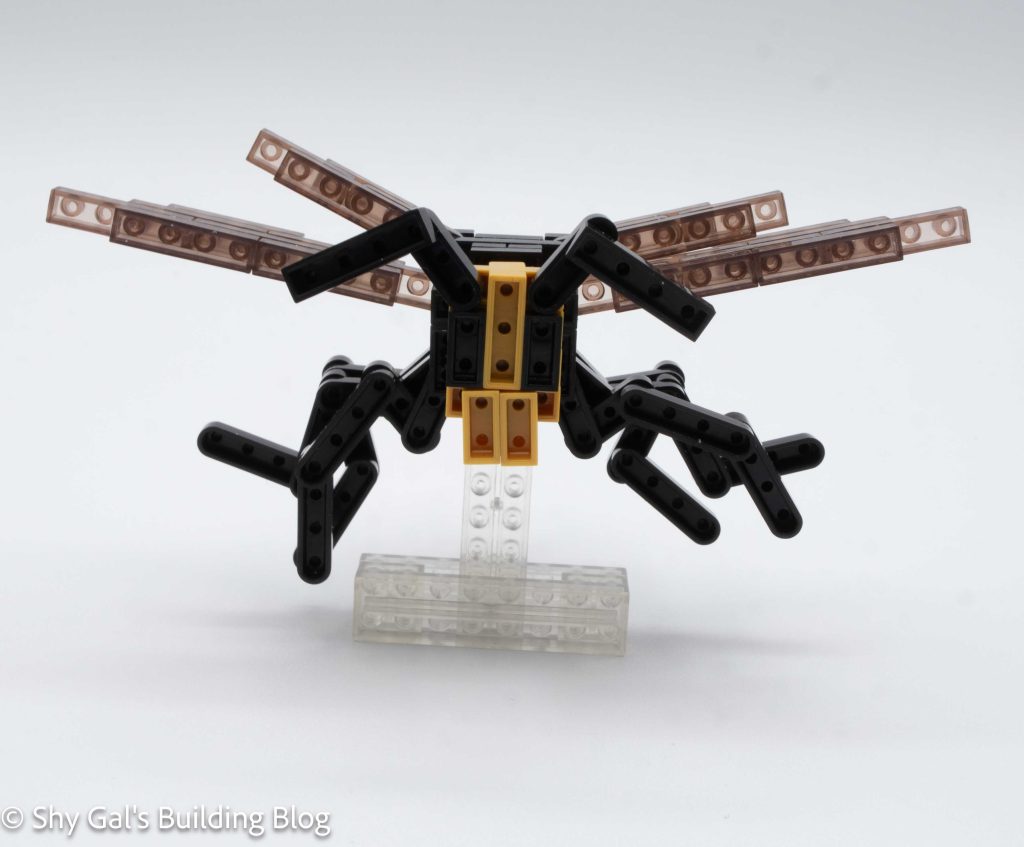
Asian Giant Hornet build front view

Number: IST_005

Number of Pieces: 130

Difficulty Rating: 4
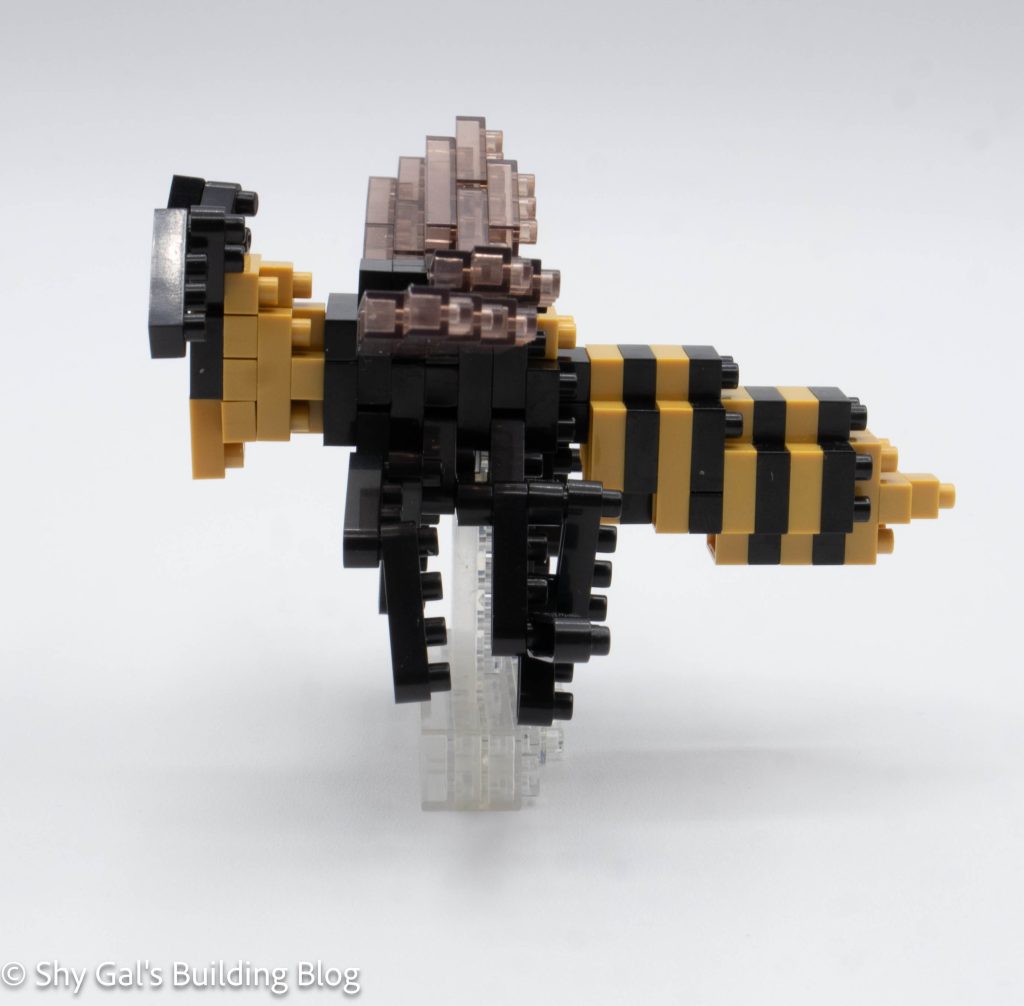
Asian Giant Hornet build side view

This build has 3 major sections. There is the body, stinger, and head.

I had a hard time following the directions for the body. Part of the reason reading the directions was so difficult was because the instructions are so cramped together. They are also are not lined up in a super logical order. I was able to build the body in the end but it took longer than I expected.
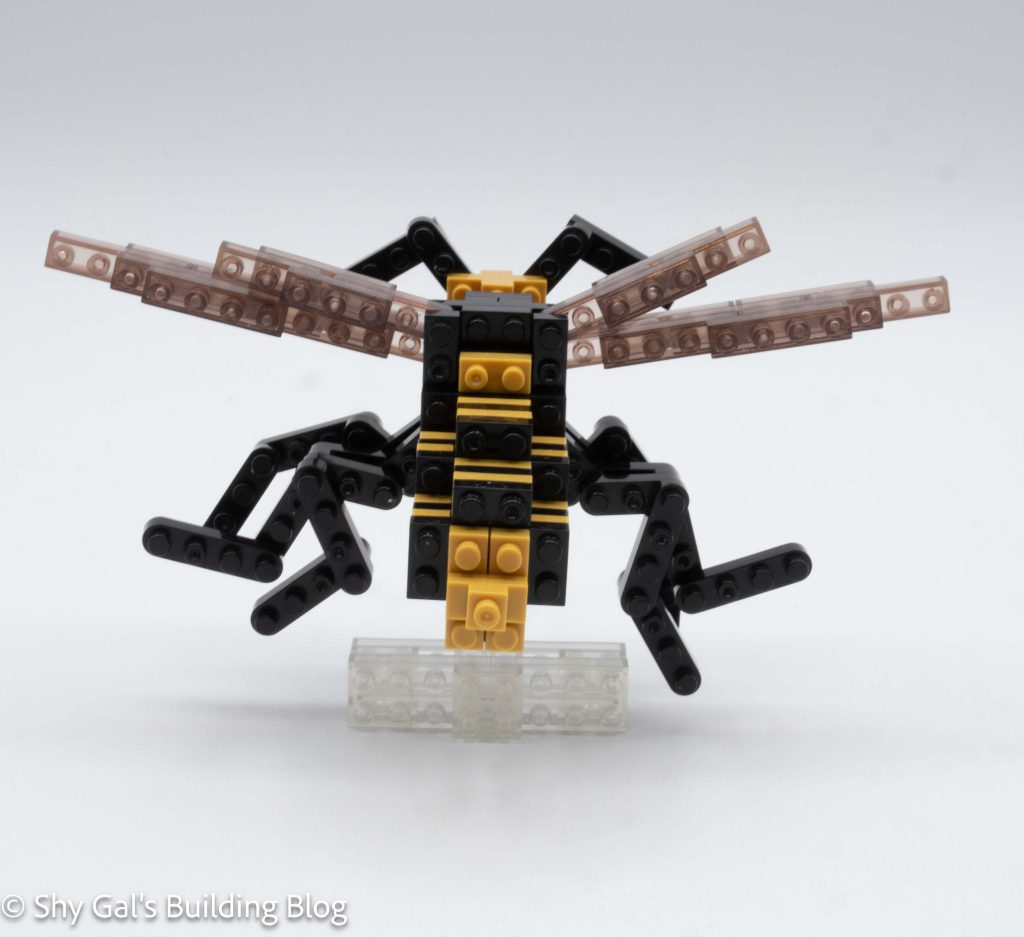
Asian Giant Hornet build back view

The stinger is a very straightforward tower of bricks, creating stripes of yellow and black. The stinger is attached to the back of the body section.

The head is also very straightforward. After building the head, I attached the head to the body to complete the build.
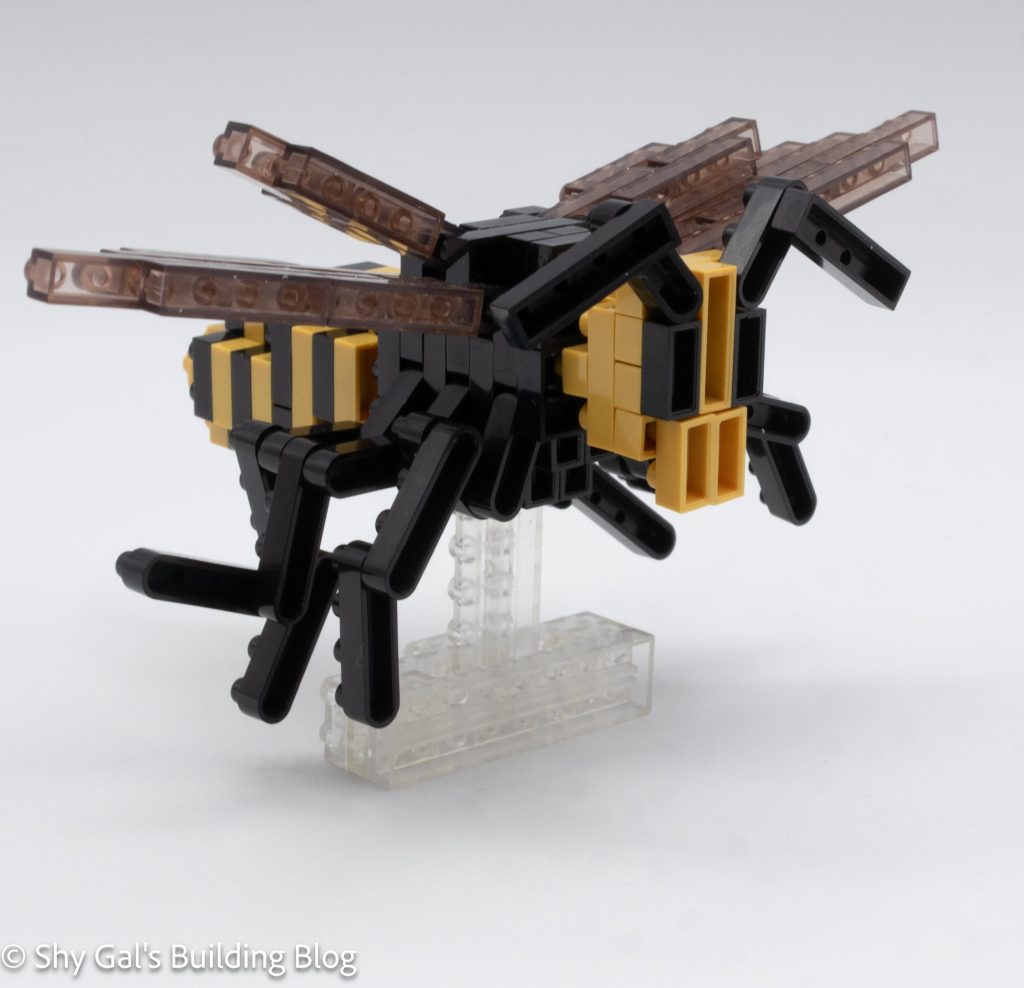
Asian Giant Hornet build front 3/4 view

Things I liked:

  • I feel that the build is highly recognizable as a hornet

Things I didn’t like:

  • The instructions were hard to read for the body section
Review of nanoblock Duck NBC_021

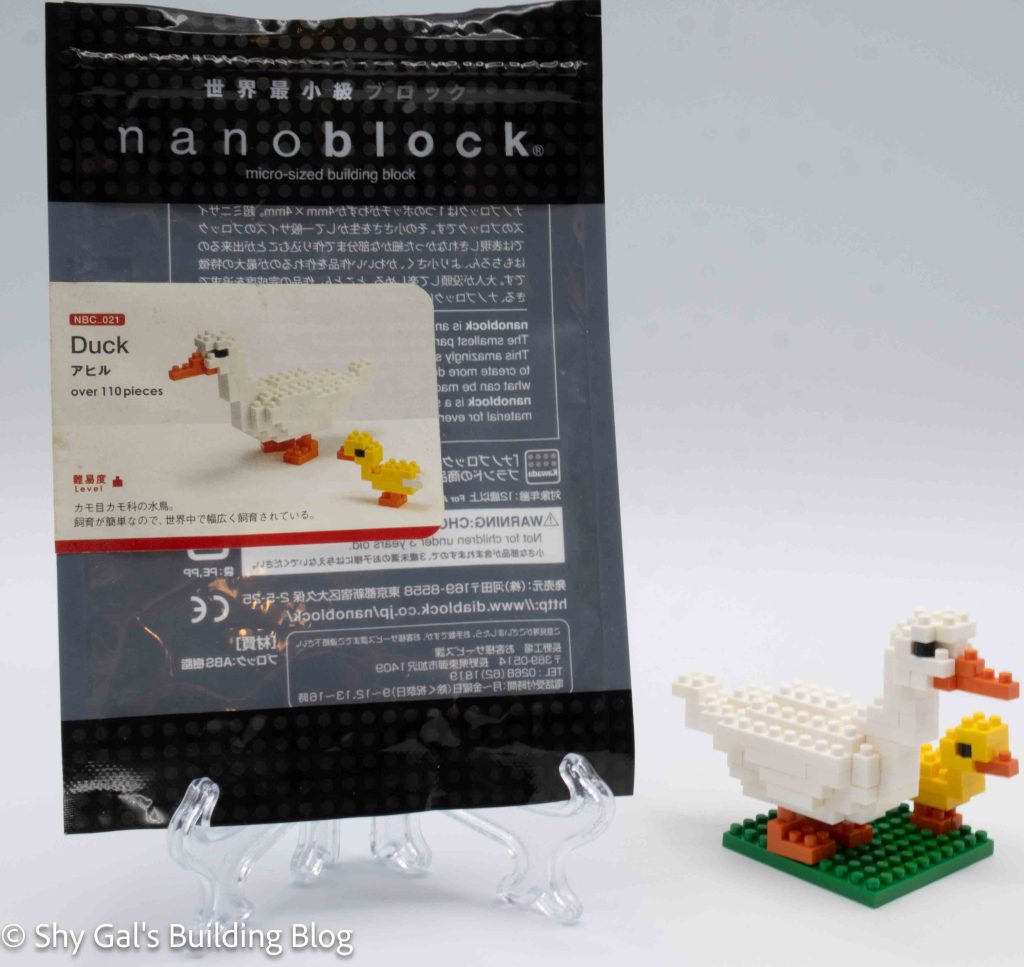
Duck build and package

This post is a review of the nanoblock Duck build. Duck is part of the nanoblock Mini Collection series. Wondering what else is part of the Mini Collection? Click here for a list.

Number: NBC_021

Number of Pieces: 110

Difficulty Rating: 1

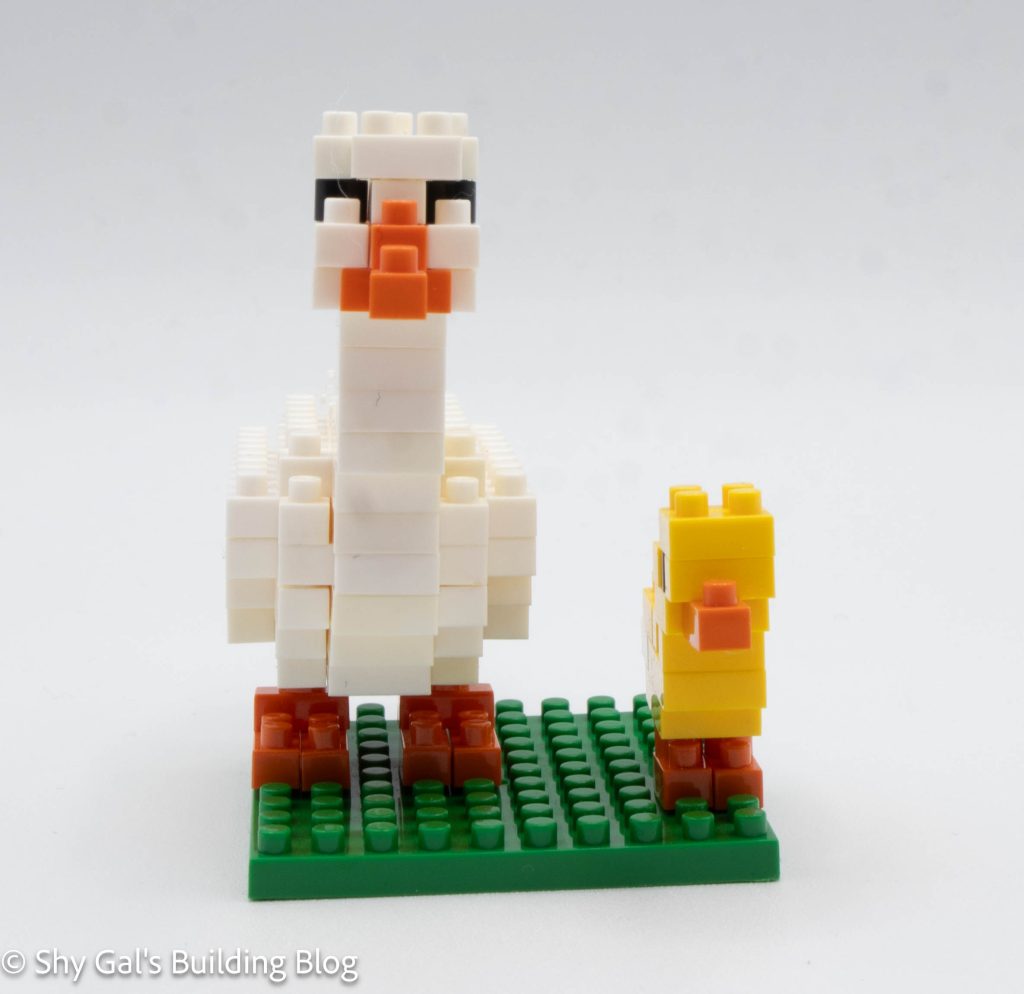
Duck build front view

I bought this kit used, knowing I would at least get the instructions. I also ended up getting all the bricks to complete the kit. Sadly, however, the white has become yellow with age. The discolored bricks may be visible in my photographs.

This build has 2 sections. There is an adult duck and a baby duck.

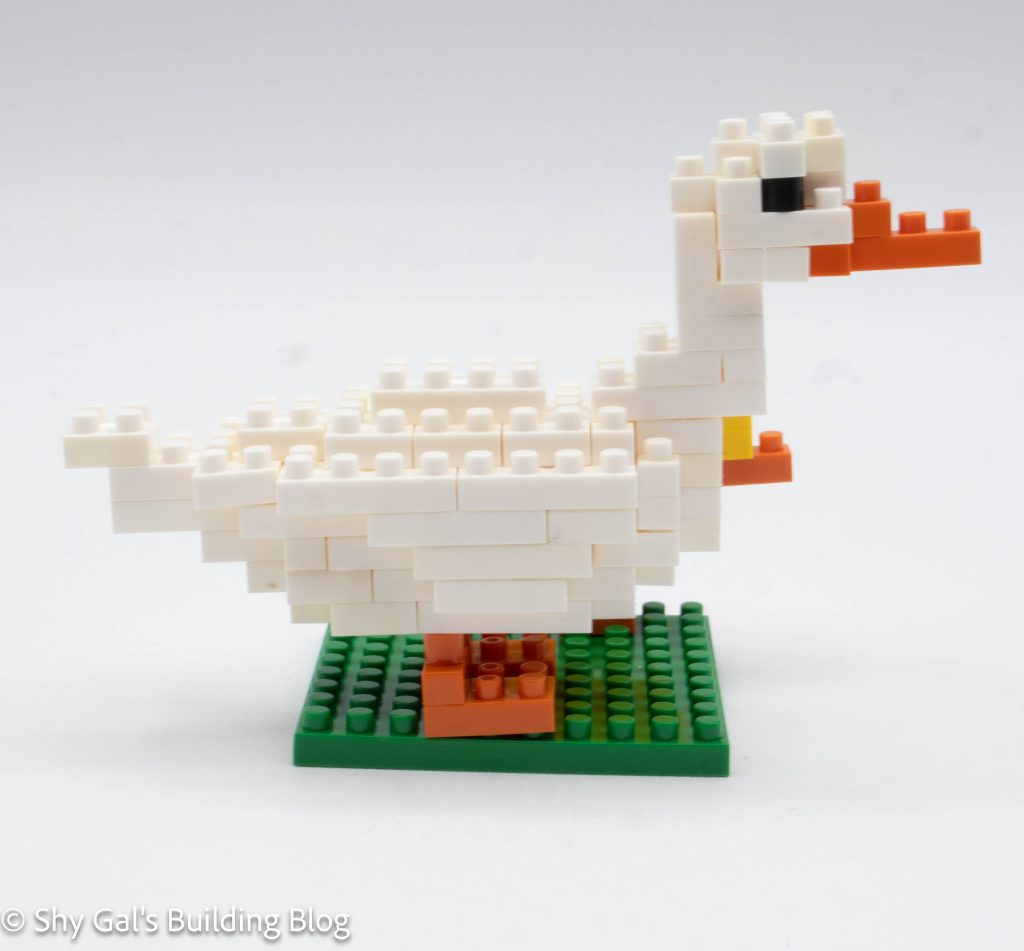
Duck build side view

The baby duck is very straightforward. There are a couple points where the direction of the brick matters or where the brick isn’t centered.

The adult duck is all white. It began as a layer of white bricks that I laid out on my nanoblock pad. The body of the duck went up in layers, creating the body of the duck.

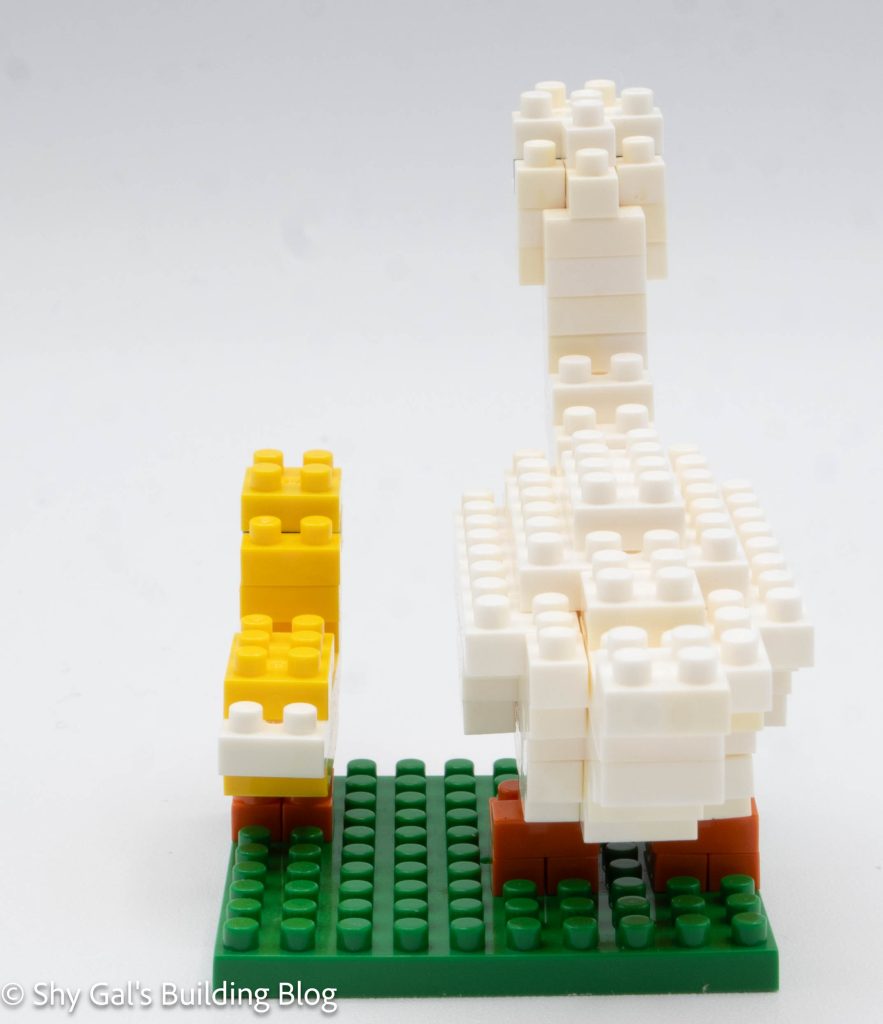
Duck build back view

The trickiest part of the duck is creating the head. I think the directions aren’t very clear in part because the instructions are cramped. The beak is the most confusing because of how the bricks line up.

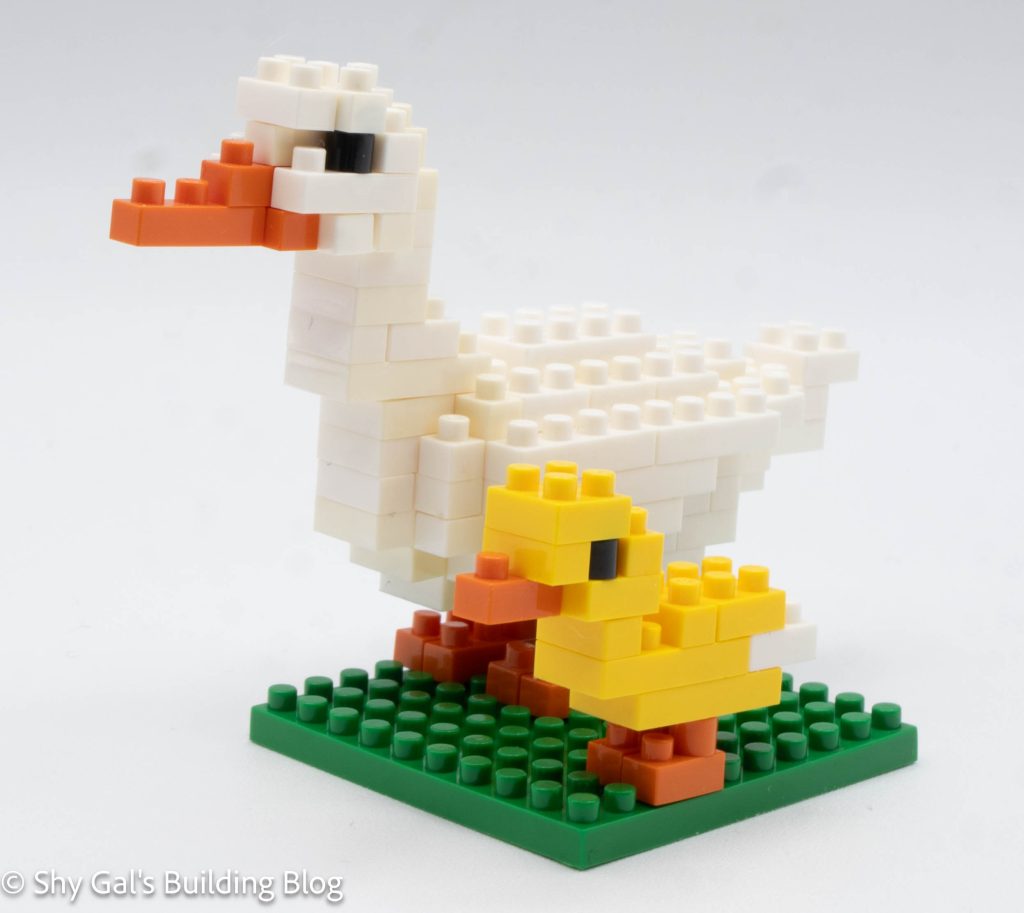
Duck build front 3/4 view

Things I liked:

  • I really like that there is a mom and baby duck in the finished build and that both ducks fit on the plate

Review of nanoblock Universal Globe

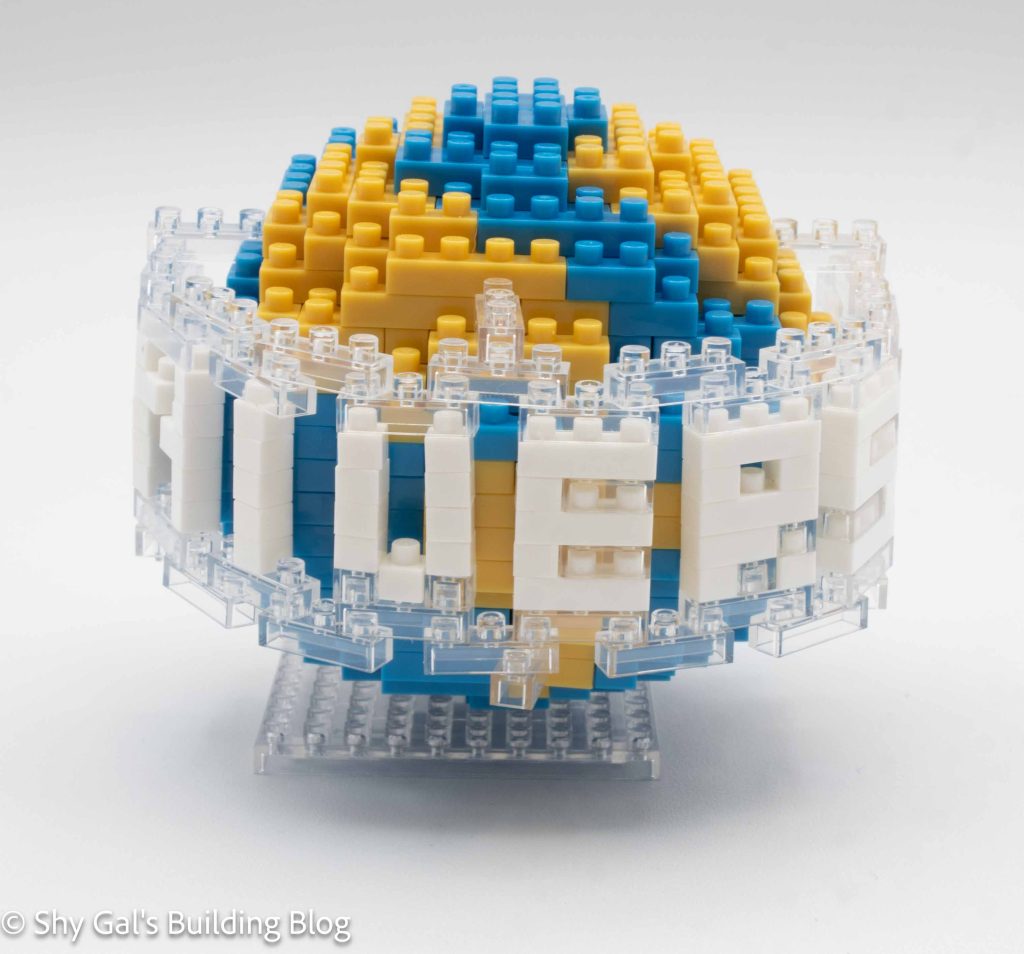
Universal Globe build front view

This post is a review of the nanoblock Universal Globe build. Universal Globe is one of the Universal Studios Japan (USJ) nanoblock kits. Wondering what else is part of the USJ builds collection? Click Here for a list.

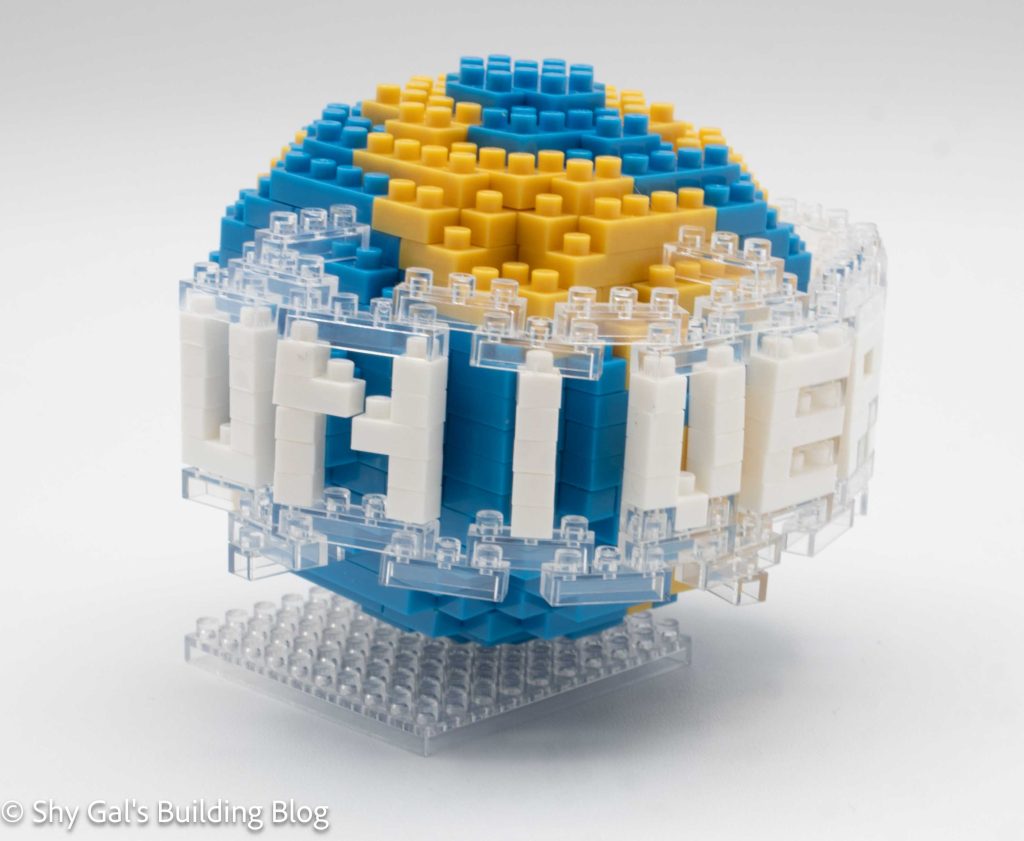
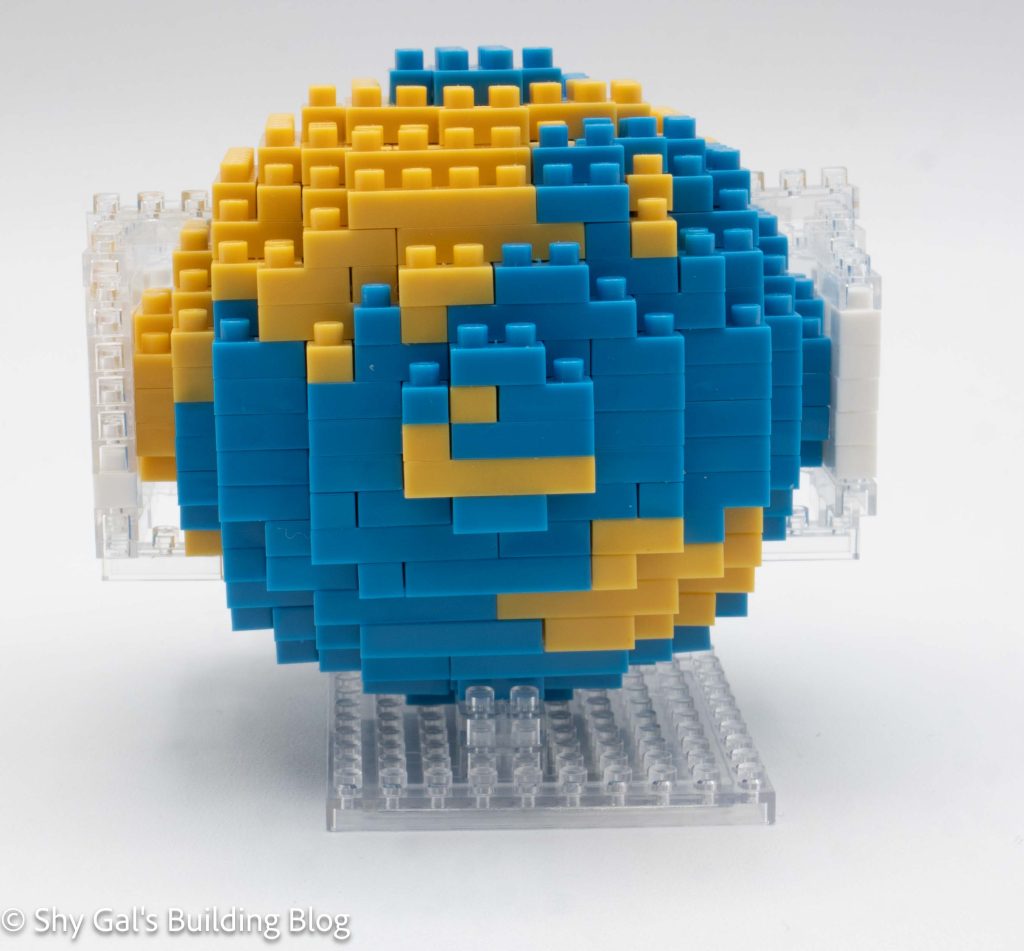
This build has 3 distinct parts. There is the upper hemisphere, the lower hemisphere, and the Universal sign.

Universal Globe build side view

The upper hemisphere is a fairly normal nanoblock build. I could lay the first layer out on my nanoblock pad; it took up a lot of the pad. It built up in layers, continuously getting smaller until the hemisphere closes up. I needed to be careful to ensure that I used the right color and size for each brick I placed.

The lower hemisphere was by far the hardest part of the build. Like the top section, I needed to be careful to ensure I used the right brick. However, the lower hemisphere is built upsidedown. Building upsidedown is challenging because it is tricky to ensure things are lined up and square. It was also hard to tell where there were gaps because so many sections of bricks were built in a previous step.

Universal Globe build back view

The last section of the build is the Universal sign that surrounds the globe. There is a fairly straightforward diagram for how to make the sign. It is a bit hard to tell which bricks are clear and which are white. When it came time to attach the sign, the directions made no sense. I attached it close to what the directions say, but not exactly right.
Universal Globe side view

Things I liked:

  • The final sphere actually looks round, like a sphere

Things I didn’t like:

  • The directions to attach the Universal to the globe made no sense

Review of nanoblock French Bulldog NBC_050

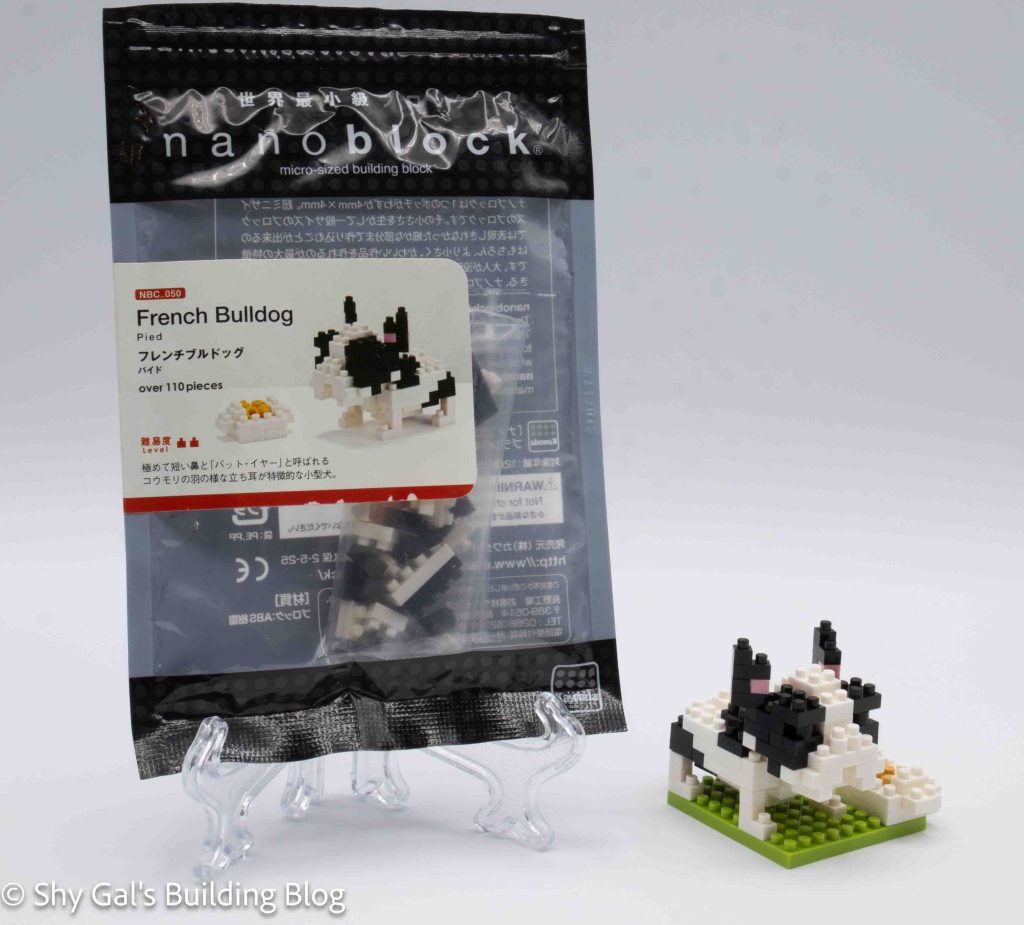
French Bulldog build and package

This post is a review of the nanoblock French Bulldog build. French Bulldog is part of the nanoblock Mini Collection series. Wondering what else is part of the Mini Collection? Click here for a list.

Number: NBC_050

Number of Pieces: 110

Difficulty Rating: 2

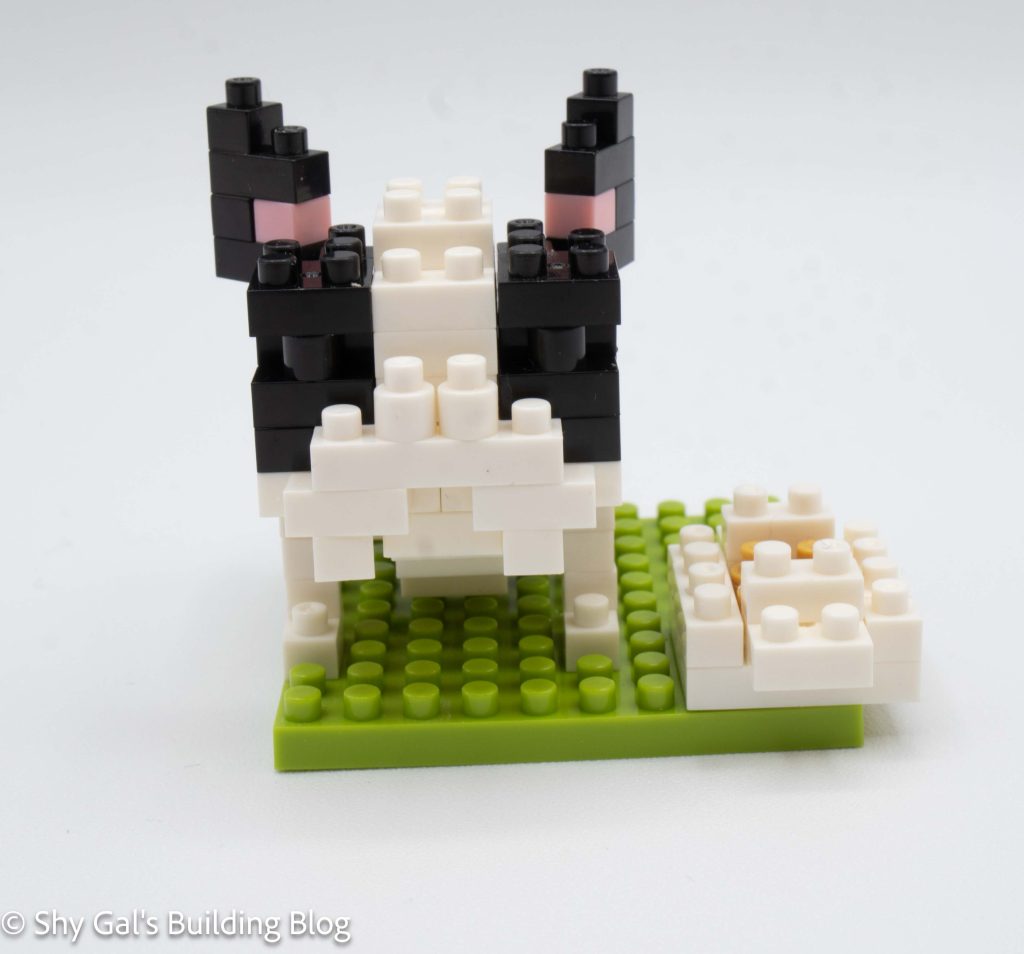
French Bulldog build front view

The build begins by creating the dog’s body. It goes up in simple layers. I used my nanoblock pad to build the body.

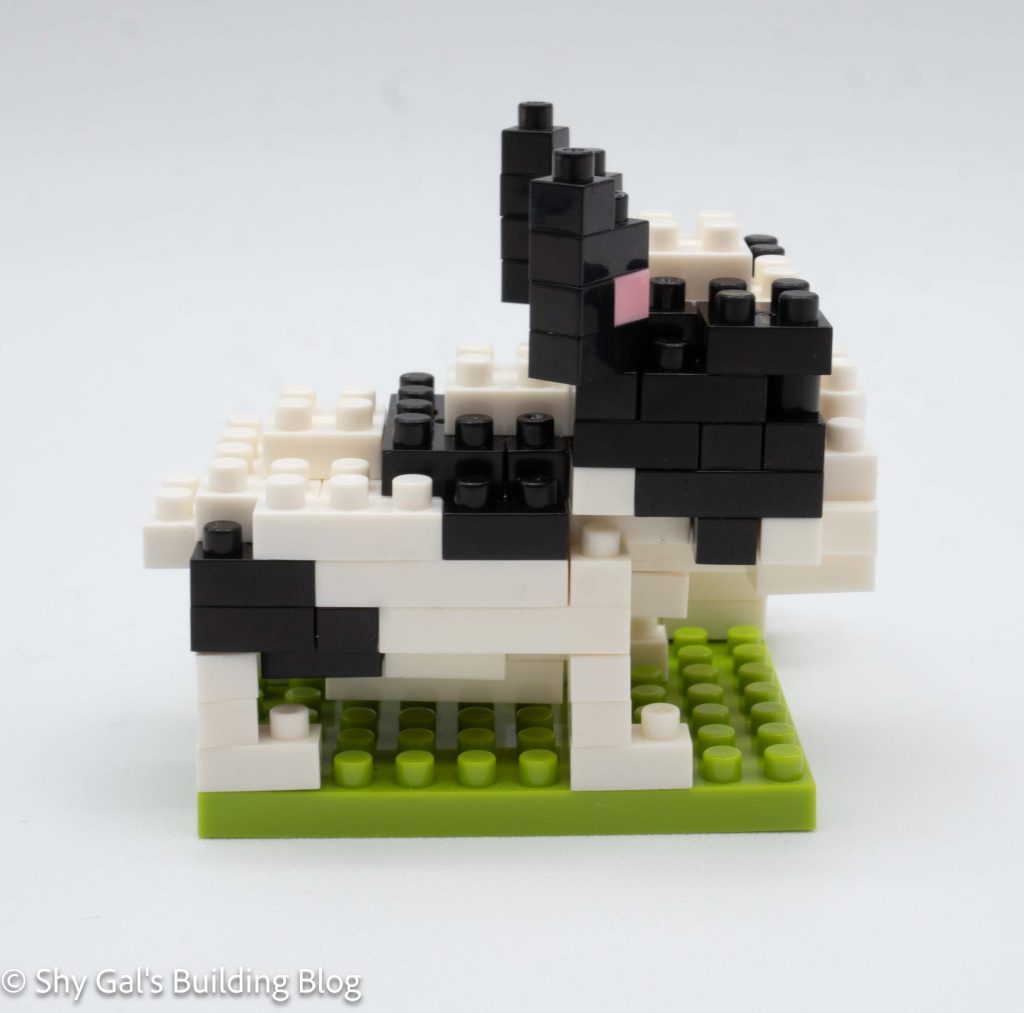
French Bulldog build side view

The body flows into the main section head. There are great head details like rounded bricks to create the nose.
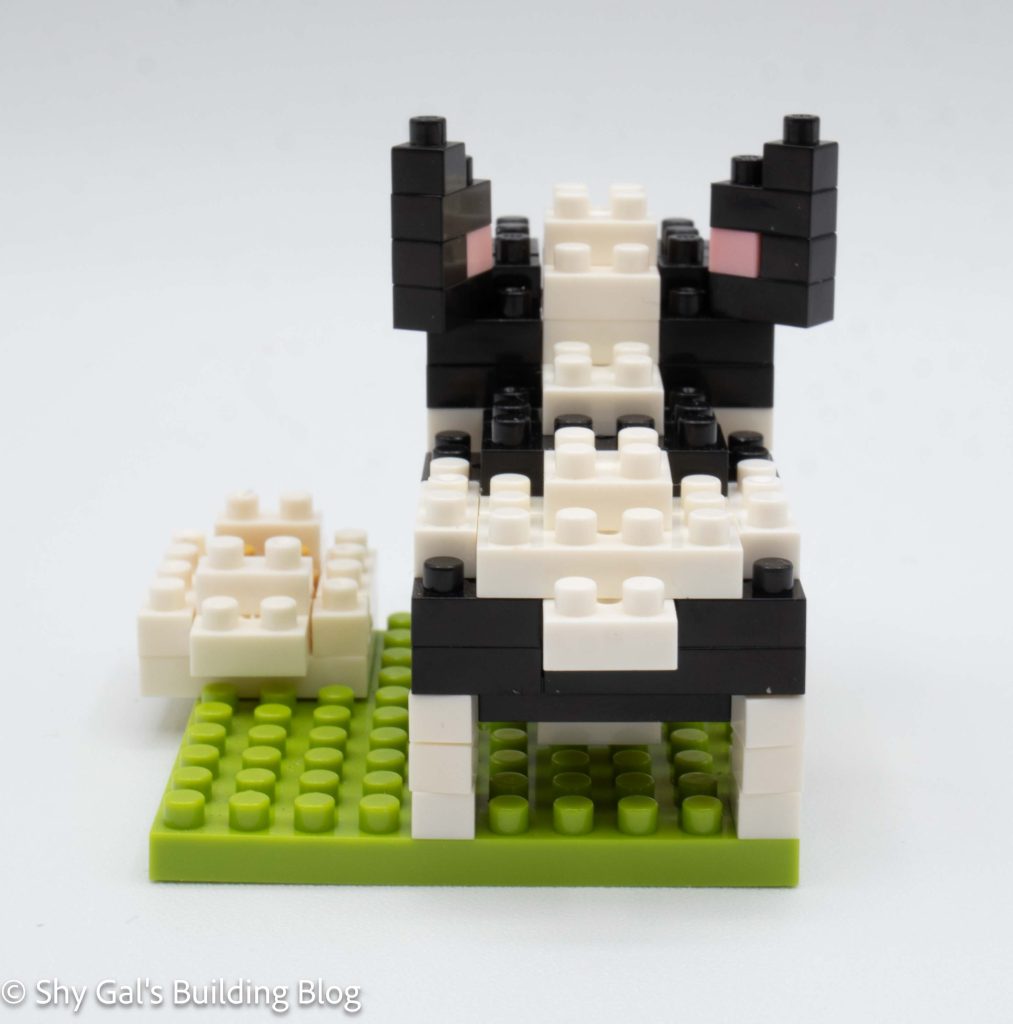
French Bulldog build back view

The next step is to add the 4 legs and the 2 ears. At this point, I attached the dog to the base.

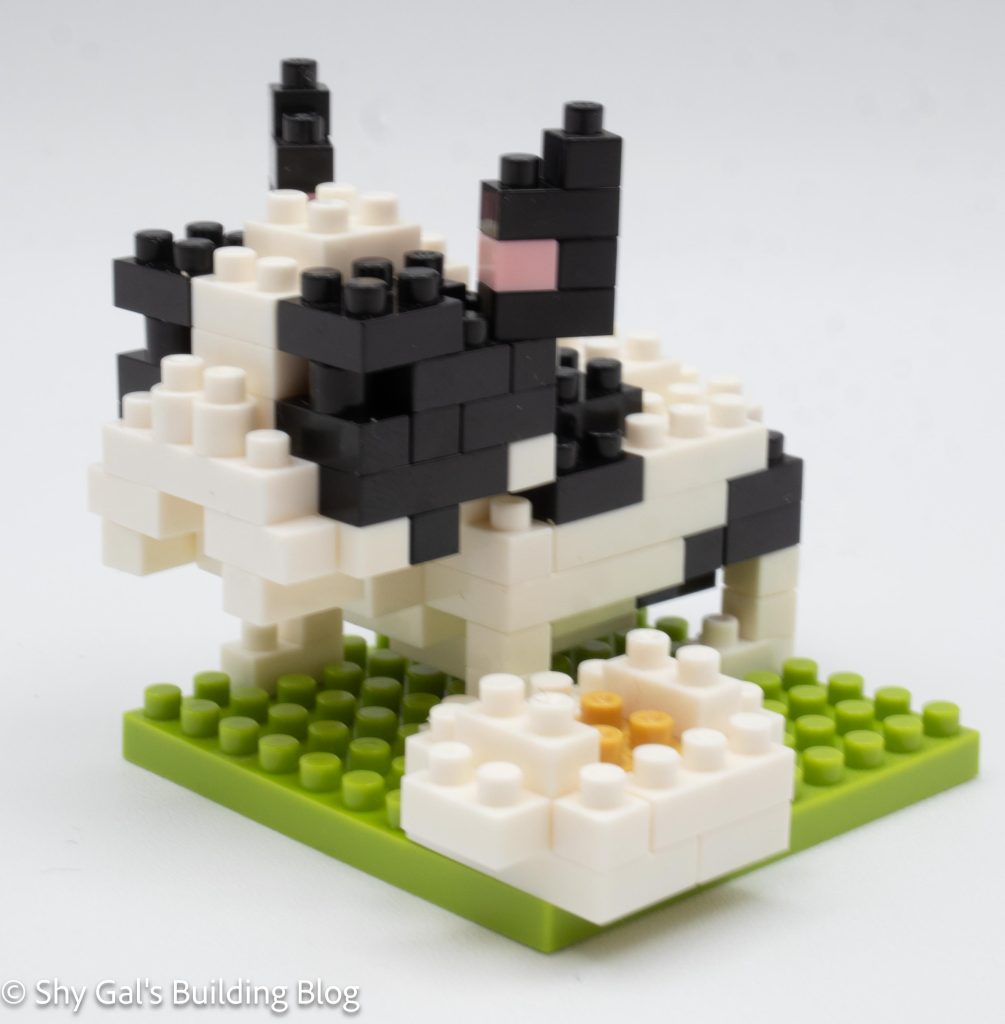
The last section is the little food bowl. Loose bricks represent kibble in the bowl. I don’t like loose bricks in the build, so I placed the bricks in the bowl.
French Bulldog build front 3/4 view

Things I liked:

  • I feel that the shape of the dog’s head makes the build highly recognizable.

Things I didn’t like:

  • The food is supposed to be loose in the bowl. I don’t like loose bricks in final builds.

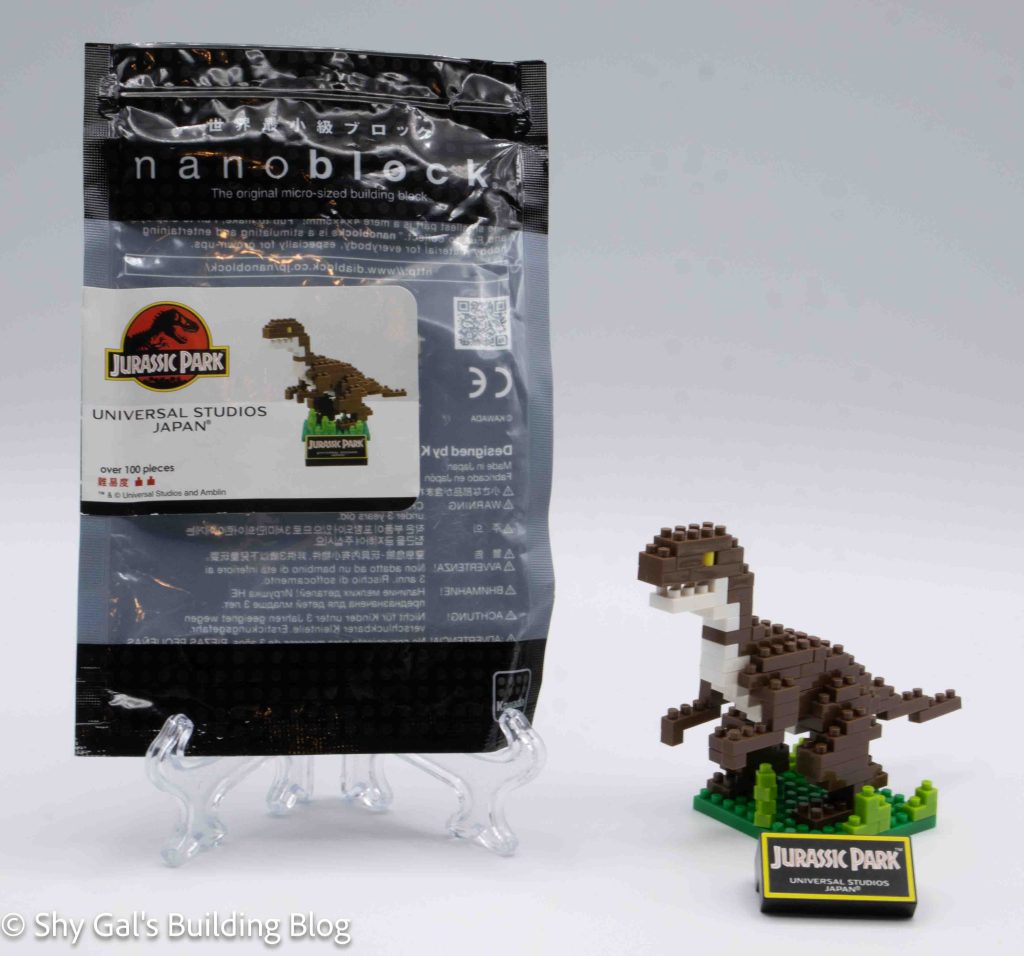
Review of nanoblock Jurassic Park – Velociraptor

Jurassic Park - Velociraptor build and package

This post is a review of the nanoblock Jurassic Park – Velociraptor build. Jurassic Park – Velociraptor is part of the nanoblock Universal Studio Japan collection. Wondering what else is part of the Universal Studios Japan collection? Click here for a list.

Jurassic Park - Velociraptor build front view

Number of Pieces: 100

Difficulty Rating: 2

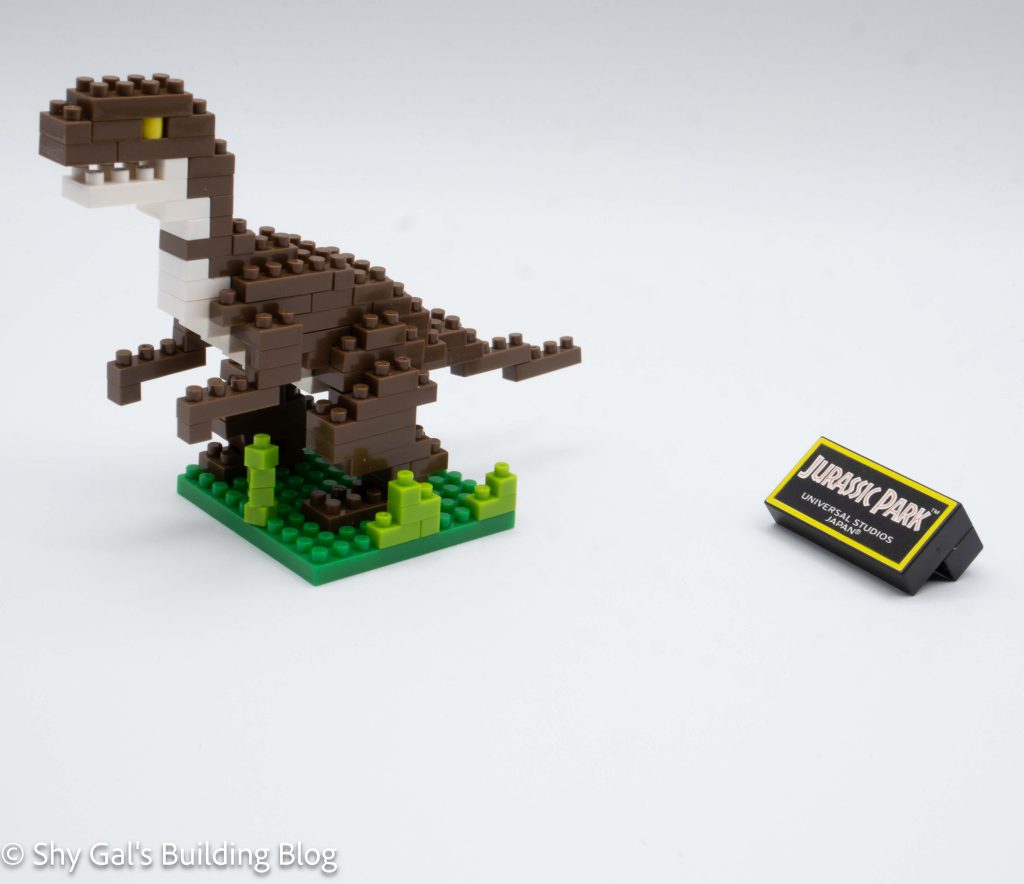
Jurassic Park - Velociraptor build front 3/4 view

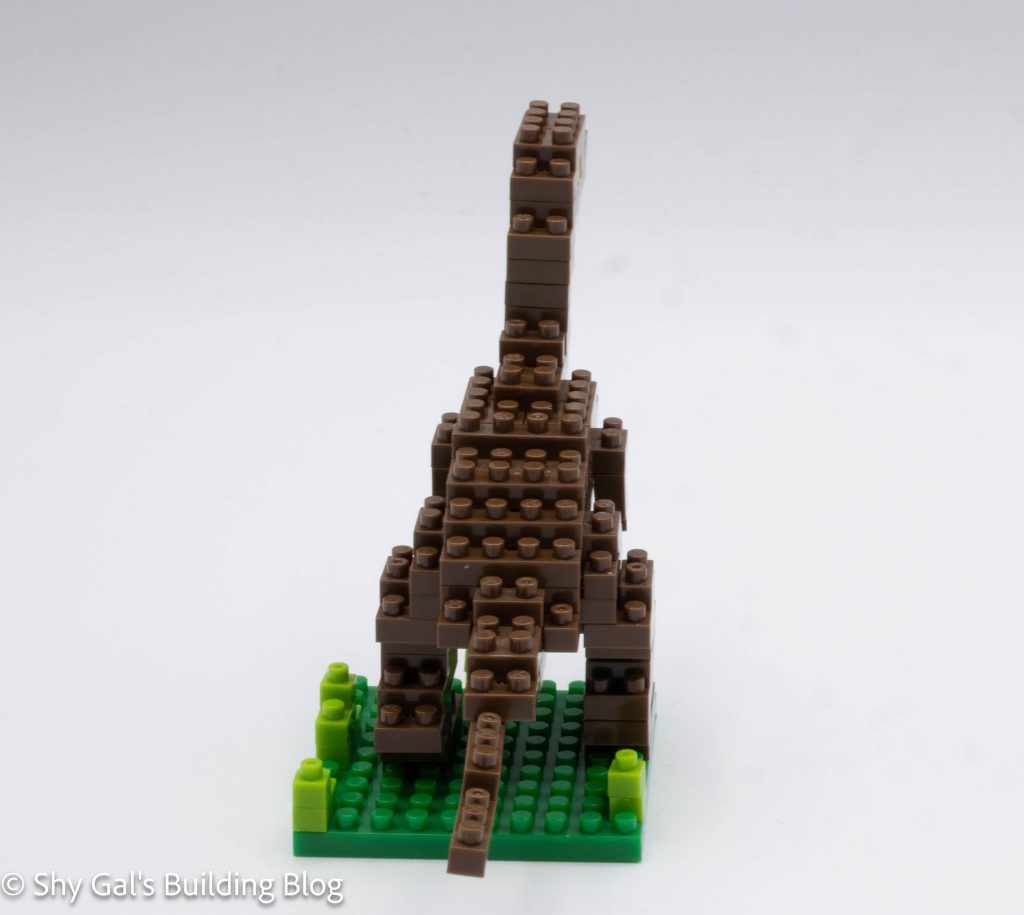
The build begins by building the body of the Velociraptor. I laid the bricks out on my nanoblock pad. The body goes up fairly straightforward layers creating a curve to the body.

The next step is to build is the build. The head is built separately and attached to the body.

The build is now flipped over, and details are added to the bottom of the build. First, some details are added to the bottom, and the arms are added.

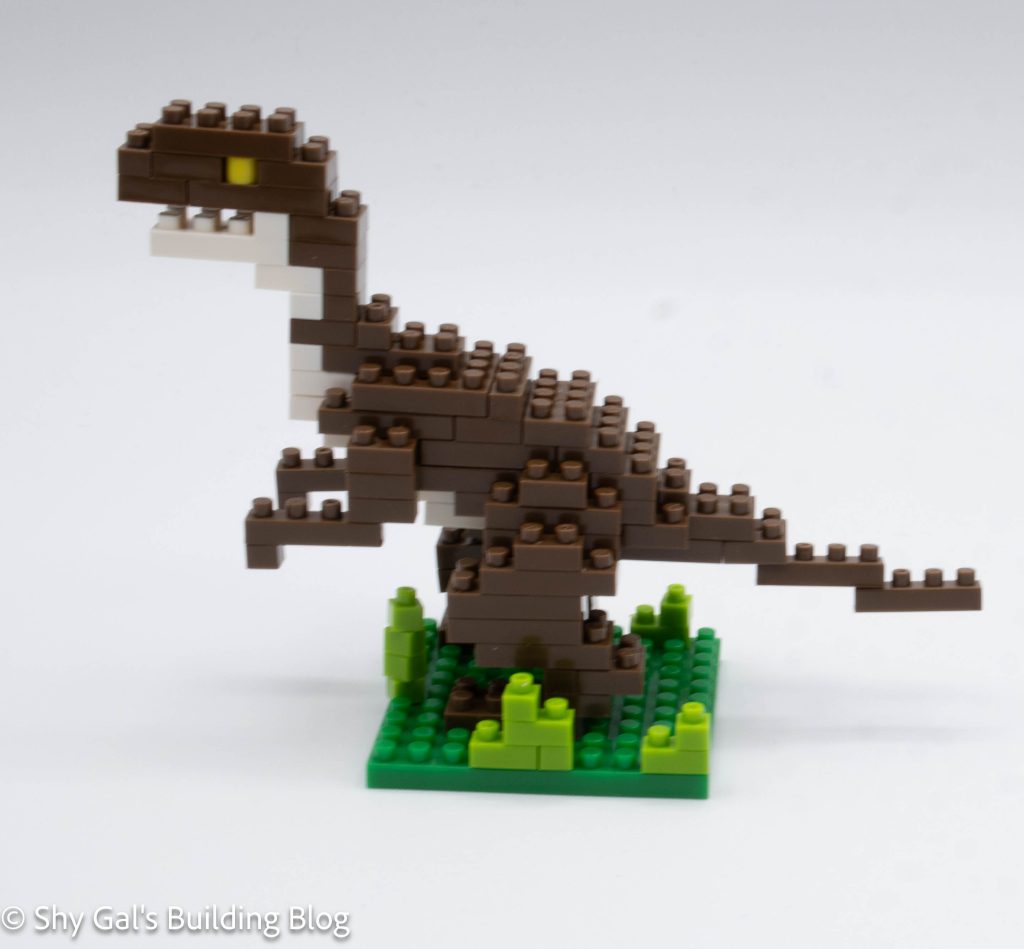
Jurassic Park - Velociraptor build side view

The legs and tail are added. The legs aren’t symmetrical, which was a bit surprising and unexpected.

The velociraptor is then attached to the base. It was a bit tricky to get the dinosaur to stand on the base. I ended up popping off the bottom of the legs and placing the feet on the base. Then I added the grass around the dinosaur.

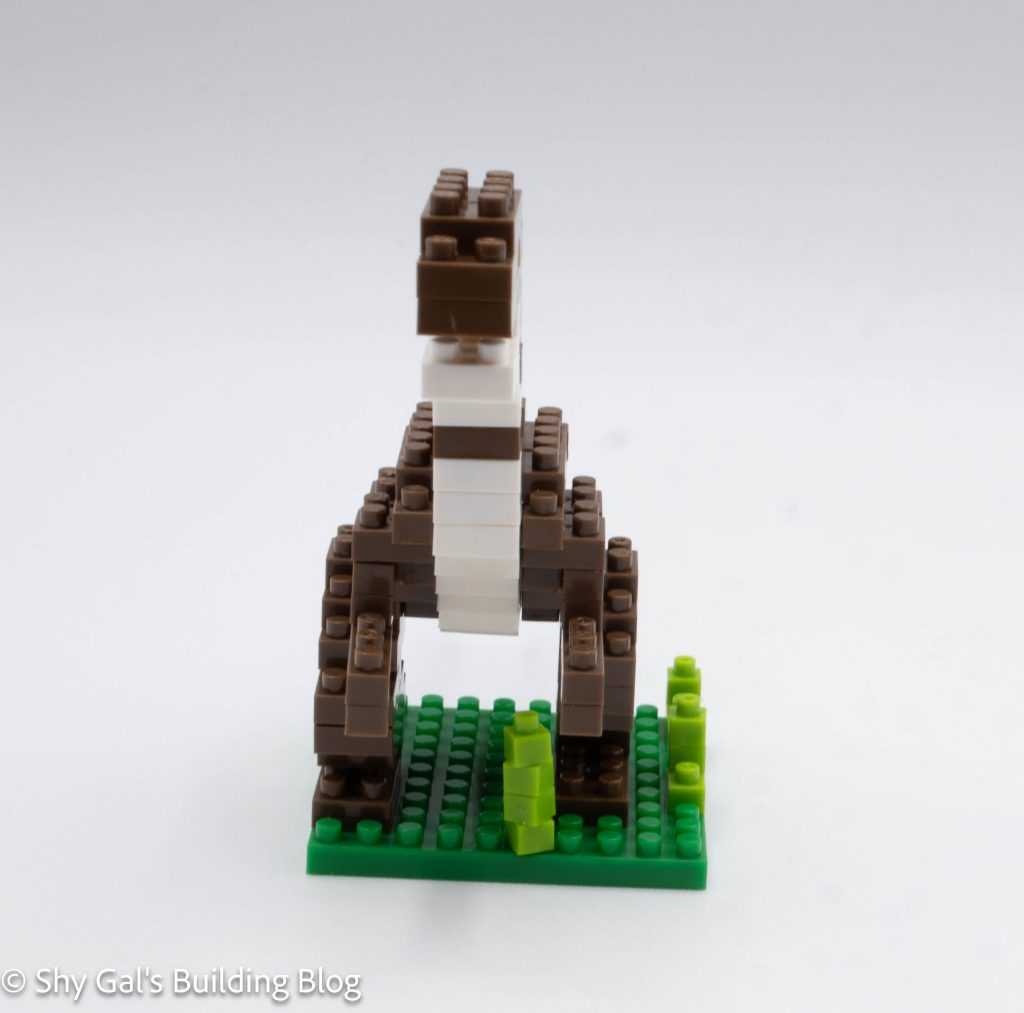
Jurassic Park - Velociraptor build back view

Things I liked:

  • I like the sign that comes with the kit. It was just 1 large brick, so the sticker lay smoothly

Things I didn’t like:

  • I feel that the grass isn’t really needed for the finished build

Review of nanoblock Rabbit NBC_030

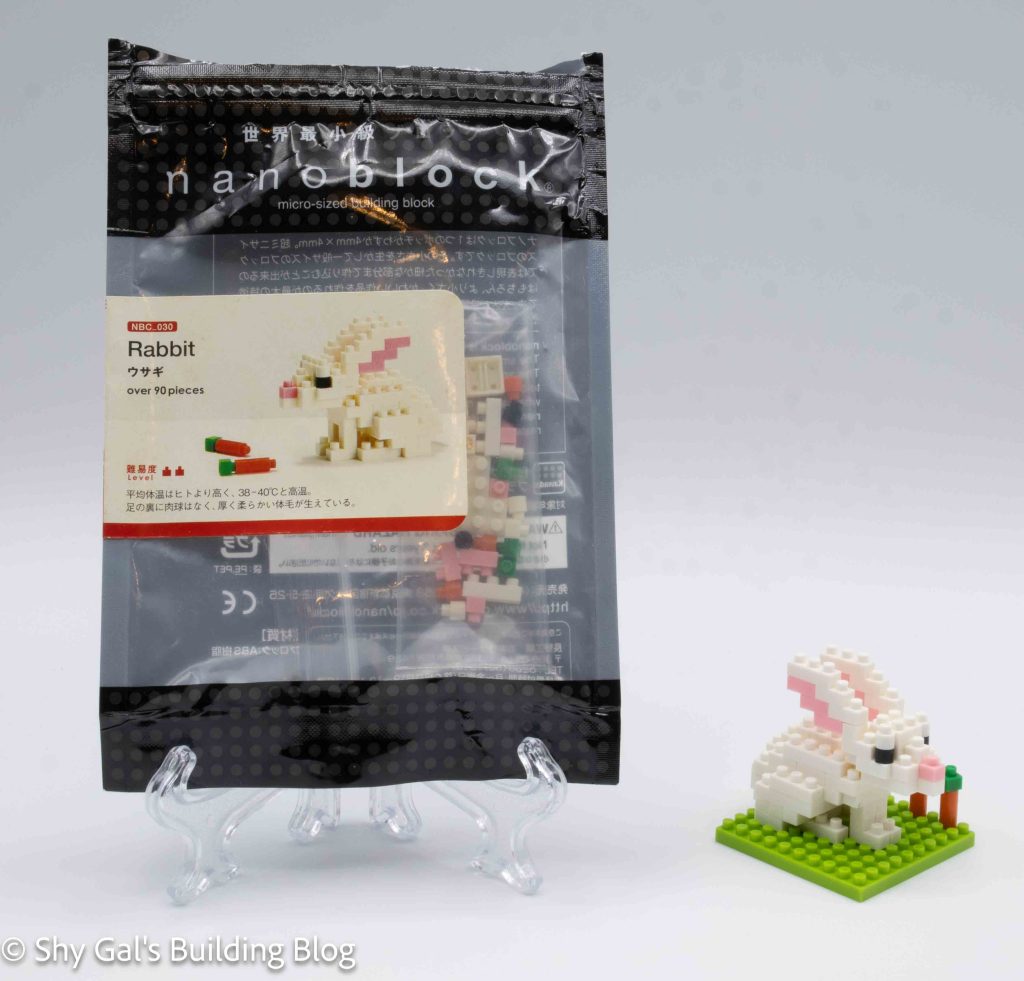
Rabbit Build and package

This post is a review of the nanoblock Rabbit build. Rabbit is part of the nanoblock Mini Collection series. Wondering what else is part of the Mini Collection? Click here for a list.

Number: NBC_030 

Number of Pieces: 90

Difficulty Rating: 2

This kit was re-released as part of the Zodiac Set. It is the kit with the lowest number in the Zodiac, so the cycle started with the rabbit.

Rabbit build front view

I bought this kit used, knowing I would at least get the instructions. I also ended up getting all the bricks to complete the kit. Sadly, however, the white has become yellow with age. The discolored bricks may be visible in my photographs.

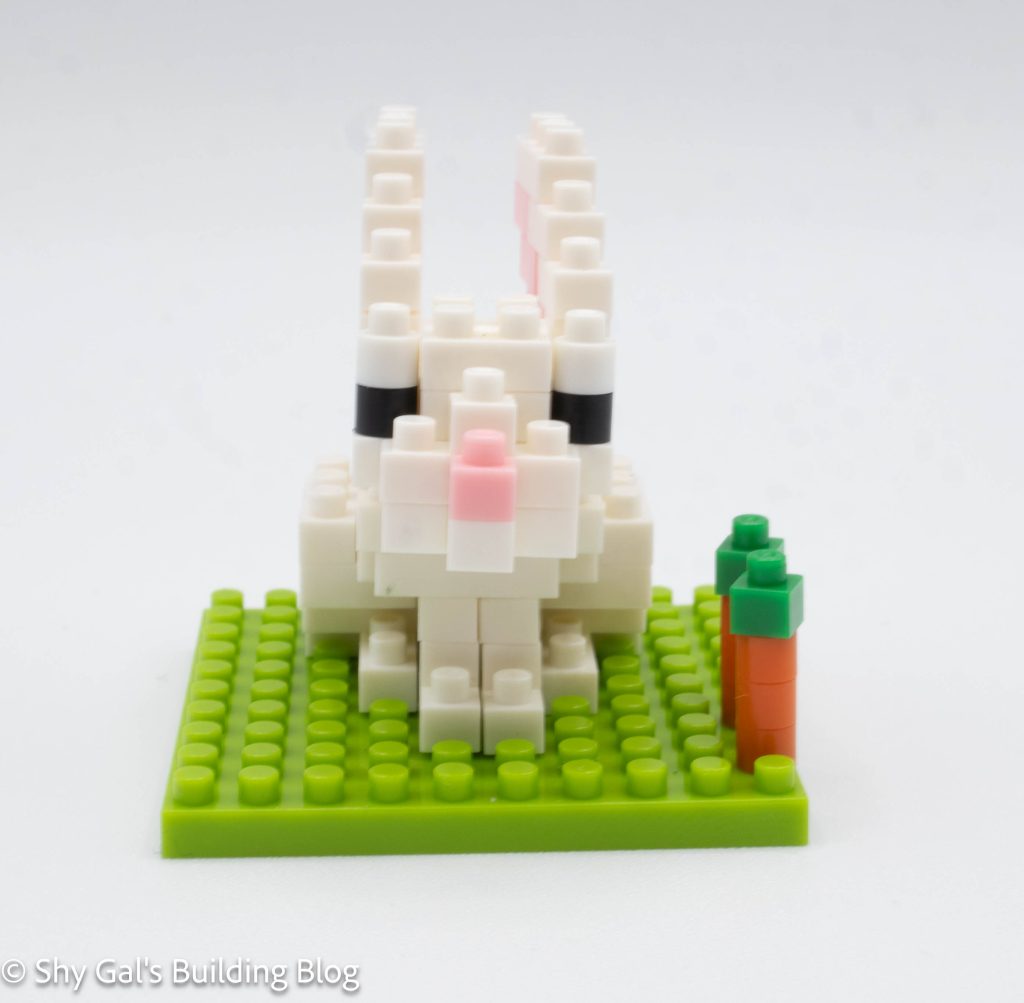
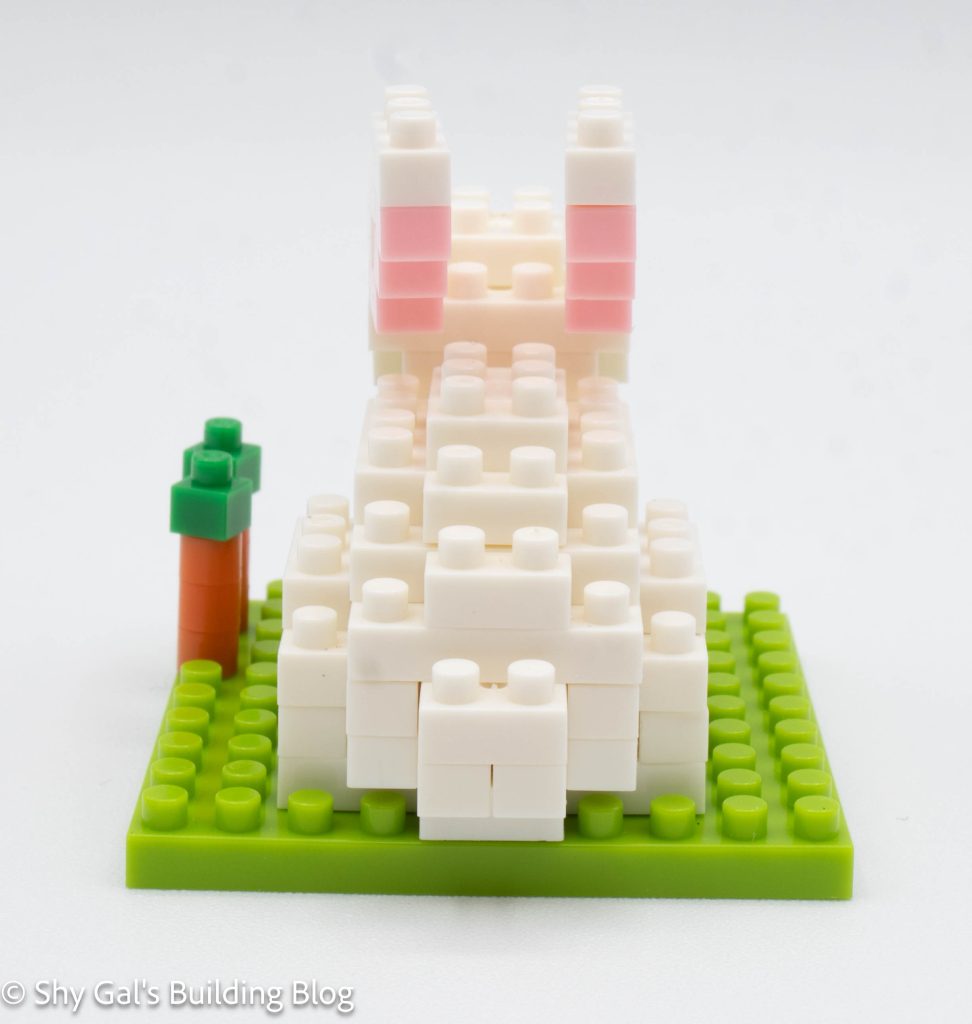
The rabbit began with a layer of white bricks that I laid out on my nanoblock pad. The body of the rabbit goes up in fairly straightforward layers.

Rabbit build side view

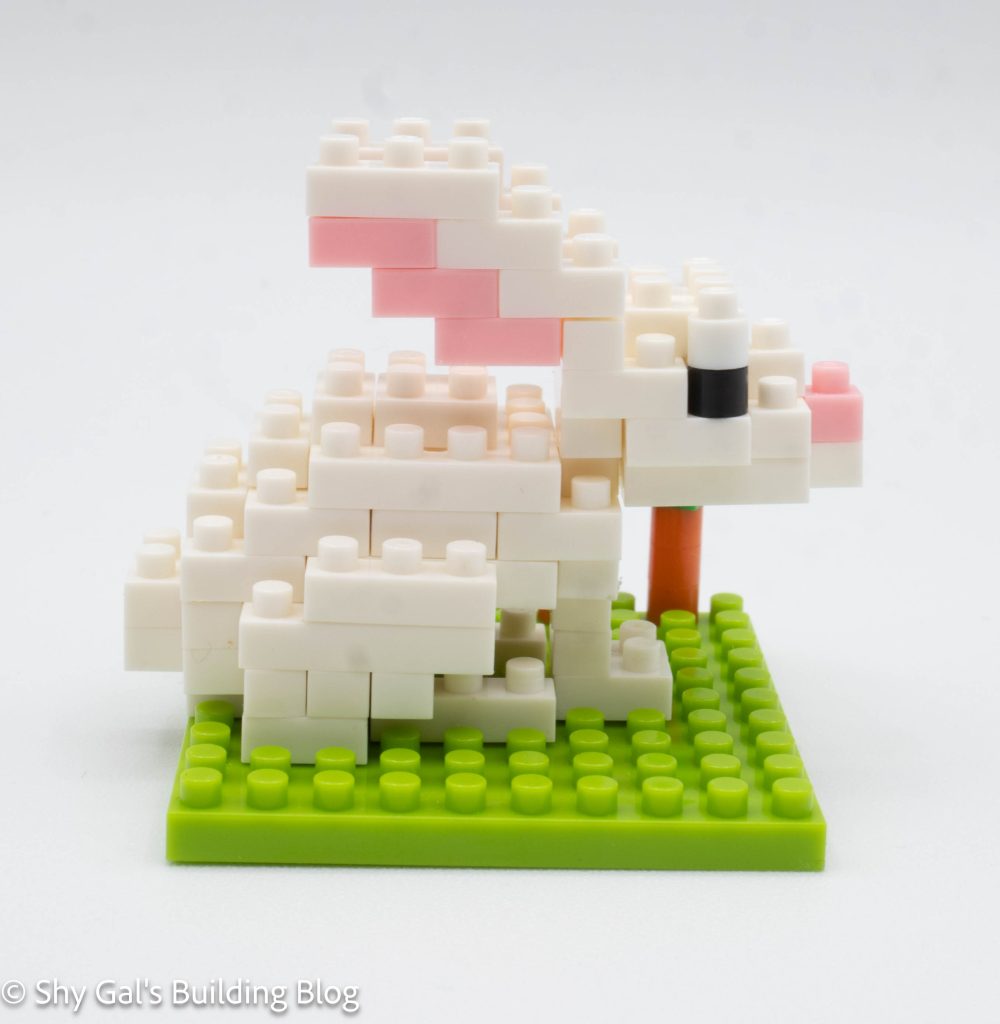
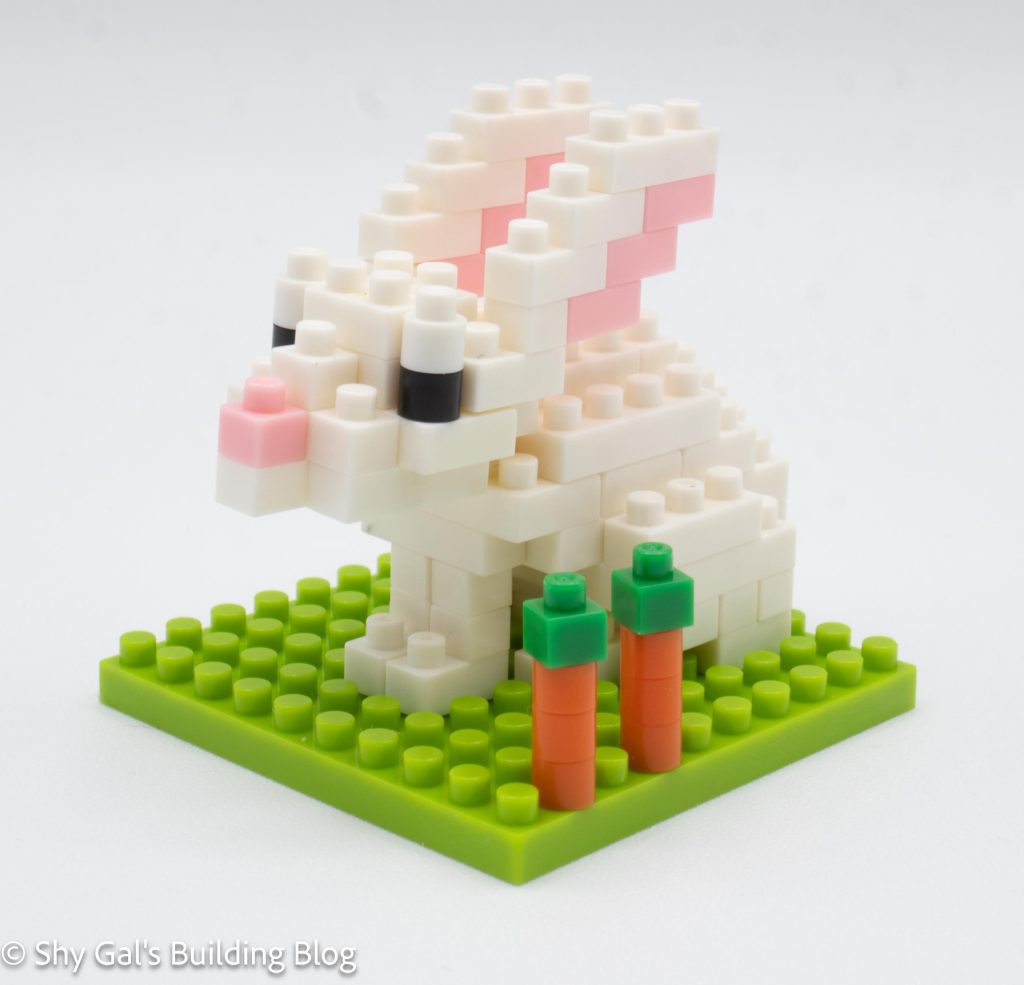
The front legs are then attached to the front of the build. Since I wanted to put the rabbit on the base I needed to put the feet together so that the paws were properly spaced for the base. After attaching the front legs, I put the body of the rabbit on the base.

The next section to build is the head. The head is straightforward, with very clear directions. The head is then attached to the body.

Rabbit build back view

The final step is to add the ears of the rabbit.

There are materials to build 2 carrots. I reversed the carrots so that they could stand on the base because I didn’t want loose carrots on the base of the build.

Rabbit build front 3/4 view

Things I liked:

  • I like the shape and how recognizable the build is

Things I didn’t like:

  • I don’t like that there are supposed to be loose carrots in the build. I was able to find a workaround for this build

Review nanoblock Zodiac Set NB-055

In 2022, nanoblock completed a set of Chinese Zodiac animals, which was the year of the tiger. The collection began with the year of the Rabbit. Each year, they release an animal that matches the Chinese Zodiac animal for the current year. I was super excited they put this collection together because several builds weren’t common.

I’ve written a review for each of the separate NBC builds instead of a review for the set as a whole. There is a link below for each review.

Number: NB-055

Number of Pieces: 2020

Difficulty Rating: 3/5

Based on the back of the box, the following sets are included in the set:

  • NBC_301 – Rat and Lucky Mallet
  • NBC_330 – Ox
  • NBC_361 – Tiger
  • NBC_030 – Rabbit
  • NBC_044 – Dragon
  • NBC_066 – White Snake
  • NBC_101 – White Horse
  • NBC_128 – Mother Sheep and Baby Lamb
  • NBC_162 – Mother and Baby Monkey
  • NBC_207 – Rooster
  • NBC_237 – Dog
  • NBC_285 – Boars (Pigs)

Things I liked:

  • I’m super happy they released this collection. I had tried to collect the zodiac but had a hard time finding some of the pieces. It was nice that a complete set was released.

Review of nanoblock Electric Guitar Red NBC_037

Electric Guitar Red build and package

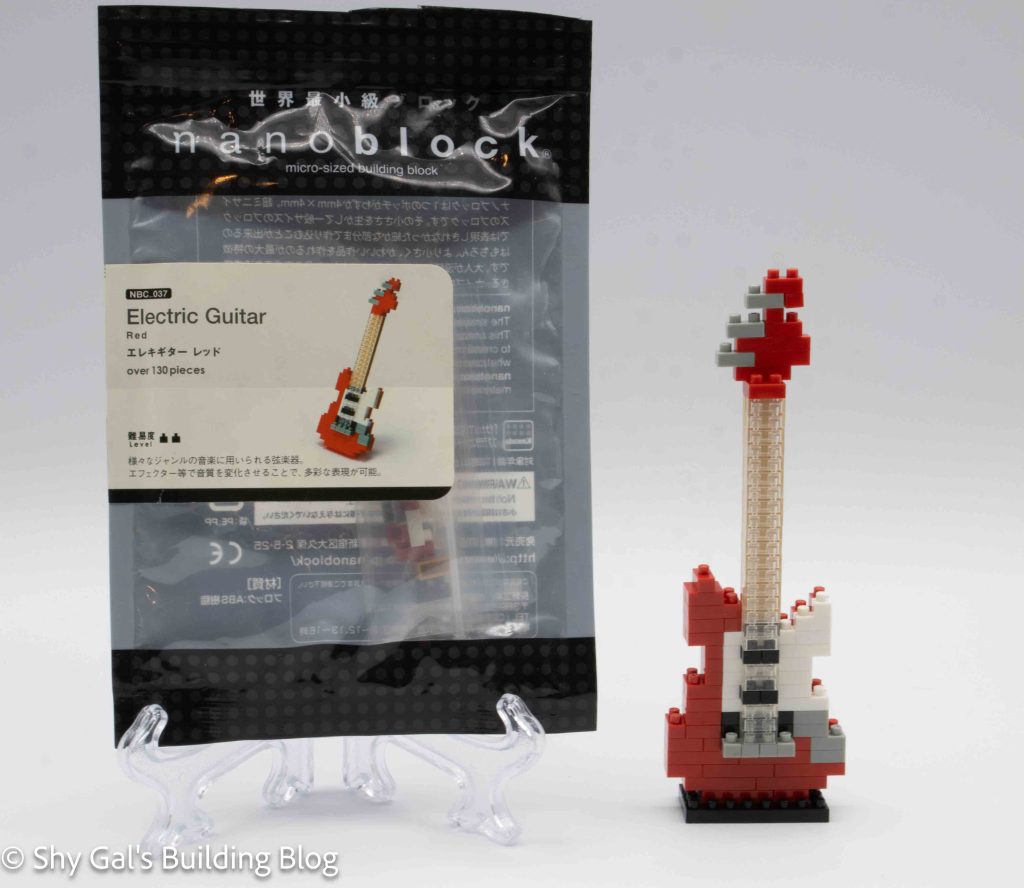
This post is a review of the nanoblock Electric Guitar Red build. Electric Guitar Red is part of the nanoblock Mini Collection series. Wondering what else is part of the Mini Collection? Click here for a list.

Number: NBC_037

Number of Pieces: 130

Difficulty Rating: 2

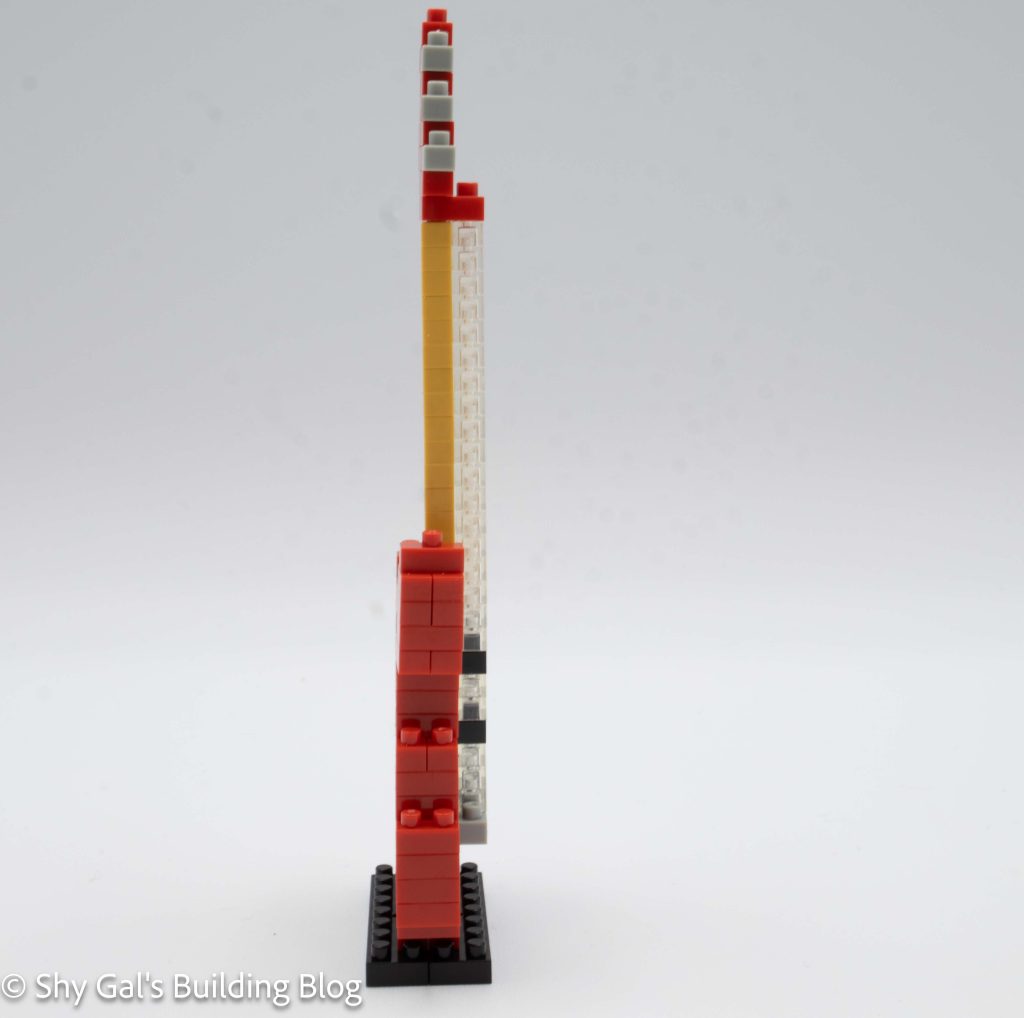
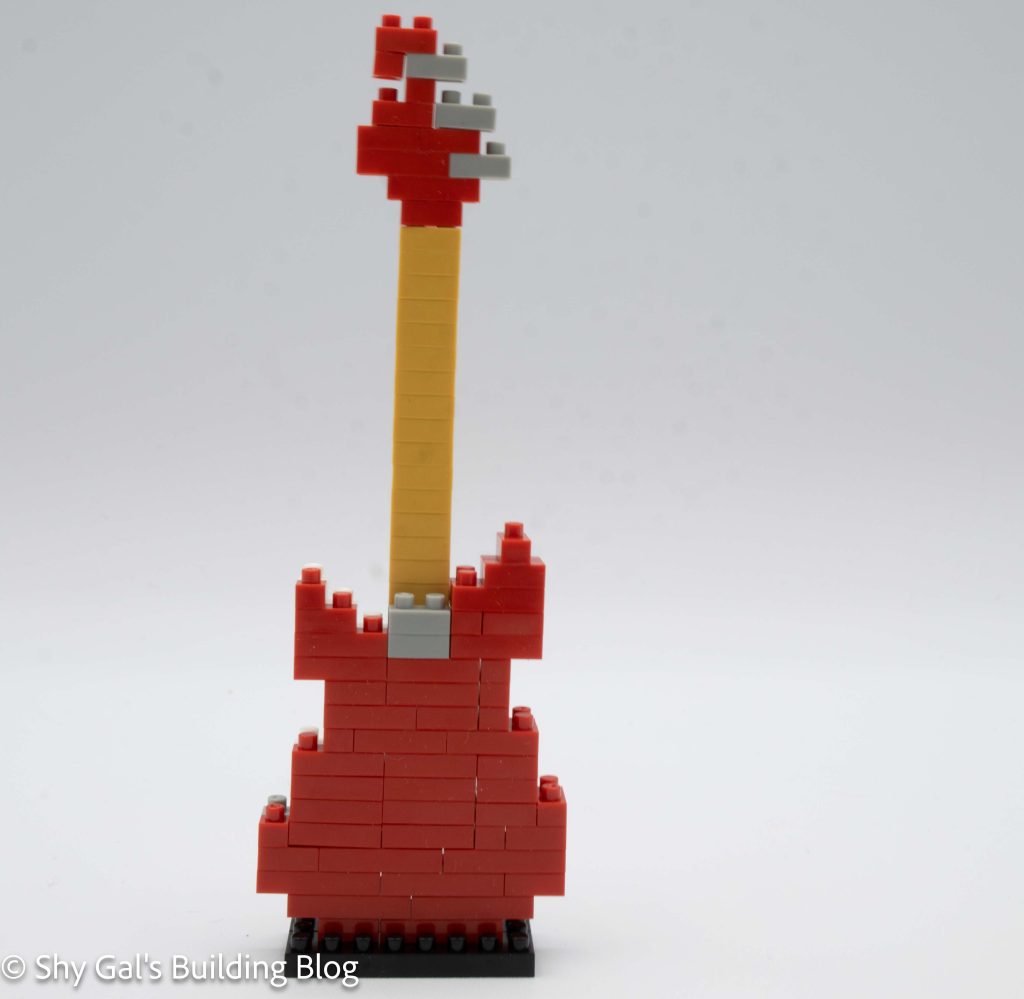
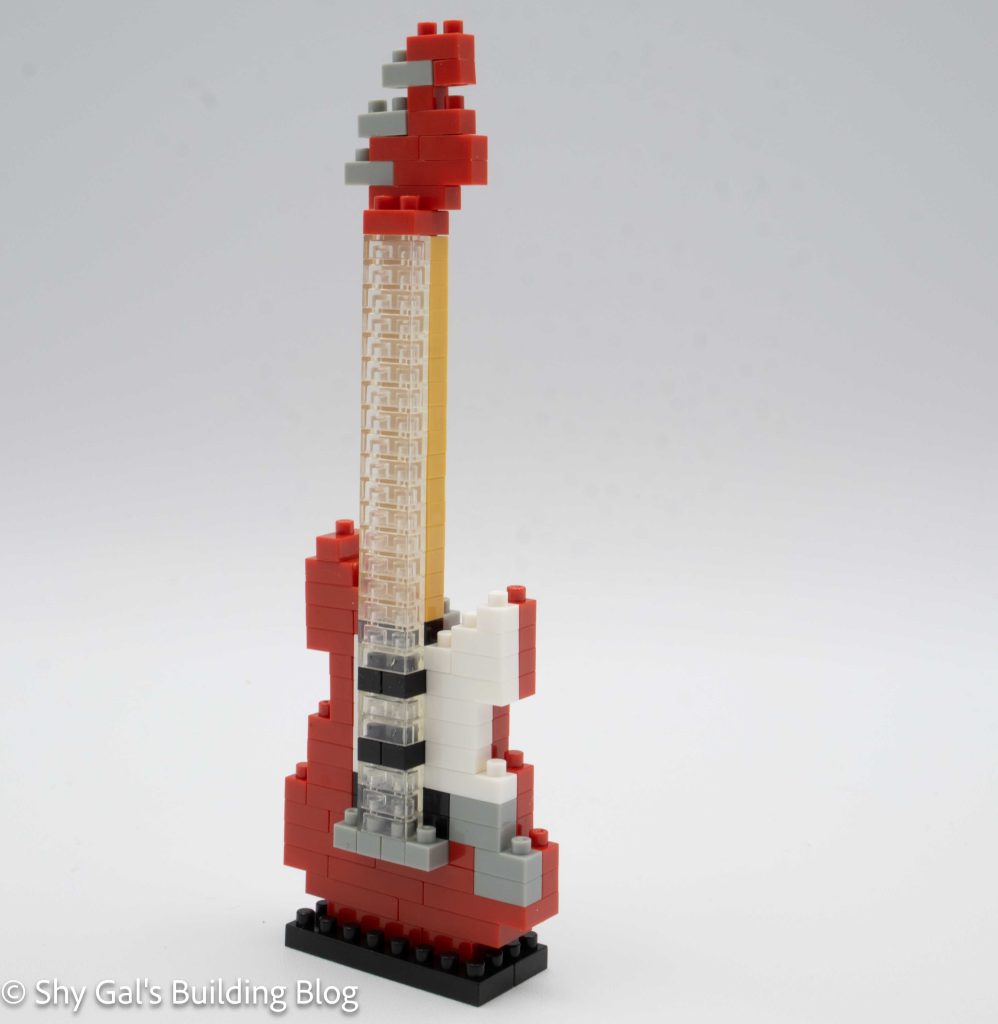
Electric Guitar Red build front view

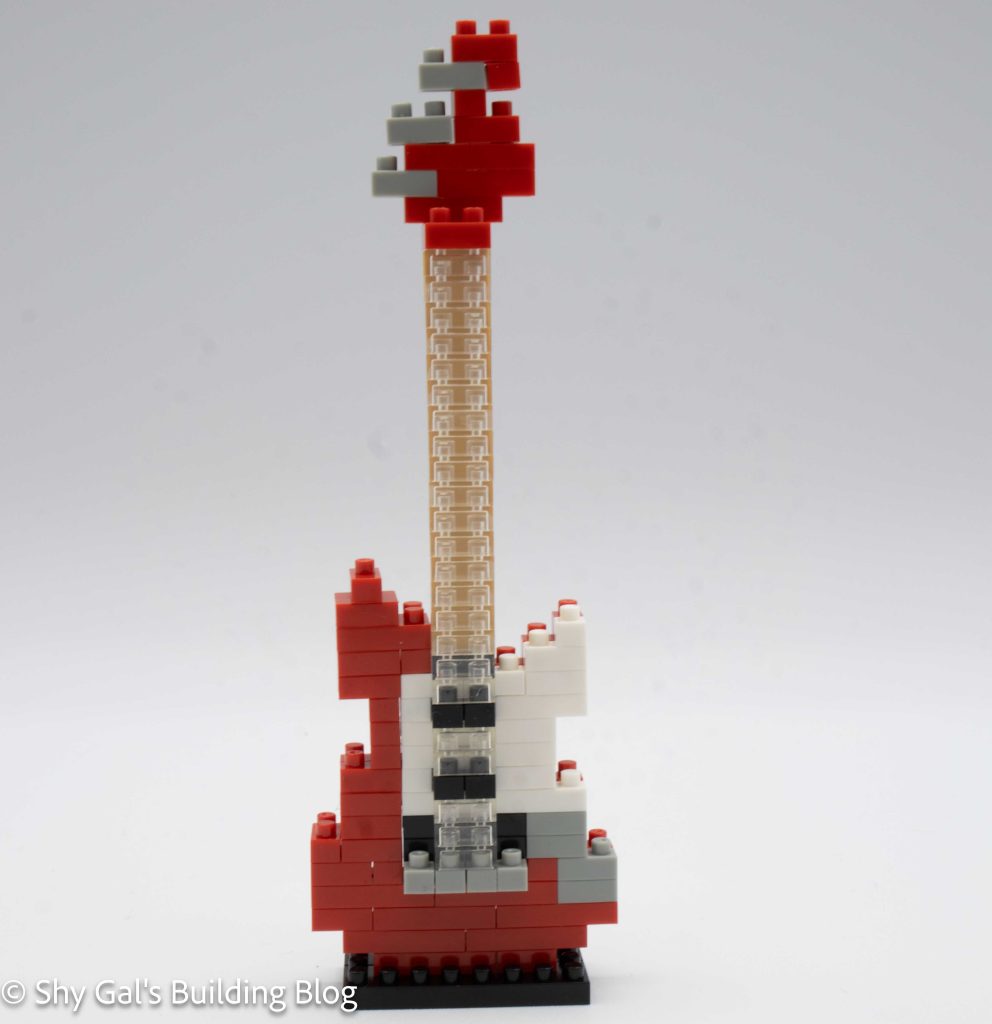
This build is simply a tower of bricks that are 2-3 bricks deep. This allows there to be some depth and detail but to still have the trim body of an electric guitar.

Electric Guitar Red build side view

The build begins with the base of the guitar. The build then goes up in layers to create the body of the guitar. I needed to be careful to make sure I completed each layer correctly. It was a bit tricky to tell exactly which brick to use.

Electric Guitar Red build back view

After building the body, the neck is added. The neck is two 16 brick towers, one clear and one golden yellow.

The last step is to build the head of the guitar. It was fairly straightforward and simple to build. I don’t really like how the finished neck looks on the finished guitar.

Electric Guitar Red build front 3/4 view

Things I liked:

  • I really like that the build came with a pair of bricks to create a base for the guitar

Things I didn’t like:

  • I don’t really like how the head of the guitar looks

Review of nanoblock Mega Man NBCC_132

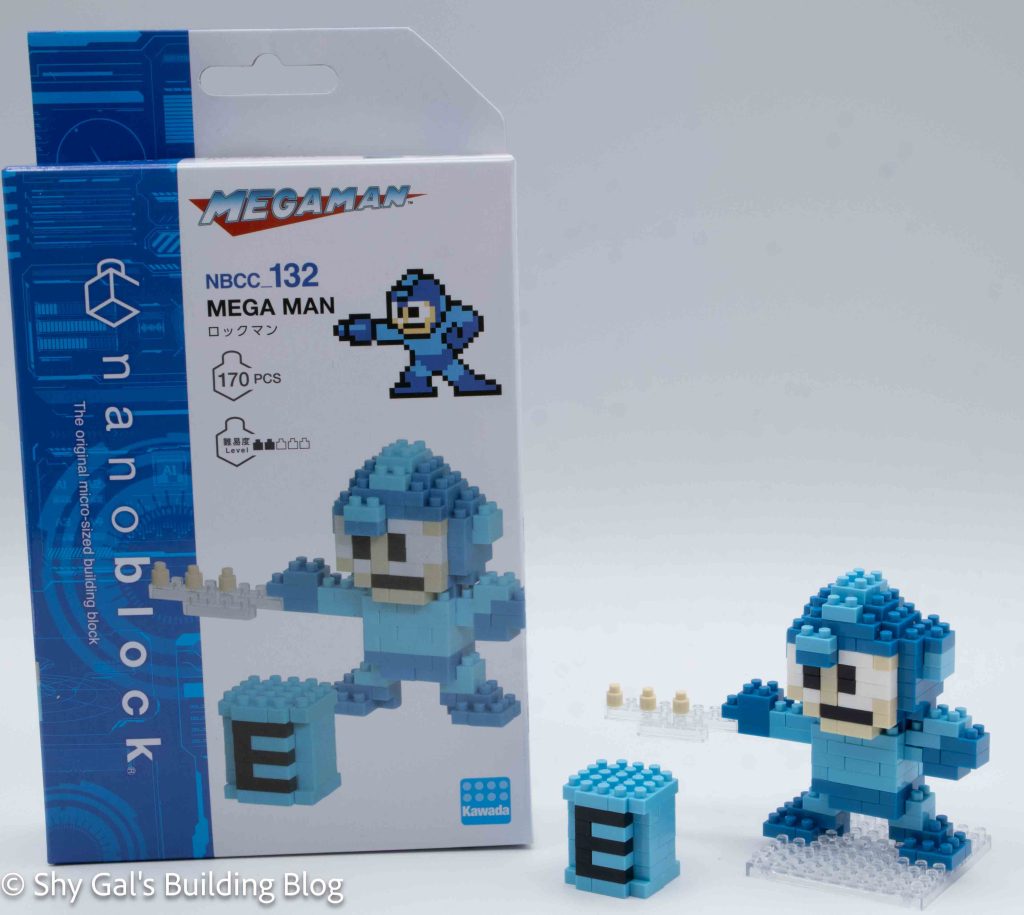
Mega Man build and box

This post is a review of the nanoblock Mega Man build. Mega Man is part of the nanoblock Character collection. Wondering what else is part of the Character collection? Click here for a list.

Number: NBCC_132 

Number of Pieces: 170

Difficulty Rating: 2/5

Mega Man build front 3/4 view

Mega Man is the main hero of the Mega Man video games. The original game came out in 1987. For more information about him, check out his Wikipedia article here.

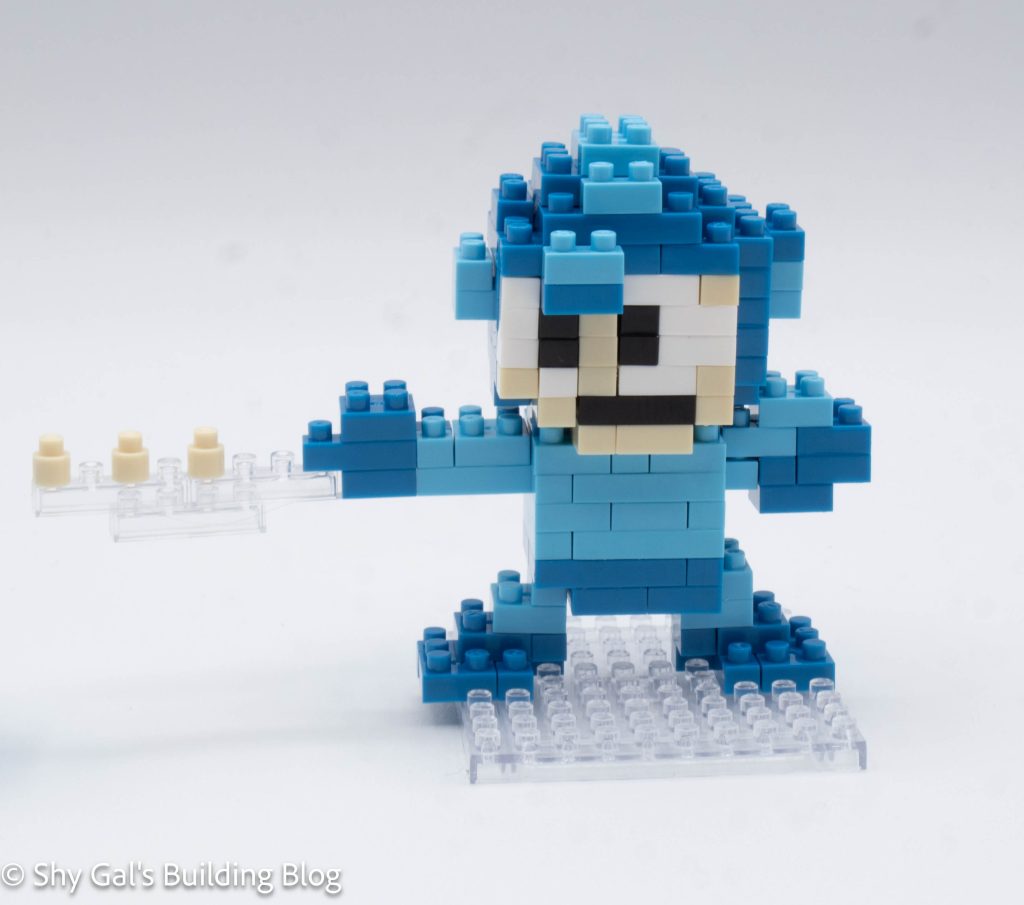
Mega Man is broken into 2 parts. There is Mega Man and an Energy Tank.

Mega Man

Mega Man build front view

The actual Mega Man build is broken up into 4 sections. There is the head, the body, the base, and the shots.

The head goes up in generally straightforward layers. The front builds up a pixilated face, and the rest of the way around builds his helmet. Building the head is a bit tricky because of the face. The face is built with several stacks of single bricks, so it is easy to pop a column out of place and tricky to keep things lined up.

The body begins with a square of dark blue. The body goes up in several layers. Unlike many nanoblock builds, Mega Man isn’t square because he is turning backward, so the body layers aren’t square. The body is finished by adding the arms. One arm is curved under his body, and the other is going backward, held out to shoot.

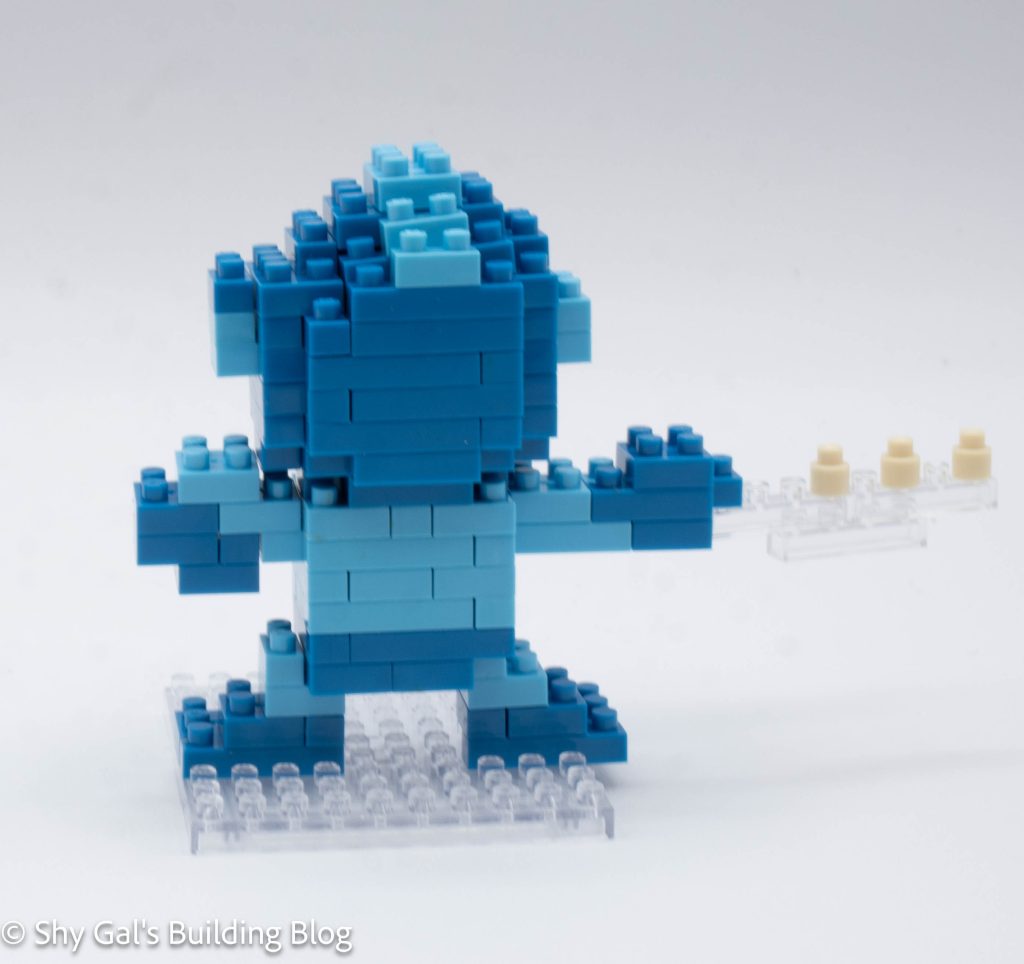
Mega Man build back view

The shots are extremely straightforward. They are a chain of clear bricks with the shots on top of the chain.

The last section is the base. The feet are laid out on the base. The legs are then added in layers to the feet.

The next step is to put the 4 sections together. There is a great side-view diagram to get the base, body, and head lined up properly. The last step is to attach the shots to the outstretched arm.

Energy Tank

Energy Tank front view

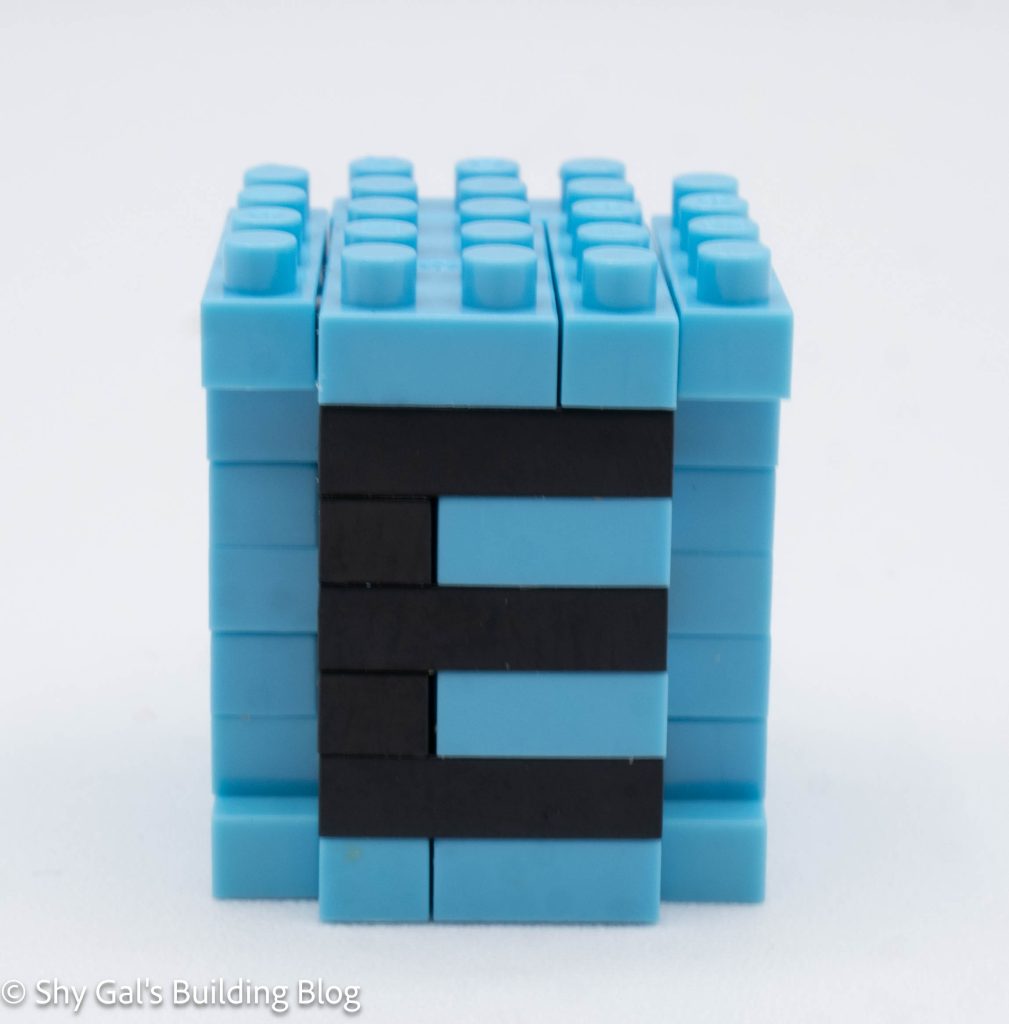
The energy tank is a simple collection of layers to build the tank. The only challenge is that you can’t build it on the nanoblock pad because the base layer isn’t square.

Things I liked:

  • I like that he isn’t square and sifted on his hips

Things I didn’t like:

  • I don’t love the face because the eyes are so big, but it does look like the original pixel video game image