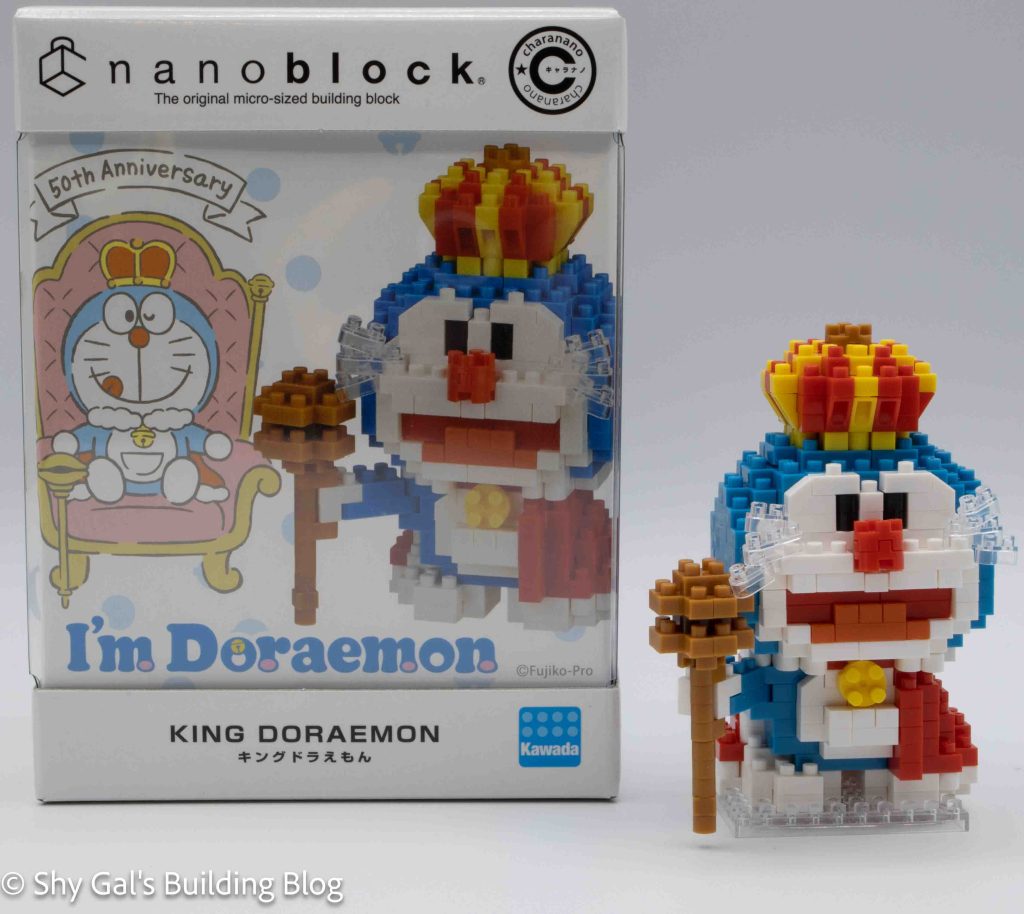
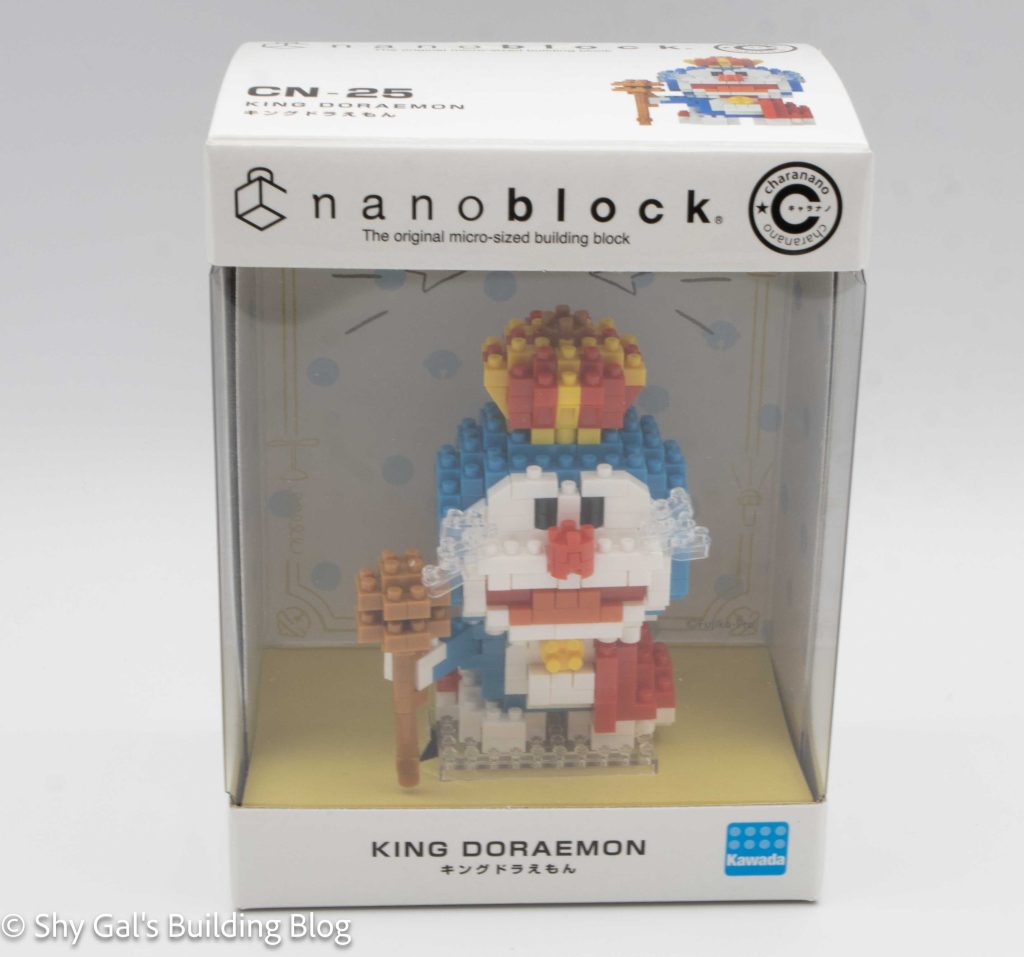
This post is a review of the nanoblock King Doraemon build. King Doraemon is part of the nanoblock charanano collection. Wondering what else is part of the charanano collection? Click here for a list.
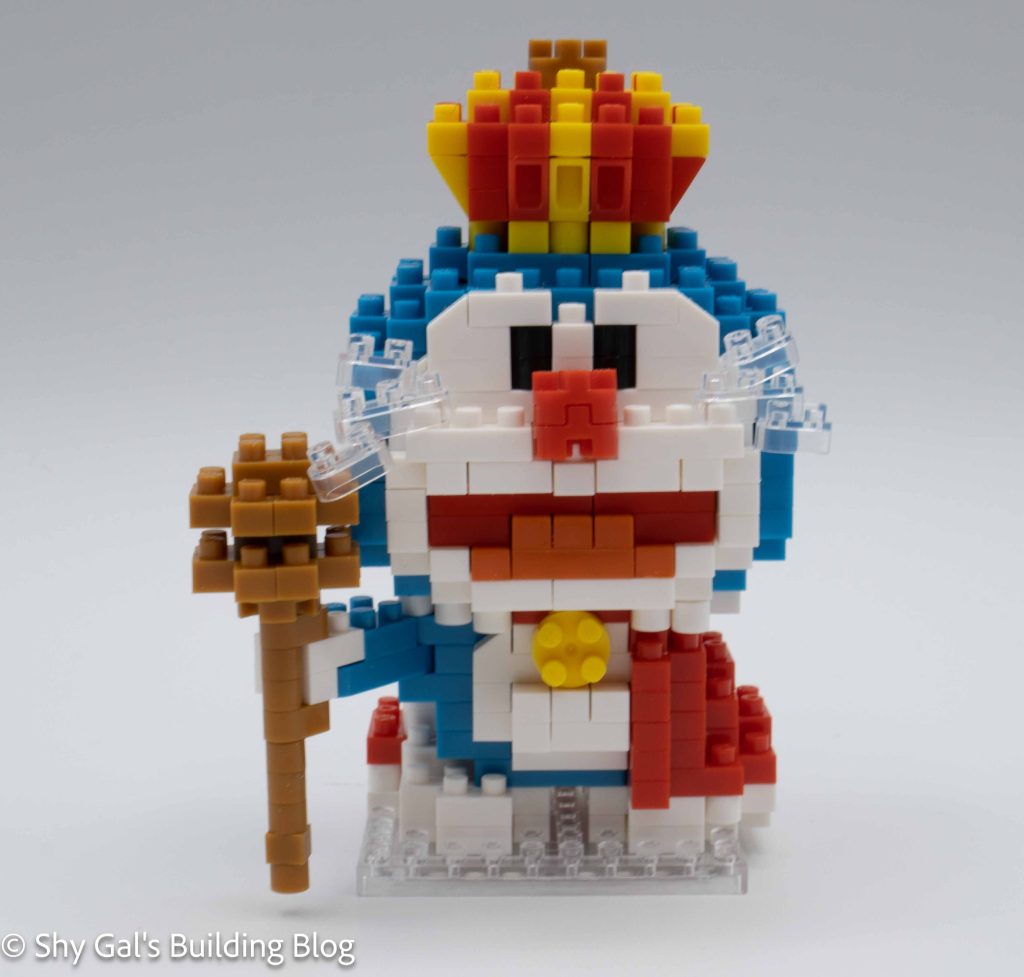
Number: CN-25
Number of Pieces:
Difficulty Rating: 2/5
Doraemon is a robot that comes from the future. There is a line of builds featuring several different characters from the anime in the character line. King Doraemon is for the 50th anniversary of Doraemon and is part of the charanano line, which is unique because of the display boxes.
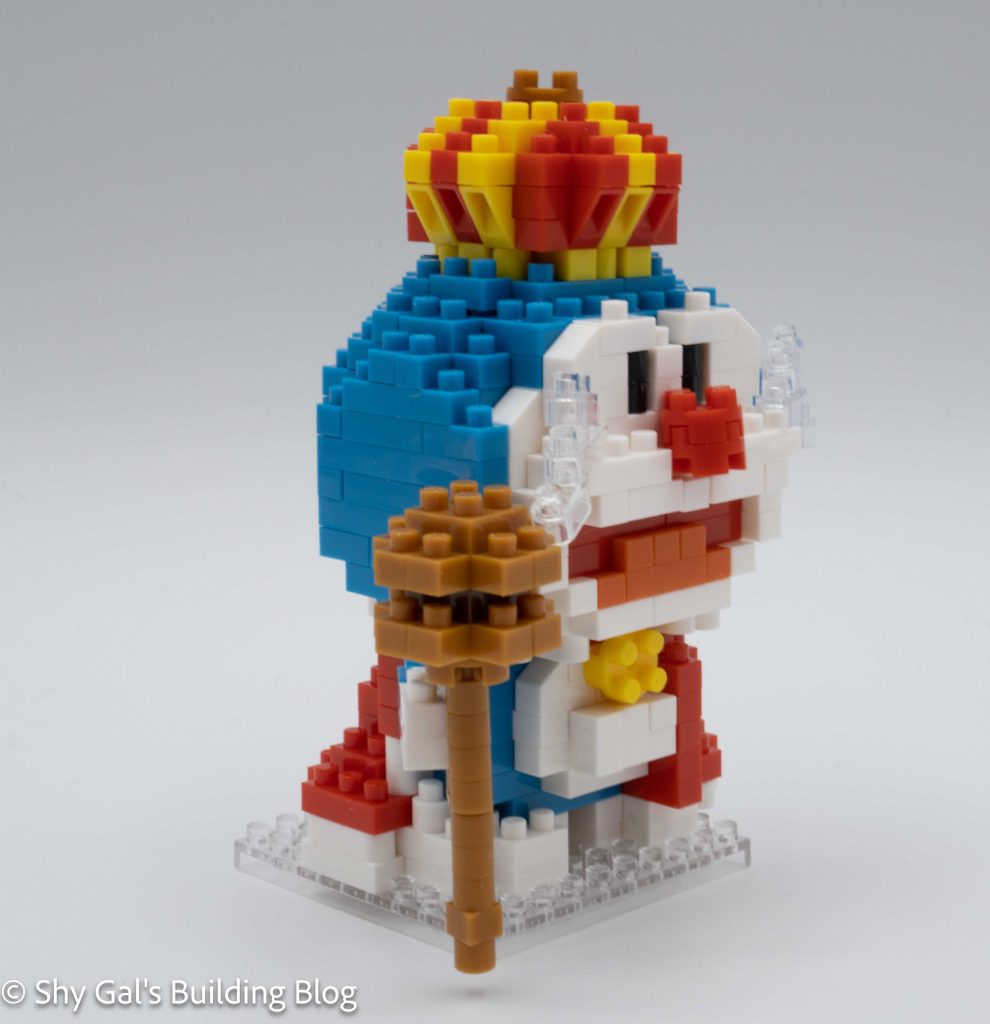
I really like this build because it has an asymmetrical shape for the body. The build begins with a clear base and an outline of white bricks. You then add a layer of white bricks. It is hard to tell which bricks are part of the new layer and which were in the previous layer when you are laying white bricks throughout the build. In the third step, you add Doraemon’s blue and the cape’s red. You continue to layer up the red, white, and blue to create the build adding various details. In step 6, you add the outstretched right arm and held it in place with 1 stud. The one stud is locked in place in the next layer, so it is sturdy in place. Because the brick from Step 6 is curved, you can angle the arm as you want. The next major step after adding on the arm creating and attaching the scepter. I found this step tricky because the bottom was so flimsy it kept breaking off as I continued to build. I ended up waiting until the end to attach the scepter so that it wouldn’t fall off. The final step for the body is to connect the bell on the front of Doraemon.
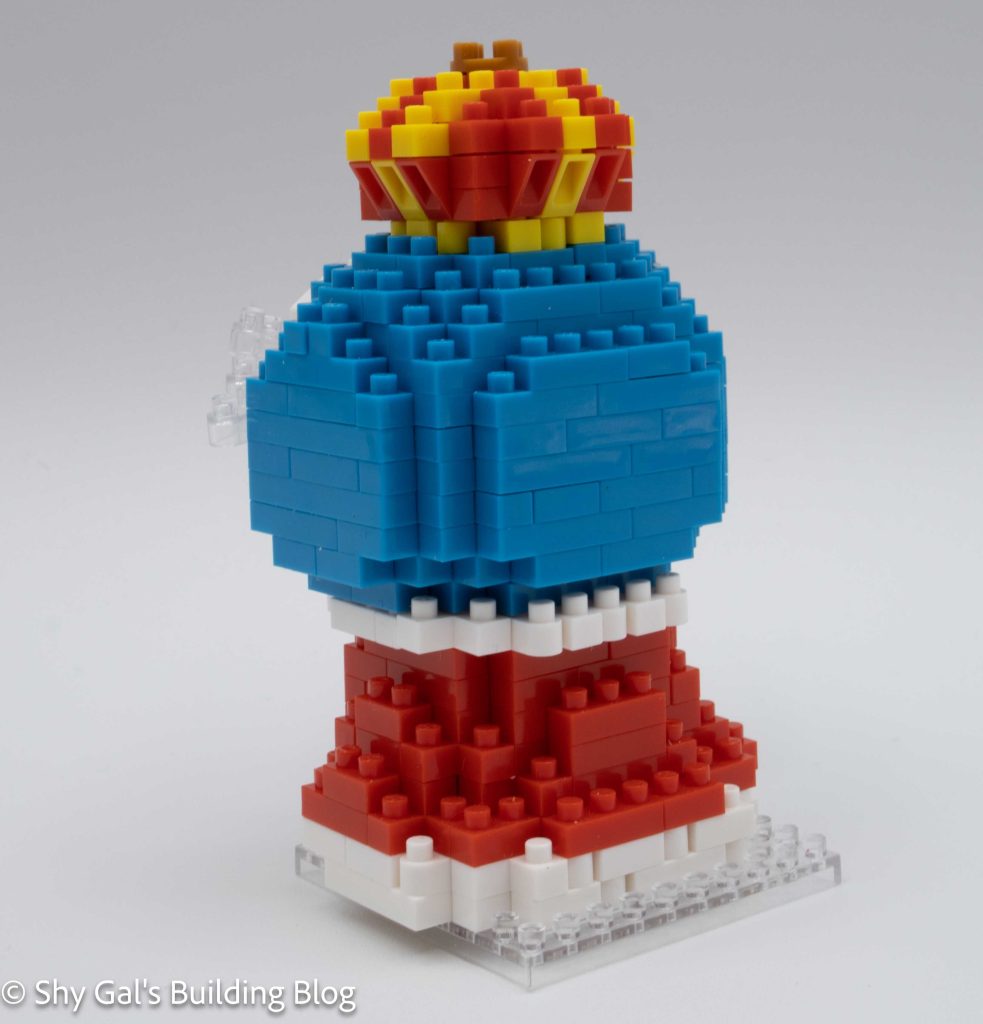
The next major part of the build is to build the head. You begin with a ring of blue and white bricks. You add layers of blue and white along with pink and red for the mouth. You continue to add layers, adding facial details and slowly closing up the head. After closing up the head, you add the crown. You add yellow and red that curves up and flatten out to create a crown. You add a final brown brick at the top of the crown. Since the head is completed, you can now attach the head to the body. Once connected, you add Doraemon’s whiskers as the final step of the build.
Now that you have the completed build, it’s time to get it into the case. This build is more complicated than the other charanano builds because the bottom of the robe flows over the edge of the base brick. This means that the cardboard doesn’t curve down over the build.
Things I liked:
- The fact I can position the arm
Things I didn’t like:
- Getting the scepter to attach properly is difficult.