Review of nanoblock Son Goku CN-38

Son Goku build and box

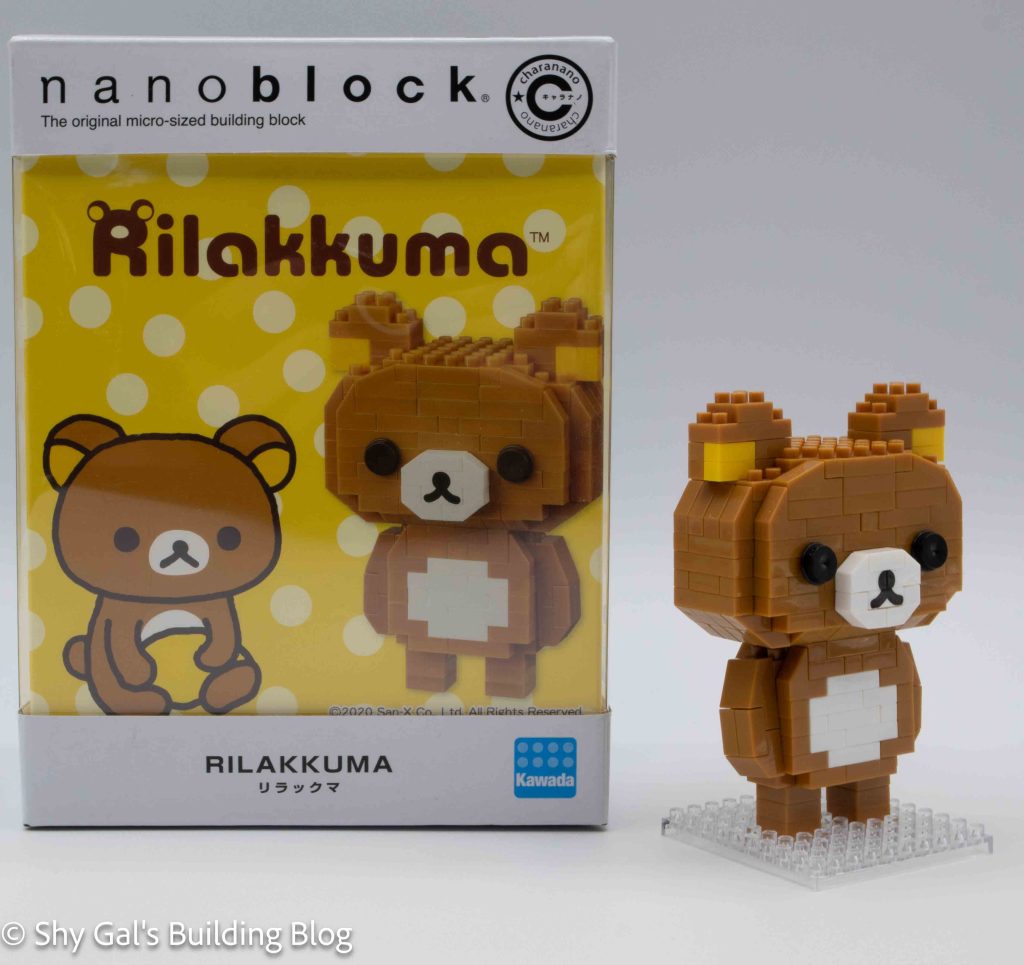
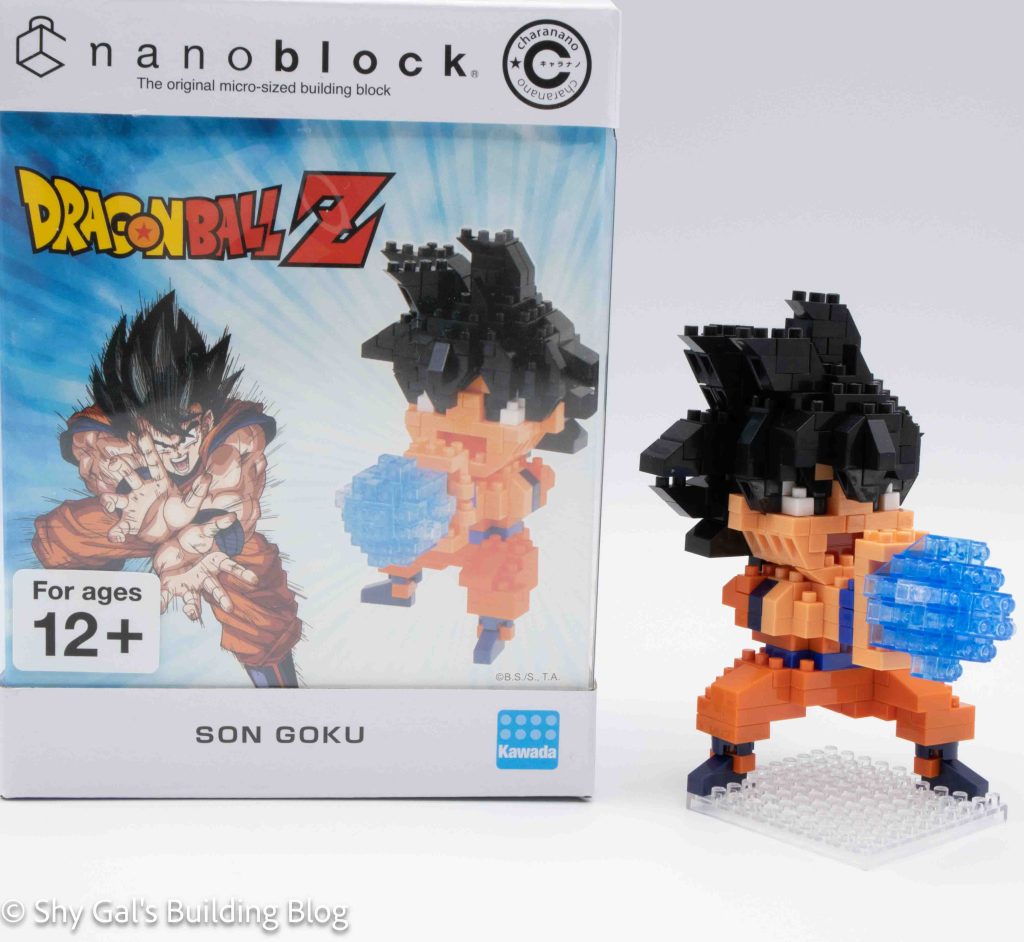
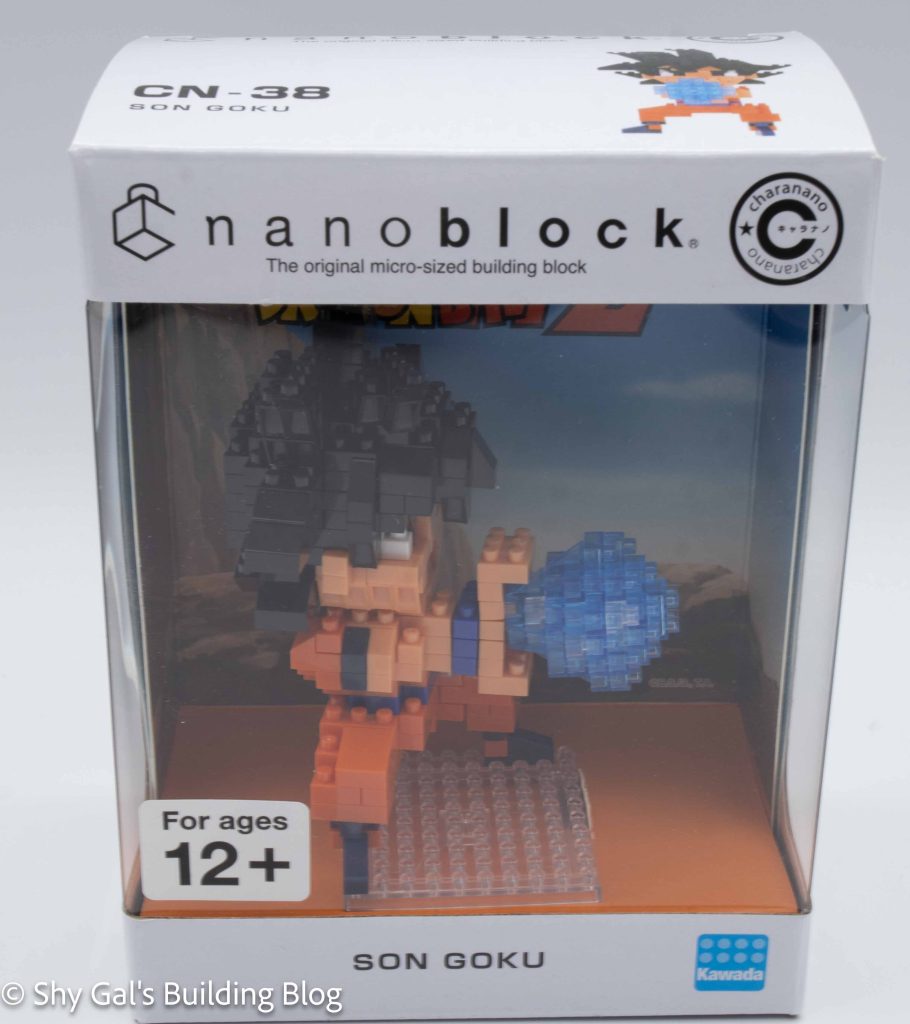
This post is a review of the nanoblock Son Goku build. Son Goku is part of the nanoblock charanano collection. Wondering what else is part of the charanano Collection? Click here for a list.
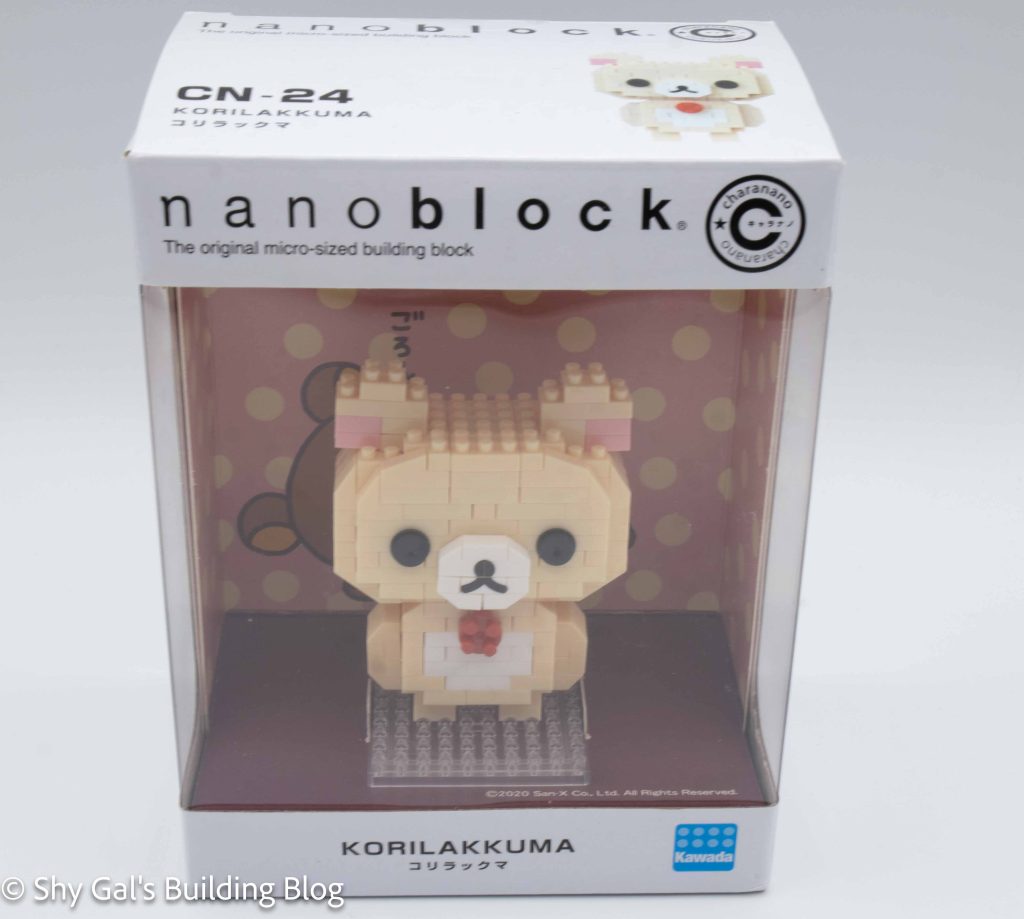
Number: CN-38 

Number of Pieces: 300

Difficulty Rating: 3/5

Son Goku build mostly front on view

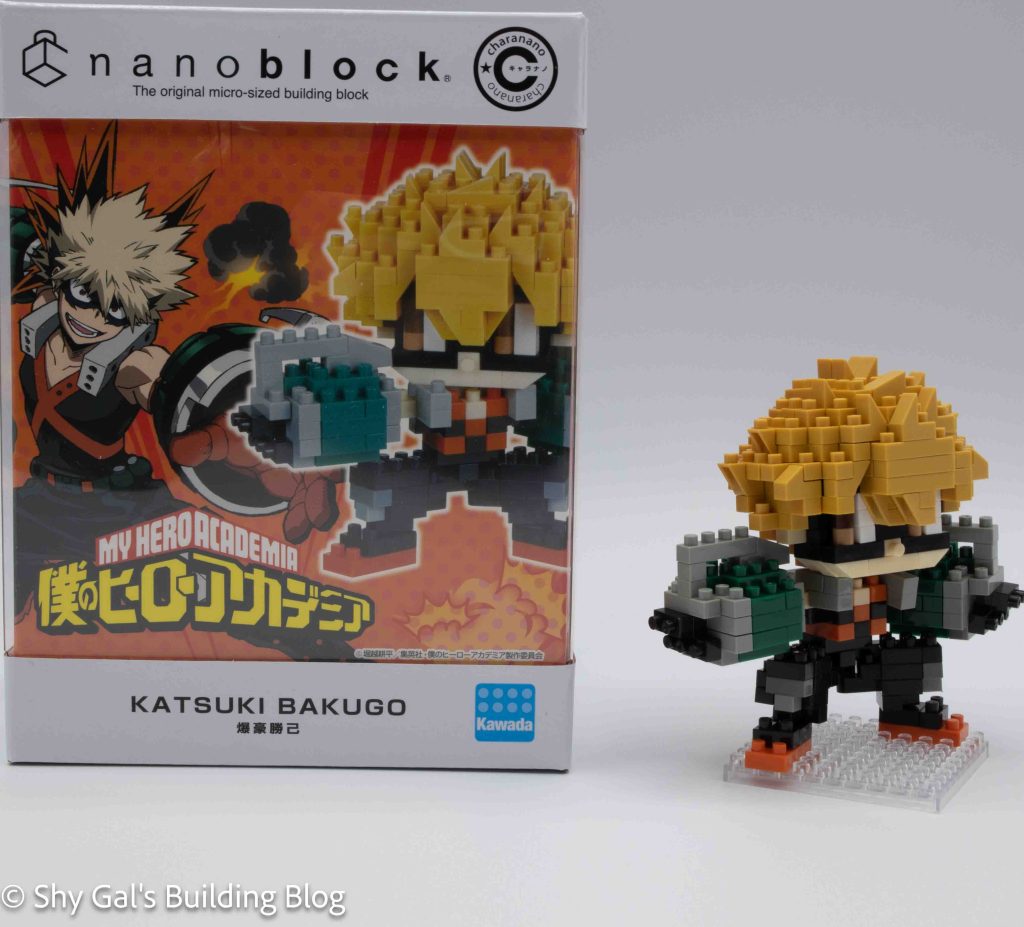
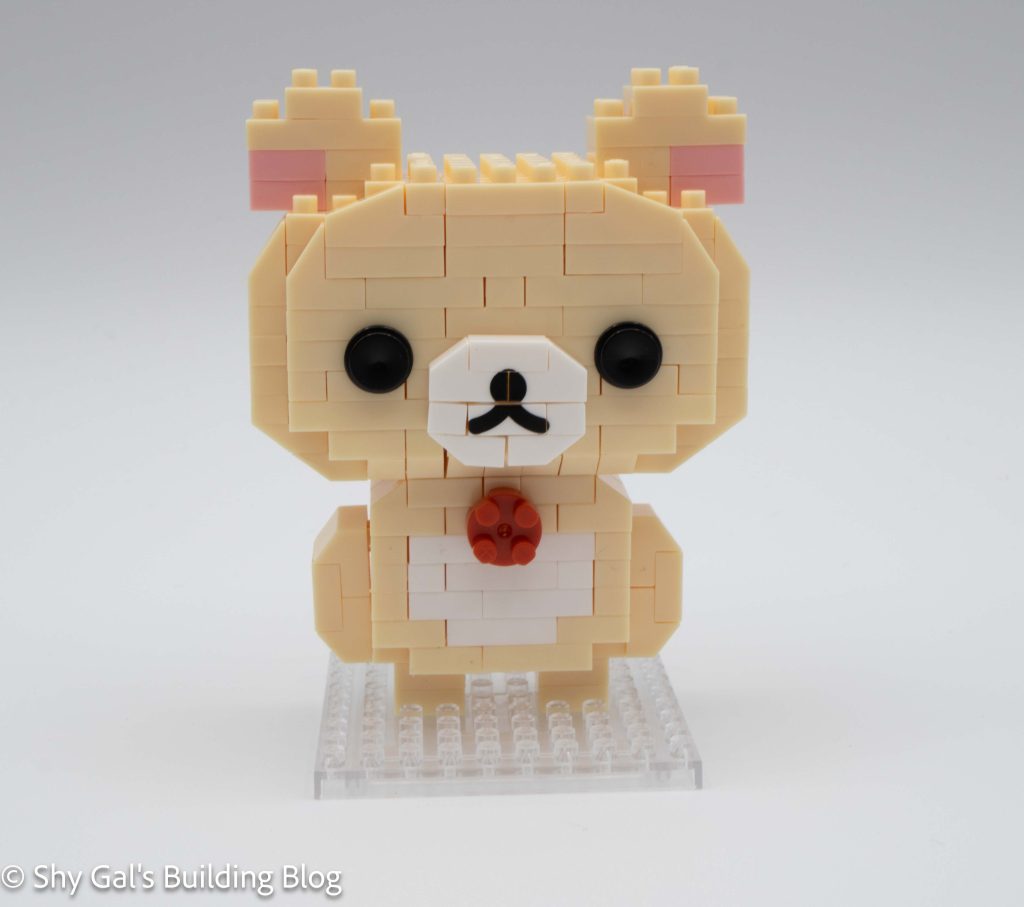
This is a review of the super-detailed charanano Son Goku build. There is also a Son Goku and a Super Saiyan Son Goku that are part of the Dragonball Z collection. I really like the amount of detail that is in the build for the hair and the fact that he is making the classic blast move.

Unlike most builds, I had quite a bit of difficulty with this build. Normally I am able to tell which color I am supposed to use, but in this case, I wasn’t able to tell which steps used which shades of blue. I needed my husband to help count the 3x1s to figure out which blue should be used in each step.

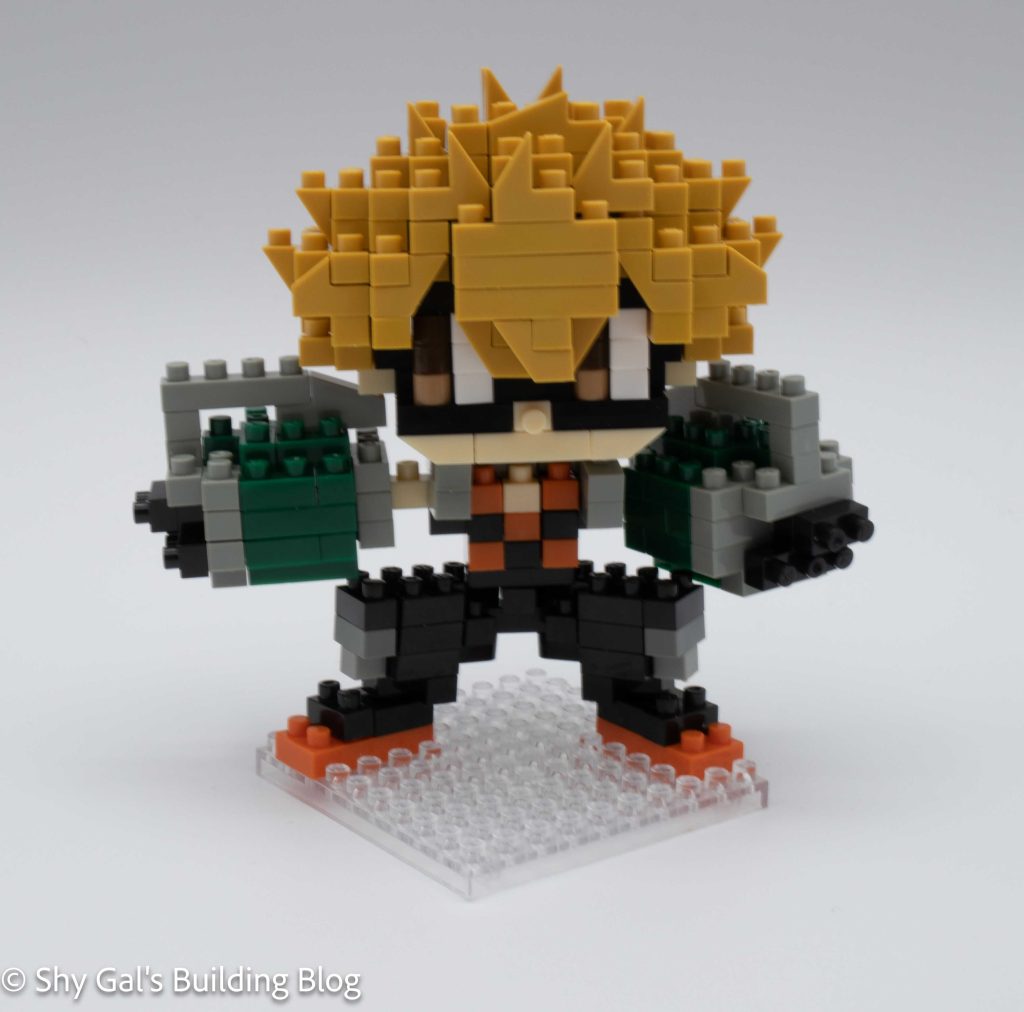
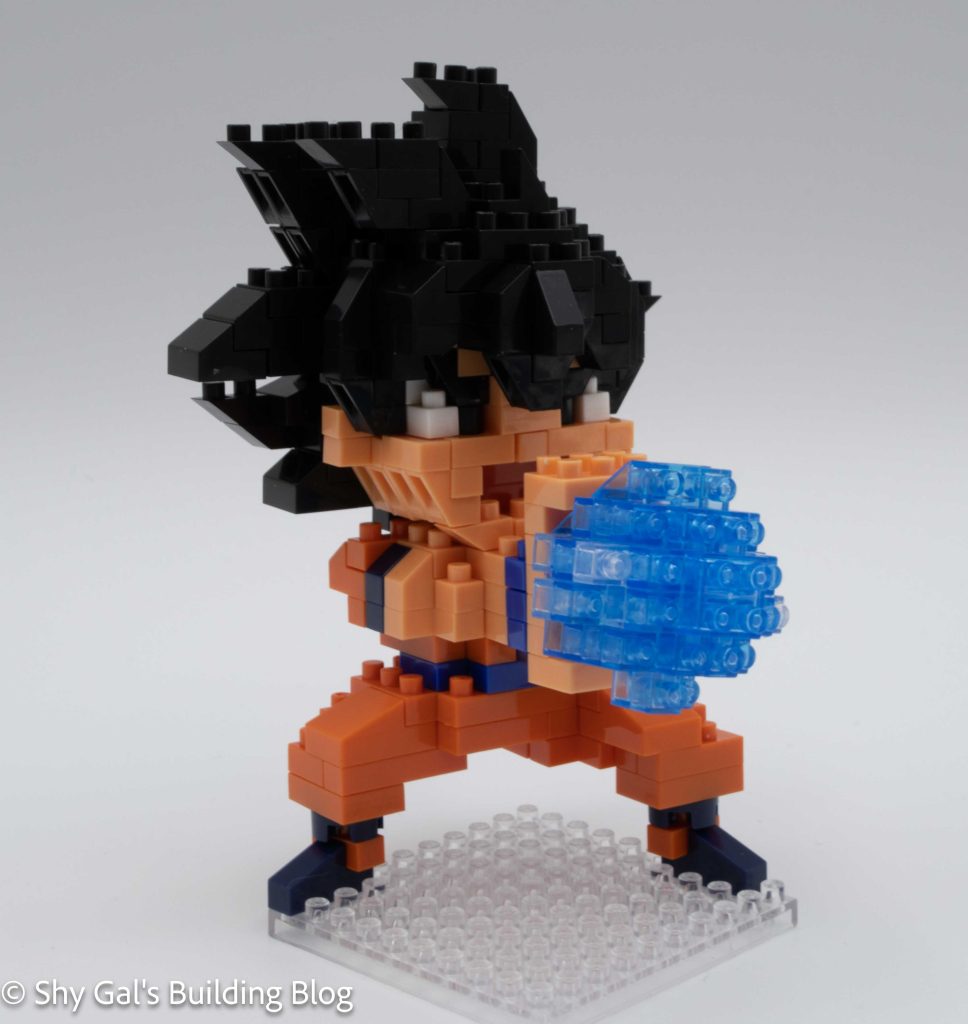
This nanoblock build is made up of 3 main sections. There is the head, the body, and the Ki blast.

Son Goku build side view

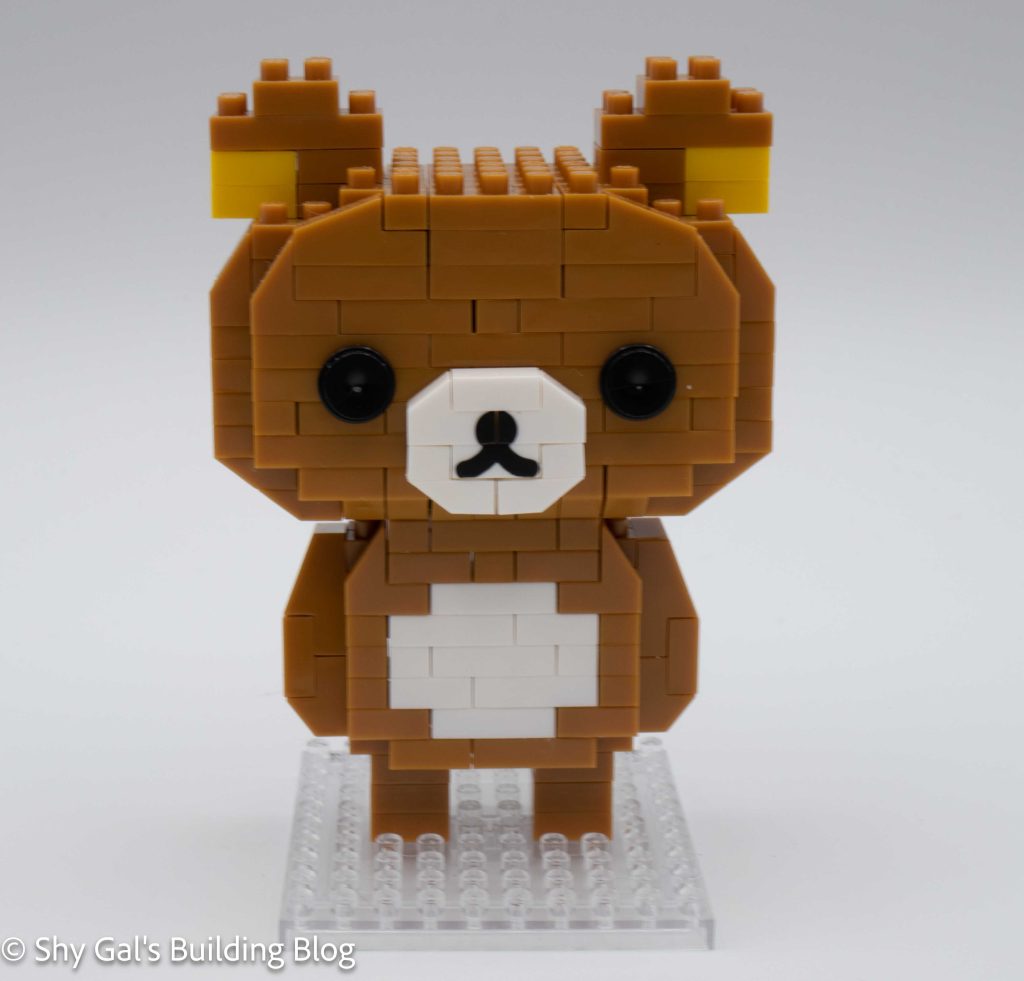
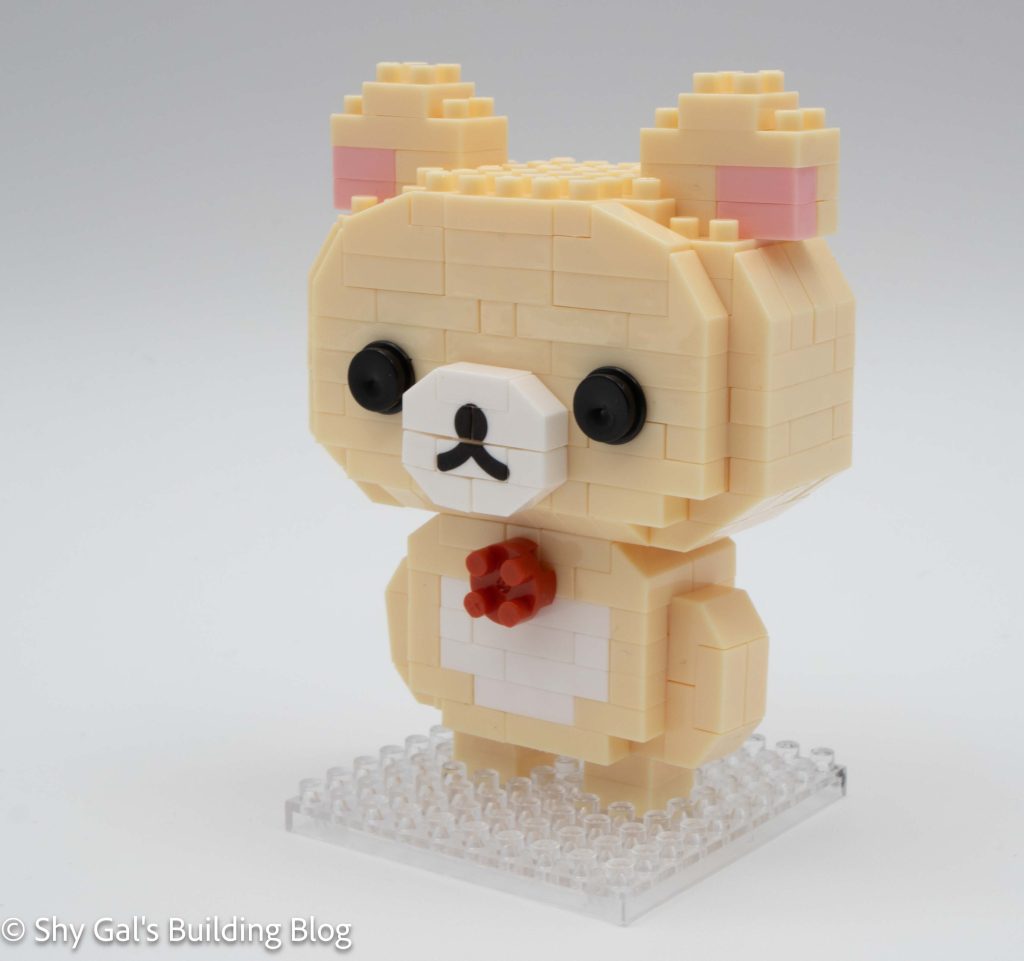
The first step of the nanoblock build is to create the head. The base layer is made of 2 sections that you build and combine. One of the sections has the studs off-center, so I wasn’t able to build the head using my pad. This meant that if I pushed too hard, the head could become separated. Most of the head build is creating the hair. I really like how the build captures the spikes of Goku’s hair.

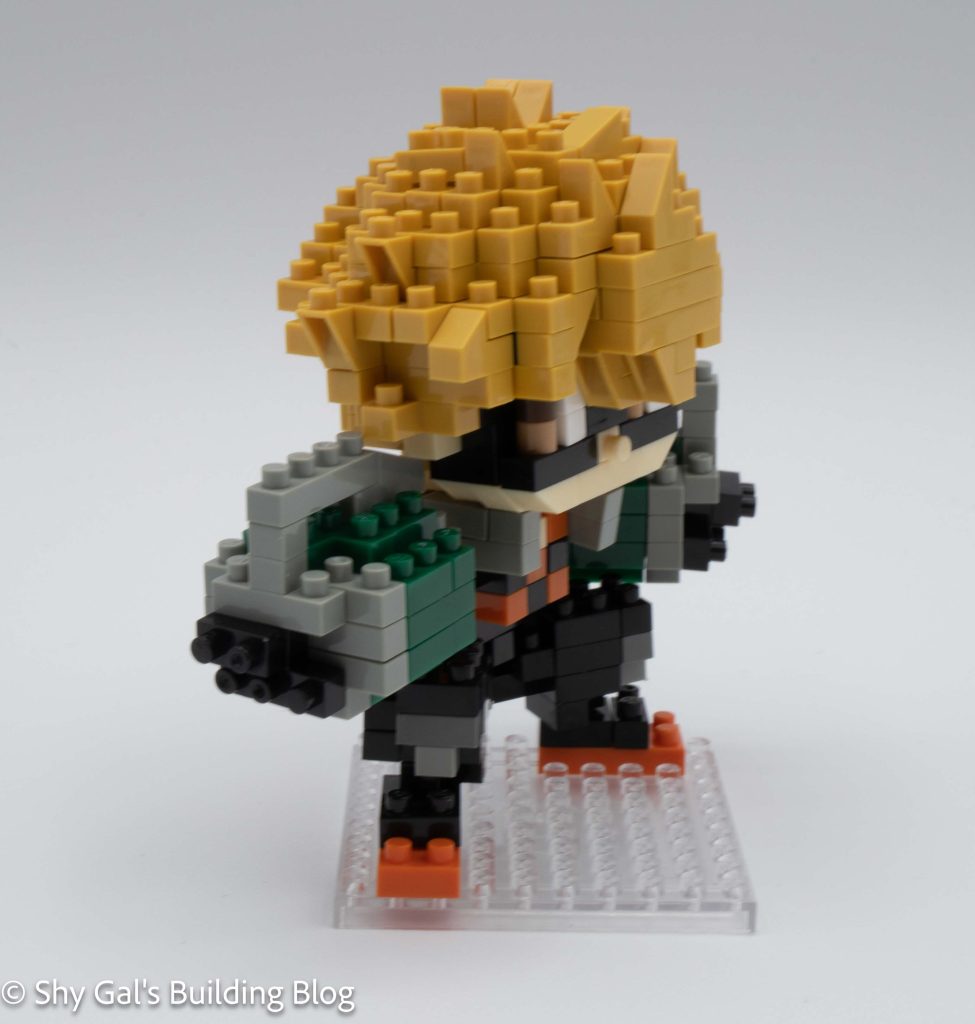
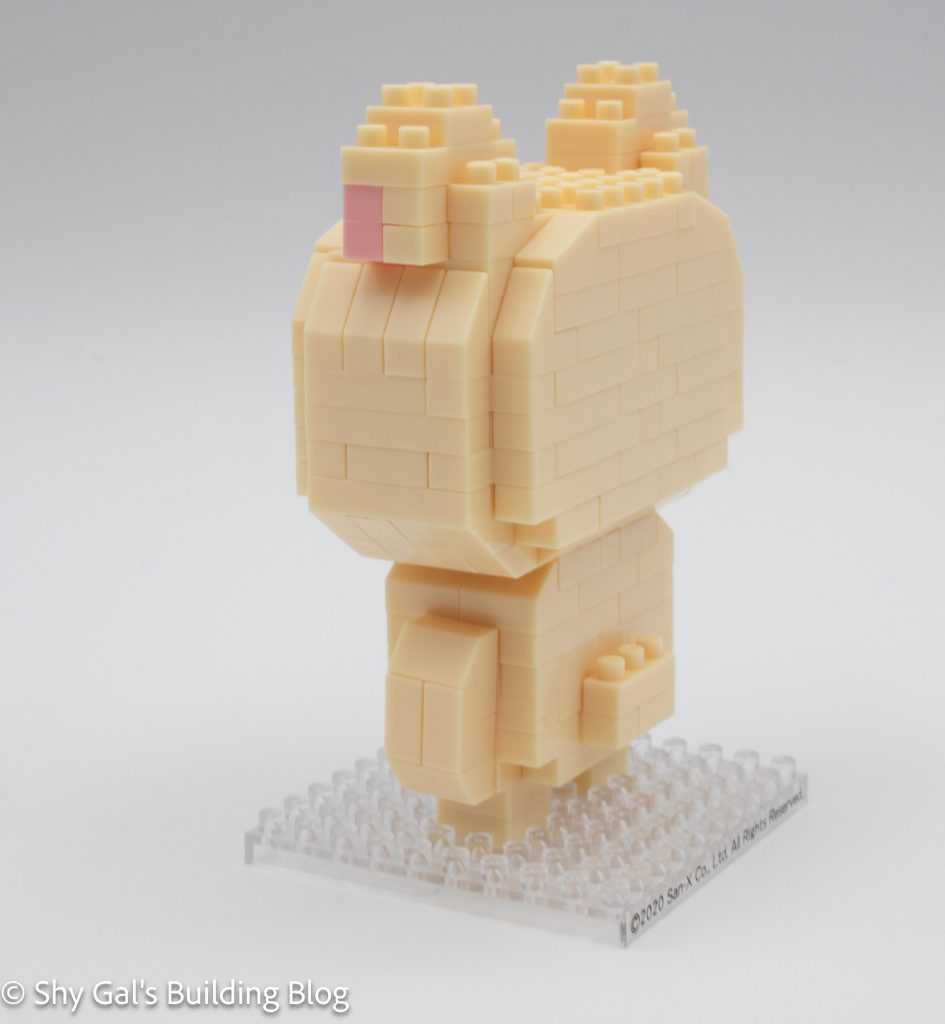
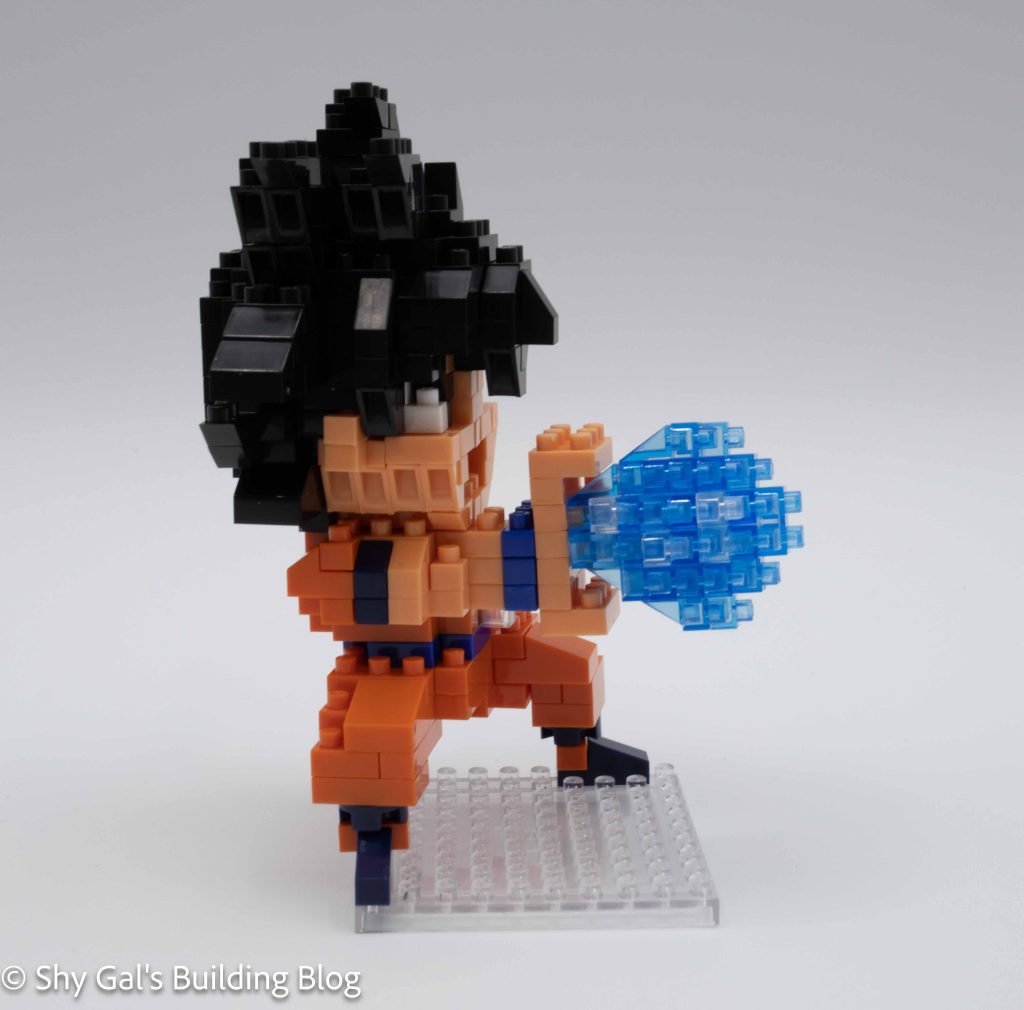
The second major section of the build is to create the body. I was able to use my pad to build the body. The body is built up in layers like a normal build. The hardest part of this build is the fact that the body uses 2 shades of blue. When I looked at the directions, I couldn’t tell which shade was correct. I eventually figured it out and managed to complete the build.

Son Goku build back view

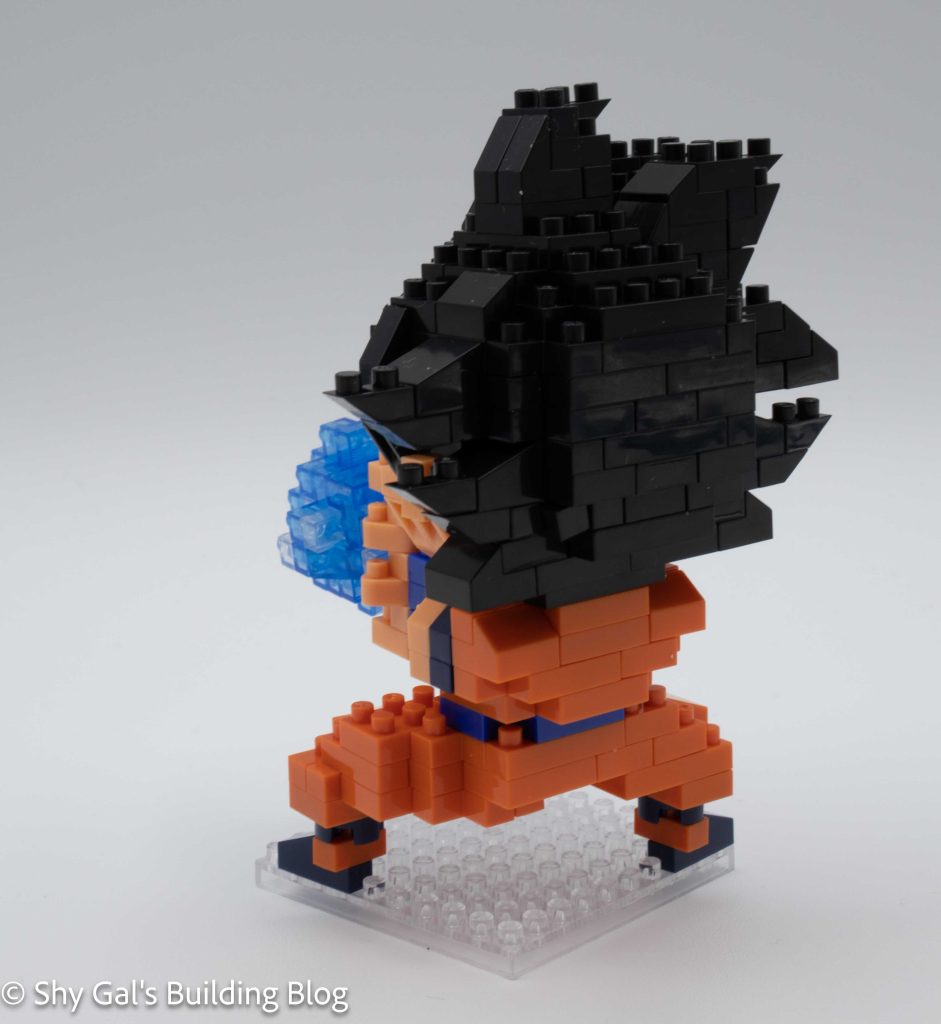
The third major section is the Ki blast. It is a very straightforward build.

The final step is to put all the pieces together to complete the build and put the build in the display.

Son Goku build inside box

Things I liked:

  • The amount of detail in the hair
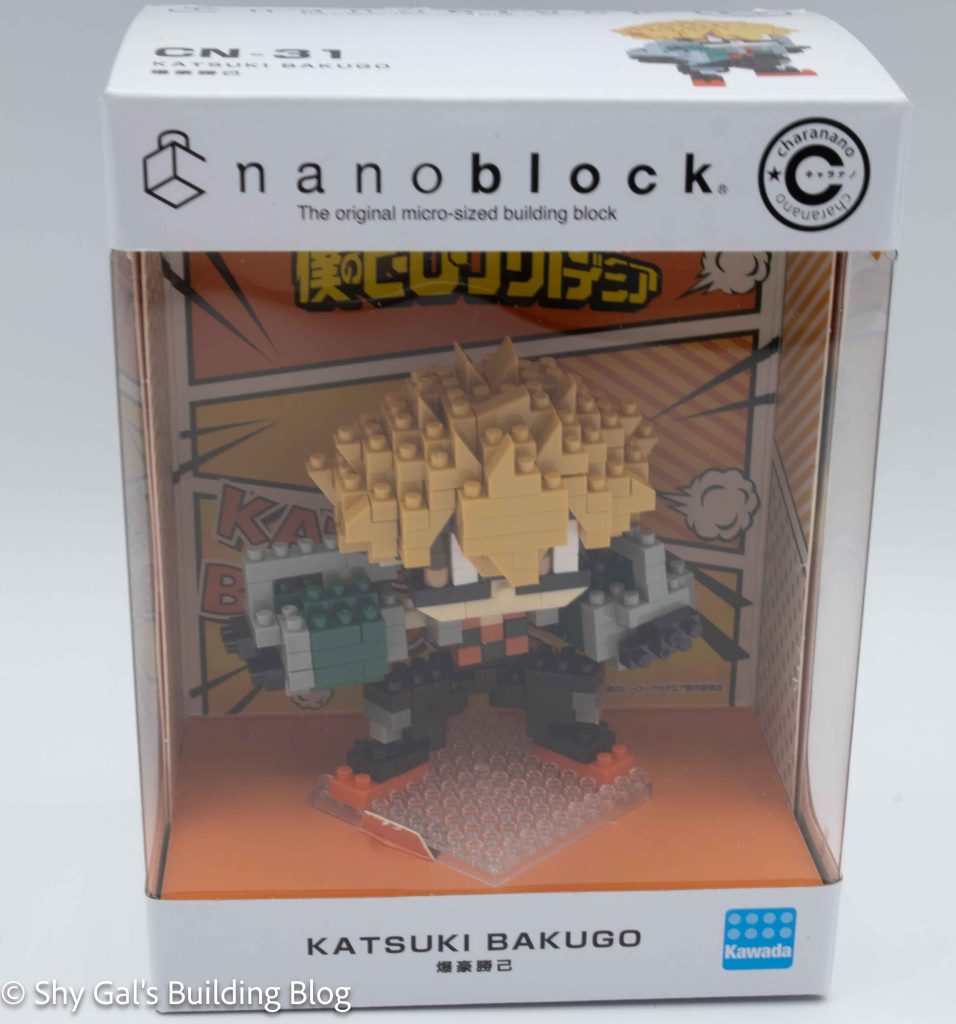
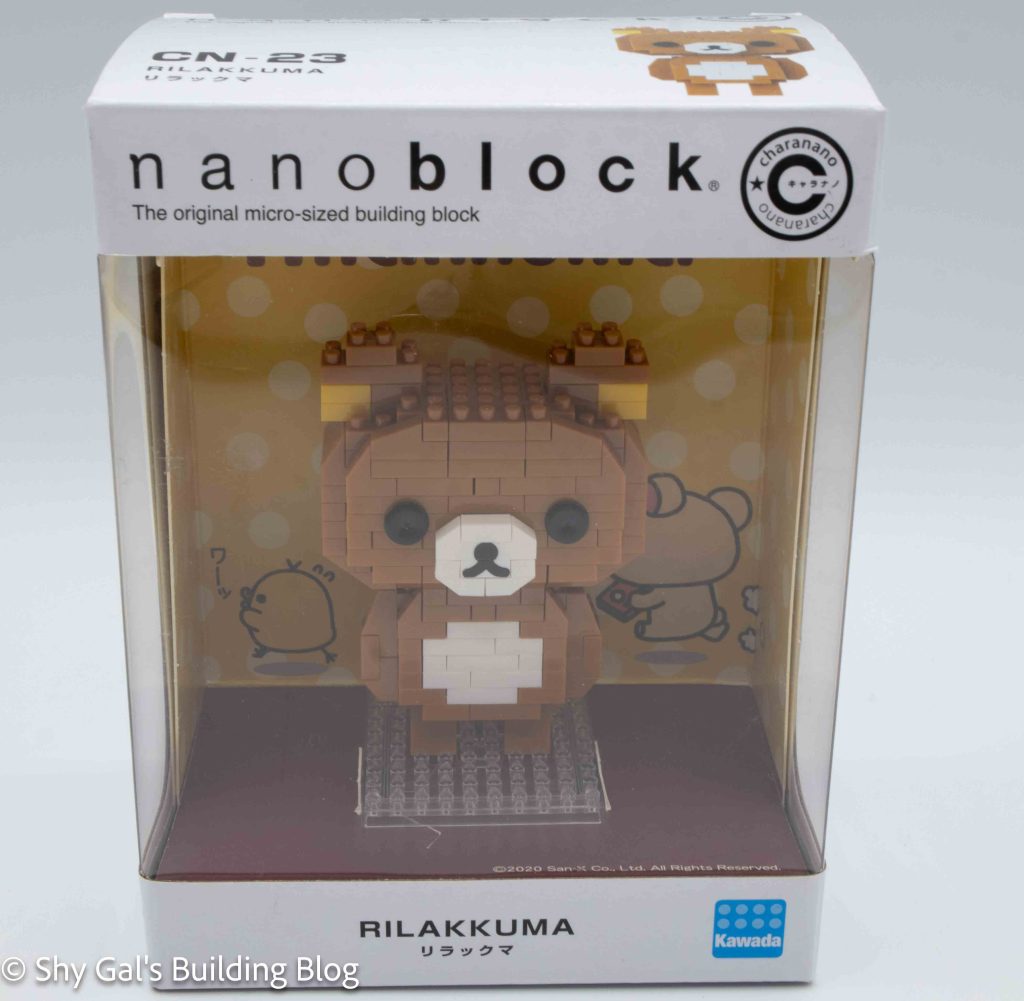
  • The background that you get for the display box

Things I didn’t like:

  • The fact that the blues are practically identical in the directions.

Review of nanoblock Katsuki Bakugo CN-31

Katsuki Bakugo build and box

This post is a review of the nanoblock Katsuki Bakugo build. Katsuki Bakugo is part of the nanoblock charanano collection. Wondering what else is part of the charanano collection? Click here for a list.

Names:

  • Real Name:Katsuki Bakugo
  • Nickname: Kacchan
  • Hero Name: Great Explosion Murder God Dynamight

Number: CN-31

Number of Pieces:

Difficulty Rating: 3/5

Katsuki Bakugo build front view

Bakugo is a member of class one 1A along with Izuku. His quirk is Explosion, allowing him to ignite his sweat to create explosions. He has been friends with Izuku since they were children. To read more about this character, check out the myheroacademia wiki.

This build is broken up into several parts. There is the head, both arms, the torso, the legs, and the feet. Bakugo’s arms have large pieces that look like grenades that are built up in brick form.

The most significant part of this build is by far the head. The head begins with a layer of skin-colored bricks. Next, you add a layer of black that creates the bottom of his mask. You continue to add layers to the front of the face. After a few layers, you begin a base layer and build up the back of the head. Then combine the front and back of the head to create a full head. Once the pieces are connected, you add layers of hair creating detailed spiky hair.

Katsuki Bakugo build front 3/4 view

The next chunk you build is the torso. The torso is a simple 3 layers of bricks.

The next step is to build the left arm. You build up layers of bricks from a base. There is a skin-tone brick that sticks out on the back of the arm. There is also an excellent detail of the arm where you can see his fingers or hand at the end of the grenades. This is done by attaching the black bricks to the side of the section. You stick this arm to the torso.

Next, you build the right arm. The build is very similar to the left arm. The major difference is there the skin-tone piece comes out of the center of the build instead of the side. Once you build the left arm, you attach it to the torso.

Katsuki Bakugo build back 3/4 view

The next step is to build the legs. I found the legs extremely tricky compared to the rest of the build. This is because there are a lot of finicky bits. I also have difficulty reading directions when the build is upside down. Once you build the legs, you attach the torso to the legs. At this point, you can also attach the head.

The final part of the build is to add the feet to the base. Once you build up the feet on the base, you attach the body and head. When I did my build, the legs kept breaking apart, and the arms didn’t want to stay connected.

Overall I really like this build. There is a ton of detail in Bakugo’s hero costume and hair.

Katsuki Bakugo build inside box

Things I liked:

  • The amount of detail in the costume and hair

Things I didn’t like:

  • The fact the legs kept falling apart when I was building

Review of nanoblock Rilakkuma CN-23

Rilakkuma build and box

This post is a review of the nanoblock Rilakkuma build. Rilakkuma is part of the nanoblock charanano collection. Wondering what else is part of the charanano collection? Click here for a list.

Rilakkuma build front view

Number: CN-23

Number of Pieces:

Difficulty Rating: 2/5

Rilakkuma build front 3/4 view

There are several Rilakkuma builds created by nanoblock. Most of the builds are part of the character line. This bear is unique because it is part of the charanano line. This line is unique because the finished model comes in a display box, so you don’t have to dust the model.

Rilakkuma build back 3/4 view

This build is split between the head and the body. You begin with a base layer of brown. Next, you add layers using brown and white. Once you reach the top of the body, you build and attach the arms. The final step of the body is to take the base, attach the legs, and attach the body to the legs. The next step is to build the head. The head begins with a brown base. You add layers of brown to create the head. After a few layers, you add a custom brick that makes the nose. Once you add the nose, you add a layer with a gap for the eyes. Next, you add the eyes, which are also unique because they are more like circles on a pole instead of a brick. You hold the eye brick in place with 2×2 bricks. After adding the face details, you build the head in layers. In the layer where you close off the head, you add the golden brown for the inside of the ears. Then, you build up the ears to complete the head. The final step is to attach the head to the body.

Rilakkuma build inside box

Things I liked:

  • The custom nose brick and how it looks like it’s made of bricks
  • The round eye bricks

Review of nanoblock Korilakkuma CN-24

Korilakkuma build and box

This post is a review of the nanoblock Korilakkuma build. Korilakkuma is part of the nanoblock charanano collection. Wondering what else is part of the charanano collection? Click here for a list.

Korilakkuma build front view

Number: CN-24

Number of Pieces:

Difficulty Rating: 2/5

Korilakkuma build front 3/4 view

There are several Rilakkuma builds created by nanoblock. Most of the builds are part of the character line. This Korilakkuma is part of the charanano line. This line is unique because the finished model comes in a display box, so you don’t have to dust the model.

Korilakkuma build back 3/4 view

This build is split between the head and the body. You begin with a base layer of cream. Next, you add layers using cream and white. While building up, you add the red button on the top of the stomach. Once you reach the top of the body, you build and attach the arms. The final step of the body is to take the base, attach the legs, and attach the body to the legs. The next step is to build the head. The head begins with a base of cream. You add layers of cream to create the head. After a few layers, you add a custom brick that makes the nose. Once you add the nose, you add a layer with a gap for the eyes. Next, you add the eyes, which are also unique because they are more like circles on a pole instead of a brick. You hold the eye brick in place with 2×2 bricks. After adding the face details, you build the head in layers. In the layer where you close off the head, you add pink for the inside of the ears. Then, you build up the ears to complete the head. The final step is to attach the head to the body.

Korilakkuma build inside box

Things I liked:

  • The custom nose brick and how it looks like it’s made of bricks
  • The round eye bricks

Review of nanoblock King Doraemon CN-25

King Doraemon build with box

This post is a review of the nanoblock King Doraemon build. King Doraemon is part of the nanoblock charanano collection. Wondering what else is part of the charanano collection? Click here for a list.

King Doraemon build front view

Number: CN-25

Number of Pieces:

Difficulty Rating: 2/5

King Doraemon build front 3/4 view

Doraemon is a robot that comes from the future. There is a line of builds featuring several different characters from the anime in the character line. King Doraemon is for the 50th anniversary of Doraemon and is part of the charanano line, which is unique because of the display boxes.

I really like this build because it has an asymmetrical shape for the body. The build begins with a clear base and an outline of white bricks. You then add a layer of white bricks. It is hard to tell which bricks are part of the new layer and which were in the previous layer when you are laying white bricks throughout the build. In the third step, you add Doraemon’s blue and the cape’s red. You continue to layer up the red, white, and blue to create the build adding various details. In step 6, you add the outstretched right arm and held it in place with 1 stud. The one stud is locked in place in the next layer, so it is sturdy in place. Because the brick from Step 6 is curved, you can angle the arm as you want. The next major step after adding on the arm creating and attaching the scepter. I found this step tricky because the bottom was so flimsy it kept breaking off as I continued to build. I ended up waiting until the end to attach the scepter so that it wouldn’t fall off. The final step for the body is to connect the bell on the front of Doraemon.

King Doraemon build back 3/4 view

The next major part of the build is to build the head. You begin with a ring of blue and white bricks. You add layers of blue and white along with pink and red for the mouth. You continue to add layers, adding facial details and slowly closing up the head. After closing up the head, you add the crown. You add yellow and red that curves up and flatten out to create a crown. You add a final brown brick at the top of the crown. Since the head is completed, you can now attach the head to the body. Once connected, you add Doraemon’s whiskers as the final step of the build.

Now that you have the completed build, it’s time to get it into the case. This build is more complicated than the other charanano builds because the bottom of the robe flows over the edge of the base brick. This means that the cardboard doesn’t curve down over the build.

King Doraemon build inside box

Things I liked:

  • The fact I can position the arm

Things I didn’t like:

  • Getting the scepter to attach properly is difficult.