Review of nanoblock Beluga NBC_214

Beluga build and package

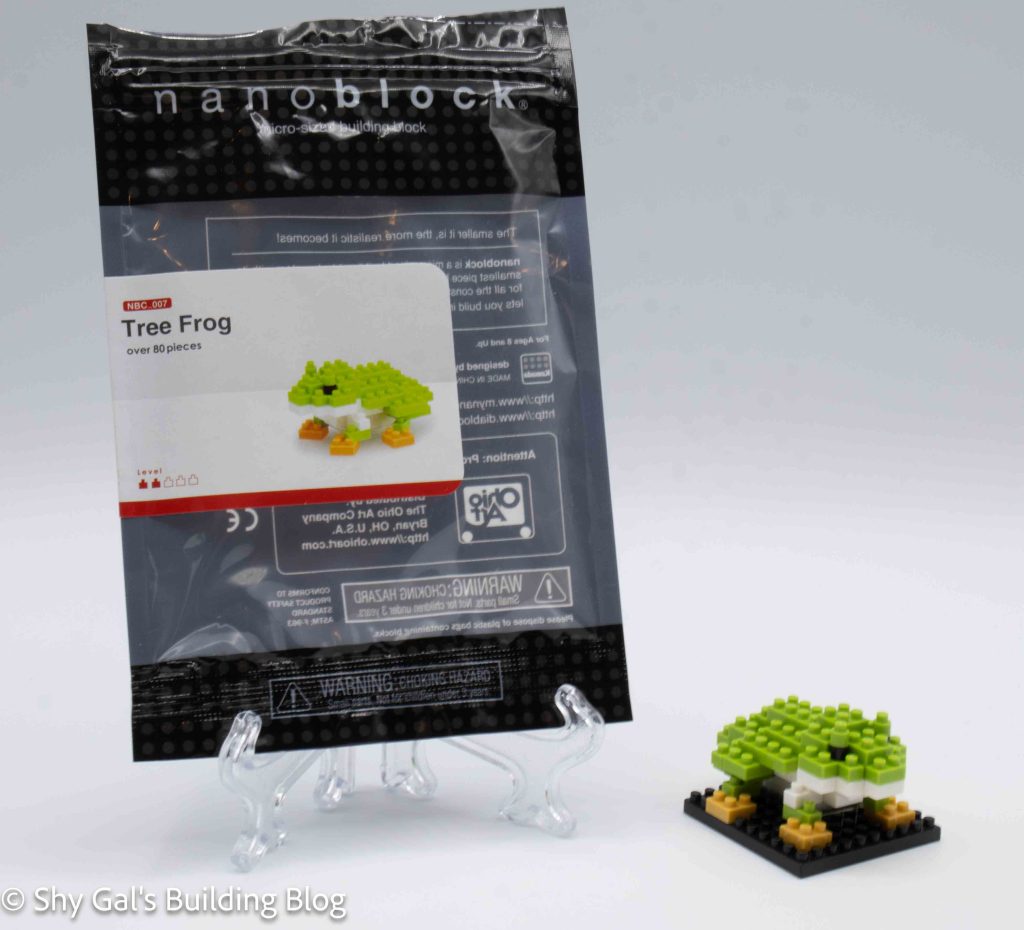
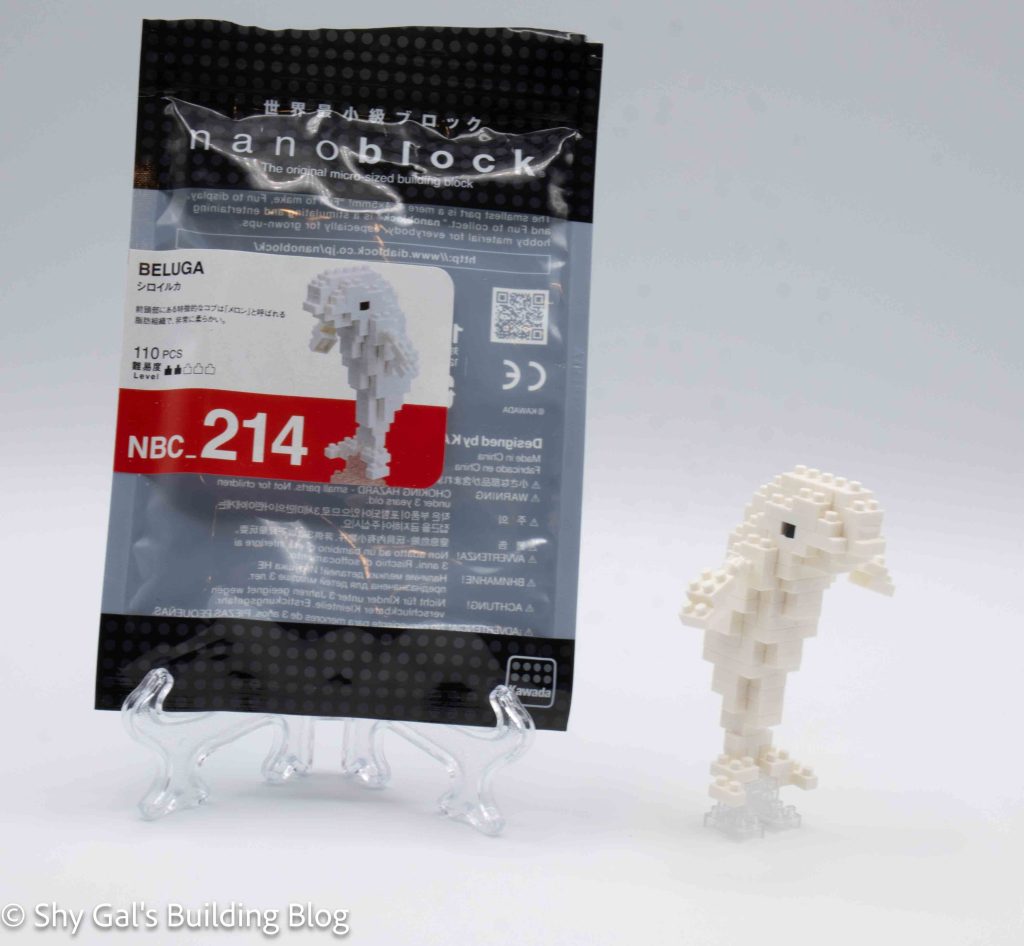
This post is a review of the nanoblock Beluga build. Beluga is part of the nanoblock Mini Collection series. Wondering what else is part of the Mini Collection? Click here for a list.

Number: NBC_214

Number of Pieces: 110

Difficulty Rating: 2/5

Beluga build front view

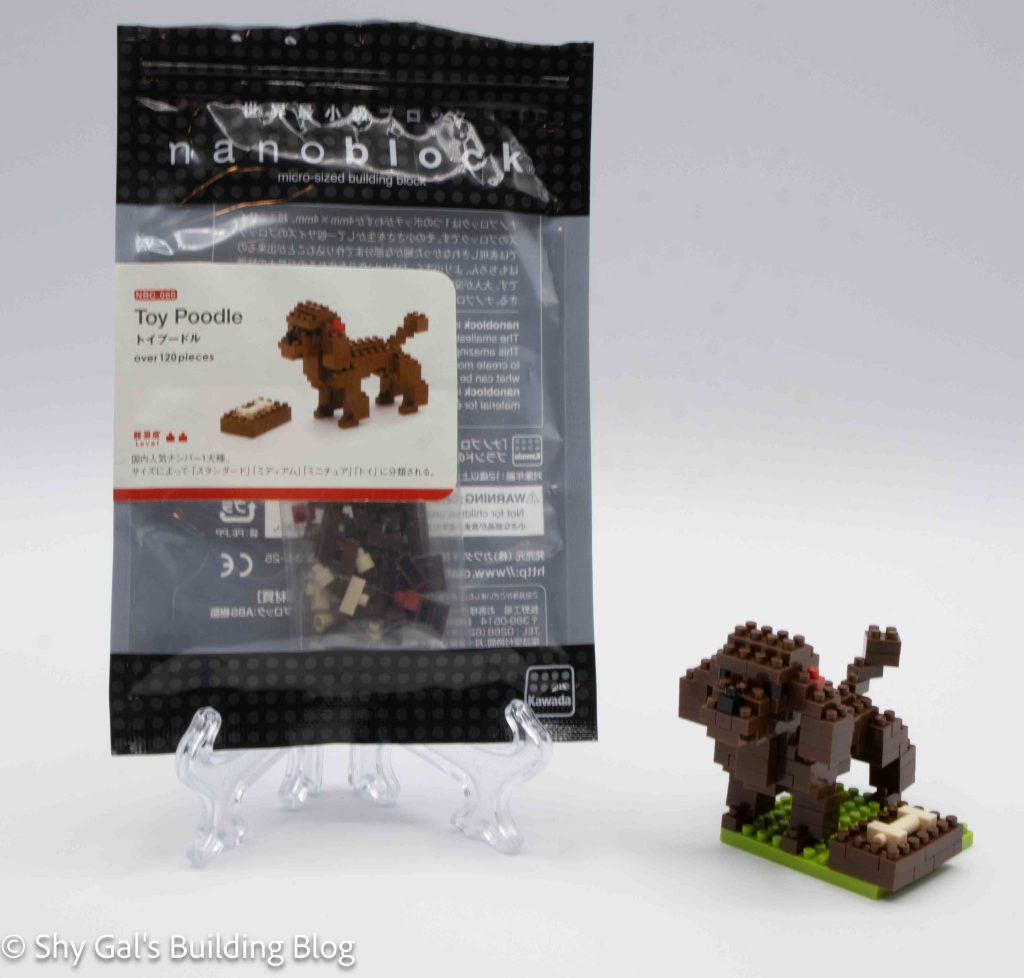
I purchased this kit open from Japan. It is not a very common kit, so I was excited to simply get a kit with the instructions. The finished photographed build may have some discoloration because it was built before I didn’t have control of the environment.

Beluga build side view

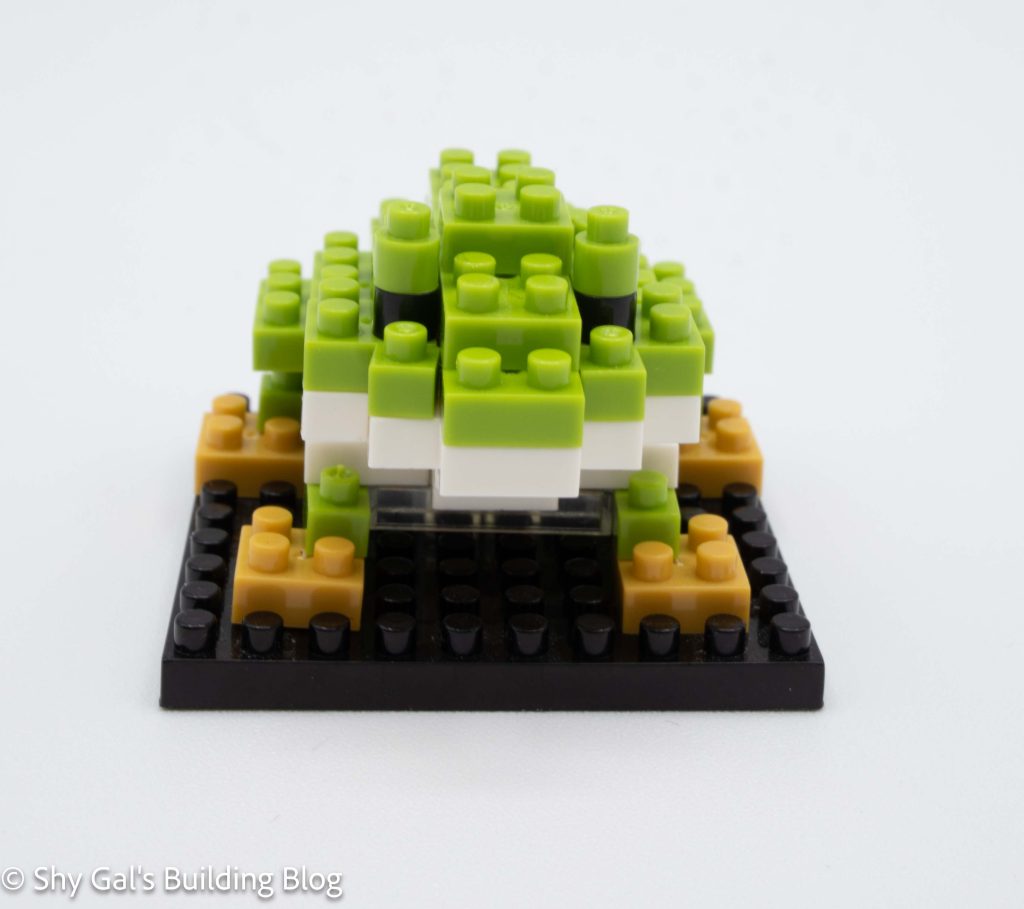
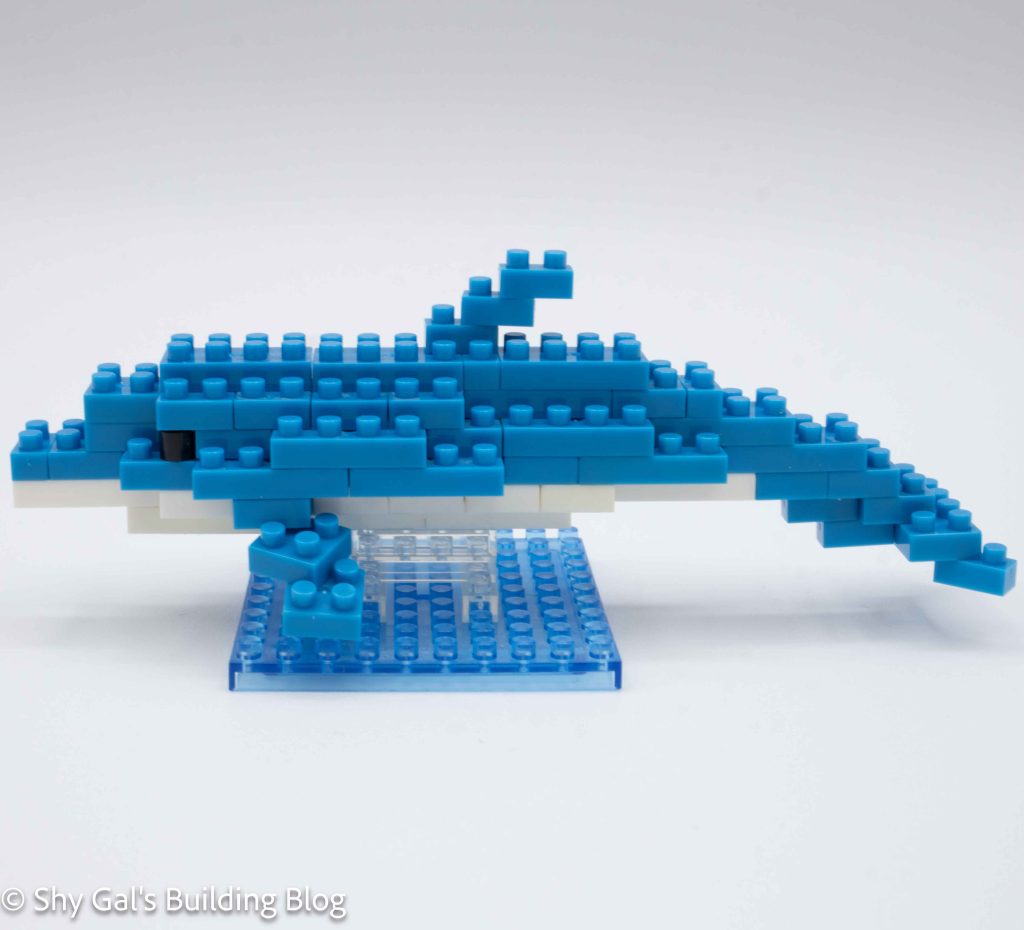
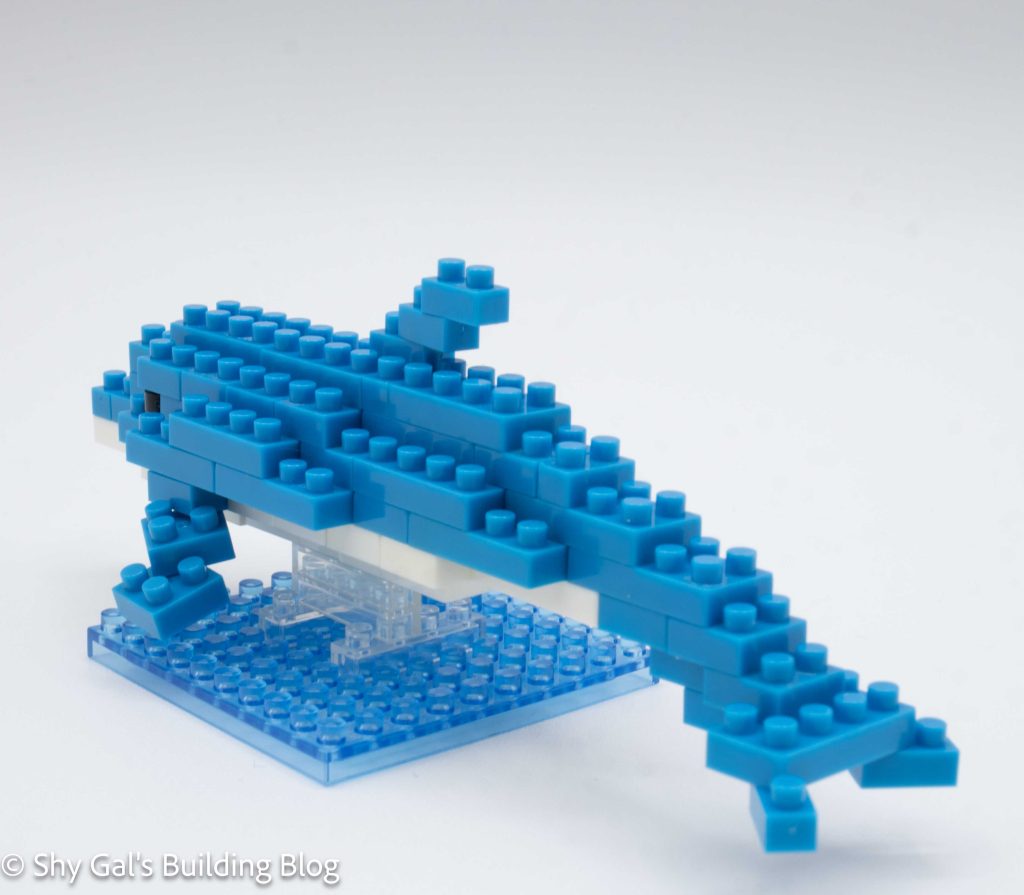
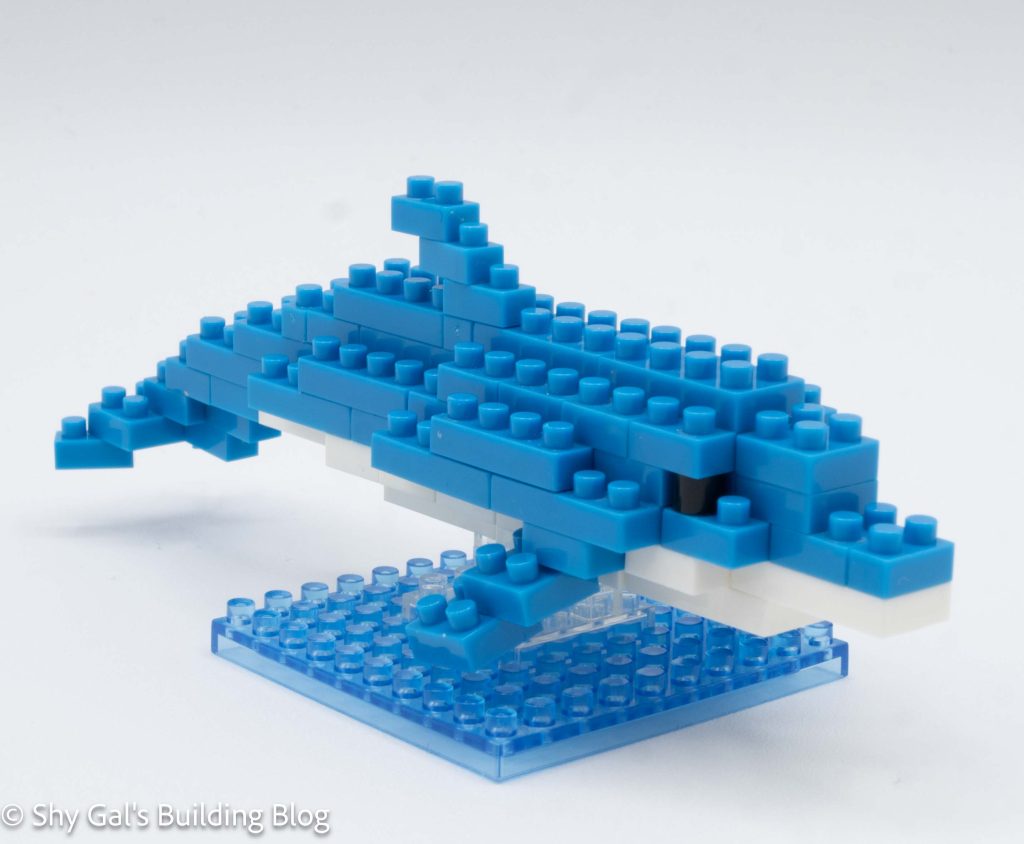
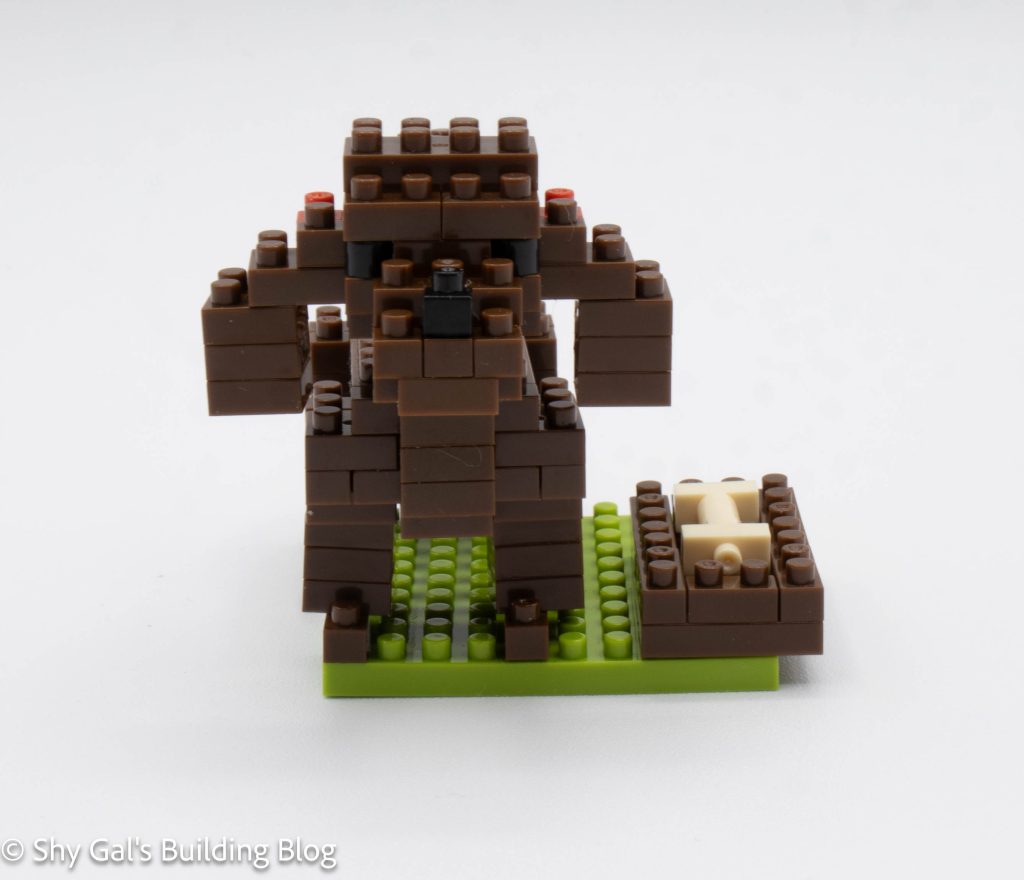
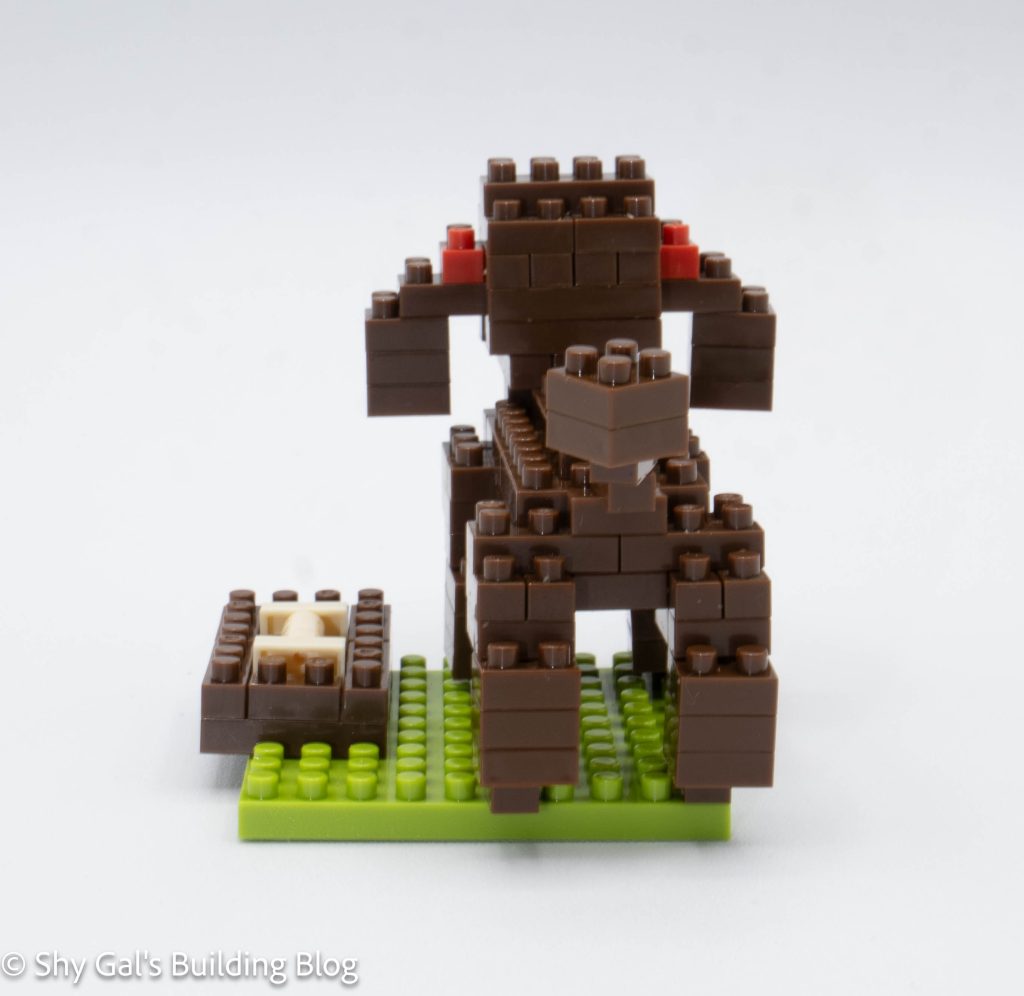
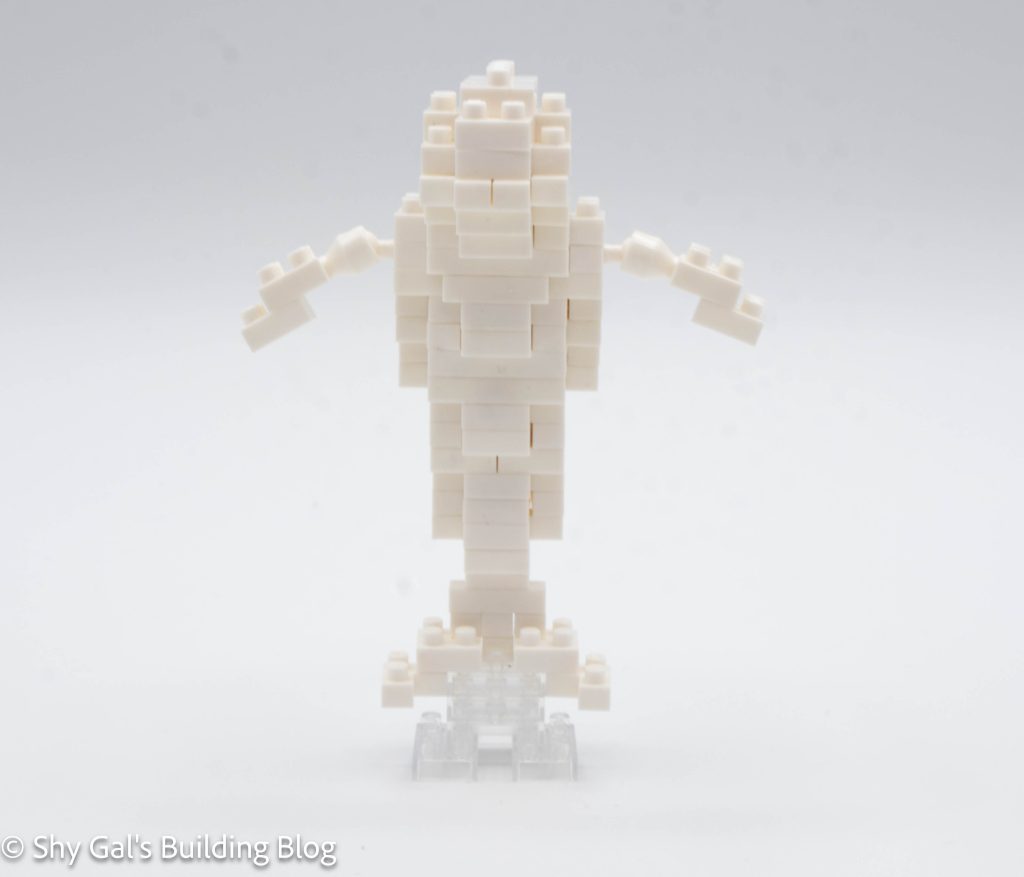
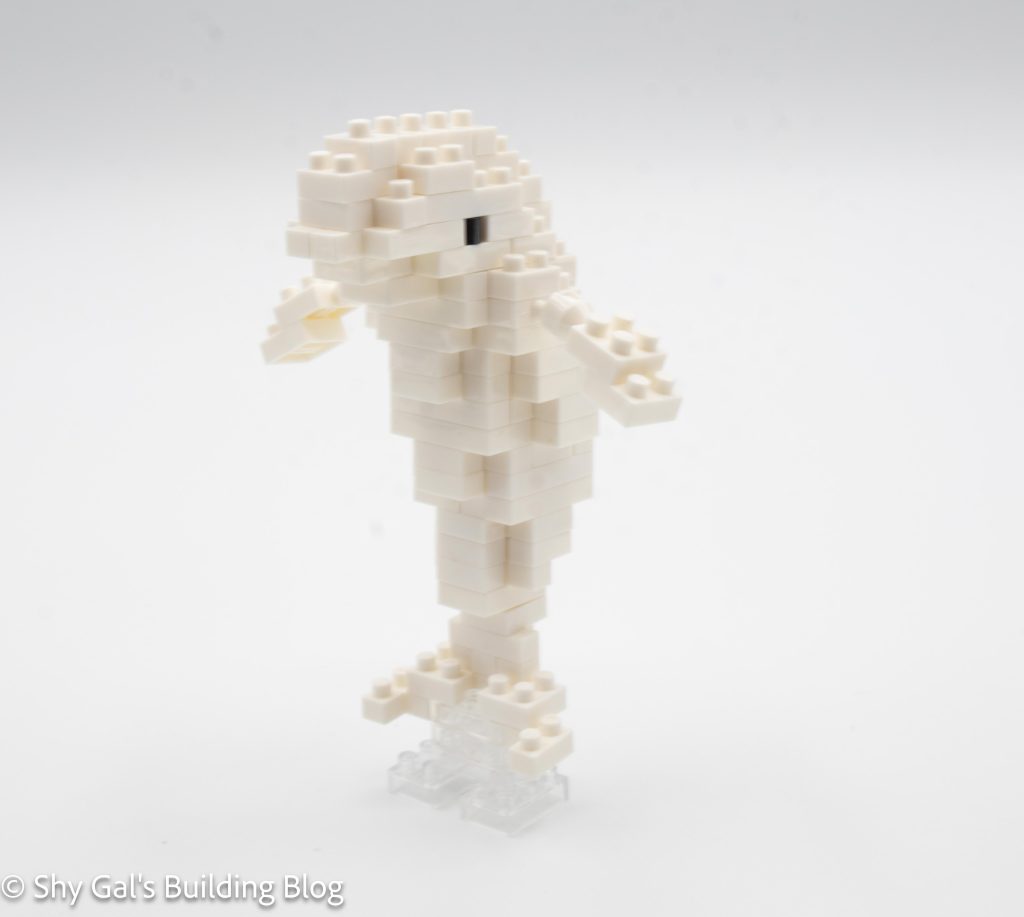
This beluga build is very unique amongst the large sea animals. Most of the sea animals are down on their stomachs. This build has the beluga up on its tail.

Since the beluga is standing on its tail, the build is basically a tower of bricks. The tower is much more narrow at the bottom than at the top. Building the tower consists of adding layers from a single 2×3 brick.

Beluga build back view

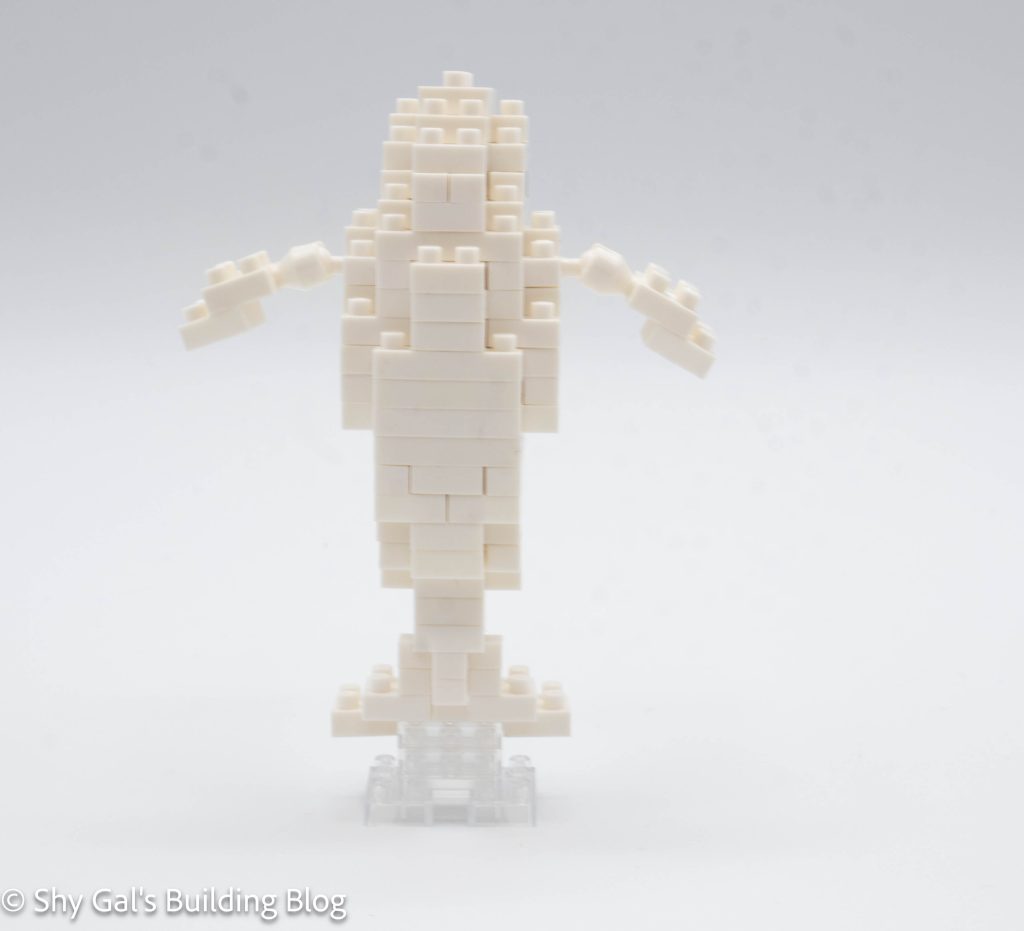
Building up from the 2×3 brick is very straightforward. The instructions are very clear, and it is easy to tell which bricks to add. There were also minimal places where bricks needed to be lined up or centered.

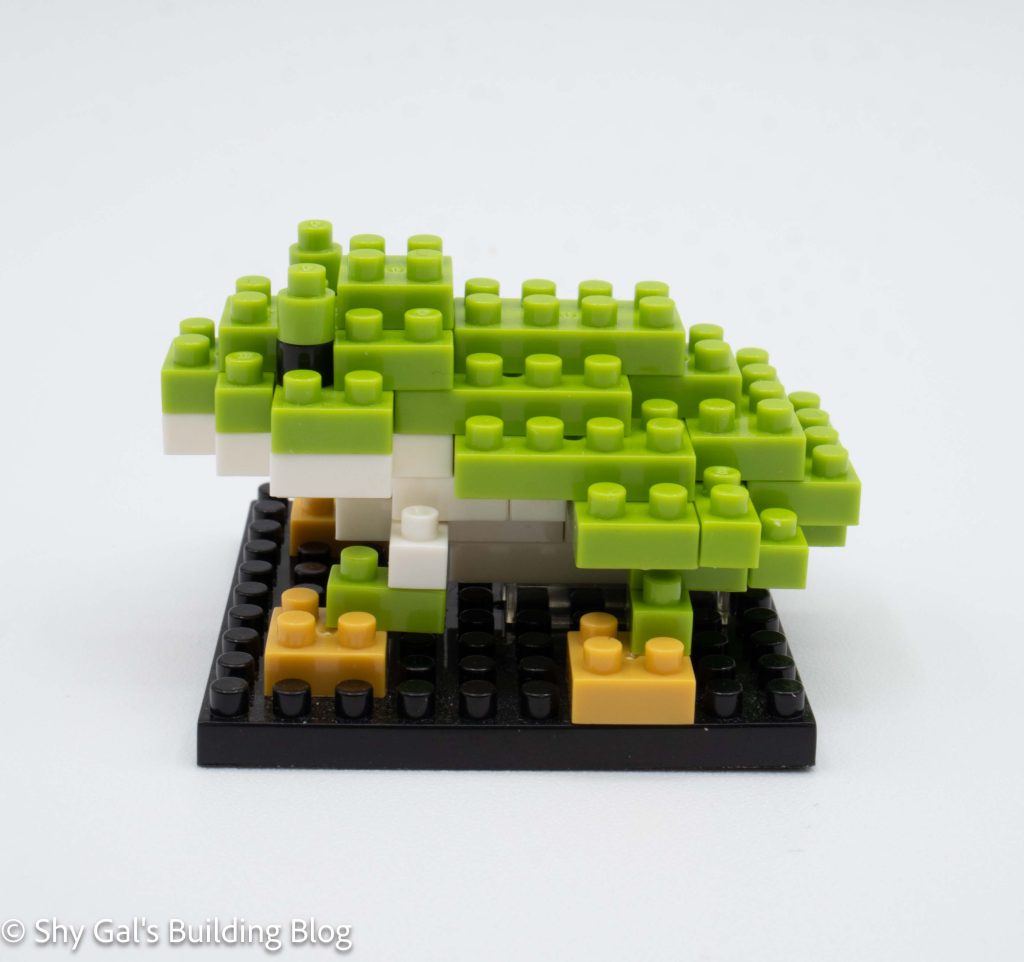
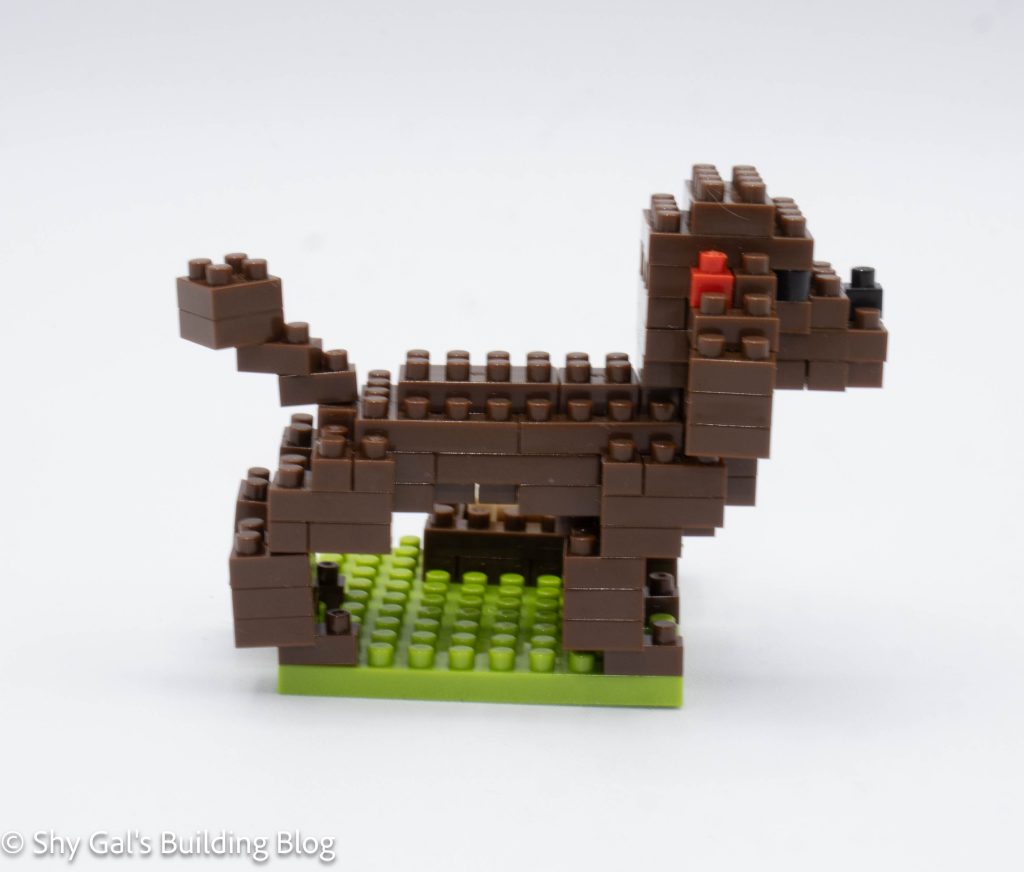
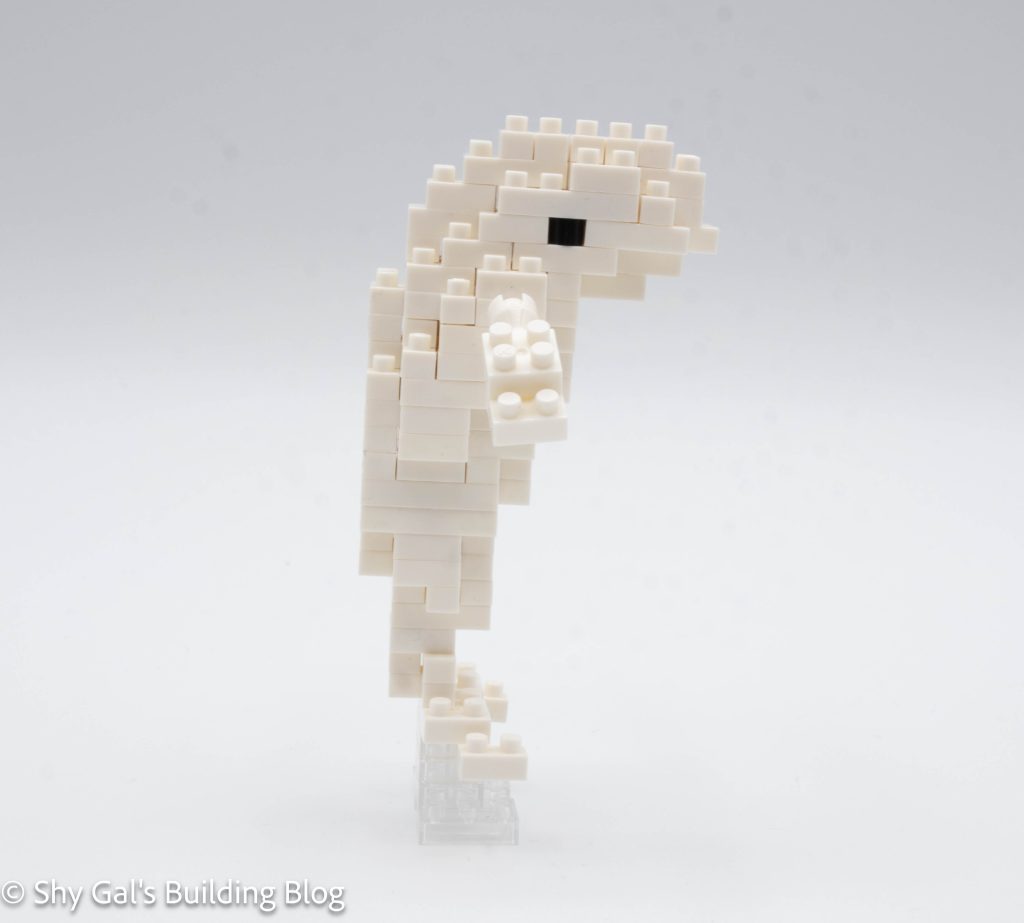
The only break in building the tower is to add the flippers to the side of the build via ball joints.

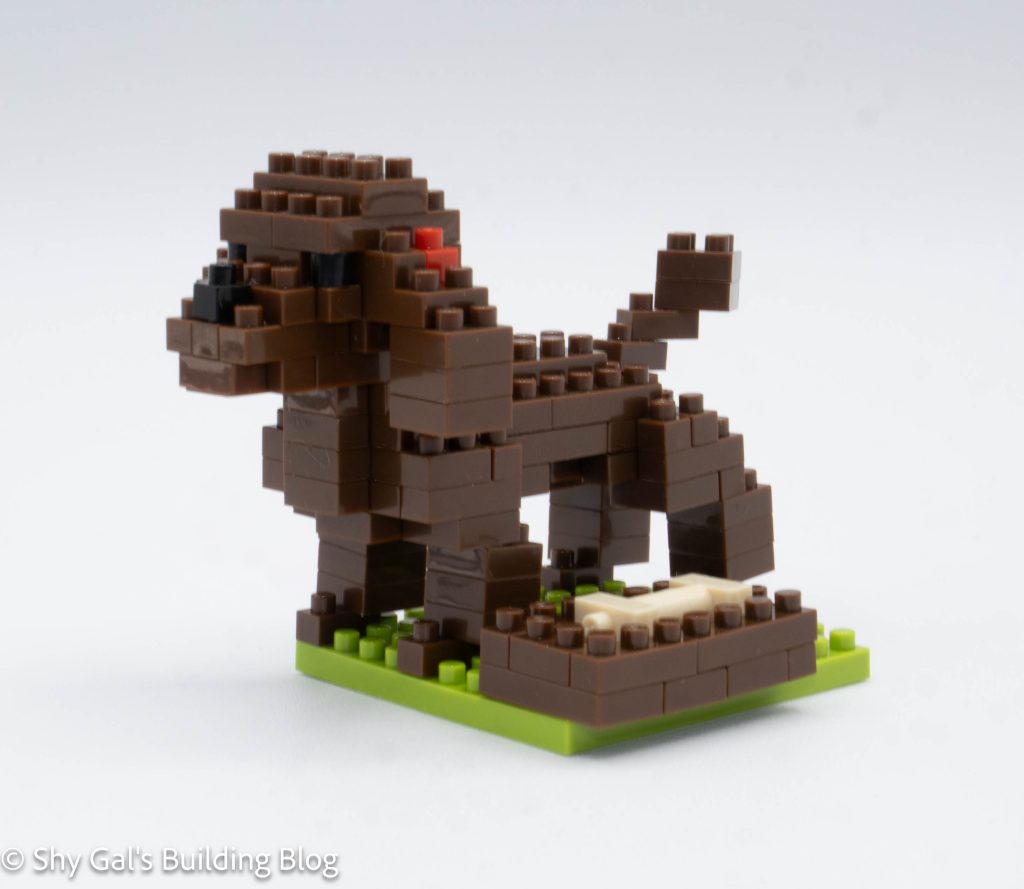
Once the main body of the beluga is built, the final step is to add the base and tail. Building the section is pretty straightforward. However, it is hard to tell where the tail section should connect to the main body. Based on the photos, I lined the tail with the back of the whale so has a smooth connection. However, it is possible that there is supposed to be a step between the back of the whale and the tail.

Beluga build 3/4 view

Things I liked:

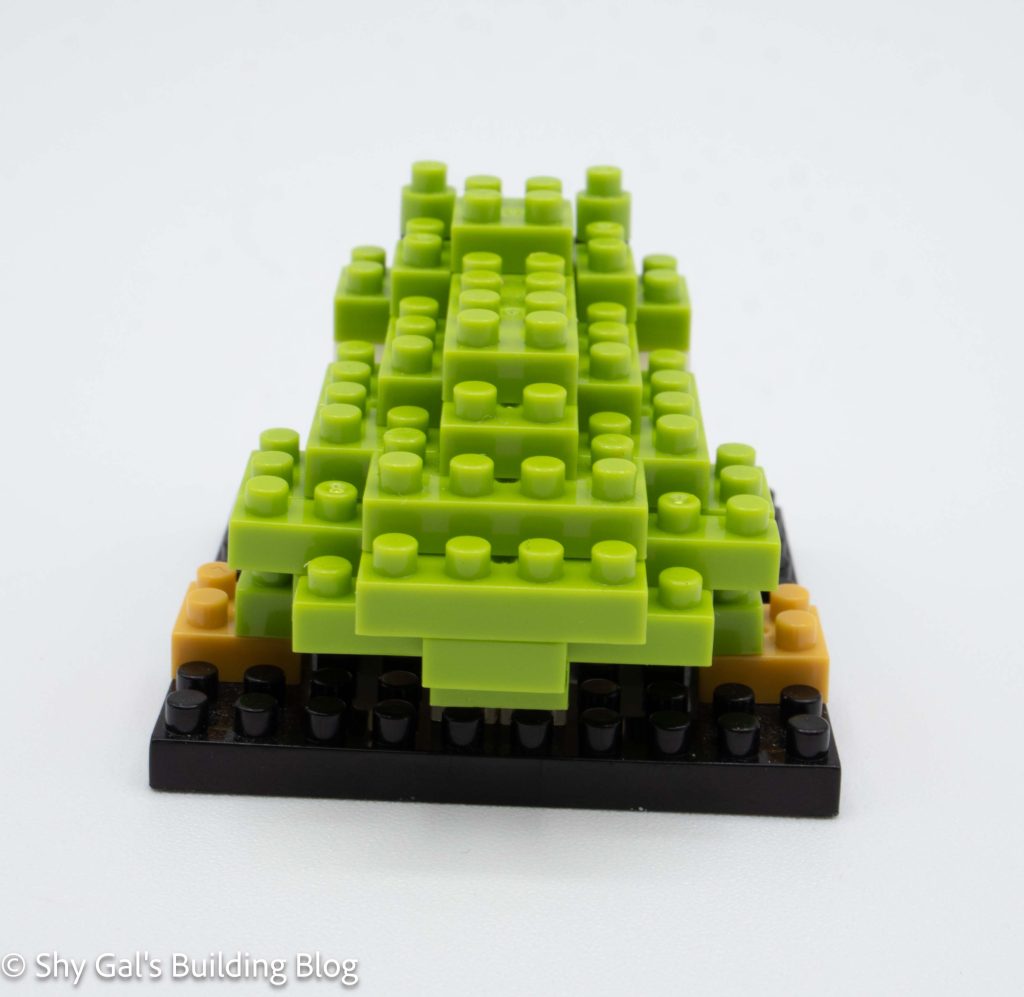
  • I really like the unique pose of the whale

Things I didn’t like:

  • It isn’t clear how to connect the tail and body sections

Review of nanoblock Tree Frog NBC_007

Tree Frog build and package

This post is a review of the nanoblock Tree Frog build. Tree Frog is part of the nanoblock Mini Collection series. Wondering what else is part of the Mini Collection? Click here for a list.

Number: NBC_007

Country: 80

Difficulty Rating: 2/5

Tree Frog build front view

This build is unusual for an NBC kit because it starts with building 2 sections that are both attached to a clear base. The white section is clear and goes up in layers in a fairly straightforward manner. The green section, however, is different. It needs to be built from the top down, which is tricky to hold while building. Once the white and green sections are built, they are added to a pair of clear blocks to create a base.

Tree Frog build side view

Once the sections are added to the base, the rest of the frog goes up in straightforward layers. Eyes are added as details.

Tree Frog build back view

The last step is to add the feet. I wanted to use the base, so I couldn’t put the feet on at angles, as shown in the final build.

Tree Frog build 3/4 view

Things I liked:

  • I really like the frog, and I feel like it really looks like a tree frog

Things I didn’t like:

  • I hate when the photos of the final build show the finished build in a position that can’t be done. In this case, it’s angled feet on the square base

Review of nanoblock Bottlenose Dolphin NBC_003

Bottlenose Dolphin build and pacakge

This post is a review of the nanoblock Bottlenose Dolphin build. Bottlenose Dolphin is part of the nanoblock Mini Collection series. Wondering what else is part of the Mini Collection? Click here for a list.

Number: NBC_003

Number of Pieces: 100

Difficulty Rating: 2

Bottlenose Dolphin build front view

I bought this kit used, knowing I would at least get the instructions. I ended up getting all the bricks to complete the kit. Sadly, however, the white has become yellow with age. The discolored bricks may be visible in my photographs.

Bottlenose Dolphin build side view

This kit is unusual for an NBC kit compared to the other kits I have purchased. The instructions are completely in Japanese. For most other kits I have bought, the colors are at least in English. I think that this could be one of the original kits from one of the early production runs.

Bottlenose Dolphin build back 3/4 view

The build begins by laying out the stomach. I did this by laying the bricks out on my nanoblock pad. The dolphin goes up in layers and is very straightforward.

The final step is to add the stand, flippers, and tail. The stand is clear and straightforward. The tail adds layers to the bottom of the build, so the stand is needed. There are flippers that are connected by a stud. I think that it is used by a stud because of how old the kit is.

Bottlenose Dolphin build front 3/4 view

Things I liked:

  • I like that there is a stand and a base so the bottom of the dolphin so that the stand can’t shift

Things I didn’t like:

  • I don’t love how the flippers look. I think I prefer when the flippers are held on using a ball joint

nanoblock People

There are 2 types of nanoblock people. They are nanoids and nanobbits. The more common model for people are the nanoids.

nanoid

A nanoid is a little person that is made of nanoblocks. There are 2-3 round 1×1 nanoblocks stacked. Usually, there is also a hair-shaped brick. Nanoids are very common in the Sights to See Collection (NBH).

nanobbit

Nanobbits are articulated little figures. They look more like figures with arms and legs that move. The heads also turn.

Review of nanoblock Toy Poodle NBC_060

Toy Poodle build and package

This post is a review of the nanoblock Toy Poodle build. Toy Poodle is part of the nanoblock Mini Collection series. Wondering what else is part of the Mini Collection? Click here for a list.

Number: NBC_060

Number of Pieces: 120

Difficulty Rating: 2

Toy Poodle build front view

I began by building the body on my nanoblock pad. It was built up by adding several layers that created the curved shape.

Next was building the head, which was very straightforward. I really like the red detail, which looks like bows behind the ears.

Toy Poodle build side view

Next, I added the 4 legs and paws. It was a bit tricky to tell where exactly the legs connected to the body.

The final step was to build and add the final details. First, there was the tail. Then there is the bowl holding a bone.

Toy Poodle build back view

The poodle can be attached to the included 10×10 green base. It was a bit tricky to attach the dog to the base.

Toy Poodle build 3/4 view

Things I liked:

  • I feel like the dog is properly shaped to be a poodle. It even has poofy ears and a poofy tail.

Things I didn’t like:

  • Attaching the dog to the display base was tricky

Link to order: