Review of nanoblock Meerkat NBC_022

Meerkat build and package

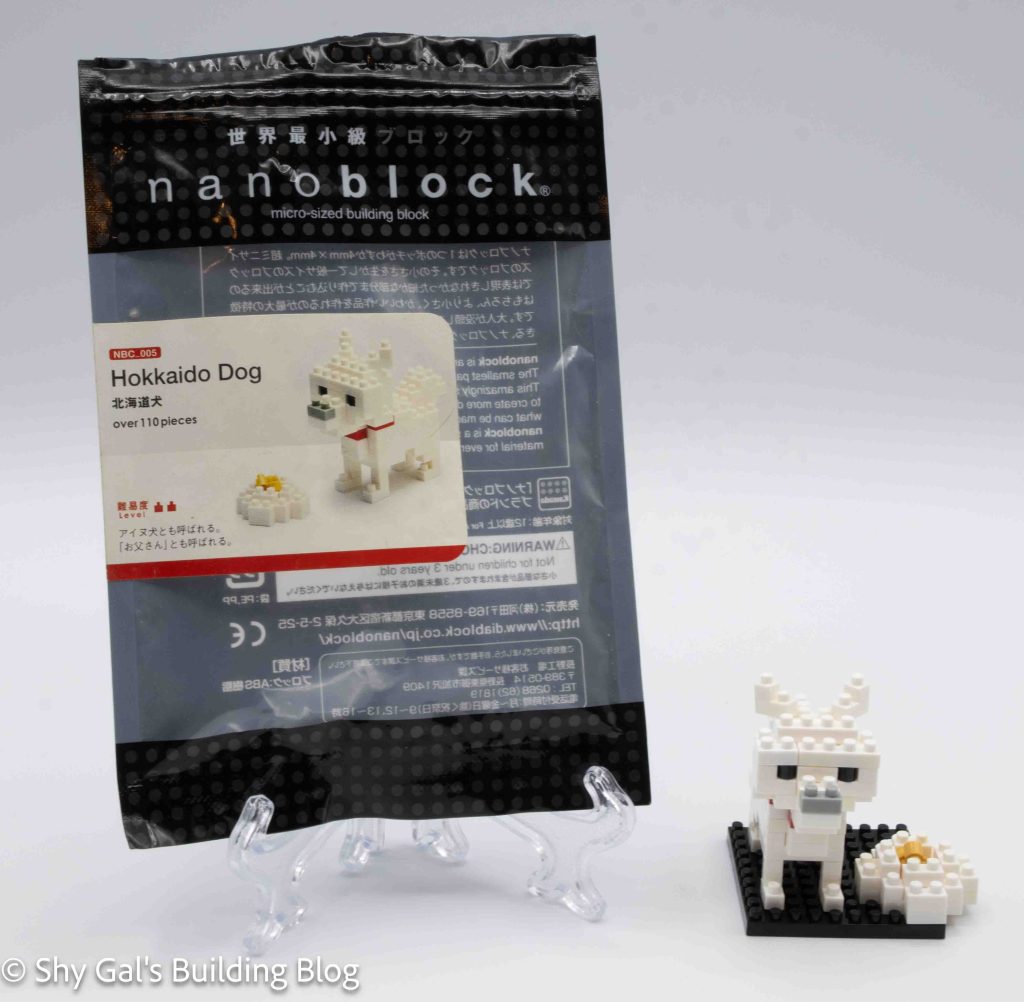
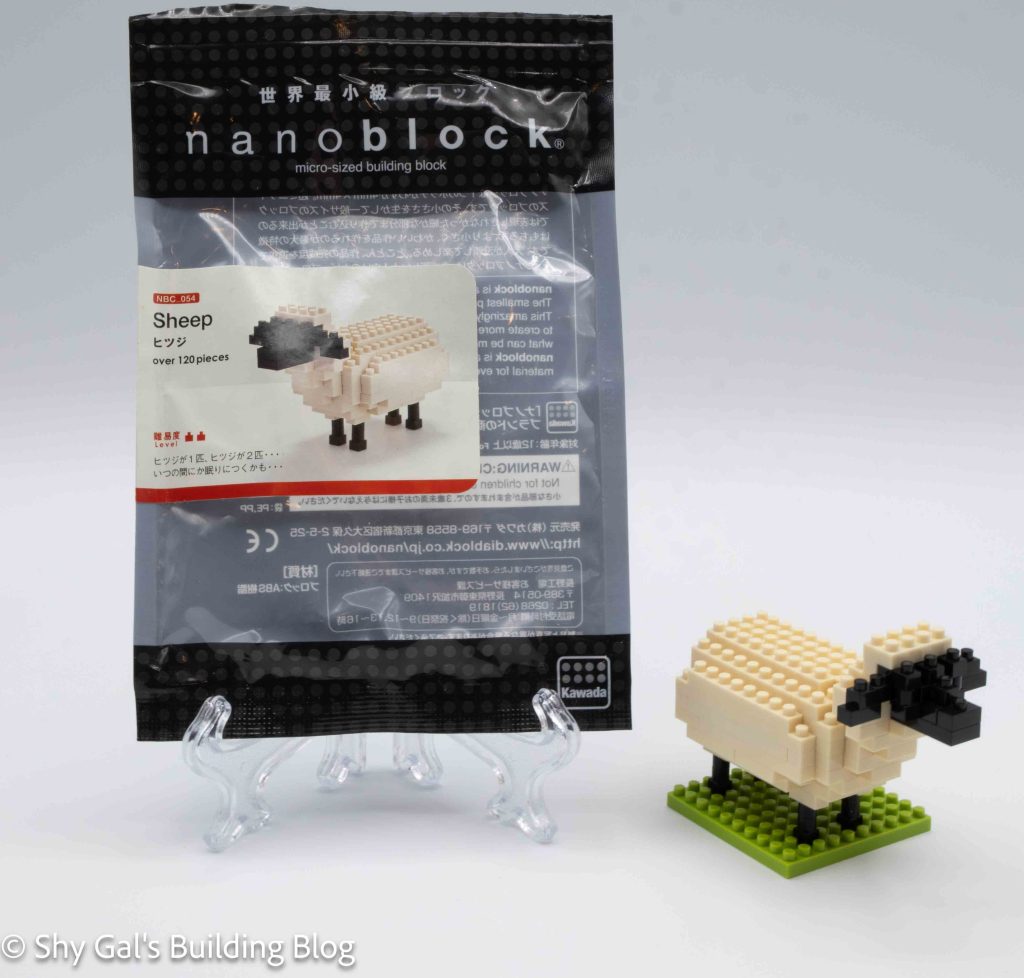
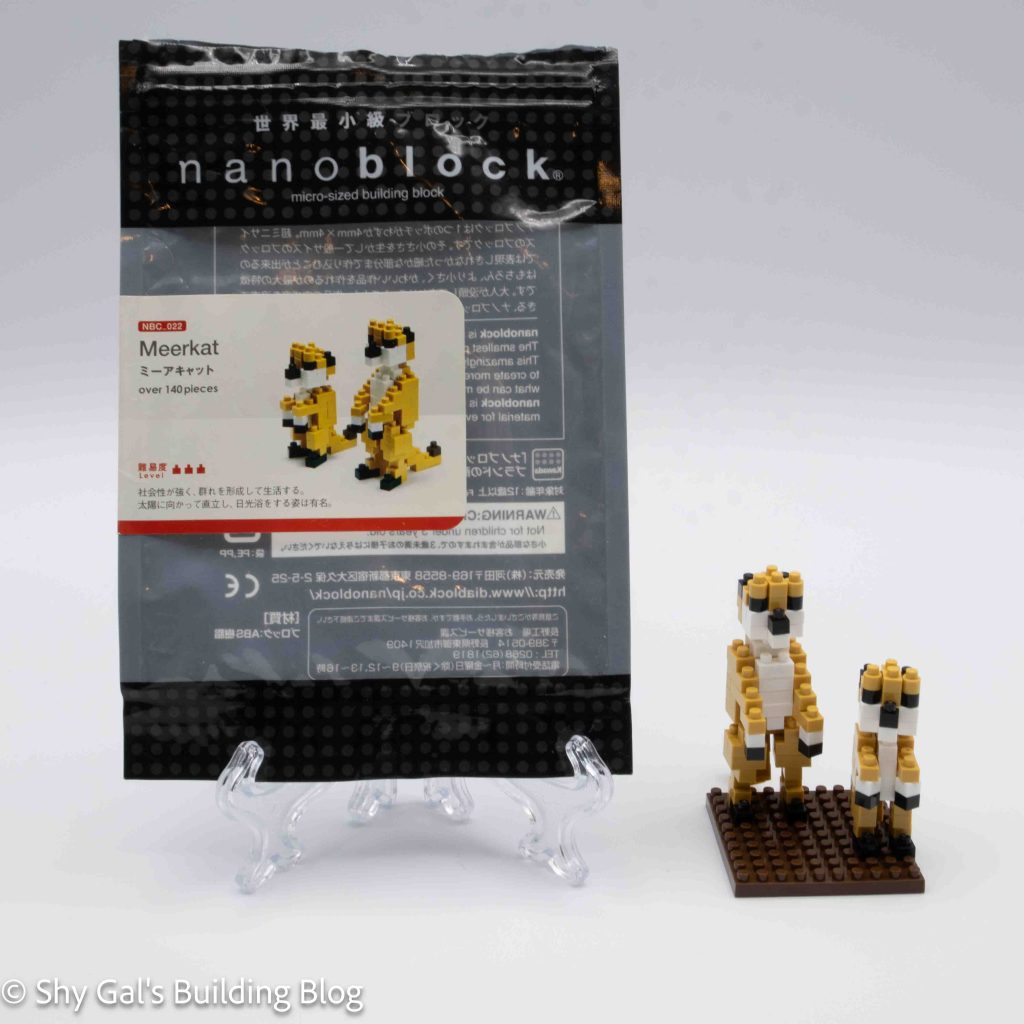
This post is a review of the nanoblock Meerkat build. Meerkat is part of the nanoblock Mini Collection series. Wondering what else is part of the Mini Collection? Click here for a list.

Number: NBC_022

Number of Pieces: 140

Difficulty Rating: 3

Meerkat build front view

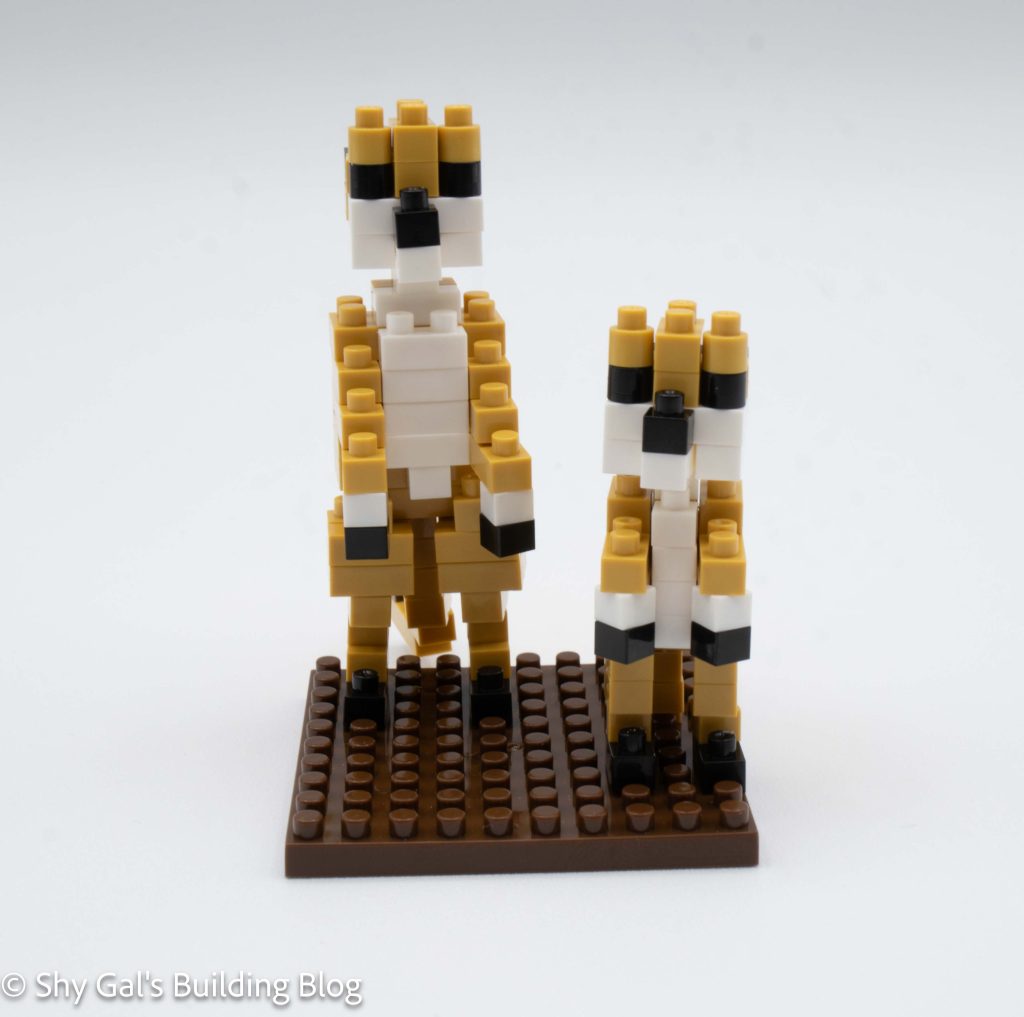
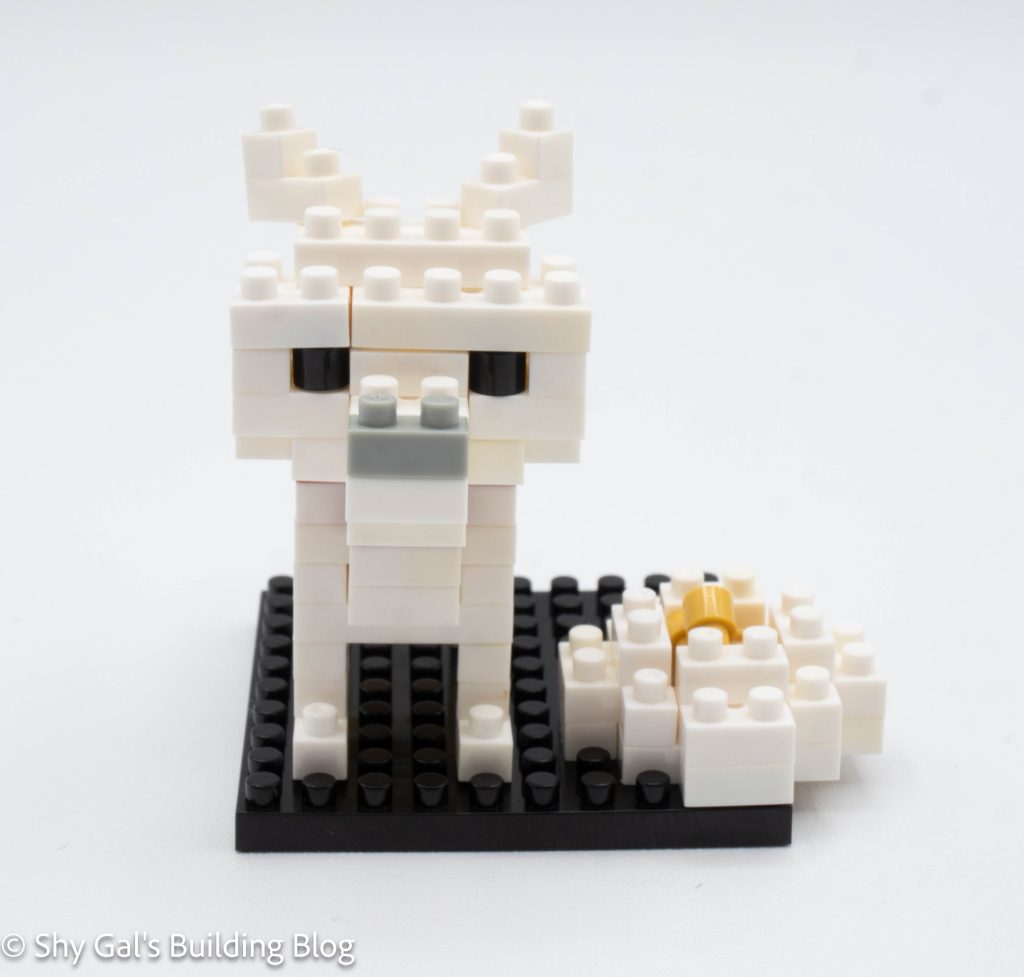
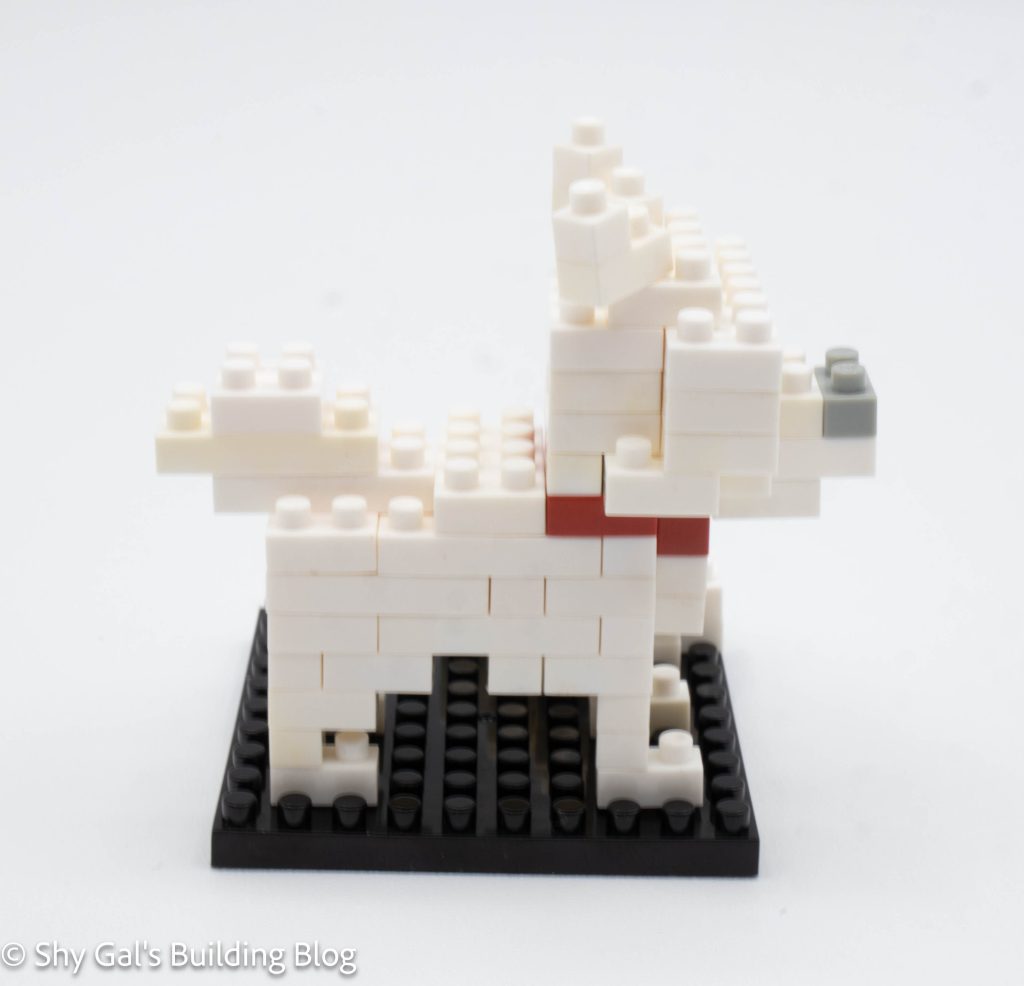
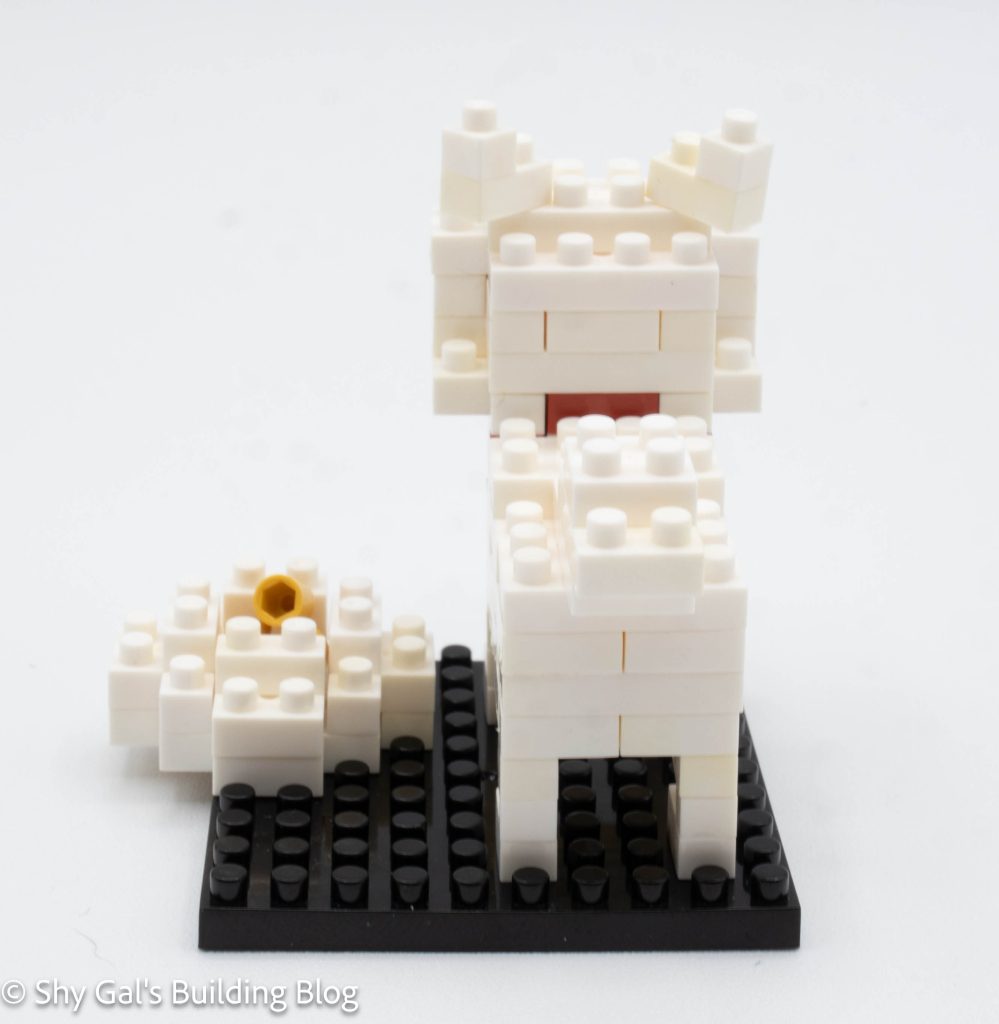
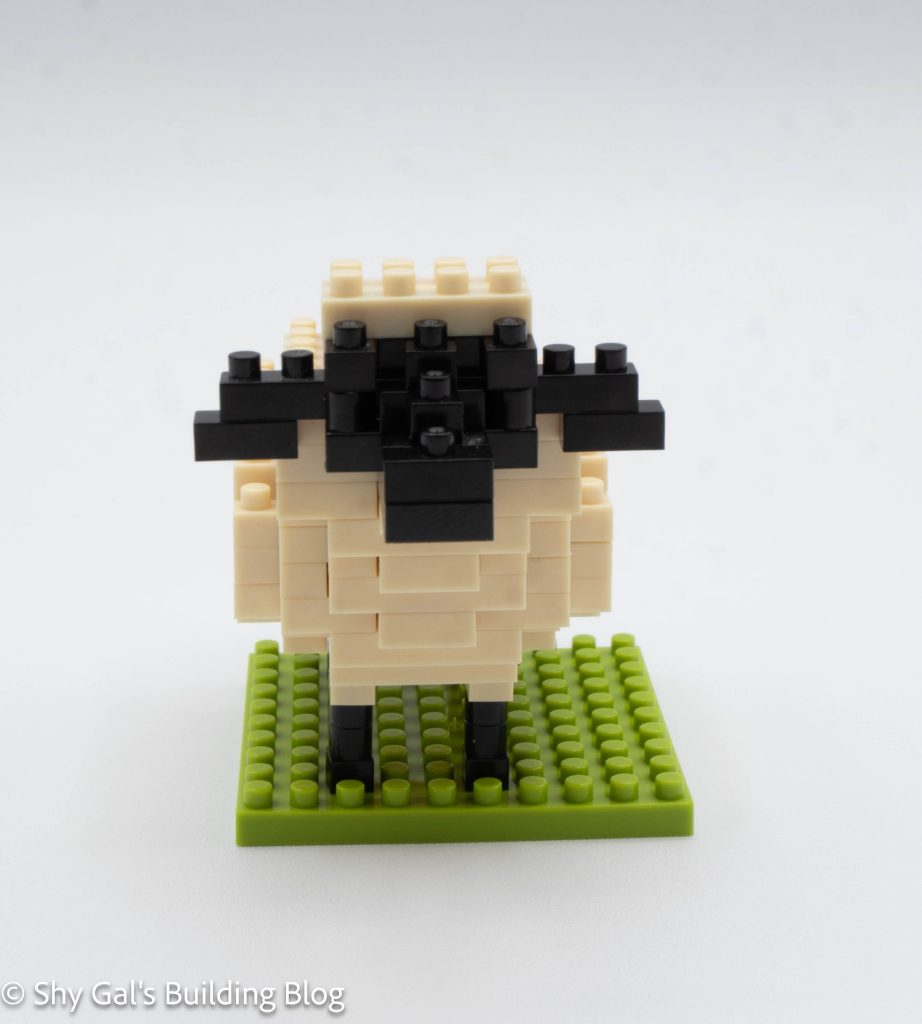
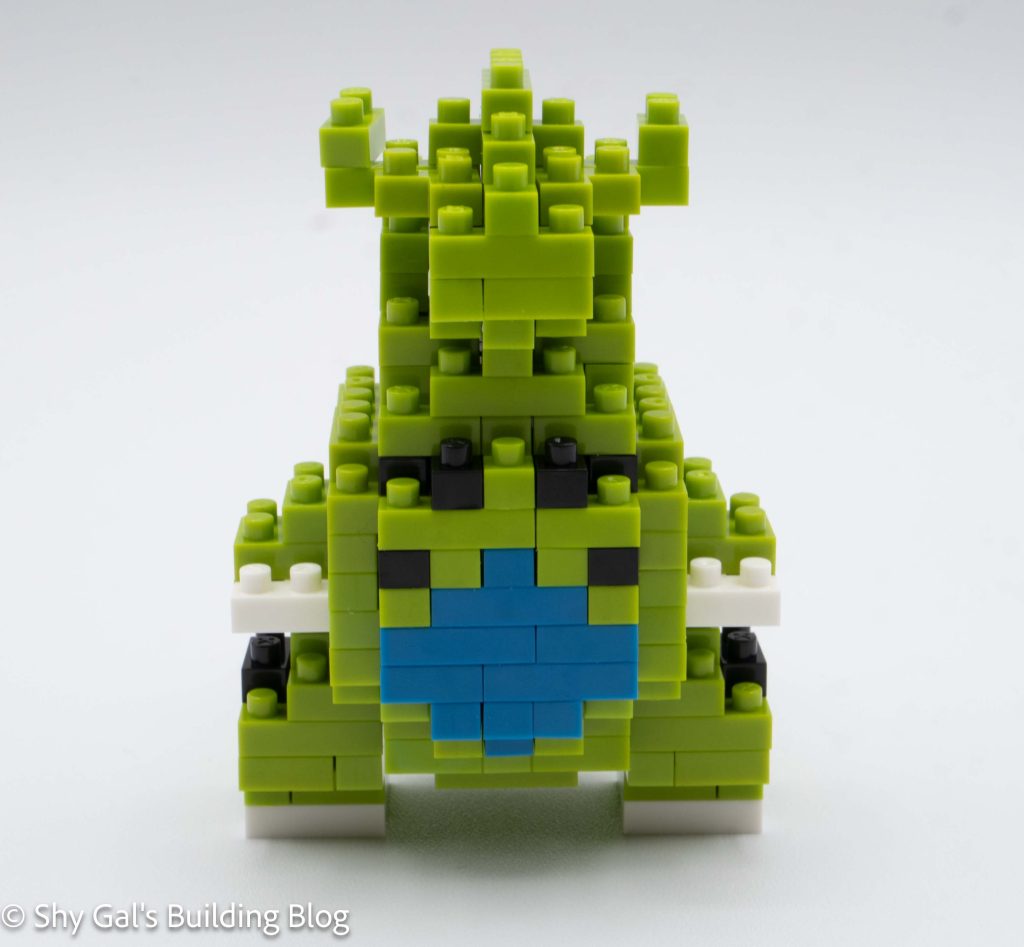
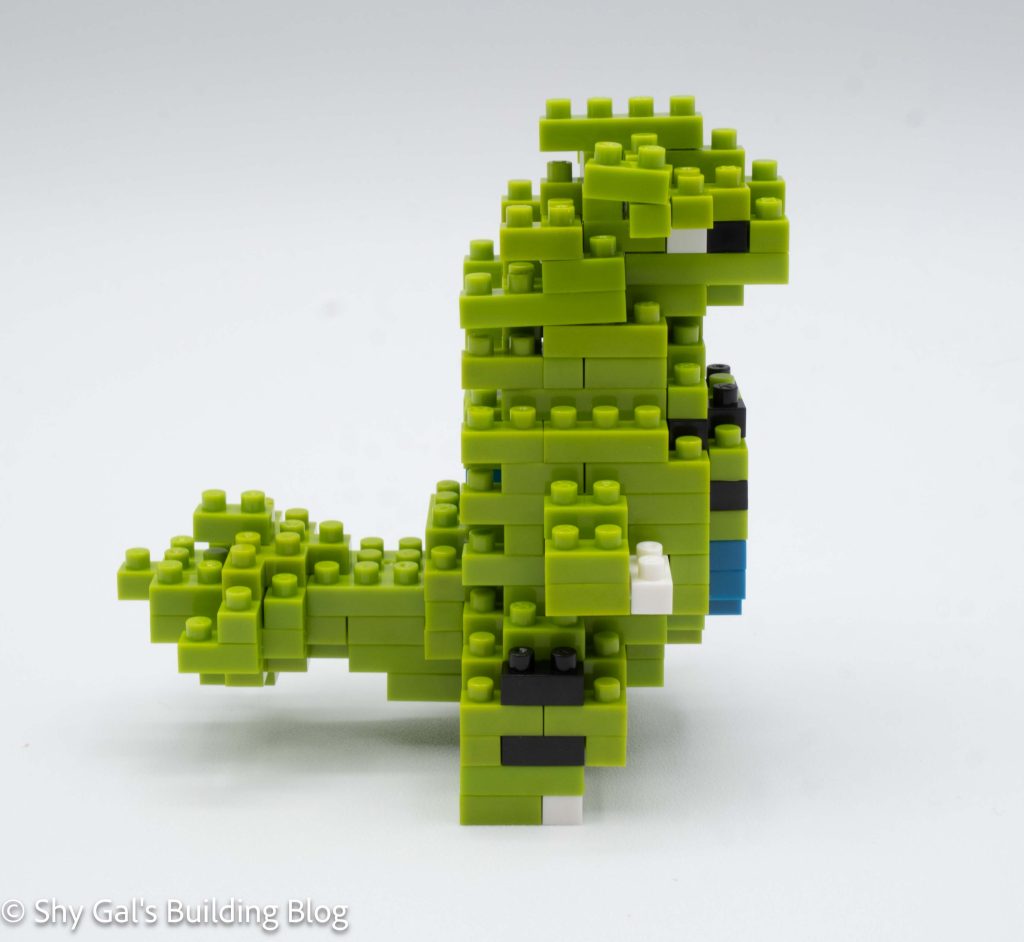
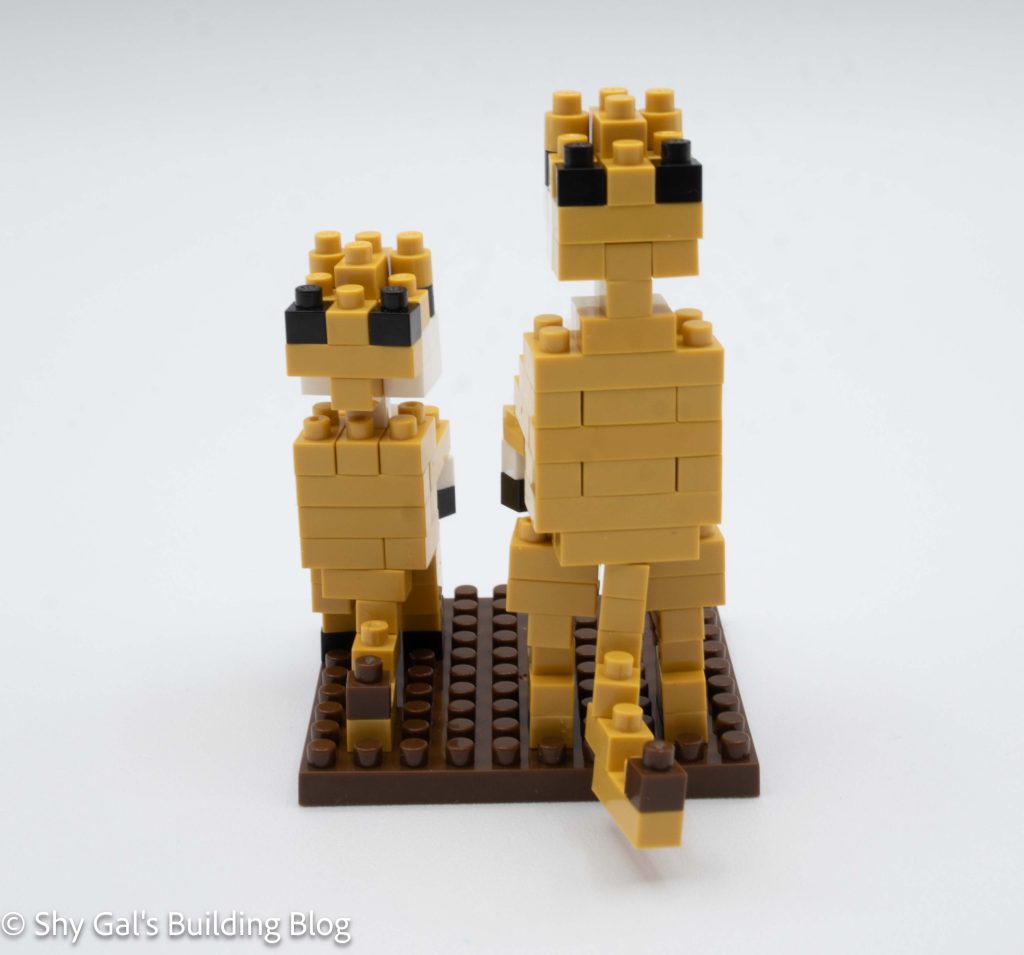
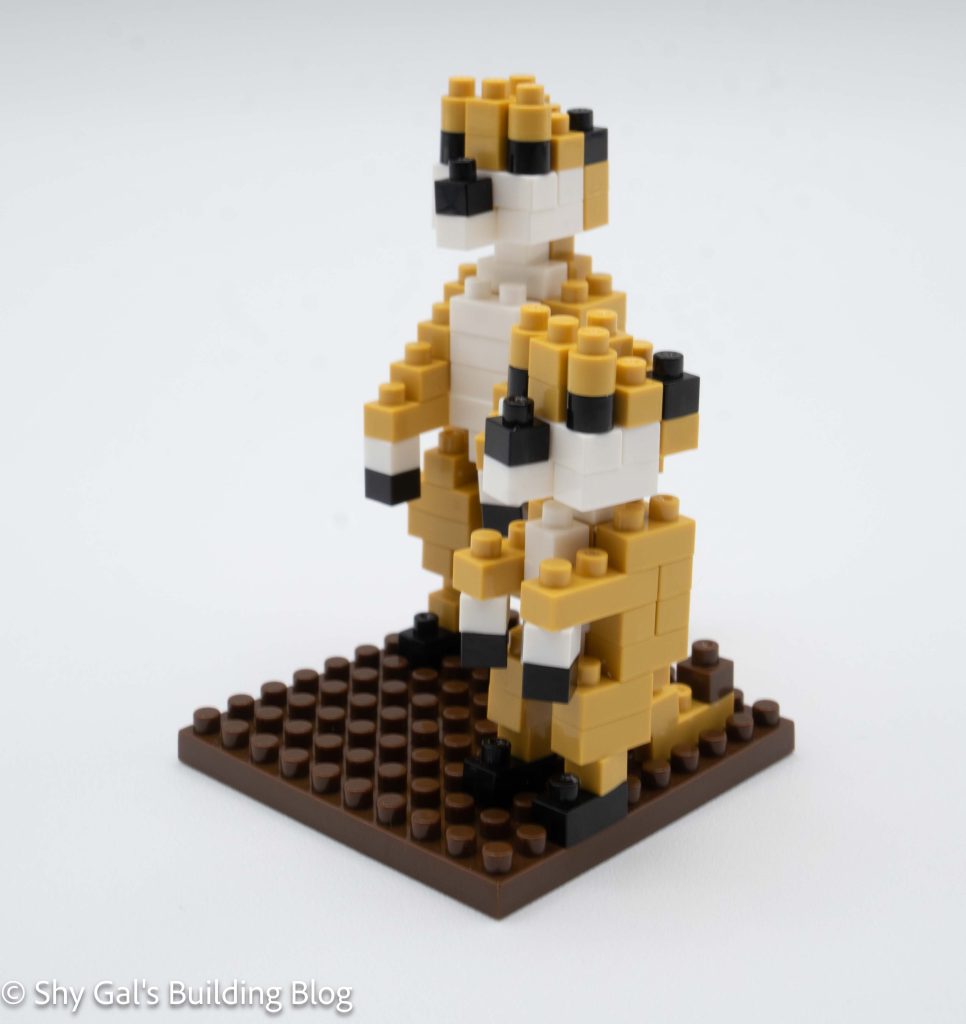
There are two Meerkats in this build. Both are standing on their hind legs with their paws pointing down. They are different heights, but the overall steps are identical.

Meerkat build view view

The first step is to build the bodies. The body is fairly straightforward.

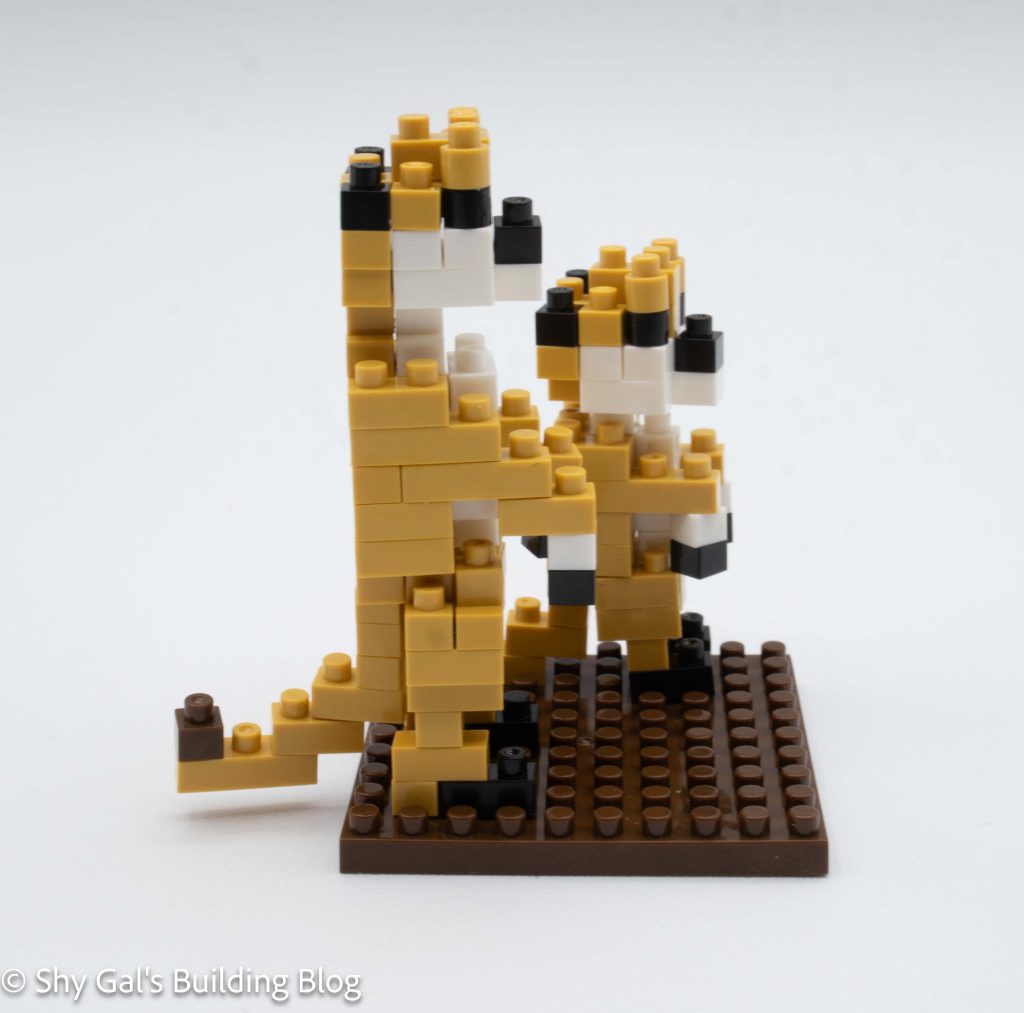
The next step is to build the legs and tail. These are attached to the body. The legs are a bit loose and difficult to keep straight, but I was able to keep them straight long enough to keep the Meerkat on the base.

Meerkat build back view

The last step is to build and add the tail.

Meerkat build 3/4 view

Things I liked:

  • I like that there are multiple heights Merrkat as a part of the build

Things I didn’t like:

  • There are a lot of points that are fragile, which means keeping the build together is difficult

Review of nanoblock Hokkaido Dog NBC_005

Hokkaido Dog build and package

This post is a review of the nanoblock Hokkaido Dog build. Hokkaido Dog is part of the nanoblock Mini Collection series. Wondering what else is part of the Mini Collection? Click here for a list.

Number: NBC_005

Number of Pieces: 110

Difficulty Rating: 2

Hokkaido Dog build front view

I bought this kit used, knowing I would at least get the instructions. I ended additionally getting all the bricks to complete the kit. Sadly, however, the white has become yellow with age. The discolored bricks may be visible in my photographs.

Hokkaido Dog build side view

The build begins with the body of the dog. I was able to lay the body out on my nanoblock pad.

Next, the head is built. The head is fairly straightforward. Once completed, the head is a little square, in my opinion, which doesn’t look like the actual dog breed.

Hokkaido Dog build back view

The last step for the dog is to build and attach the legs. The Hokkaido Dog kit comes with a display base.

In addition to the dog, there are also bricks to create a dog bowl with kibble. The bowl is very simple to build. The kibble in the bowl is just loose bricks tossed into the bowl. I don’t like it when there are loose bricks in a completed build because I worry that the bricks will get lost.

Hokkaido Dog build 3/4 view

Things I liked:

  • I like the shape of the tail and the detail of the collar

Things I didn’t like:

  • The food in the bowl is just loose bricks that can easily fall out. I don’t like it when there are loose bricks

Review of nanoblock Nile Crocodile NBC_058

Nile Crocodile build and package

This post is a review of the nanoblock Nile Crocodile build. Nile Crocodile is part of the nanoblock Mini Collection series. Wondering what else is part of the Mini Collection? Click here for a list.

Number: NBC_058

Number of Pieces: 100

Difficulty Rating: 1

Nile Crocodile build front view

I built the main body section of the crocodile on my nanoblock pad. The base layer of the body is so long that I’m not sure it would fit on the smaller pad. The rest of the main body goes up in straightforward layers.

Nile Crocodile build side view

The next step is to attach the legs and lower jaw. Centering the lower jaw was a little difficult because it was an odd/even situation.

Nile Crocodile build back view

The final step is to add the top of the head and the tail. Getting the teeth lined up was a little tricky since the middle teeth didn’t have a wall to push against to line them up. The tail is a chain of bricks that are 2 tall. It is cool that the tail is posable, like the head and legs.

Nile Crocodile build 3/4 view

Things I liked:

  • I like that the head and legs are posable

Things I didn’t like:

  • I don’t like that to get the legs to be posable. There are gaps in the side of the crocodile

Review of nanoblock Salamence NBPM_100

Salamence build and pacakge

This post is a review of the nanoblock Salamence build. Salamence is part of the nanoblock Pokemon collection. Wondering what else is part of the Pokemon collection? Click here for a list.

Number: NBPM_100

Number of Pieces: 210

Difficulty Rating: 2/5

Salamence build front view

Salamence is a Dragon/Flying type Pokemon that was introduced in generation 3. It’s the final evolution of Bagon. I feel that the finished build is highly recognizable as the Pokemon. I think its wings look very bulky, but I’m unsure how to make things less bulky and keep the shape.

Salamence is built in several different sections that are combined bit by bit to create the Pokemon.

Salamence build side view

Salamence begins with a layer of grey bricks that need to be laid out. I lay the layer out on my nanoblock pad to begin the build. The body is built in layers. There are a few points where a layer takes multiple steps, making the instructions much more readable.

After building the body section, it’s time to build the head. Once again, it begins with a base layer. I once again used my nanoblock pad to build the head. The head is straightforward. After building the head, it is attached to the body.

Salamence build back view

The next step is to build the 4 legs. The legs are then added to the body section. Then a few bricks are added to the tail on the body.

The final step is to build the wings. I was surprised that the wings were identical. They are the correct shape, but in order to create the shape, the wings need to be 2 layers thick which causes the wings to look a little blocky. Once the wings are added, the build is complete.

Salamence build front 3/4 view

Things I liked:

  • I like that the colors of the build match the Pokemon
  • I like the fact that some of the layers are in 2 steps, which makes the steps clearer

Things I didn’t like:

  • I don’t like that the wings look blocky

Review of nanoblock Sheep NBC_054

Sheep build and pacakage

This post is a review of the nanoblock Sheep build. Sheep is part of the nanoblock Mini Collection series. Wondering what else is part of the Mini Collection? Click here for a list.

Number: NBC_054

Number of Pieces: 120

Difficulty Rating: 2/5

Sheep build front view

The first thing I noticed about this kit was the color that was provided for the body of the sheep. The bricks were cream which at a quick glance could be a damaged white brick. In looking at the directions, it became clear that the body of the sheep is off-white, not white.

Sheep build side view

The build begins by building the round body. Building the body is straightforward because it is just adding layers without too many sections overlapping the edges of the build. I built this section on my nanoblock pad.

The next step is to build the head. I had some difficulty figuring out where exactly to put the bricks because there are some gaps. I was able to figure it out by looking at the current and next steps. After building the head, it is attached to the body.

Sheep build back view

The next step is to flip the body and close up the bottom of the body.

The final step is to attach the four legs to the bottom of the body. The sheep comes with a base that the build can be placed on.

Sheep build 3/4 view

Things I liked:

  • I like how round the sheep is. It looks like a super puffy sheep

Things I didn’t like:

  • I don’t like the cream-colored bricks. It made me think the bricks were miscolored or damaged since the color is so rare

Review of nanoblock Tyranitar NBPM_099

Tyranitar build and package

This post is a review of the nanoblock Tyranitar build. Tyranitar is part of the nanoblock Pokemon collection. Wondering what else is part of the Pokemon collection? Click here for a list.

Number: NBPM_099

Number of Pieces: 210

Difficulty Rating: 2/5

Tyranitar build front view

Tyranitar is a Rock/Dragon type Pokemon introduced in generation 2. It’s the final evolution of Larvitar. I feel that the final build is highly recognizable. My only complaint is the color of the stomach plate. I think the plate should be a grey instead of the bright blue.

The build begins with creating the base of the Tyranitar. It takes 2 steps to create the entire base. From there, the bottom spreads out to create the widest point of the base.

Tyranitar build side view

The body goes up in a very straightforward fashion. In general, each layer takes 2 steps in the instructions. The fact that each step takes so much space means that it is very clear which bricks to add.

The build goes from the widest point and goes up in layers. Each layer is mostly green, but sometimes additional colors are added to create the claws, stomach plate, and details.

Tyranitar build back view

Tyranitar is a solid collection of layers of bricks. This includes the head. The only things not built into the main build are the legs. The legs are built separately and added to the bottom of the build.

Tyranitar build front 3/4 view

Things I liked:

  • I loved how clear the instructions were and how much space each step has

Things I didn’t like:

  • I wish the stomach plate was grey, not bright blue, to be closer to the actual Pokemon

Review of nanoblock Red-Eared Slider NBC_033

Red-Eared Slider build and package

This post is a review of the nanoblock Red-Eared Slider build. The Red-Eared Slider is part of the nanoblock Mini Collection series. Wondering what else is part of the Mini Collection? Click here for a list.

Number: NBC_033

Number of Pieces: 70

Difficulty Rating: 1/5

Red-Eared Slider build front view

The Red-Eared Slider is a turtle that has difficulty level 1. This means that the build is very straightforward.

Red-Eared Slider build side view

The build begins by creating the shell. I built the small pyramid of bricks that made up the shell on my nanoblock pad.

After building the shell, the build is flipped over, and the underside of the turtle is added. The head is also built and added to the build. I like how the orange bricks add the details of the cheeks.

Red-Eared Slider build back view

The last step is to add the feet.

Like most of the early builds, the Red-Eared Slider has a base. In this case, it is a clear blue square. Sadly I wasn’t able to get my turtle to line up at the angle to make the turtle look like the one in the photo.

Red-Eared Slider build 3/4 view

Things I liked:

  • The color selected to create the cheeks

Things I didn’t like:

  • I wasn’t able to angle the turtle like how it is shown in the final build photo