Review of nanoblock Moominmamma MOM-101

Moominmamma build and box

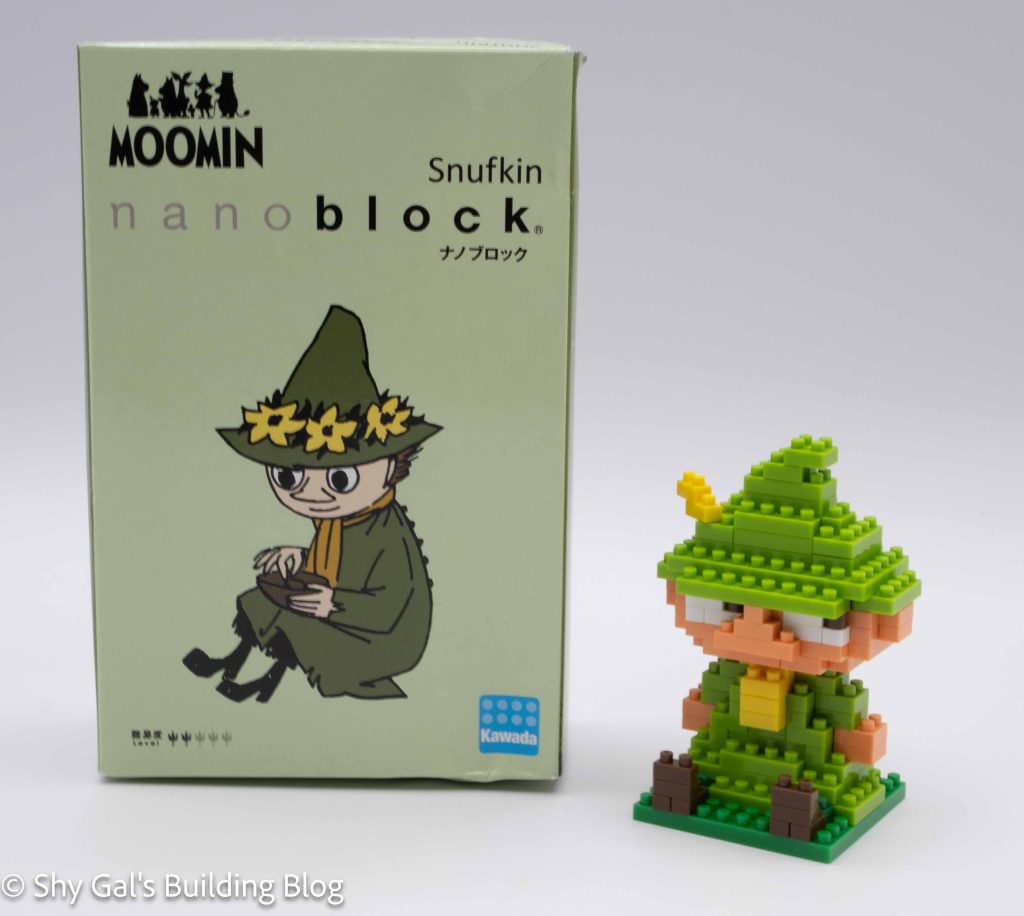
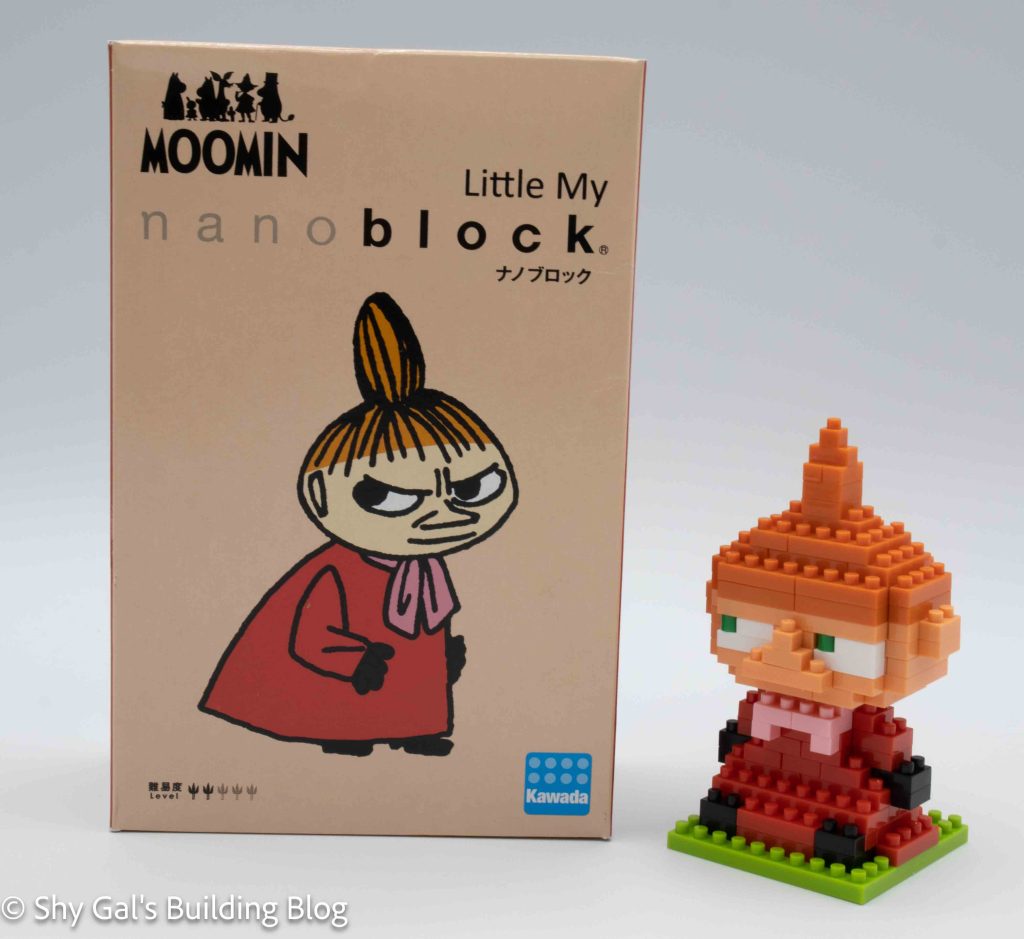
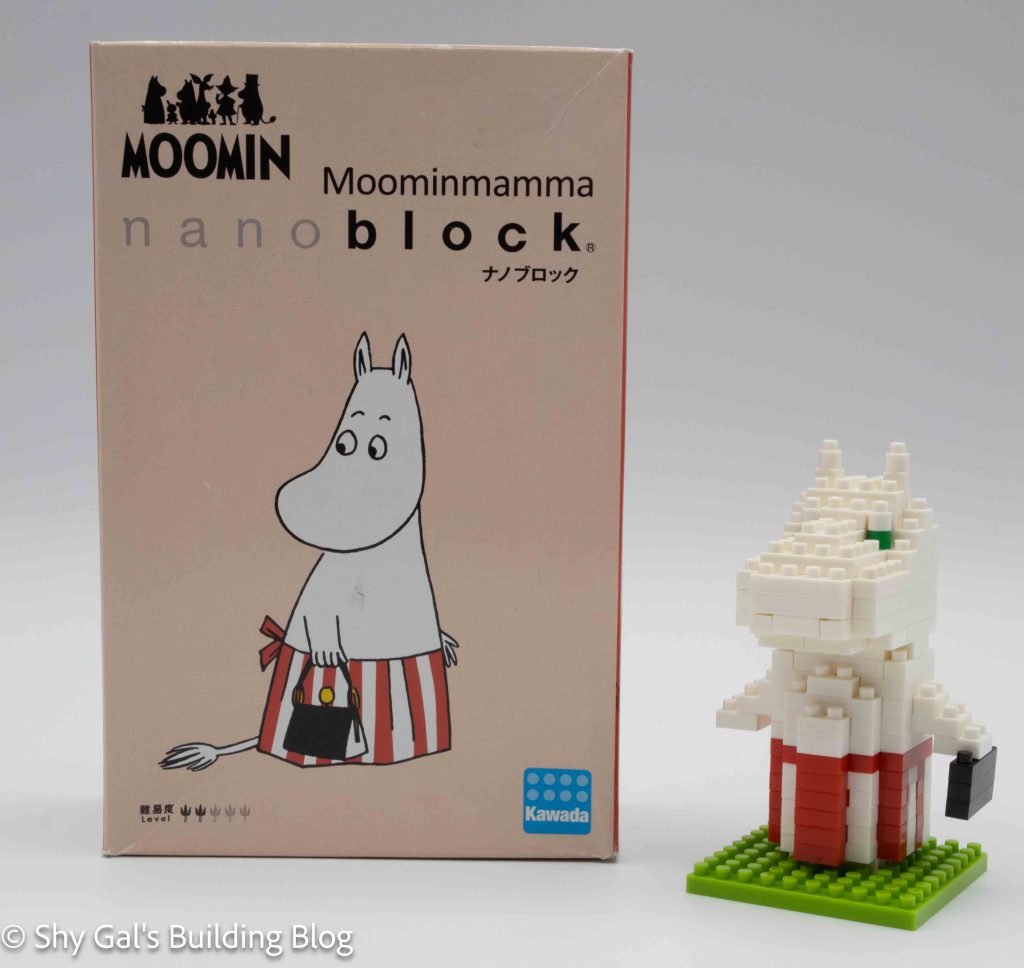
This post is a review of the nanoblock Moominmamma build. Moominmamma is part of the nanoblock Moomin collection.

Number: MOM-101 

Difficulty Rating: 2/5

Moominmamma build front view

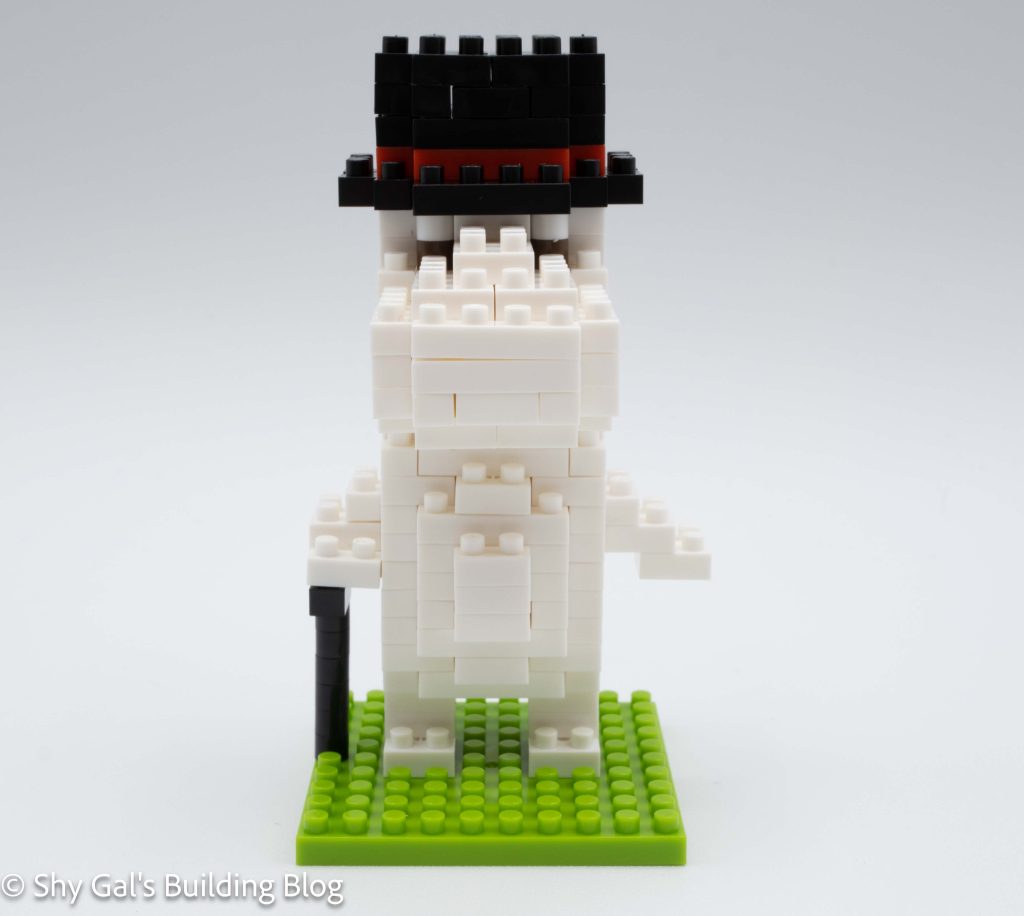
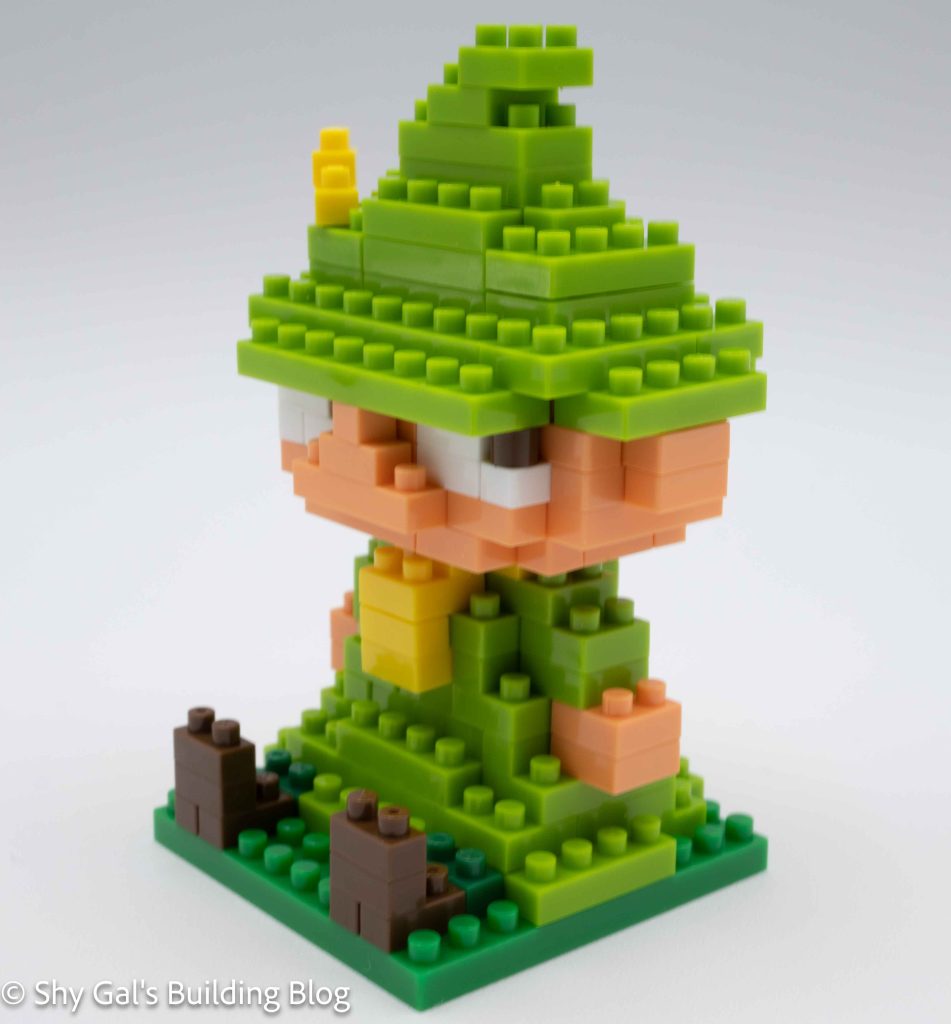
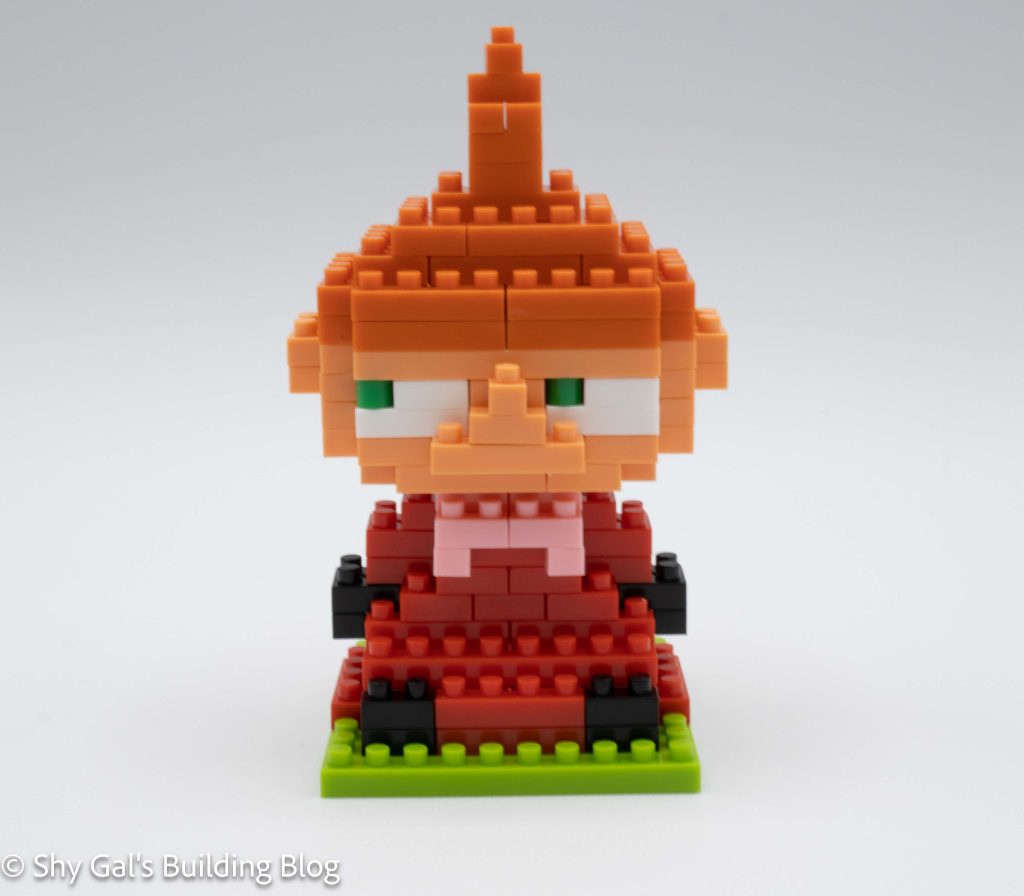
Moominmamma is one of the Moomins that live in Moominvalley. She is Moomintroll’s mother. In images, she is recognizable by the striped apron that she wears.

The build is broken up into 3 parts. There are the feet, the body, and the head.

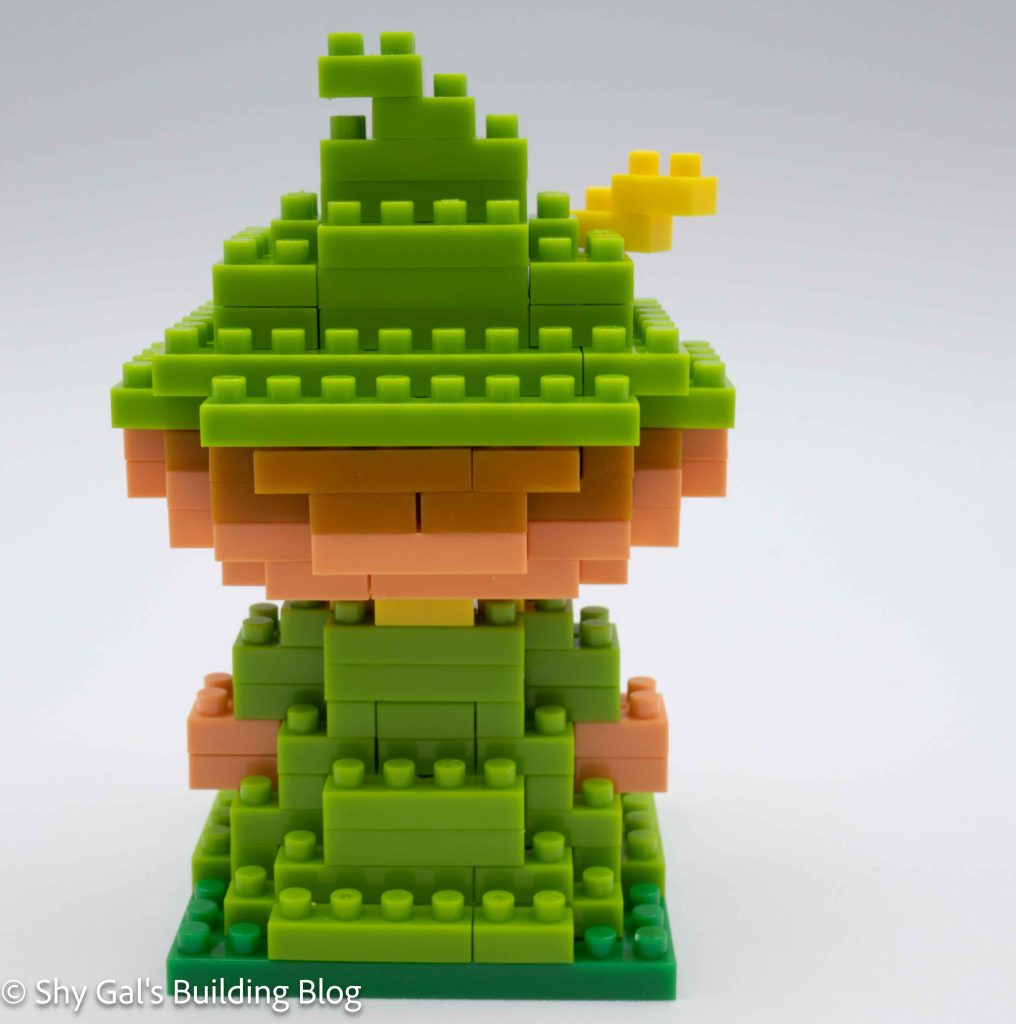
The feet section is straightforward and is completed by adding the feet to the 10×10 base.

Moominmamma build side view

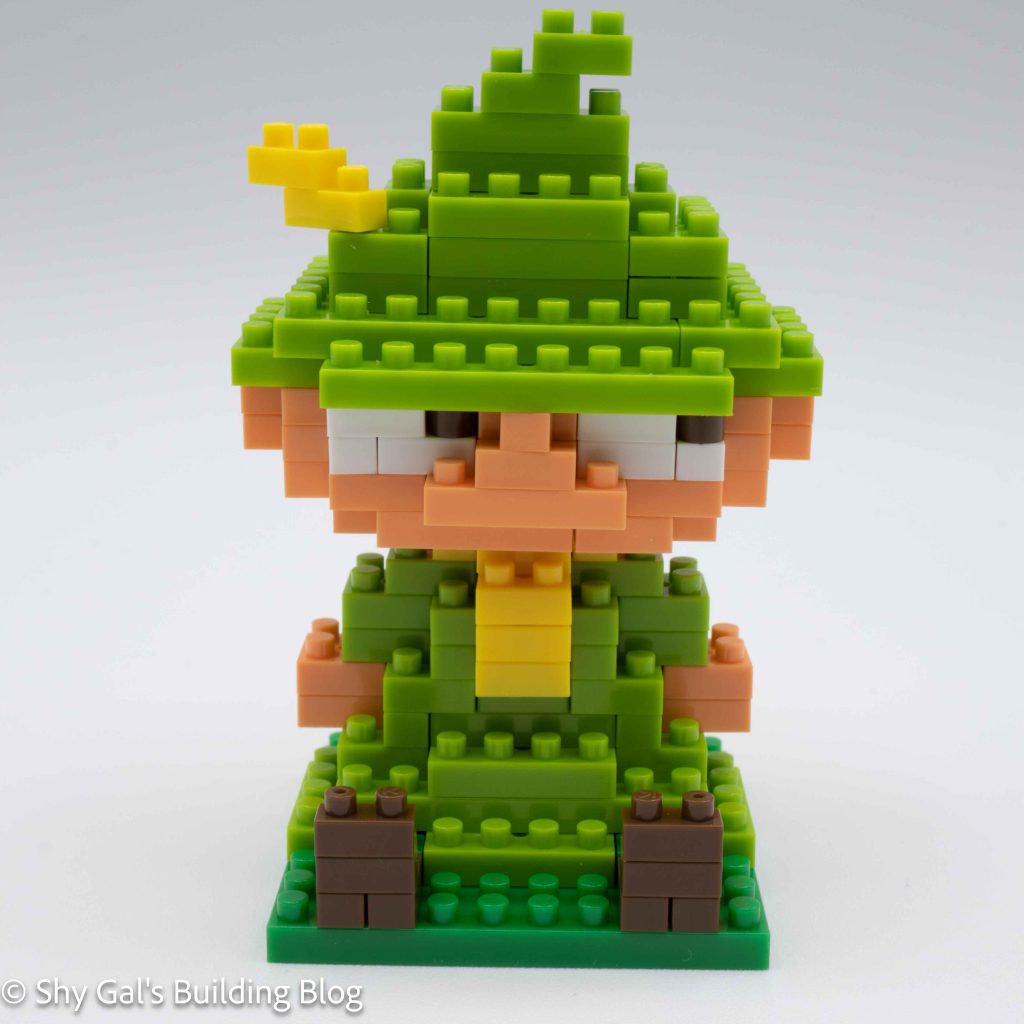
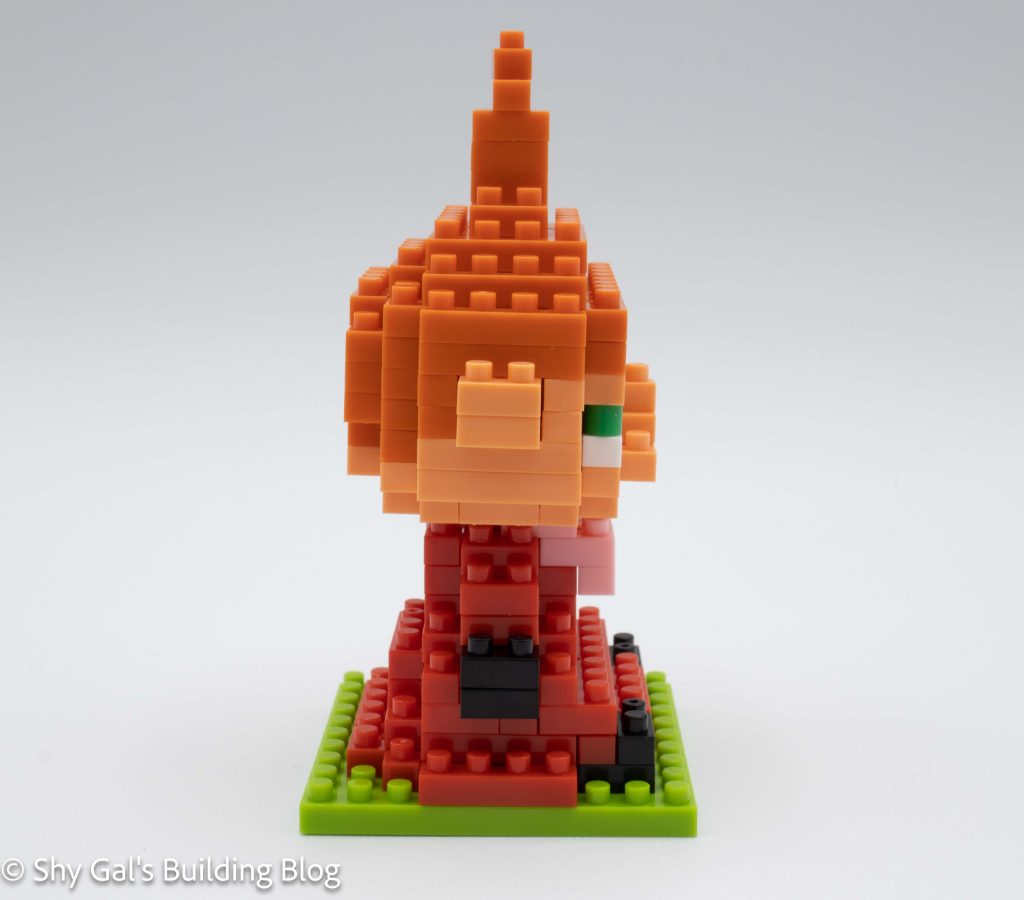
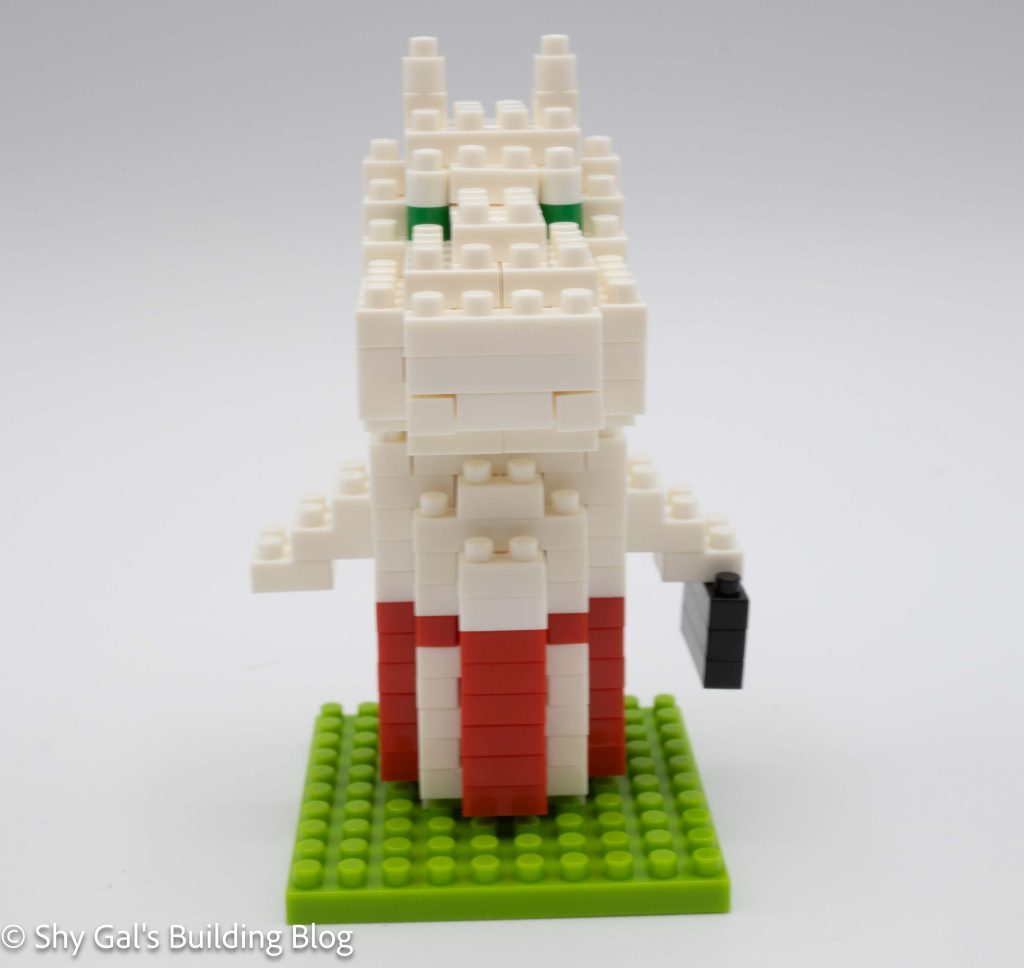
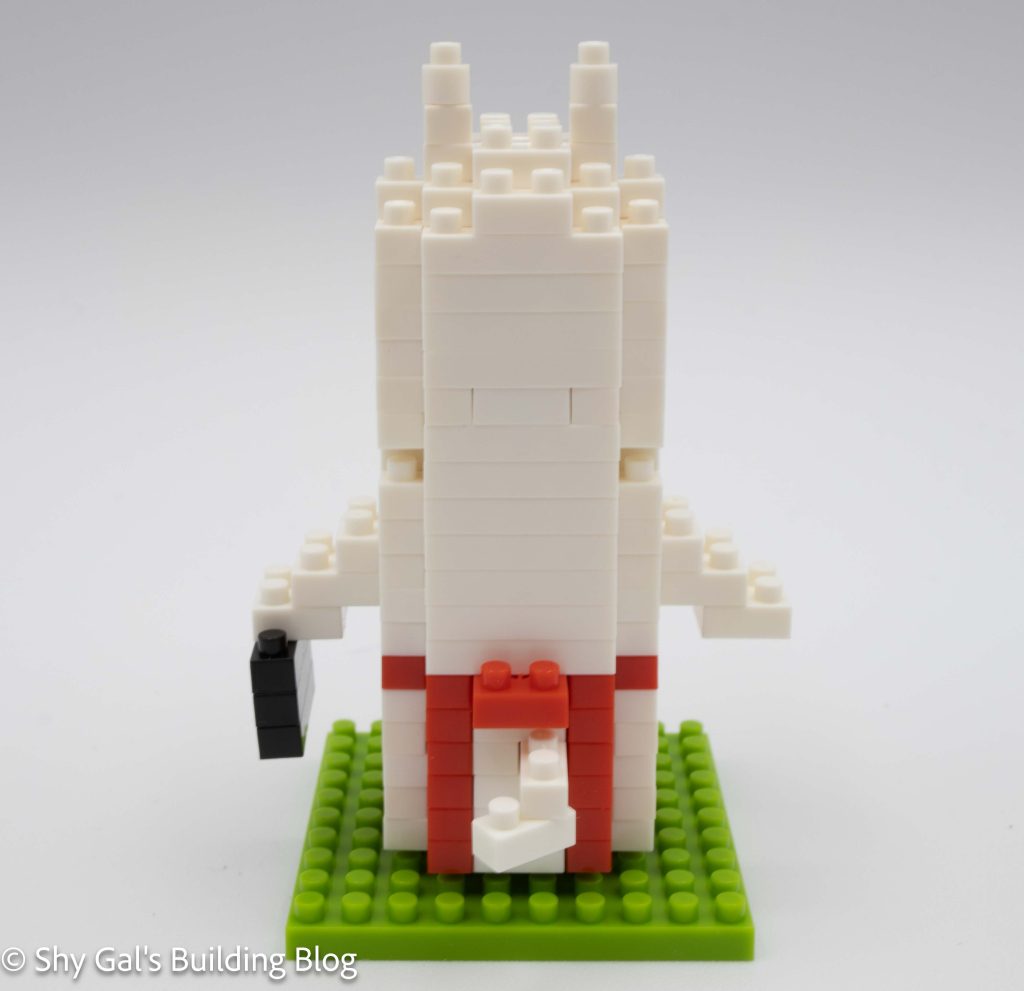
The next segment is the body. That portion of the body is building the striped apron. This is done using a lot of 1×1 bricks so it is important to keep the bricks straight. I really like that Moominmamma has the details of her tail and the ties for the apron. Other than making sure that the bricks are straight, the body goes up in straightforward layers.

Moominmamma build back view

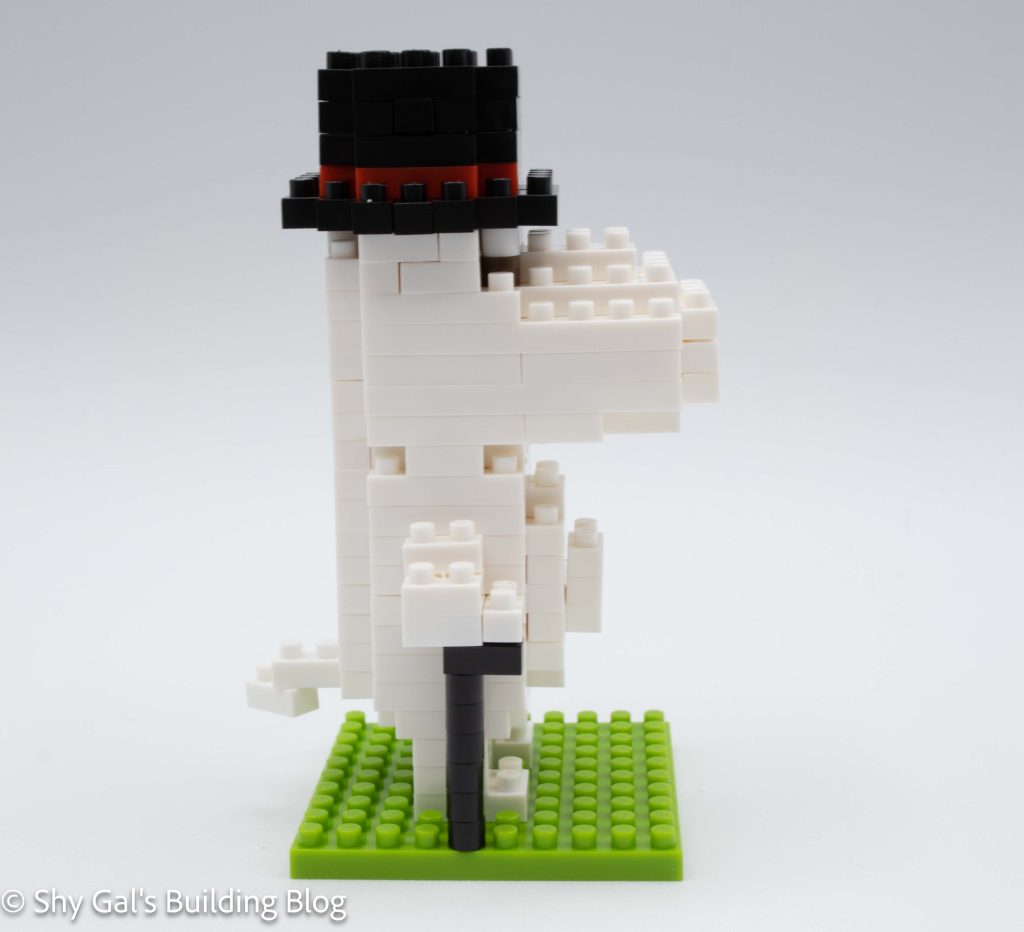
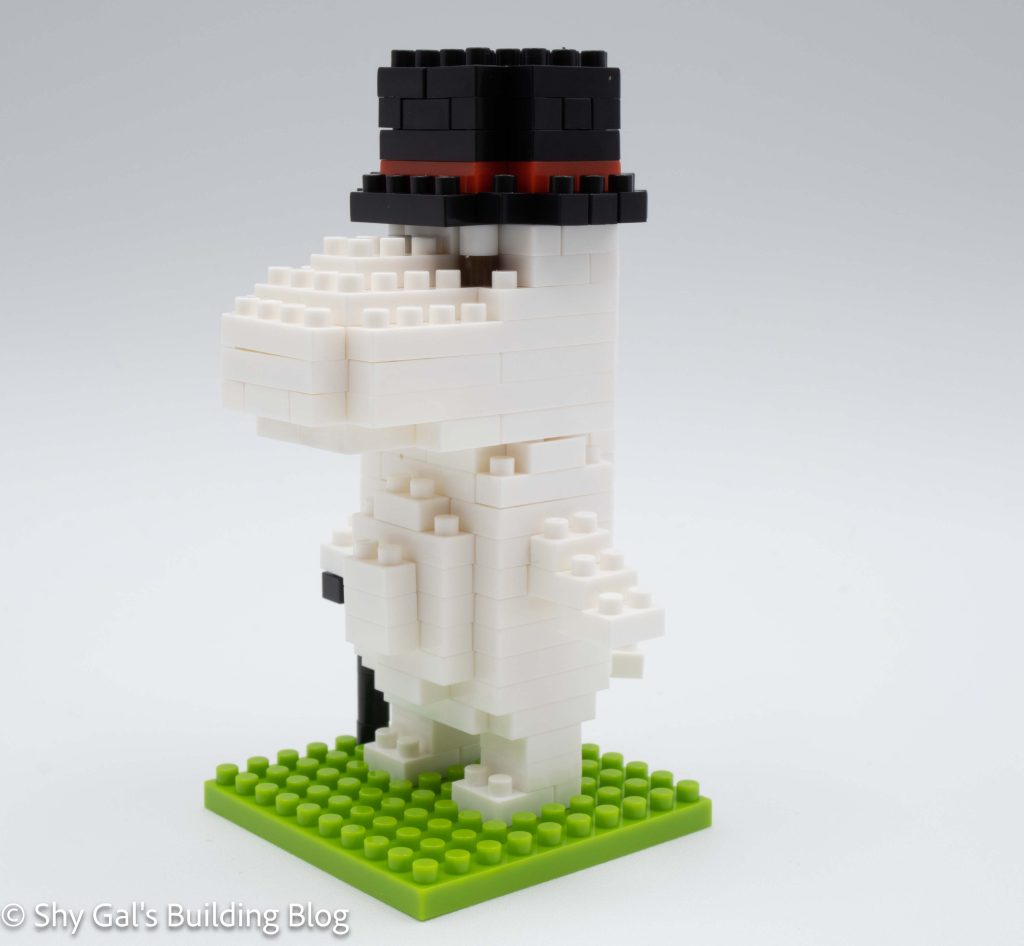
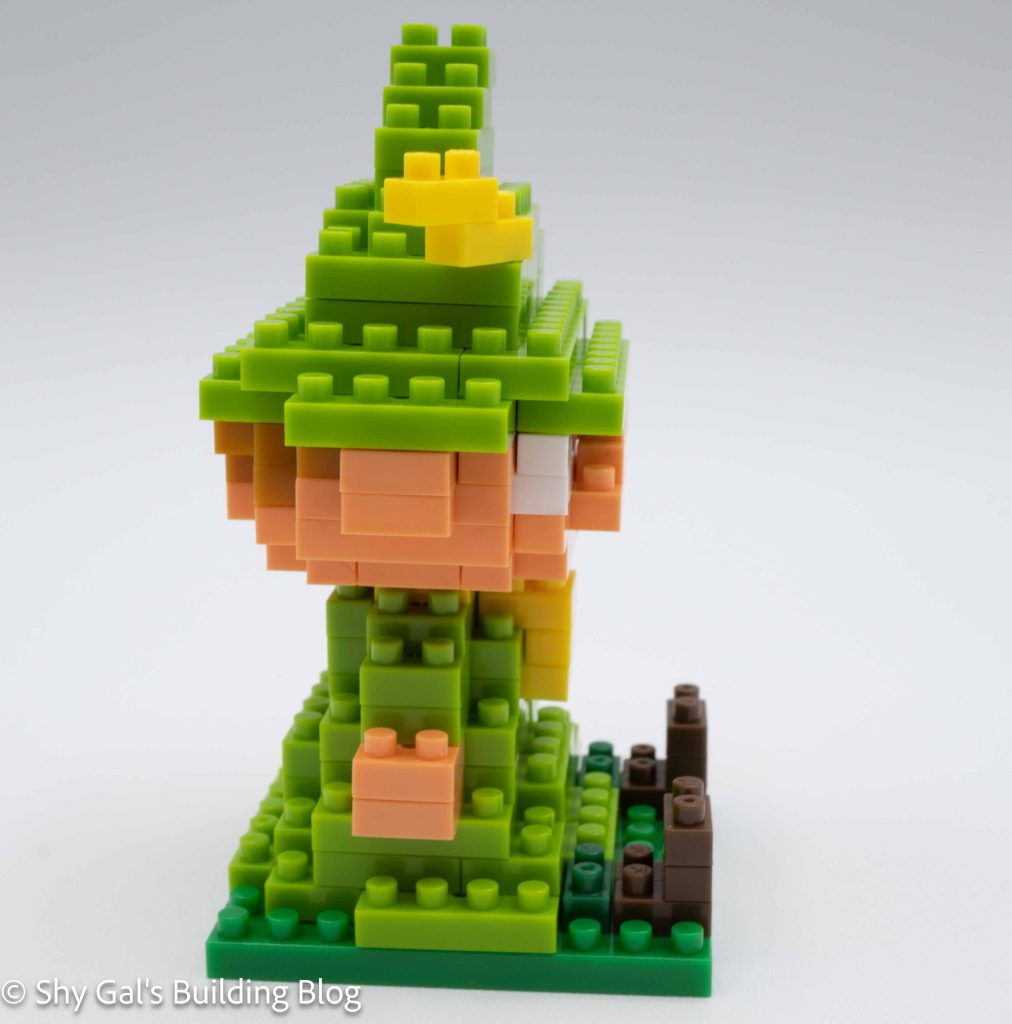
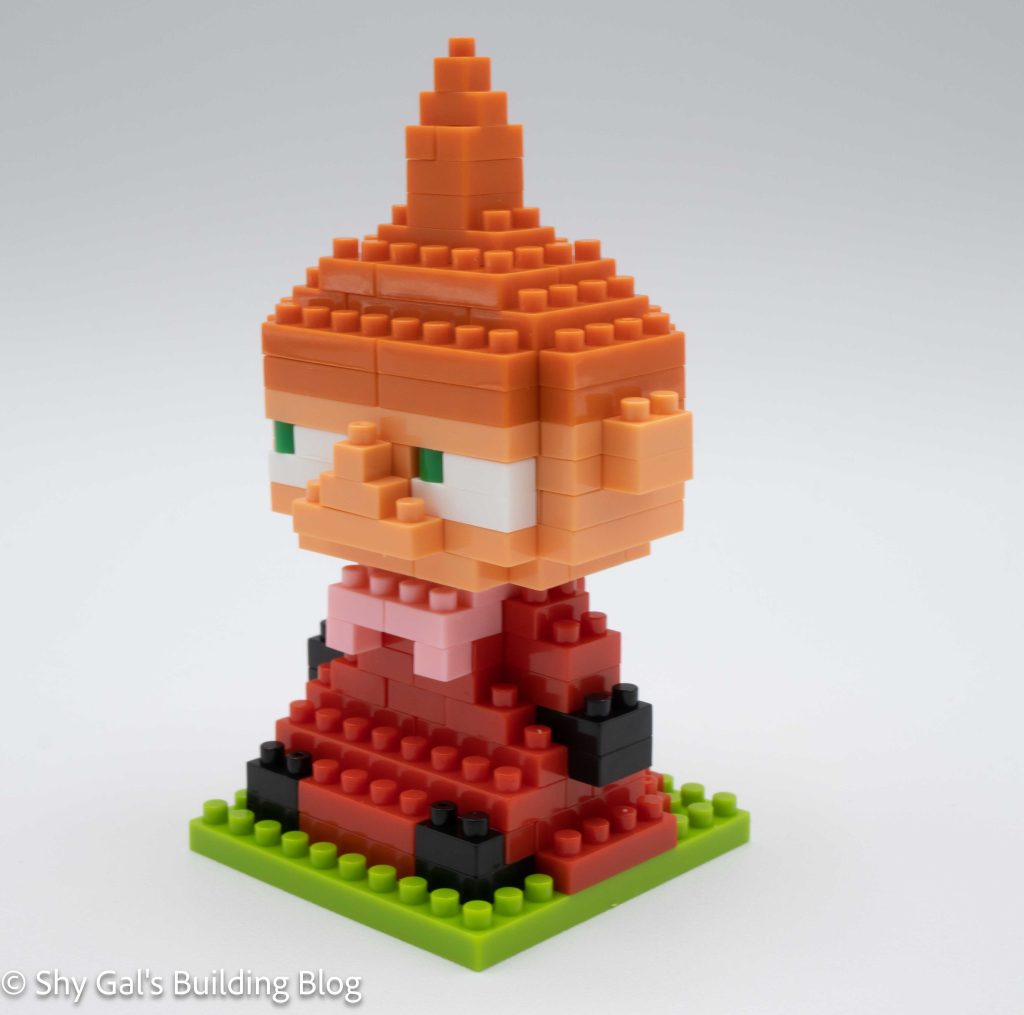
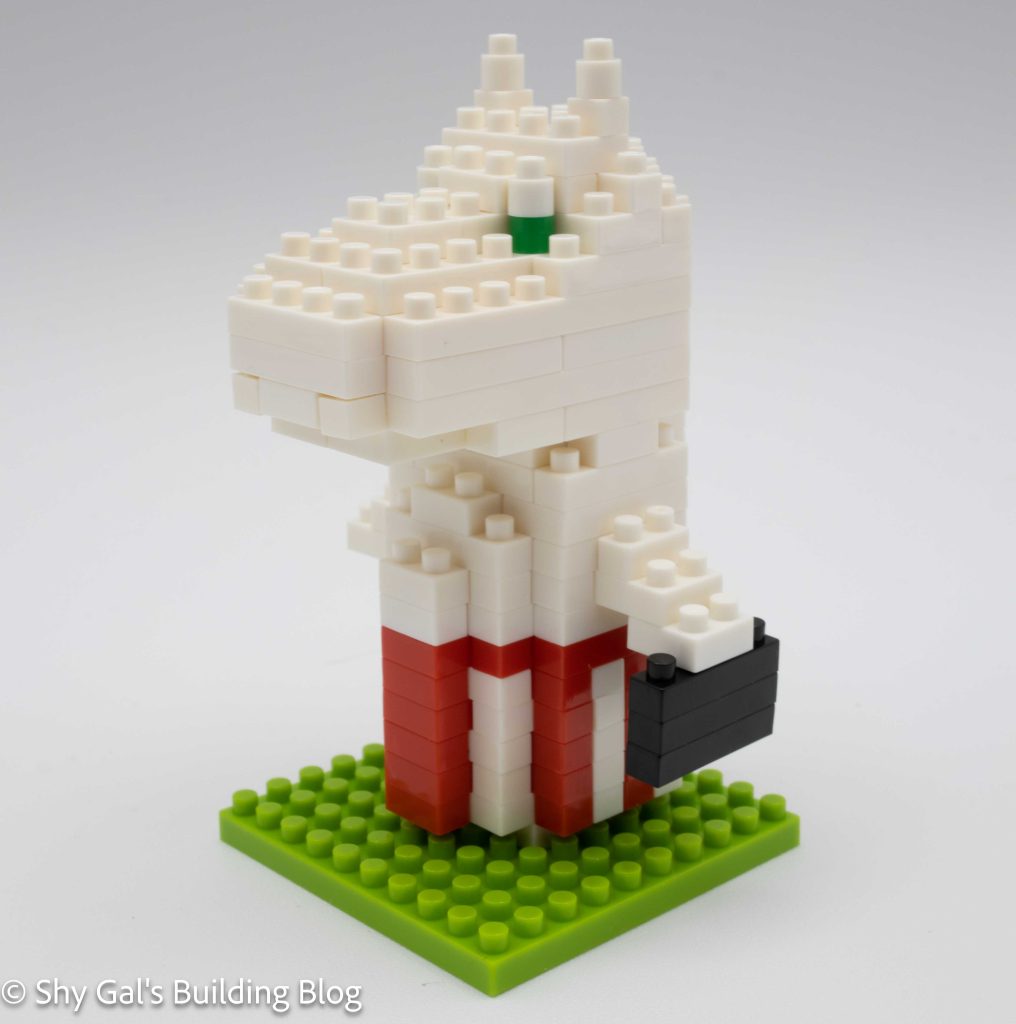
The last segment is the head. Like the body, the directions are very straightforward. Keeping the depth of the head is a bit tricky from the directions.

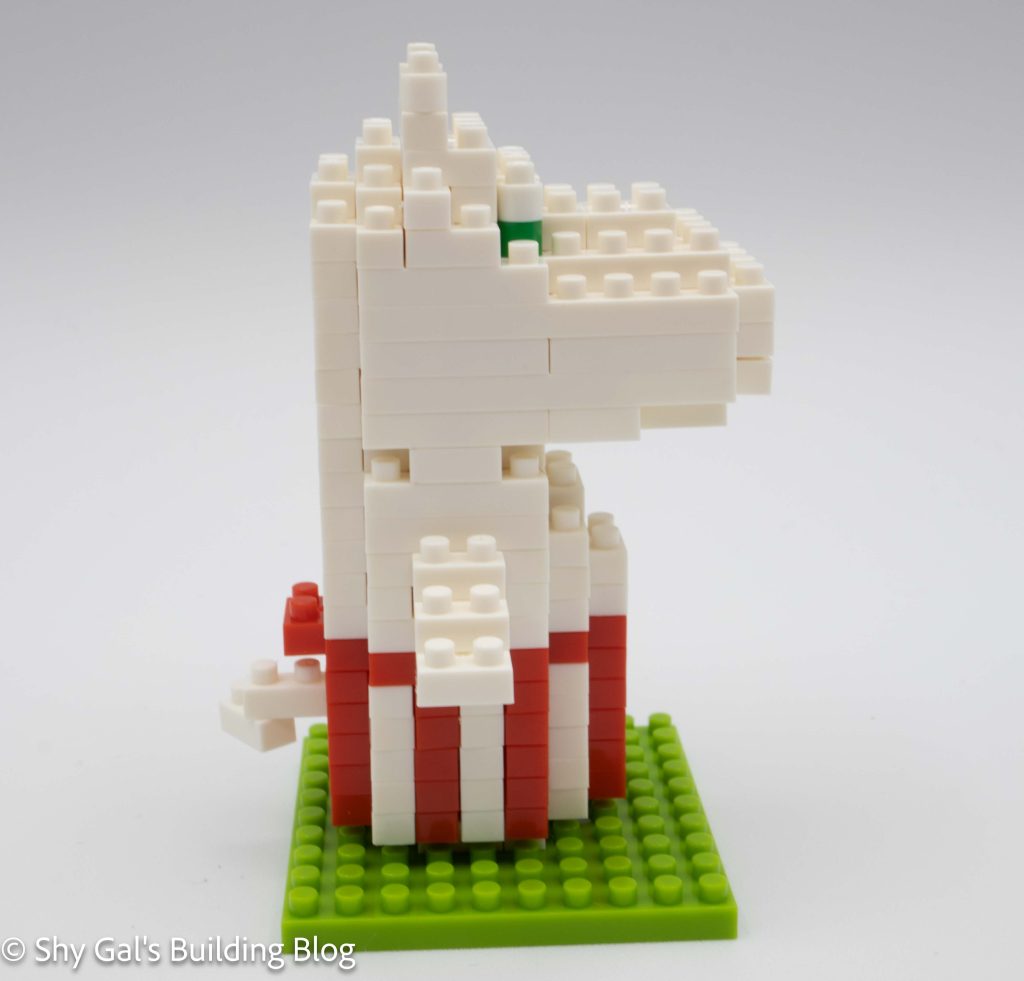
The final step is to put all the segments together. I really liked the side view diagram that is in the directions. It made it very clear where to line up the body and head.

Moominmamma build fonr 3/4 view

Things I liked:

  • The side view diagram for finishing the build
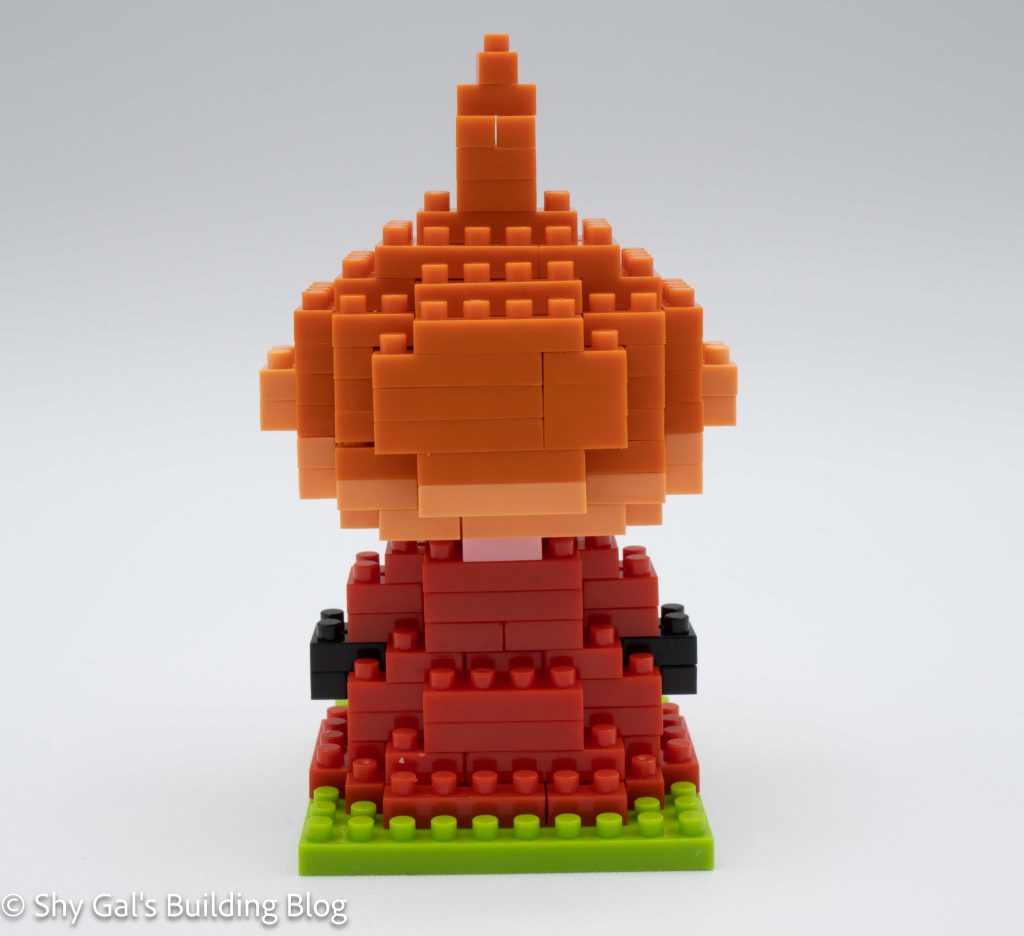
  • All the little details like the tail, apron ties, and handbag

Things I didn’t like:

  • I think the front of her stomach looks a little odd with how it sticks out

Review of nanoblock Moominpappa MOM-100

Moominpappa build and box

This post is a review of the nanoblock Moominpappa build. Moominpappa is part of the nanoblock Moomin collection.

Number: MOM-100 

Difficulty Rating: 2/5

Moominpappa build front view

Moominpappa is by far my favorite Moomin. I’ve always thought he looks very dapper with his top hat. There is at least one book following his adventures.

This build has 2 sections. There is the head and the body. Both sections are very straightforward, with good directions.

Moominpappa build side view

I was able to easily build the head using my pad. The major parts of the head are his nose and hat. The nose is very similar to Moominmamma or Moomintroll. The top hat begins with the brim of the hat coming out over Moominpappa’s eyes. The rest of the hat goes up in simple layers.

Moominpappa build back view

The body builds up on a 10×10 base. It begins with Moominpappa’s feet and cane being laid out on the base. Moominpappa goes up in layers, adding the legs, tummy, and arms. His hand holding the cane is a bit odd. This is because the end of his hand is a simple 2×1 hanging off the top of the cane. I would have expected the 2 bricks at the top to be reversed based on how nanoblock normally organizes bricks.

The last step is to combine the head and the body. There is an excellent side view shot that is helpful in getting the head placed correctly.

Moominpappa build front 3/4 view

Things I liked:

  • I love his top hat and the cane details in the build

Things I didn’t like:

  • The hand holding the cane has a tippy brick, which is unusual in nanoblock builds

Review of nanoblock Snufkin MOM-099

Snufkin build and box

This post is a review of the nanoblock Snufkin build. Snufkin is part of the nanoblock Moomin collection.

Number: MOM-099

Difficulty Rating: 2/5

Snufkin build front 3/4 view

Snufkin is a traveler who makes frequent visits to Moominvalley. He is very good friends with Moomintroll, and the two of them go on adventures when he is in Moominvalley.

This build has 2 sections. There is the head and the body. Both sections are very straightforward, with good directions.

Snufkin build front view

I was able to easily build the head using my pad. The head begins with a base layer of flesh. As the head goes up in layers, you add the hair, nose, and eyes. The head is topped off with Snufkin’s hat. The hat is cone-shaped, so each layer gets more narrow until the hat is closed up.

Snufkin build side view

The body builds up on a 10×10 base. It begins with an outline of the body and builds up in layers. The base layer creates Snufkin’s legs and the bottom of his shirt. The rest of the body section creates Snufkin’s shirt. There is a nice detail of a yellow scarf around his neck.

The last step is to combine the head and the body. There is an excellent side view shot that is helpful in getting the head placed correctly.

Snufkin build back view

Things I liked:

  • The various shades of green used throughout the build to create various body parts

Things I didn’t like:

  • When I was putting the hat together, there were a few places where I got gaps because the bricks fell into the hat or body

Review of nanoblock Little My MOM-044

Little My build and box

This post is a review of the nanoblock Little My build. Little My is part of the nanoblock Moomin collection.

Number: MOM-044 

Difficulty Rating: 2/5

Little My build front view

Little My lives in the Moominhouse along with Moominmama, Moominpapa, and Moomintroll. She is small and fearless and likes to go on adventures.

This build has 2 sections. There is the head and the body. Both sections are very straightforward with good directions.

Little My build side view

When I opened this kit, I knew there was going to be a challenge to get the build done correctly because of the colors. I built this Little My on my sofa, so I didn’t have my good light. The orange bricks looked very similar to the red and skin tone. The skin tone also looked very similar to the light pink for the bow around the neck. I combated this by ensuring I kept the piles from the bags separate to pull the right color without looking too hard.

I was able to easily build the head using my pad. The head goes up in layers, adding the details of the nose, eyes, and ears. Little My has very distinctive hair that goes up and comes to a point. I like that the hair does come up to that point.

Little My build back view

The body builds up on a 10×10 base. It begins with an outline of the body and builds up in layers. As the layers go up, the body starts to get smaller, creating Little My’s outfit that goes from wider at the bottom to more narrow at the top. The last step is to add the bow that covers her neck and connects the body and the head.

The last step is to combine the head and the body. There is an excellent side view shot that is helpful in getting the head placed correctly.

Little My front  3/4 view

Things I liked:

  • I like how much the build looks like, Little My. I really like how she looks like she is up for mischief

Things I didn’t like:

  • How similar the colors were, which made the build hard

Reference

Moomin.com