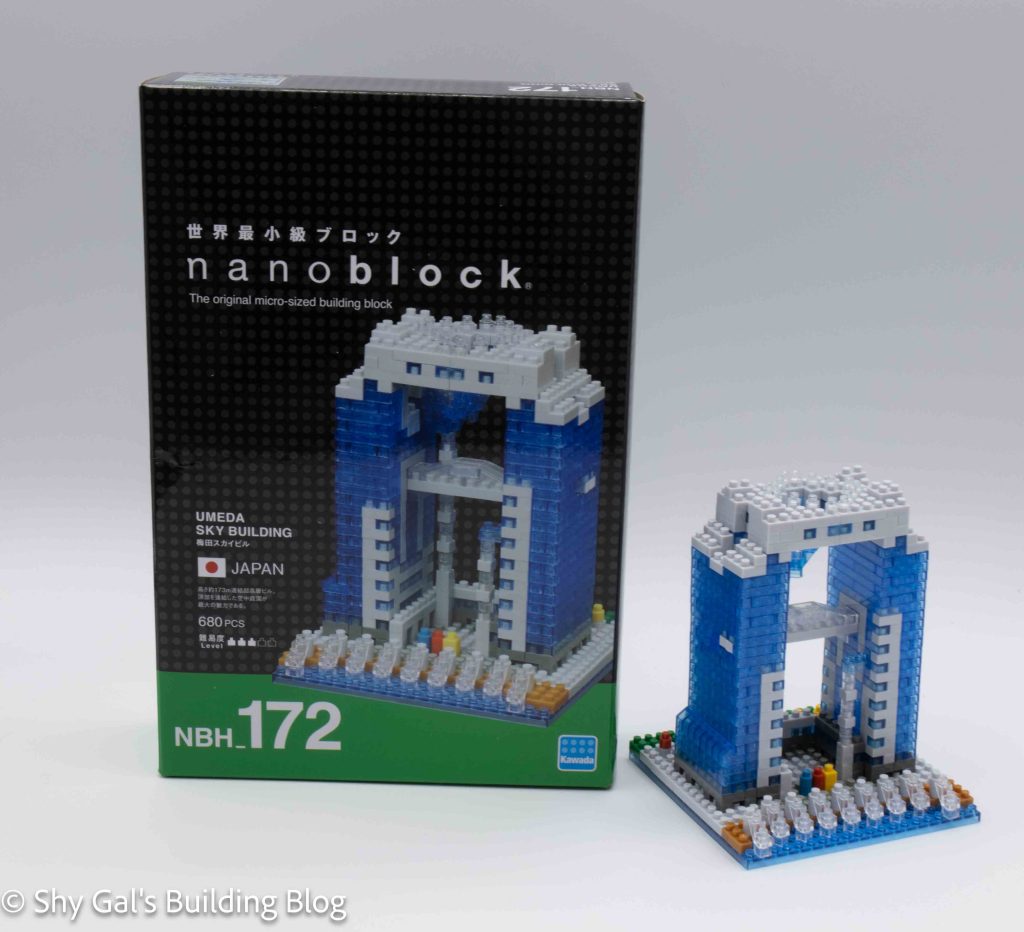
This post is a review of the nanoblock Umeda Sky Building build. Umeda Sky Building is part of the nanoblock Sights to See collection. Wondering what else is part of the Sights to See collection? Click here for a list.
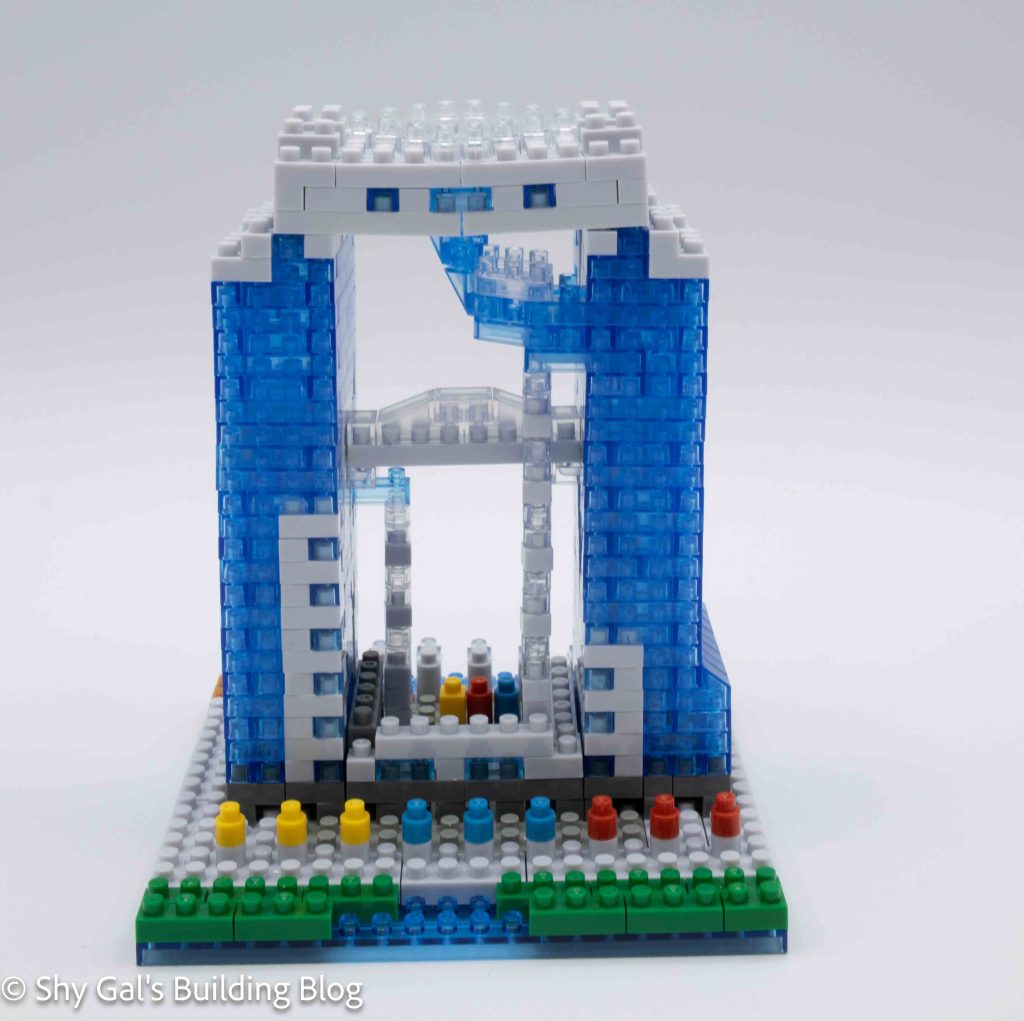
Umeda Sky Building is one of the tallest buildings in Osaka Prefecture. It is 2 towers that are connected by bridges and escalators. For more information, check out the wiki page.
Number: NBH_172
Country: Japan
Number of Pieces: 680
Difficulty Rating: 3/5
Umeda Sky Building was a kit I bought open; I ensured there were bricks and instructions. Before starting the build, I pulled the kit that arrived apart and split all the bricks into reasonable piles. I then started the build.
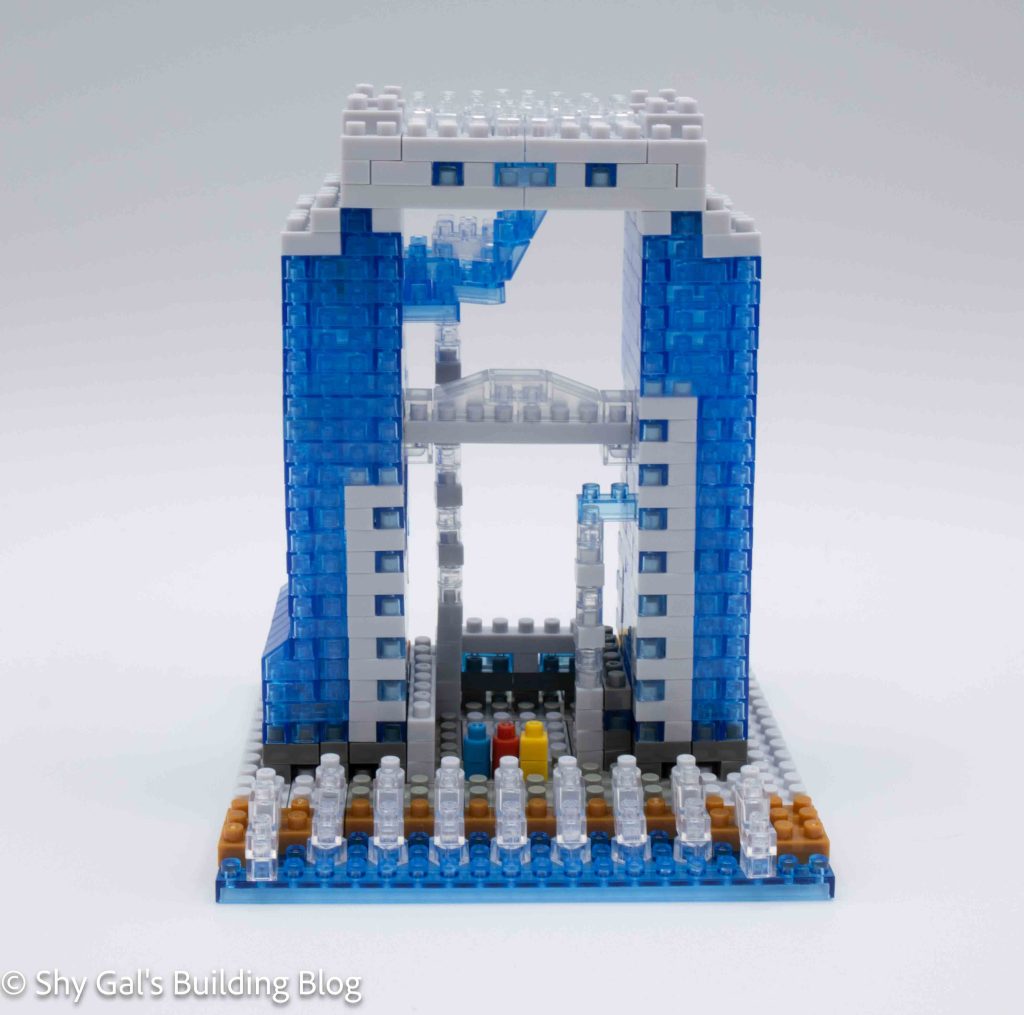
This build has 2 major sections there is the building and the roof.
The first thing I noticed about the build was that starting from the base layer wasn’t symmetrical. This made me excited to see how the final build would look.
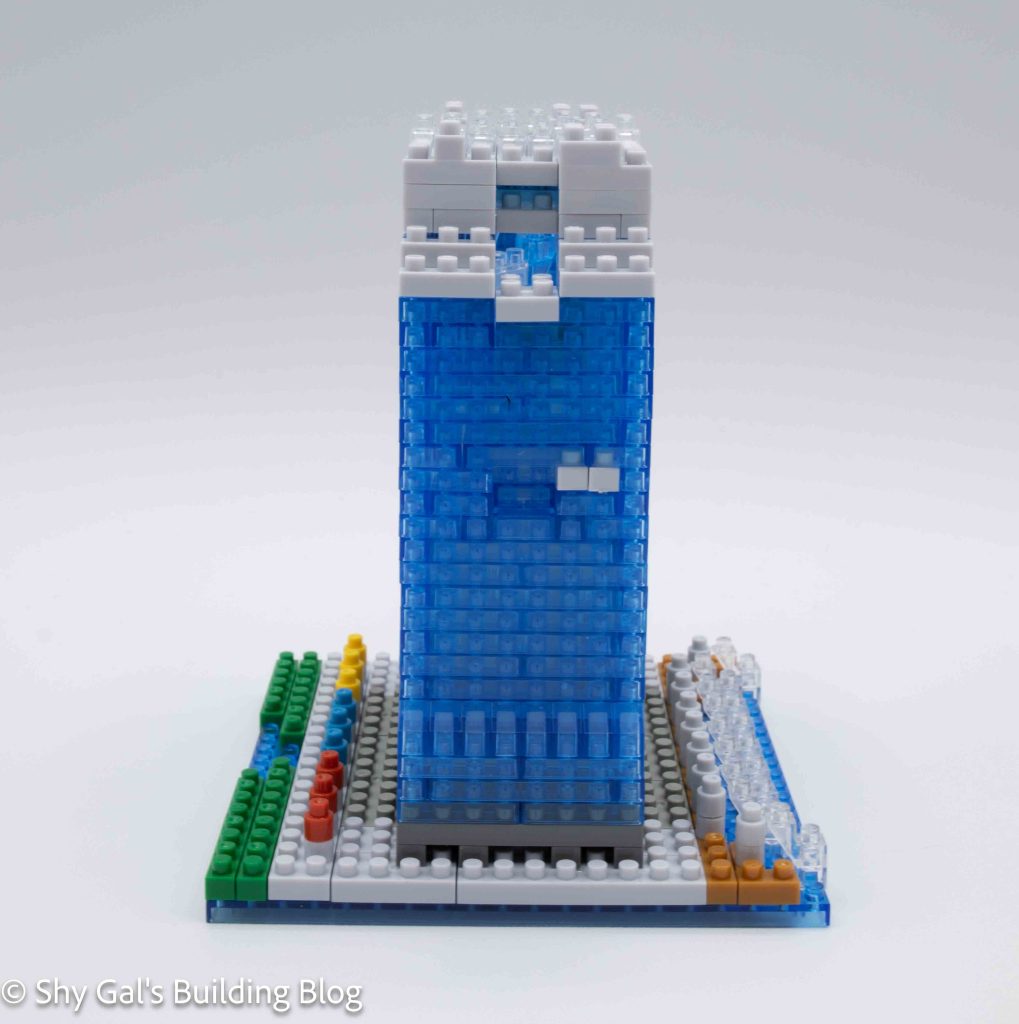
The first step is to create a base layer on the 20×20 base. There are a variety of colors in the base to create the various textures around the building.
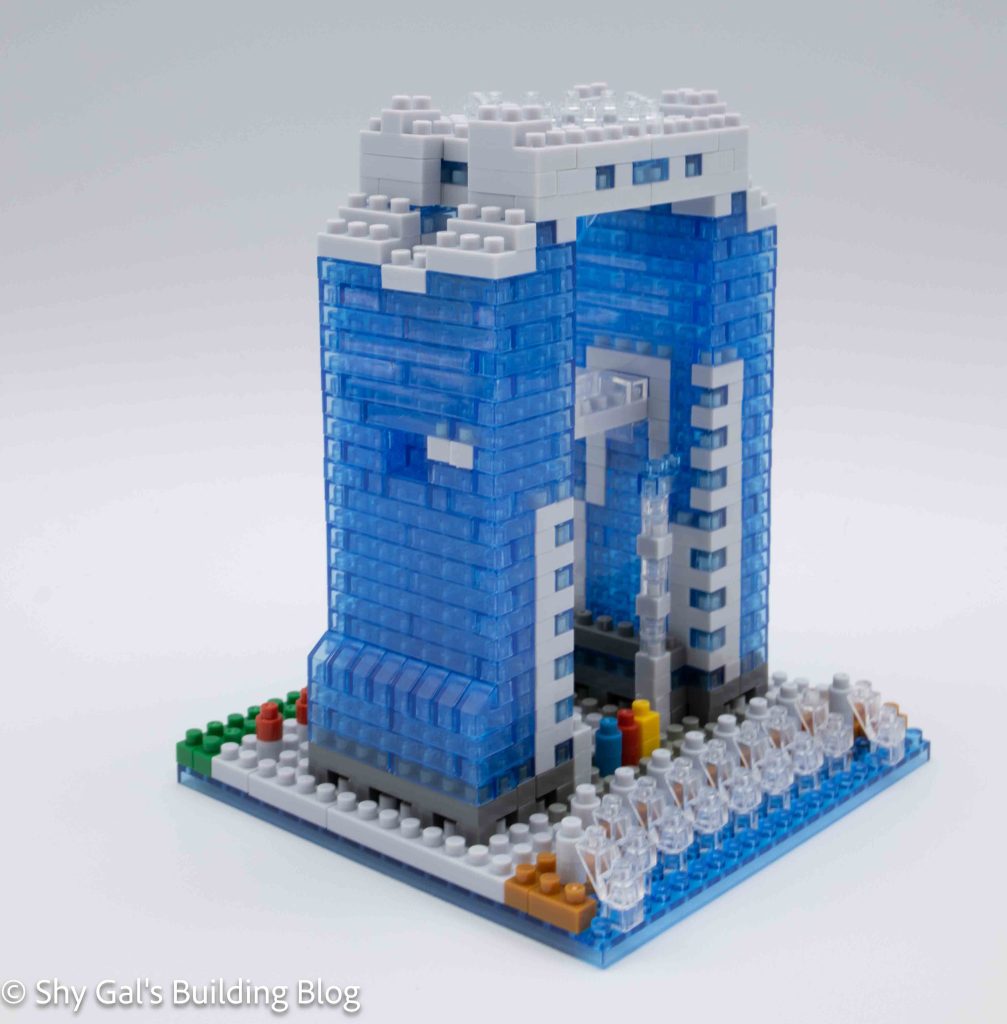
The next step is to create the base of the building. Starting in step 4, the actual windows on the outside of the building are outlined and begin creating the walls of the buildings. The building goes up in layers over the next 20 steps. Each layer is different from the previous one and needs to be carefully tracked.
The trickiest part of building the main section of the building is creating the elevators. This is because it is a chain of 1×1 bricks that can easily snap as you are adding bricks. It is also easy to miss adding a brick to any given layer since the new brick just hangs out separately from the large chunks in the directions.
After building most of the building and locking the elevators in place, it’s time to add the escalators that go across the open area between the towers. I really like that this detail is included and how the escalators are created.
The main building is completed with a few more layers of bricks that create the top of the building
The roof was very straightforward. I could lay the roof out on my pad to create the roof. Finding enough round clears took a while because they were hard to see and like moving.
After building the roof, the final step is to attach the roof to the building.
Things I liked:
- That the build isn’t symmetrical
- The escalators in the center of the build
Things I didn’t like:
- I’m not sure what all the details at the bottom of the building are supposed to be