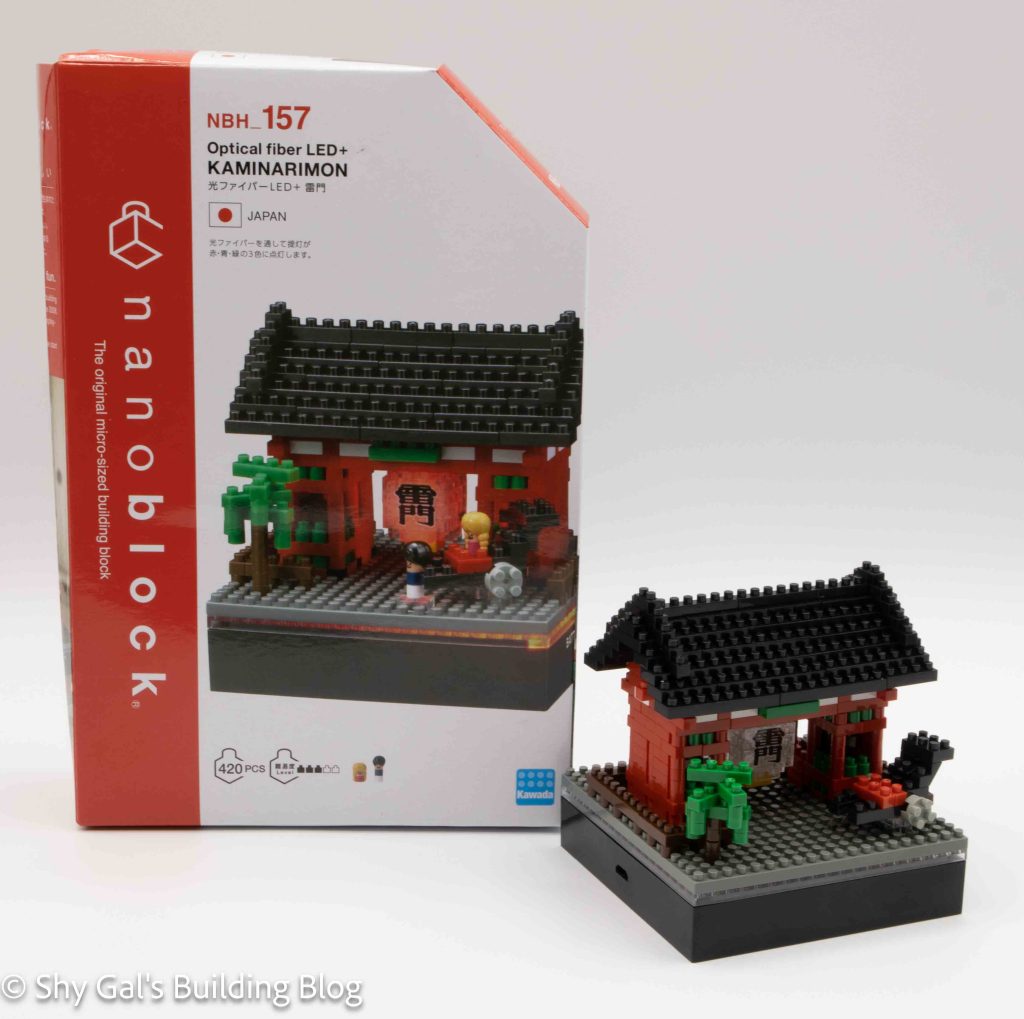
This post is a review of the nanoblock Optical Fiber LED+ Kaminarimon build. The Optical Fiber LED+ Kaminarimon is part of the nanoblock Sights to See series. Wondering what else is part of the Sights to See series? Click here for a list.
Number: NBH_157
Number of Pieces: 420
Difficulty Rating: 3/5
I picked up this version of Kaminarimon because it came with an LED plate. The plate is NB-026, and I will write a separate review for the plate. I liked that the lantern in the model would light up, and I wanted to see exactly how that would work in a build.
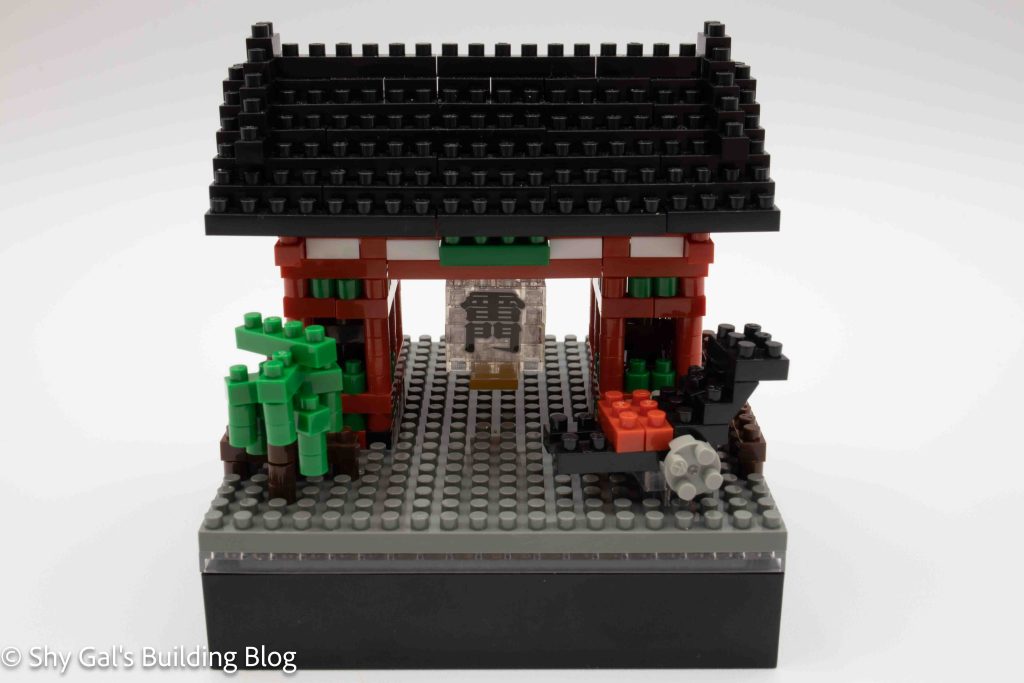
The build began a bit different than the build I had done before because the first thing you need to do is line the hole in the base plate up with the indent in the LED plate. After that, you build a usual build by adding to the build to create the outline of the building. After a few steps, you begin the tricky balancing act of building around the pole. The pole is inserted into the hole in the base and goes up through one side of the gate. You create the rest of the structure around the pole from that point on.
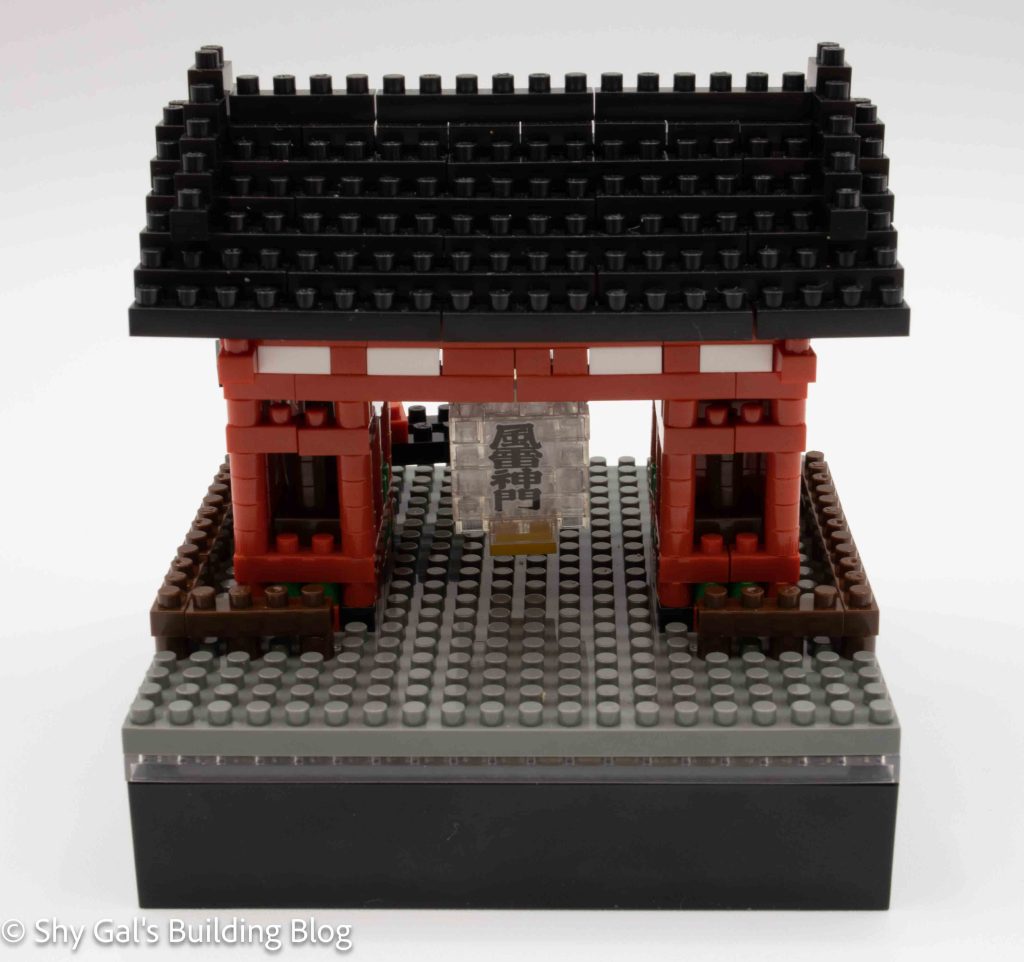
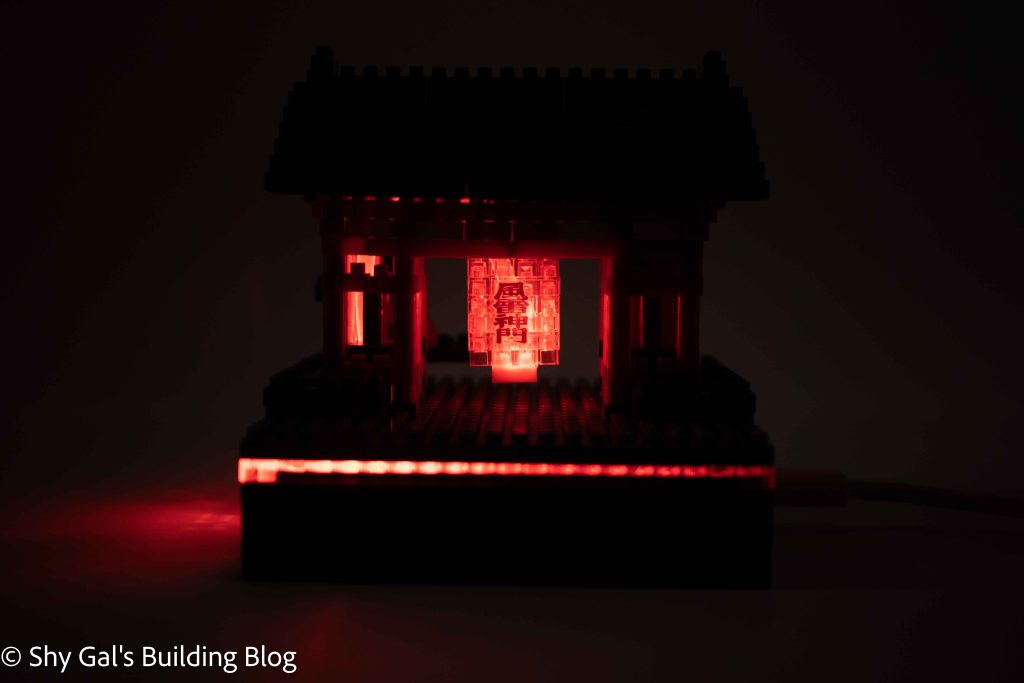
Then you build the lantern in the middle of the gate; the build for the lantern is straightforward. In a rare fashion for me, I put the stickers on the lanturn. (Click here to read why I don’t normally use the nanoblock stickers). I used the stickers here because I knew that I would be able to move the lantern in one piece if I did need to take the build apart to move. Getting the lantern to hold on was tricky because it was only held on by 1 stud. Once you have the center Lantern hanging, you take the pole and insert it into the lantern. For me, This was the most challenging part because the pole kept breaking loose or popping off the bricks meant to hold it in place. At this point, you can turn on the LED plate and see how the lantern lights up. I thought this was really cool.
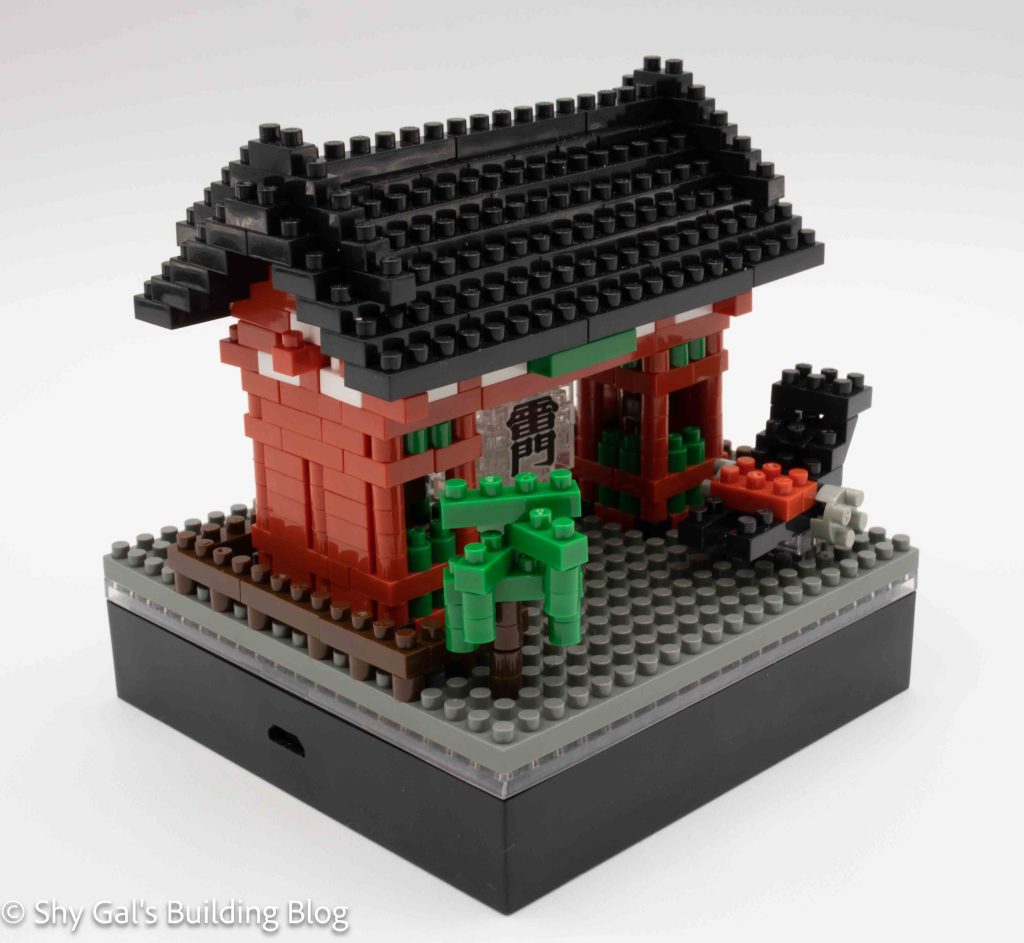
The last significant step of the build is to put the roof together. After fighting with the pole and the lantern, the roof was simple. It was tricky to attach the roof since it was all in one piece, but I managed to get it on without anything breaking. After that, I put the tree and carriage together. I did not add the little people that came with the build. I personally don’t think that the people really go with the rest of the build in terms of size and detail.
Overall I was delighted with how Kaminarimon turned out. I really like what the lighting adds to the build, especially when the light is set to red.

Things I liked:
- The additional detail adds the light to the lantern
Things I didn’t like:
- Fighting with the pole. Maybe things would have gone better if I had let it rest overnight with a weight on it to bend it.