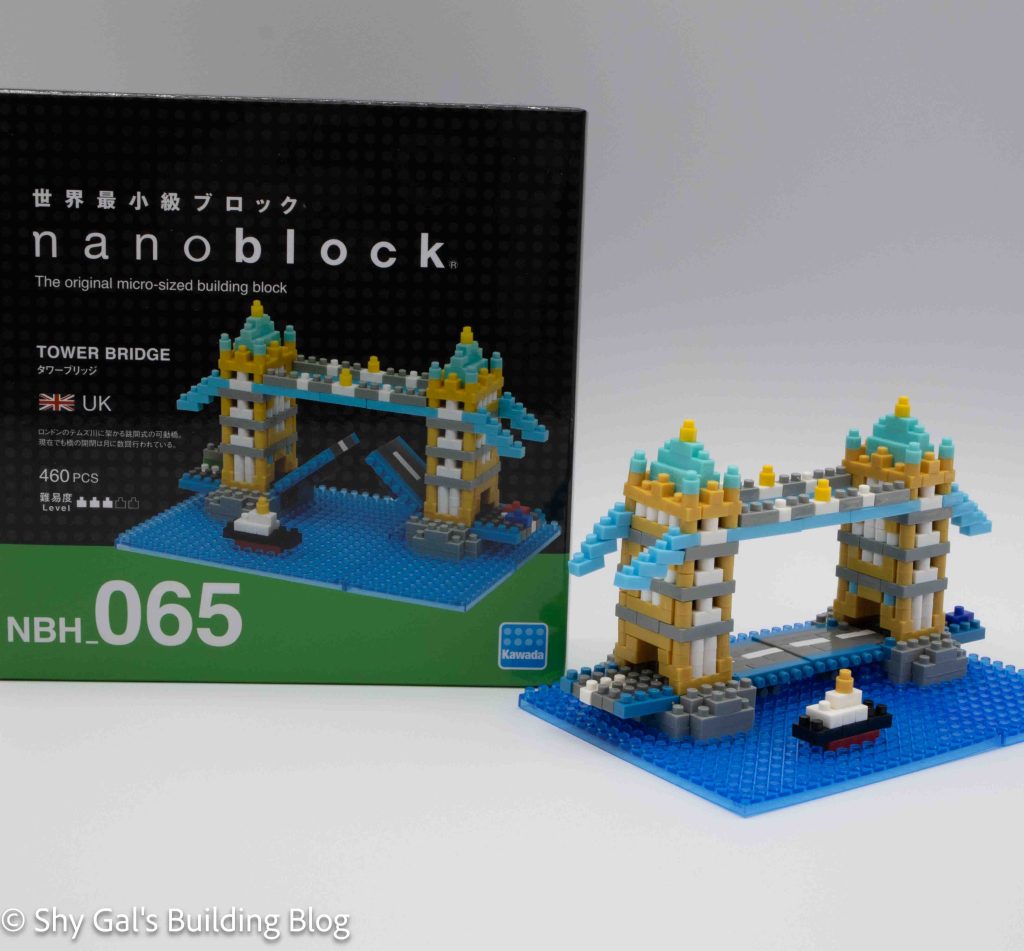
This post is a review of the nanoblock Tower Bridge build. Tower Bridge is part of the nanoblock Sights to See collection. Wondering what else is part of the Sights to See collection? Click here for a list.
Number: NBH_065
Country: UK
Number of Pieces: 460
Difficulty Rating: 3/5
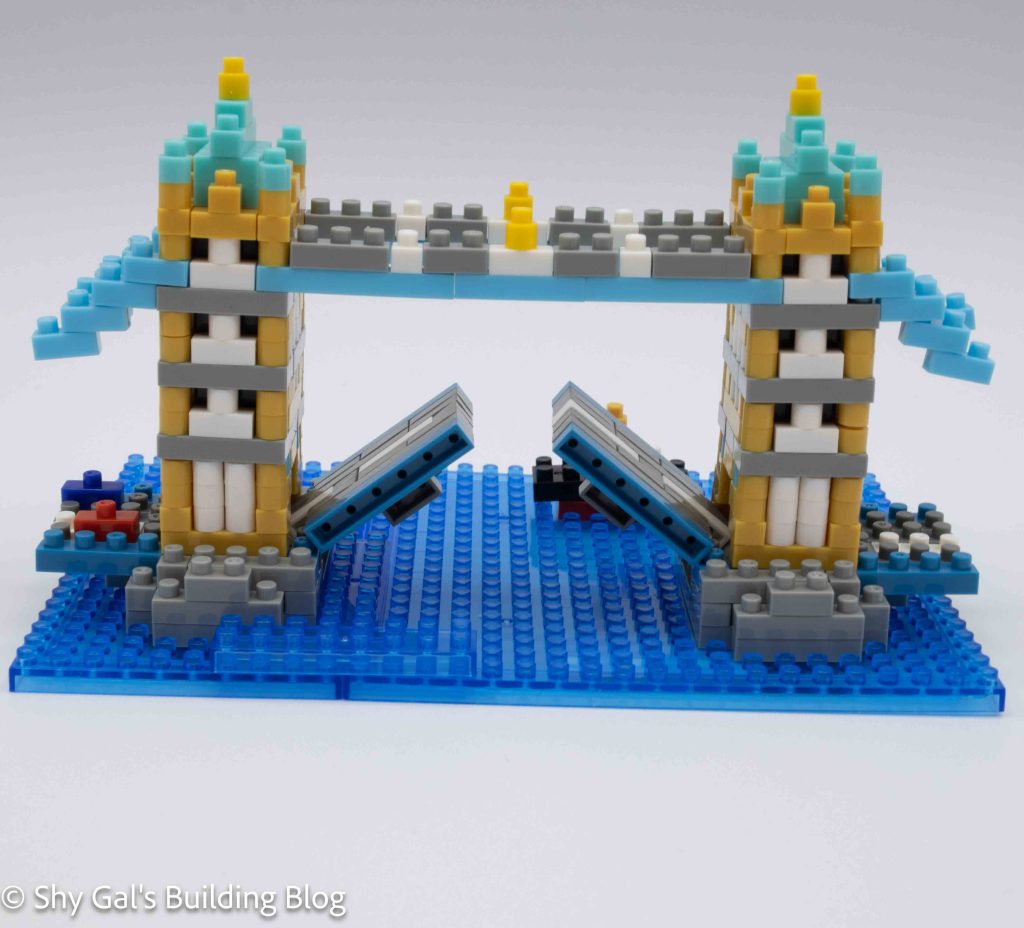
Tower Bridge is one of the most recognizable sights in London. You can see it from the Tower of London.
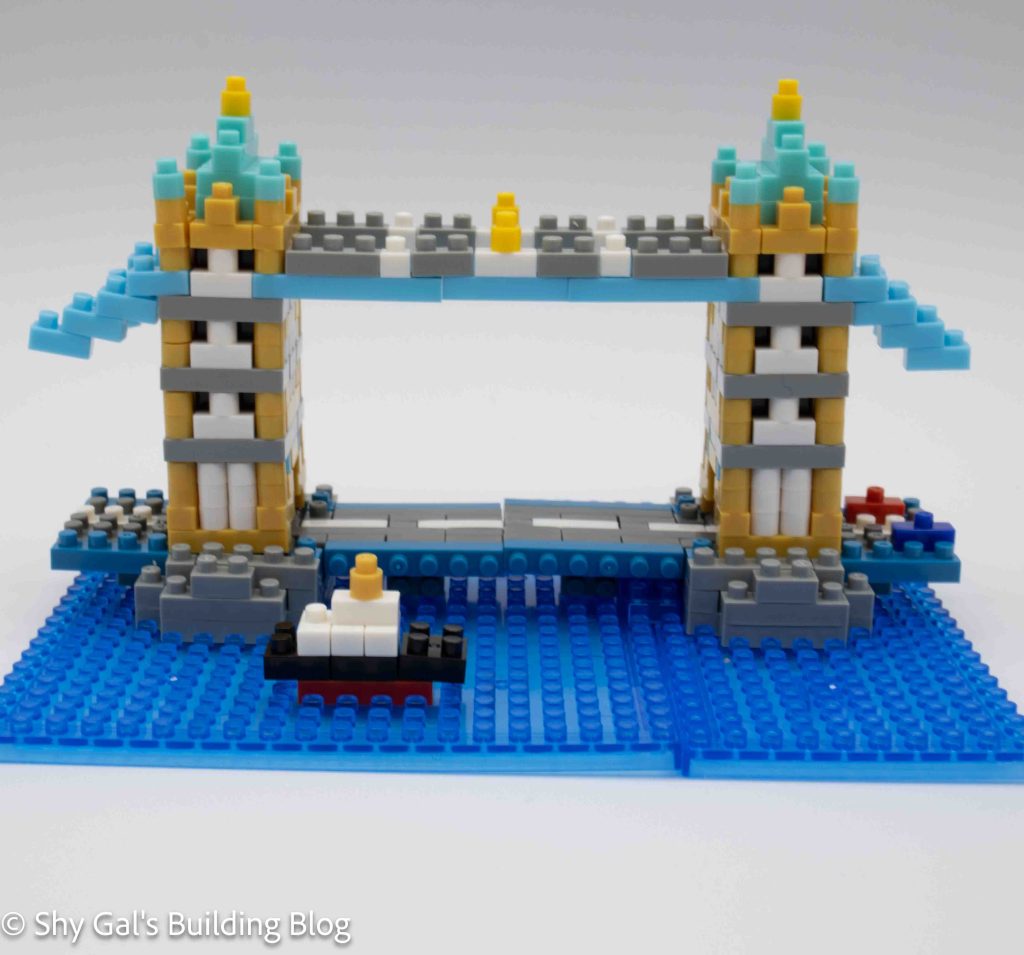
Tower Bridge is built by combining 1 large and 2 small base plates to create the total baseplate. The first few steps are very straightforward and create where the bridge meets the water.
Next, you build the road that makes up the actual draw bridge. Building the segments of the road is straightforward. I really like how you set the bridge parts on the side to create the ability to move the draw bridge.
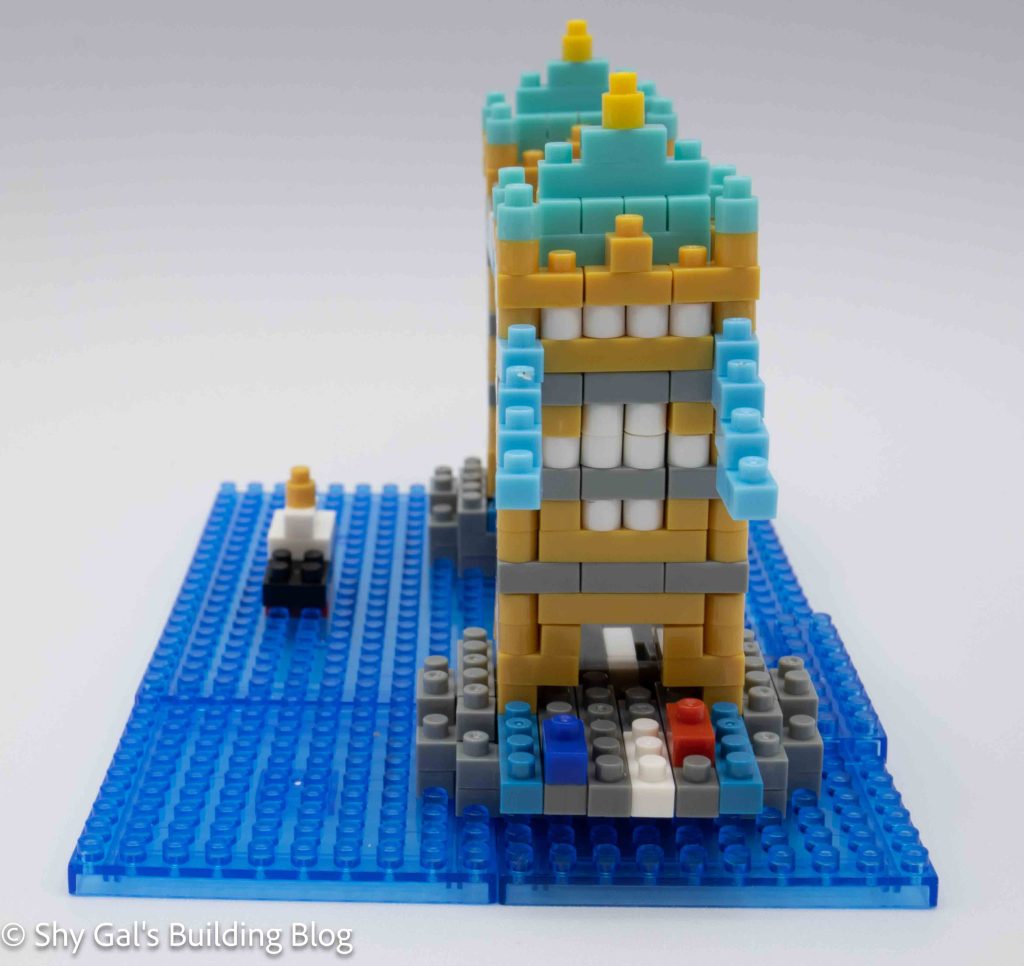
Next, you build the towers on each side of the draw bridge. This took a while because there are so many 1×1 pieces, but it was clear where to put everything.
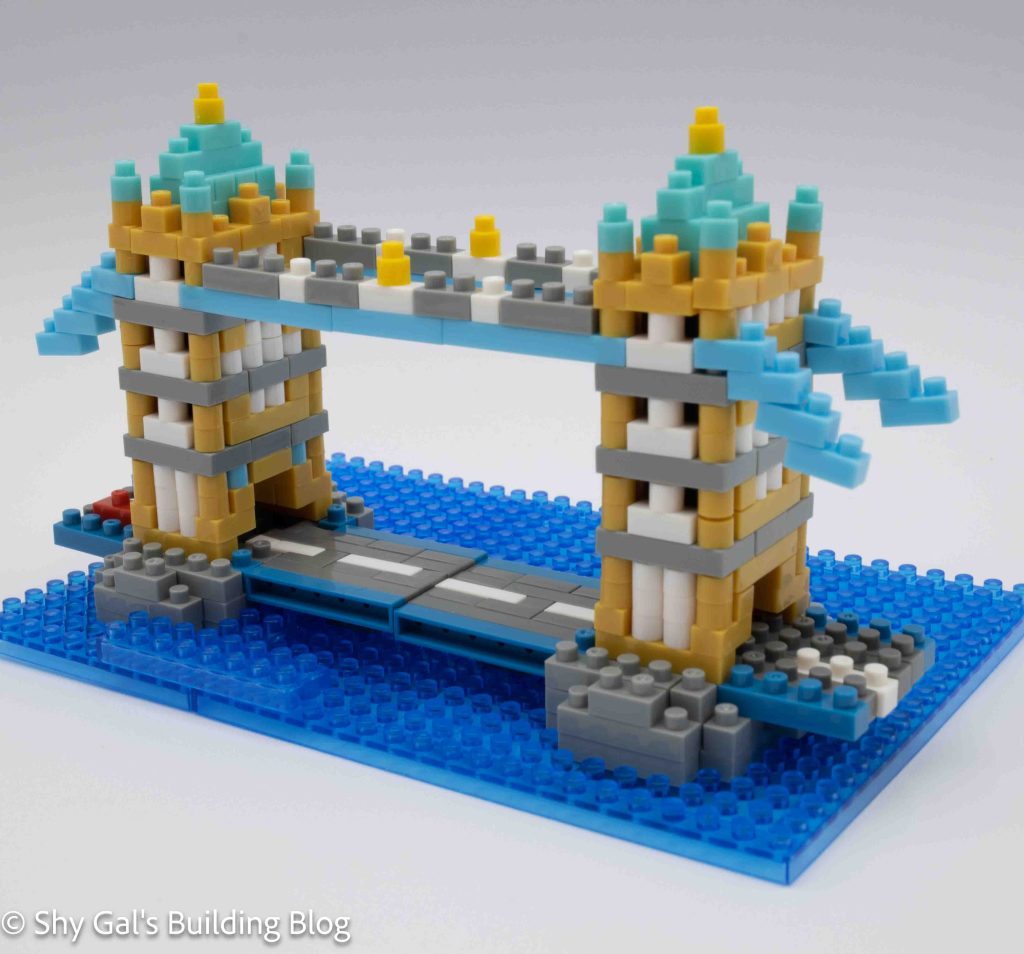
The build is finished off by connecting the 2 towers. This was a bit tricky to keep them straight because of how the banners are chained.
Things I liked:
Overall it is highly recognizable, and I like the amount of detail and coloring in the build
Things I didn’t like:
The banner connecting the 2 towers was difficult to get in place straight
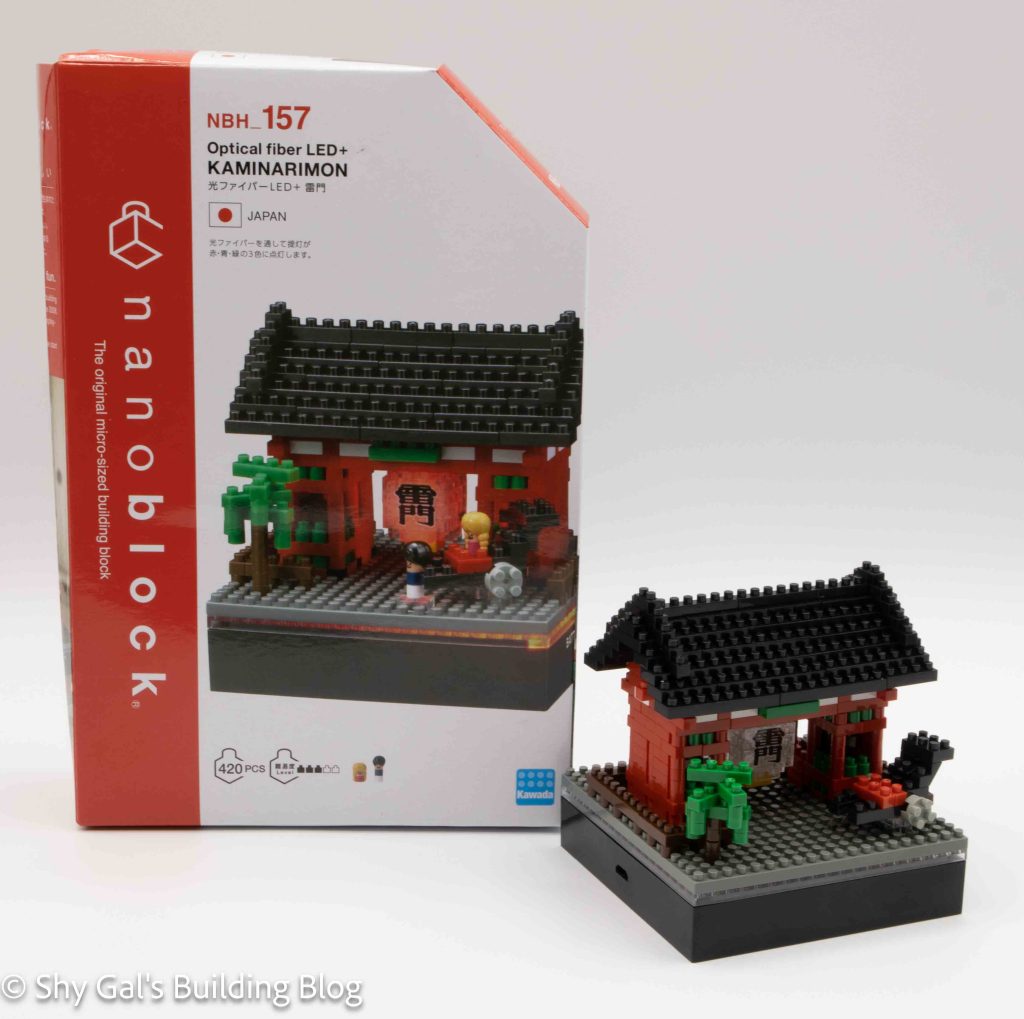
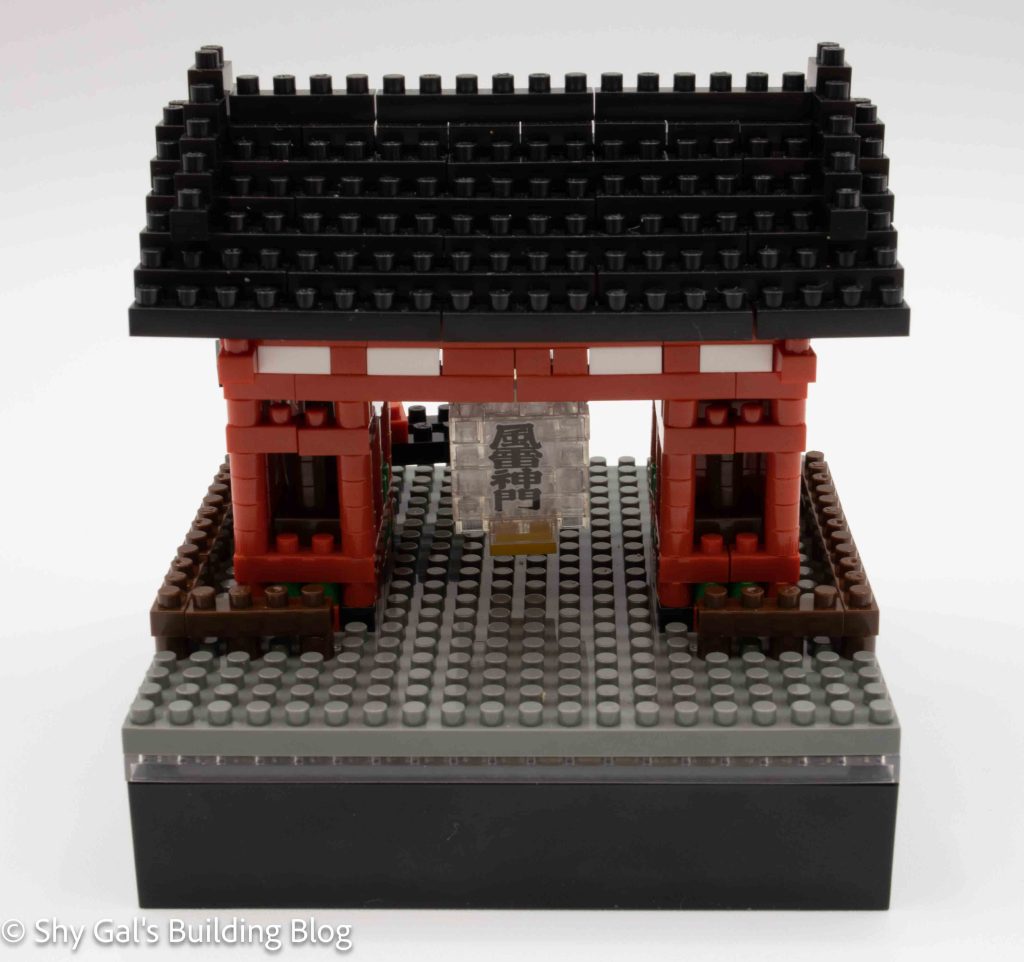
This post is a review of the nanoblock Optical Fiber LED+ Kaminarimon build. The Optical Fiber LED+ Kaminarimon is part of the nanoblock Sights to See series. Wondering what else is part of the Sights to See series? Click here for a list.
Number: NBH_157
Number of Pieces: 420
Difficulty Rating: 3/5
I picked up this version of Kaminarimon because it came with an LED plate. The plate is NB-026, and I will write a separate review for the plate. I liked that the lantern in the model would light up, and I wanted to see exactly how that would work in a build.
The build began a bit different than the build I had done before because the first thing you need to do is line the hole in the base plate up with the indent in the LED plate. After that, you build a usual build by adding to the build to create the outline of the building. After a few steps, you begin the tricky balancing act of building around the pole. The pole is inserted into the hole in the base and goes up through one side of the gate. You create the rest of the structure around the pole from that point on.
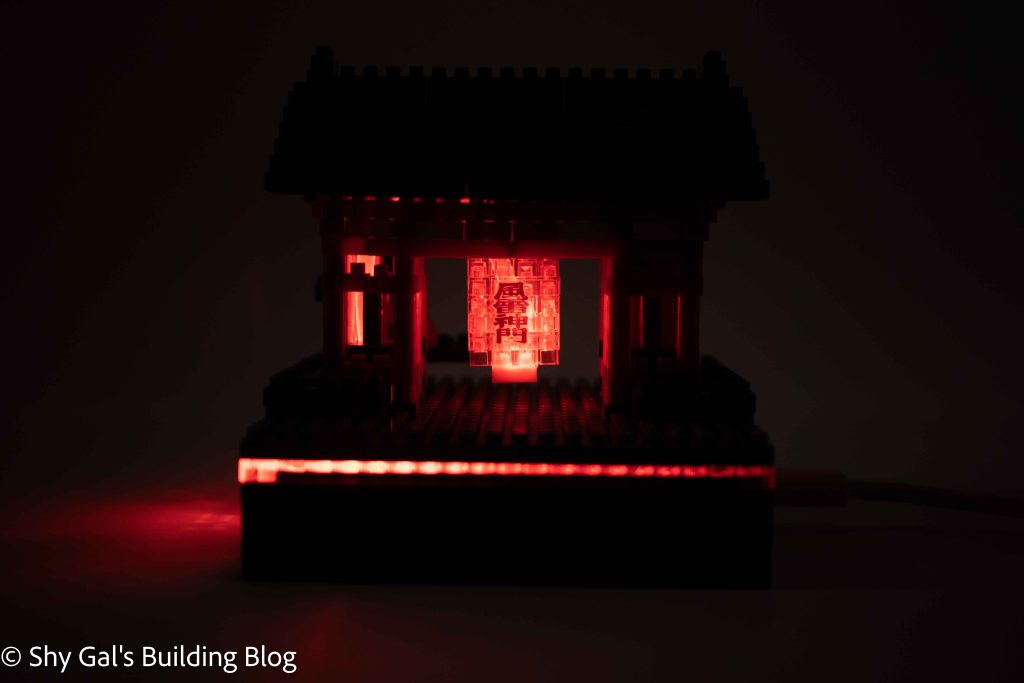
Then you build the lantern in the middle of the gate; the build for the lantern is straightforward. In a rare fashion for me, I put the stickers on the lanturn. (Click here to read why I don’t normally use the nanoblock stickers). I used the stickers here because I knew that I would be able to move the lantern in one piece if I did need to take the build apart to move. Getting the lantern to hold on was tricky because it was only held on by 1 stud. Once you have the center Lantern hanging, you take the pole and insert it into the lantern. For me, This was the most challenging part because the pole kept breaking loose or popping off the bricks meant to hold it in place. At this point, you can turn on the LED plate and see how the lantern lights up. I thought this was really cool.
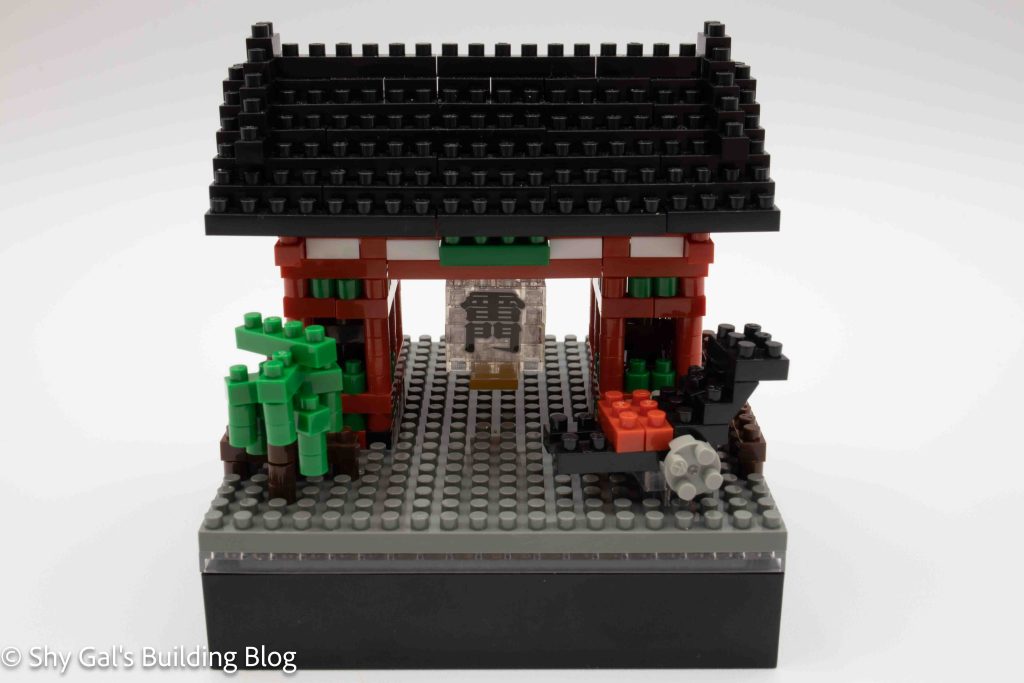
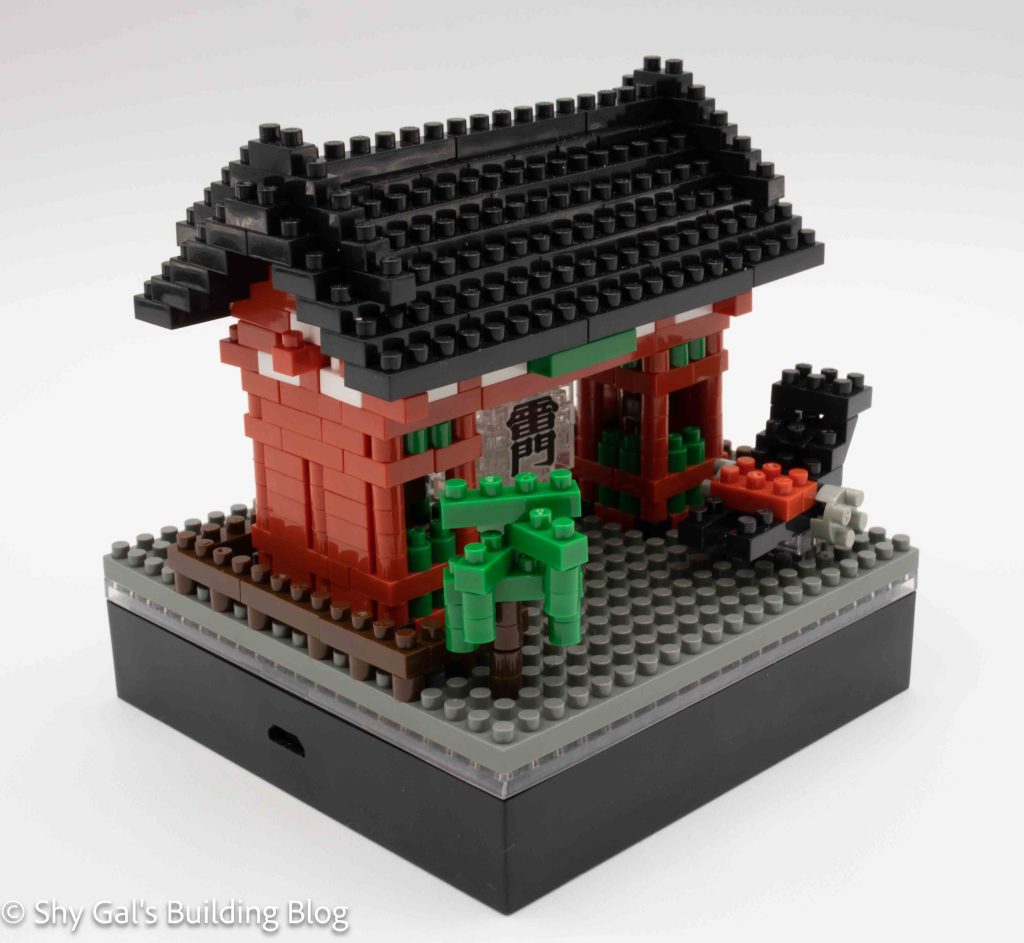
The last significant step of the build is to put the roof together. After fighting with the pole and the lantern, the roof was simple. It was tricky to attach the roof since it was all in one piece, but I managed to get it on without anything breaking. After that, I put the tree and carriage together. I did not add the little people that came with the build. I personally don’t think that the people really go with the rest of the build in terms of size and detail.
Overall I was delighted with how Kaminarimon turned out. I really like what the lighting adds to the build, especially when the light is set to red.
Things I liked:
The additional detail adds the light to the lantern
Things I didn’t like:
Fighting with the pole. Maybe things would have gone better if I had let it rest overnight with a weight on it to bend it.
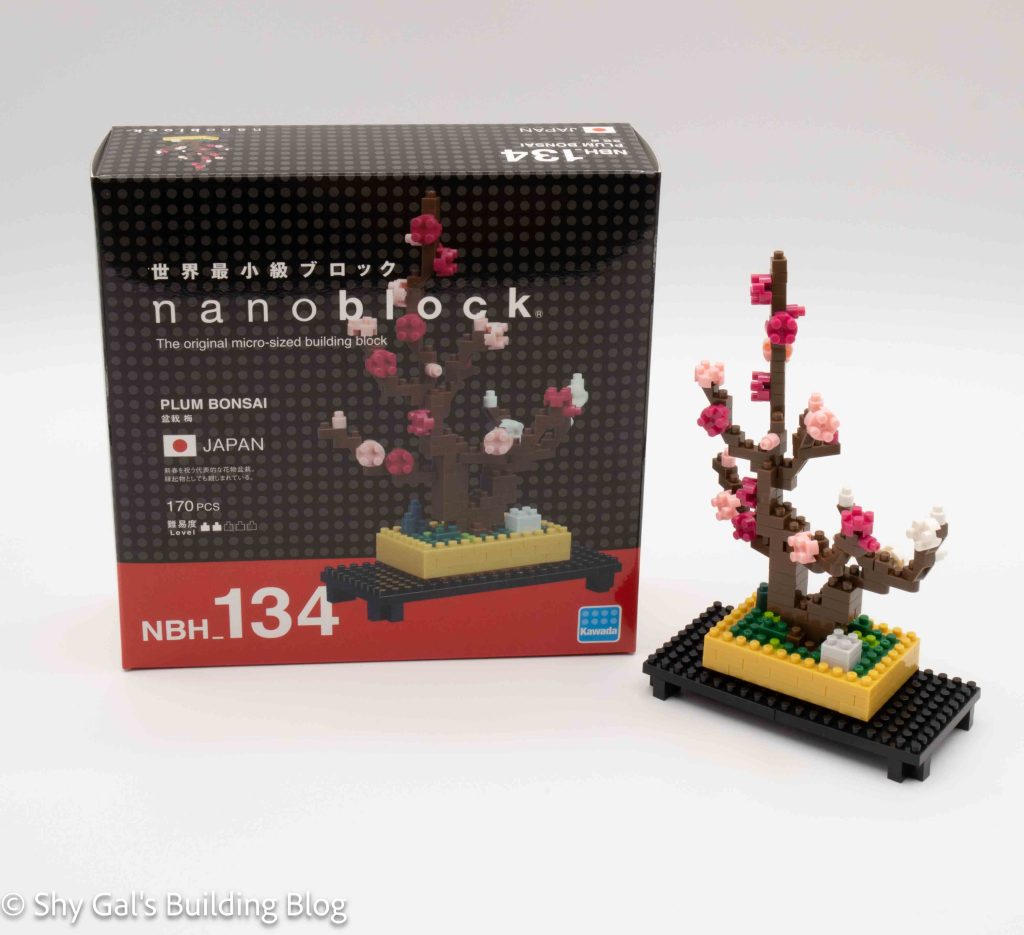
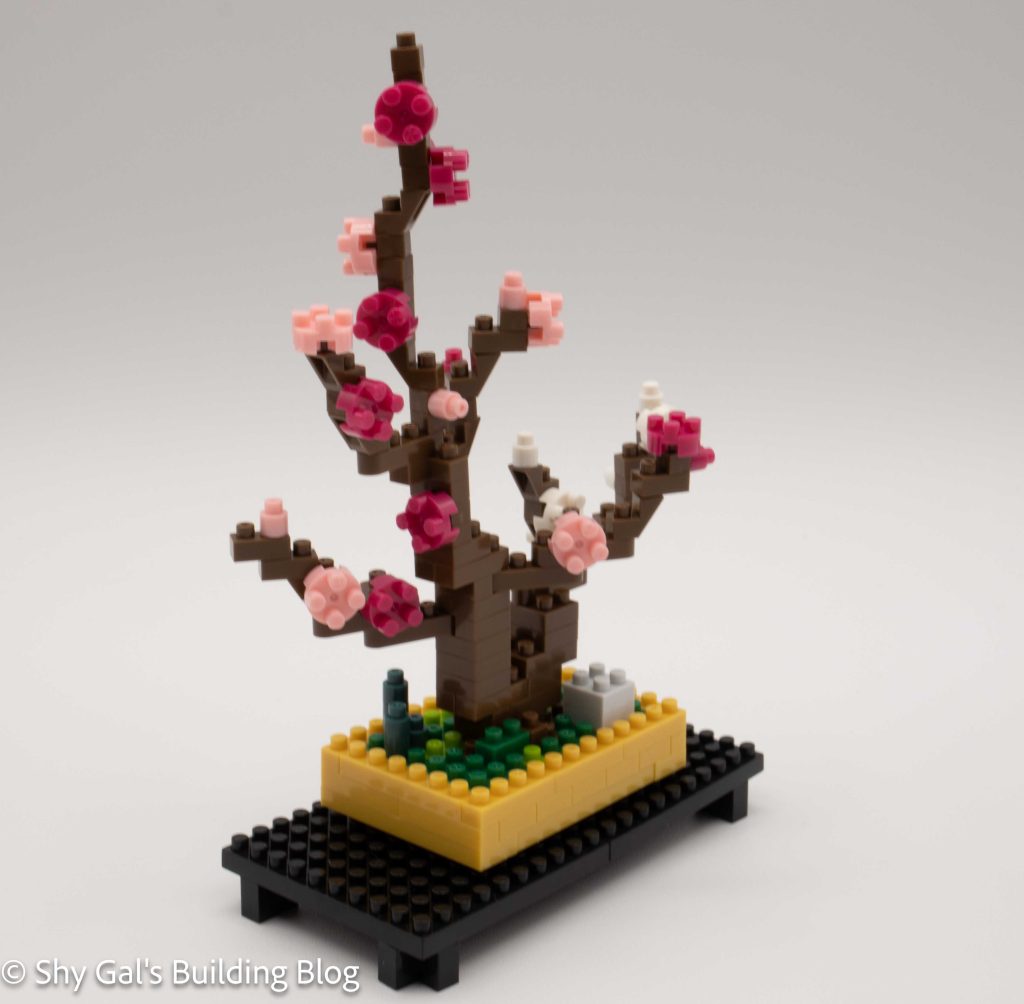
This post is a review of the nanoblock Plum Bonsai build. The Plum Bonsai is part of the nanoblock Sights to See series. Wondering what else is part of the Sights to See series? Click here for a list.
Number: NBH_134
Number of Pieces: 170
Difficulty Rating: 2/5
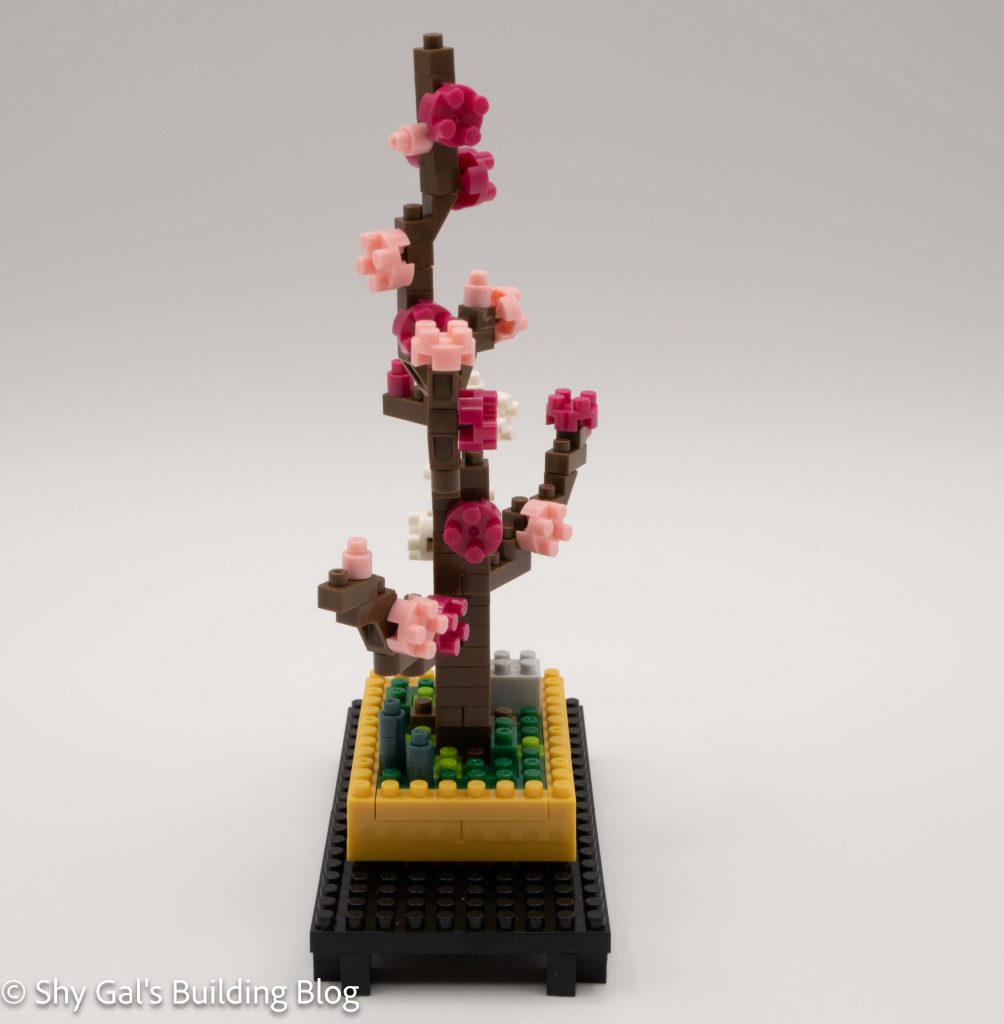
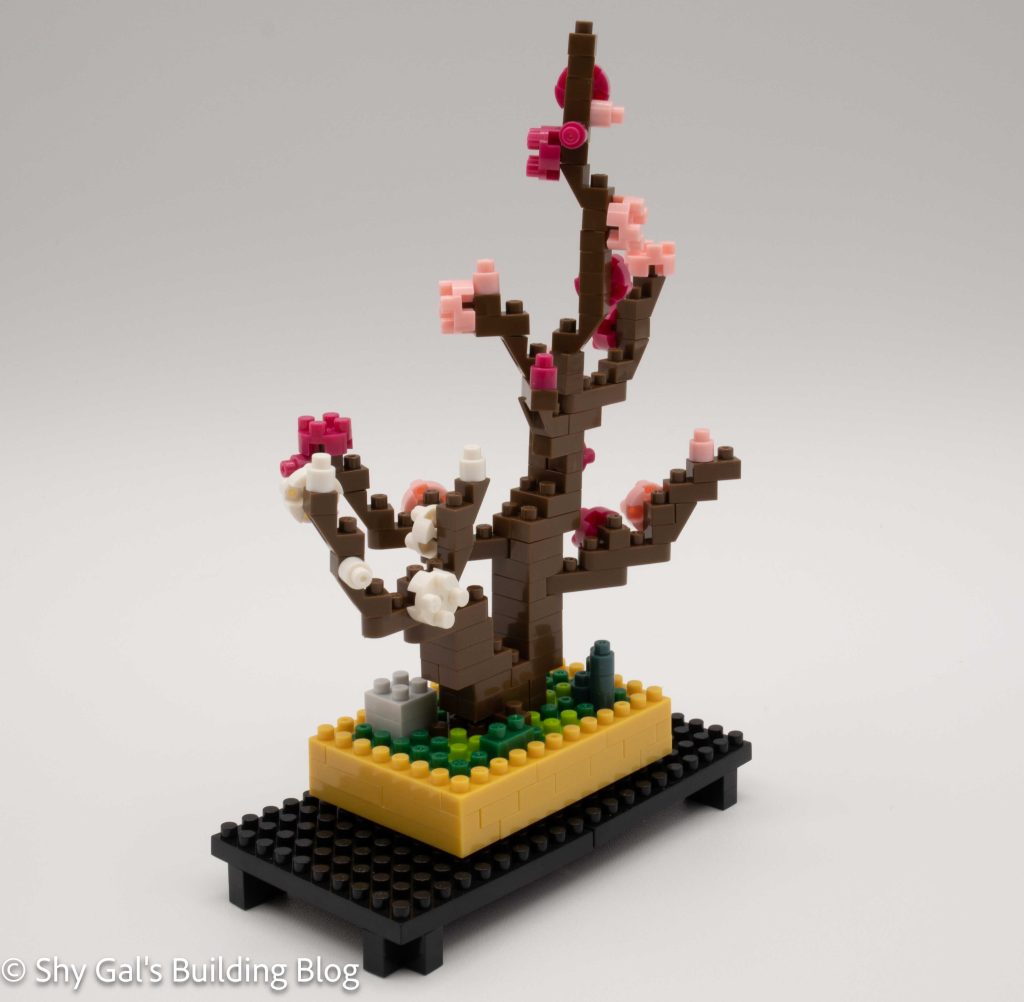
The Plum Bonsai is one of several smaller Bosai builds nanoblock has made. I really like the shades of pink and white used to create the flowers on the tree. I have seen flowering plums bloom before they have leaves, so there is no green in this build.
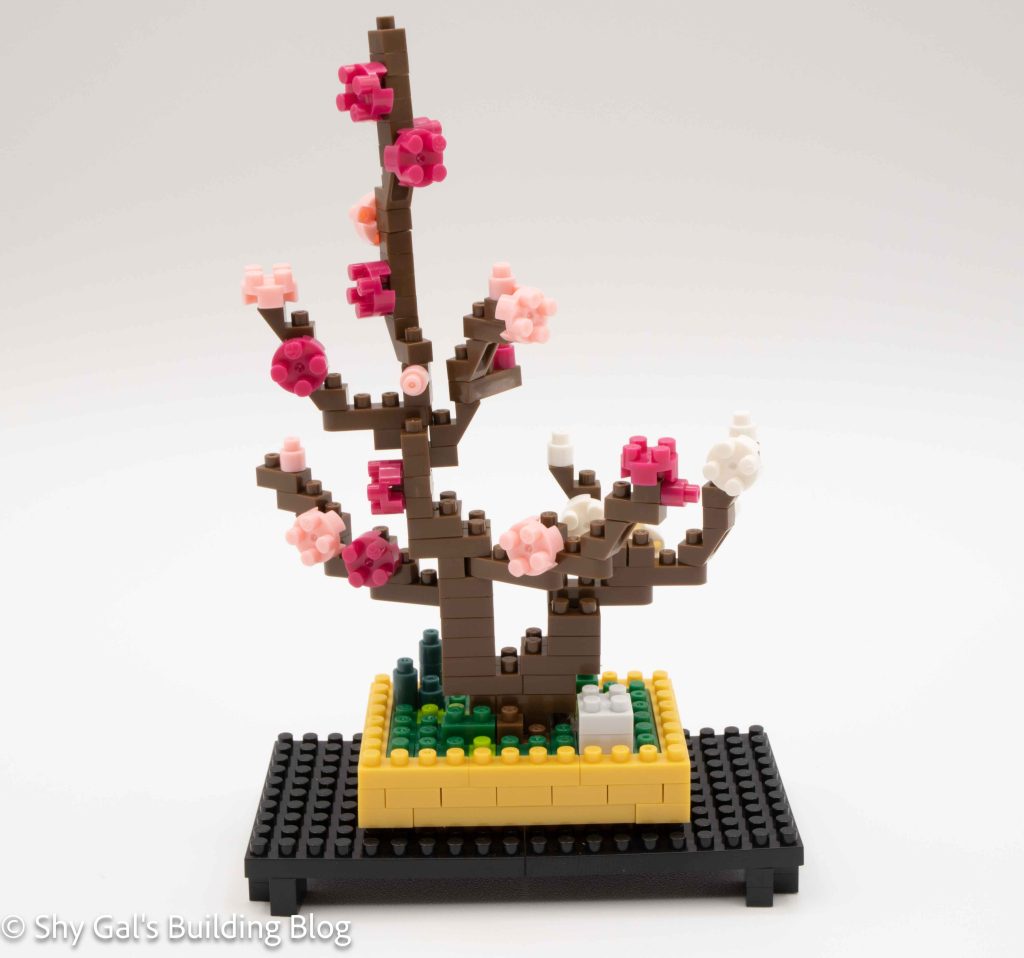
I’m not sure I agree with this build only being a 2/5. Getting the branches lined up can be quite challenging, so I’m unsure why it is only a 2. You begin by creating the table base and creating the planter for the build. Both of these steps are really straightforward and clear. Once you build the base, I recommend skipping to step 10 and adding the feet to the table, so you don’t need to flip the build over once the fragile tree is built.
The central part of this build is creating the tree. In general, the directions are very clear about where exactly to put each brick in the build. However, to keep the branches delicate, you are generally chaining a 1×1 or a 1×2 onto another 1×1. This means in very few places can you push down really hard without popping off what you were building.
Overall I found this build very challenging for a level 2. I think it should have a level 3, at least. I really like how the different shades of pink give the variation that real flowers would have.
Things I liked:
How delicate the branches look when completed
Things I didn’t like:
I had some problems when attaching branch sections
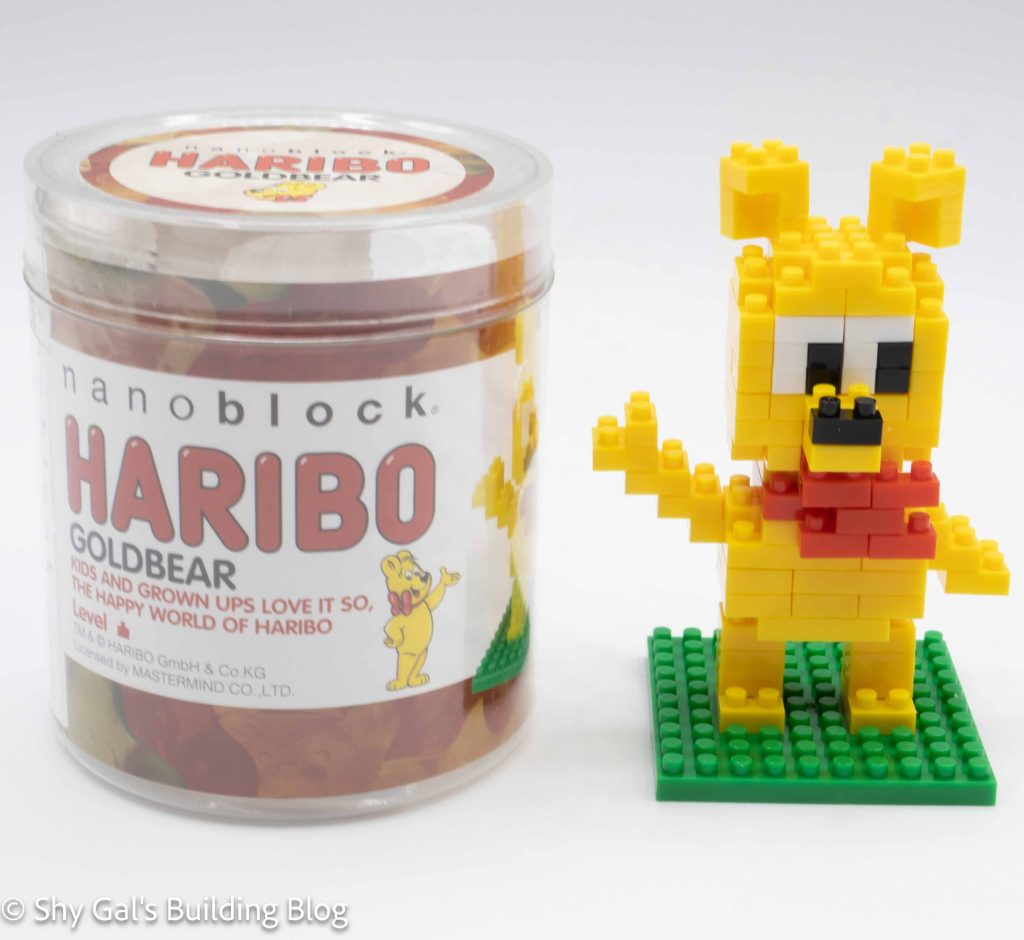
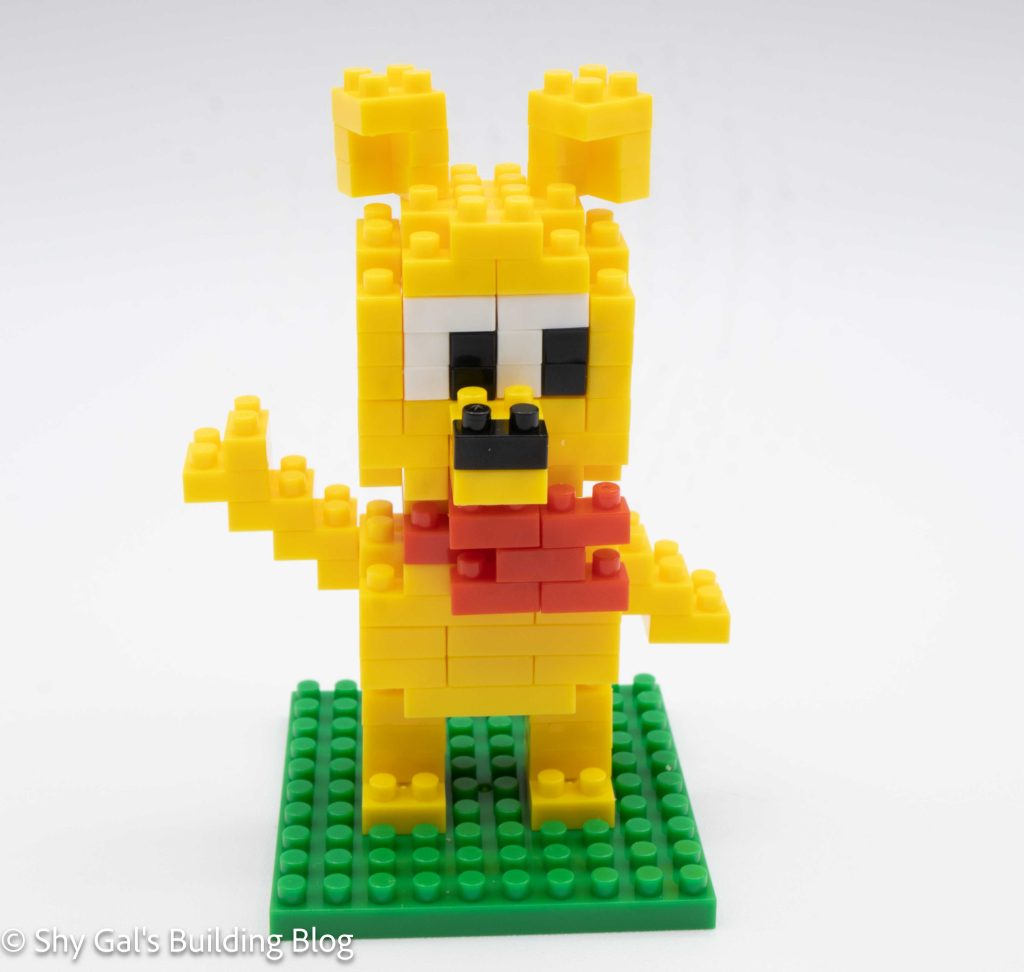
This post is a review of the nanoblock Haribo Goldbear build. Goldbear is not part of another nanoblock collection.
Difficulty Rating: 1
The instructions for this nanoblock build were in black and white. You know which bricks to use because each color is labeled using mostly hiragana, so I was able to read the colors at least.
The build begins with a base plate and builds up in layers in one build. I was surprised that the build wasn’t in sections.
First, you put the feet and legs on the base plate.
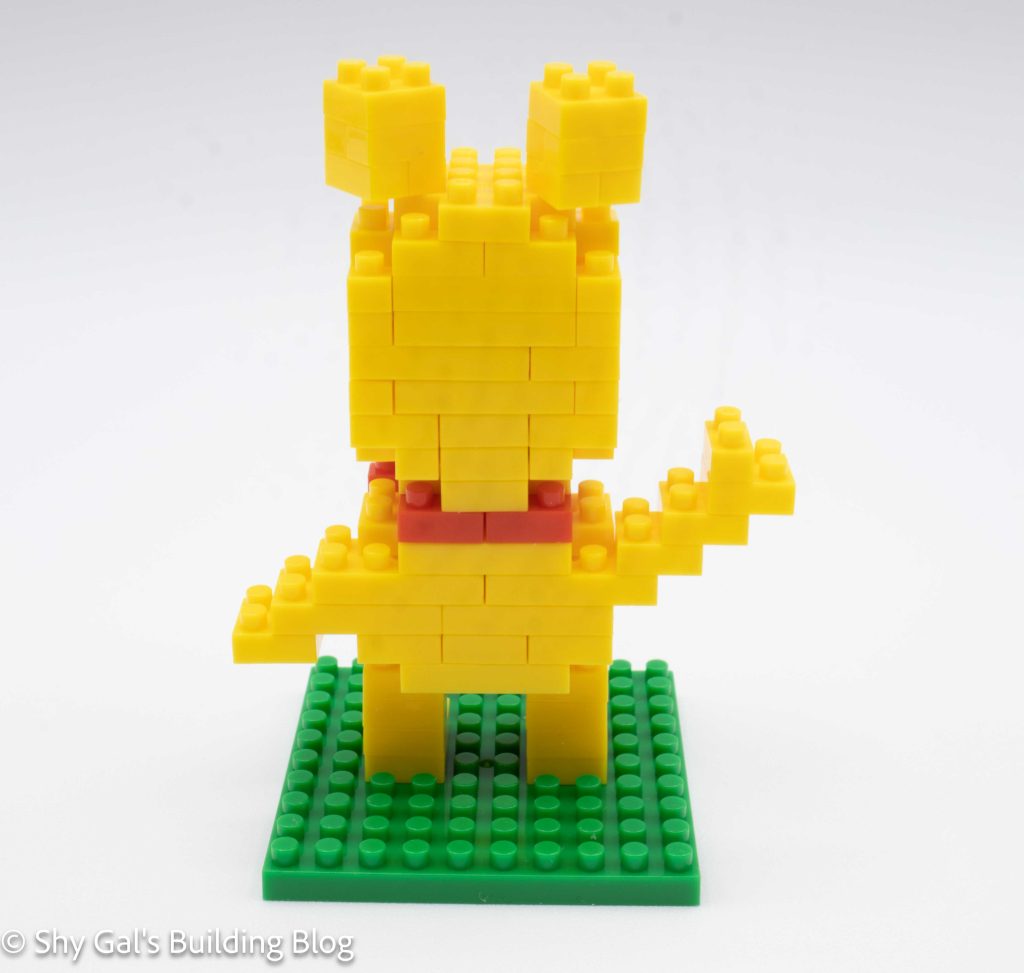
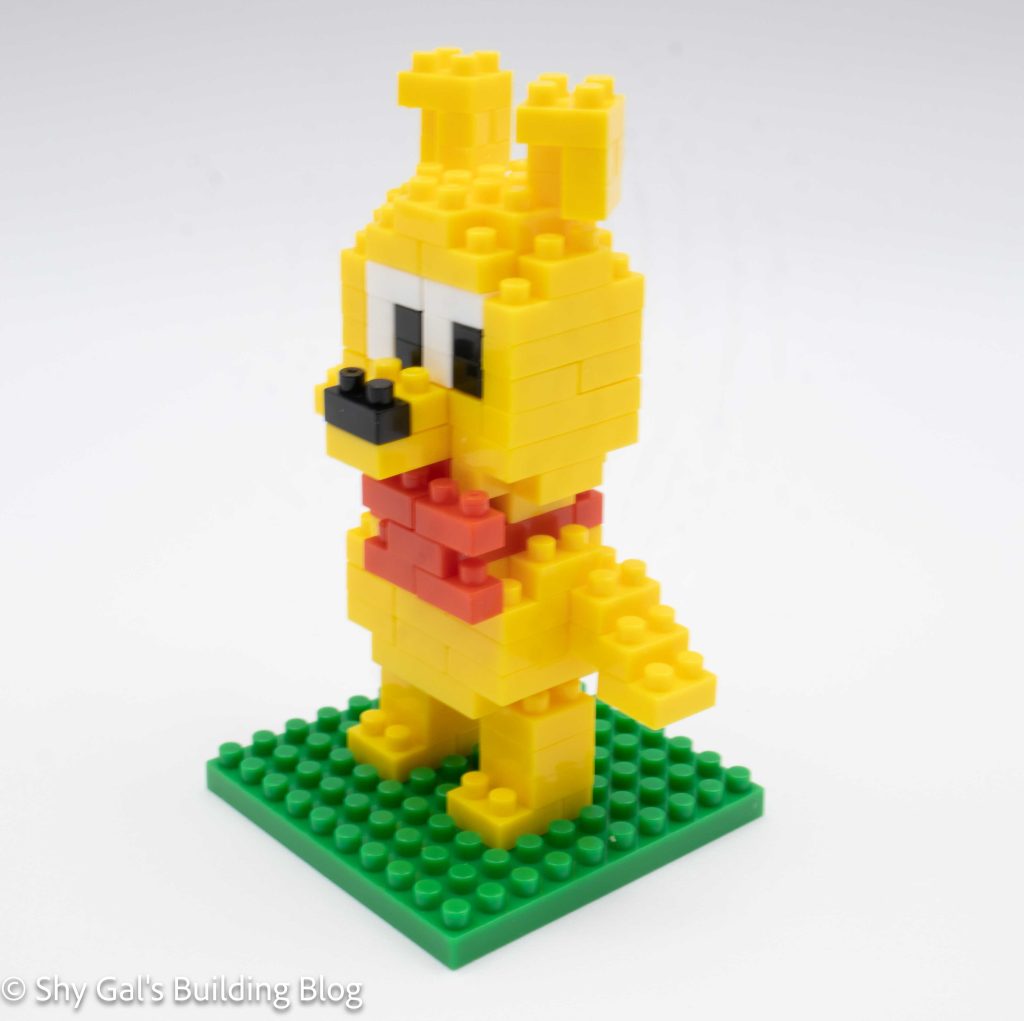
Next, you build the body of the bear in layers. I like the details of his paw being down being added in.
When you reach the top of the body, you add the bow tie. I was a little surprised that the bowtie was off-center, which was a bit of a surprise and made the directions a bit confusing. It is also a bit confusing as to where exactly the paw going up attaches to the body.
After adding the bow tie, you build the head. The head is very straightforward. I really like how big the Goldbear’s eyes are. I also really like how the ears are built to create a sense of depth.
Things I liked:
I like how recognizable the bear is. It looks a lot like the mascot
I like the depth of details in the ears
Things I didn’t like:
His bowtie is off-center, and I’m not sure I like it. I may have preferred it to be centered
As I built the body, it kept coming off the legs. I wish the build was in sections instead of just being in layers.