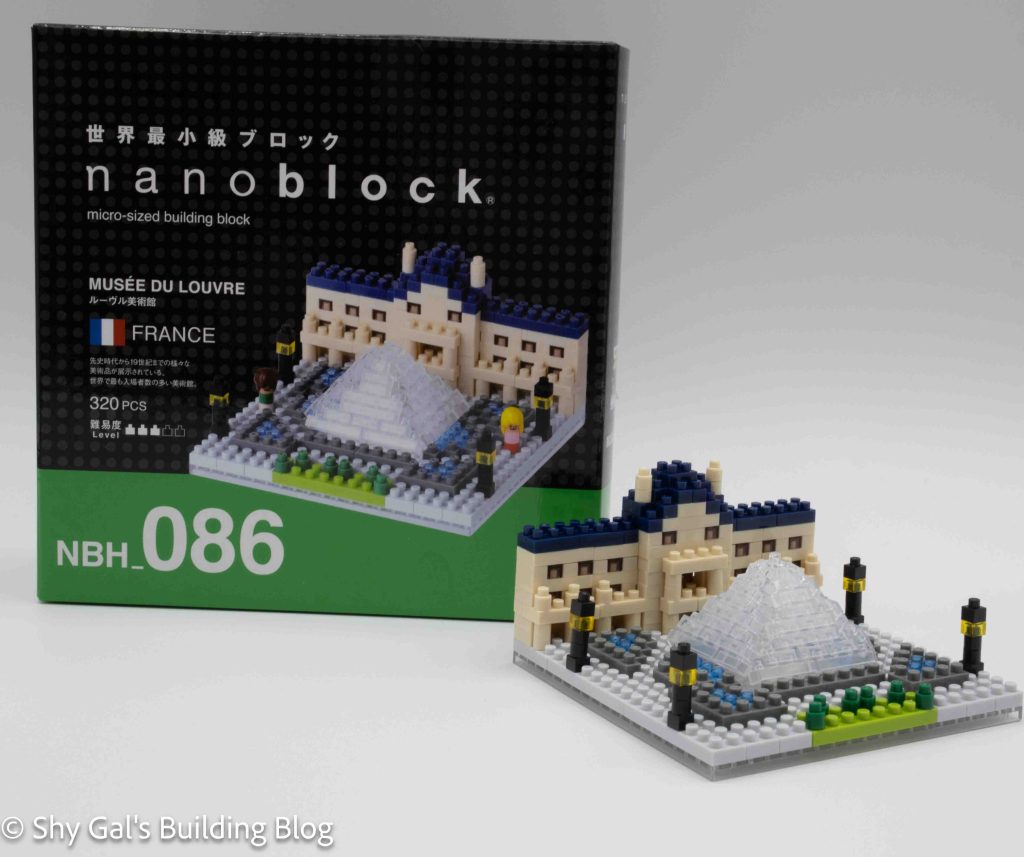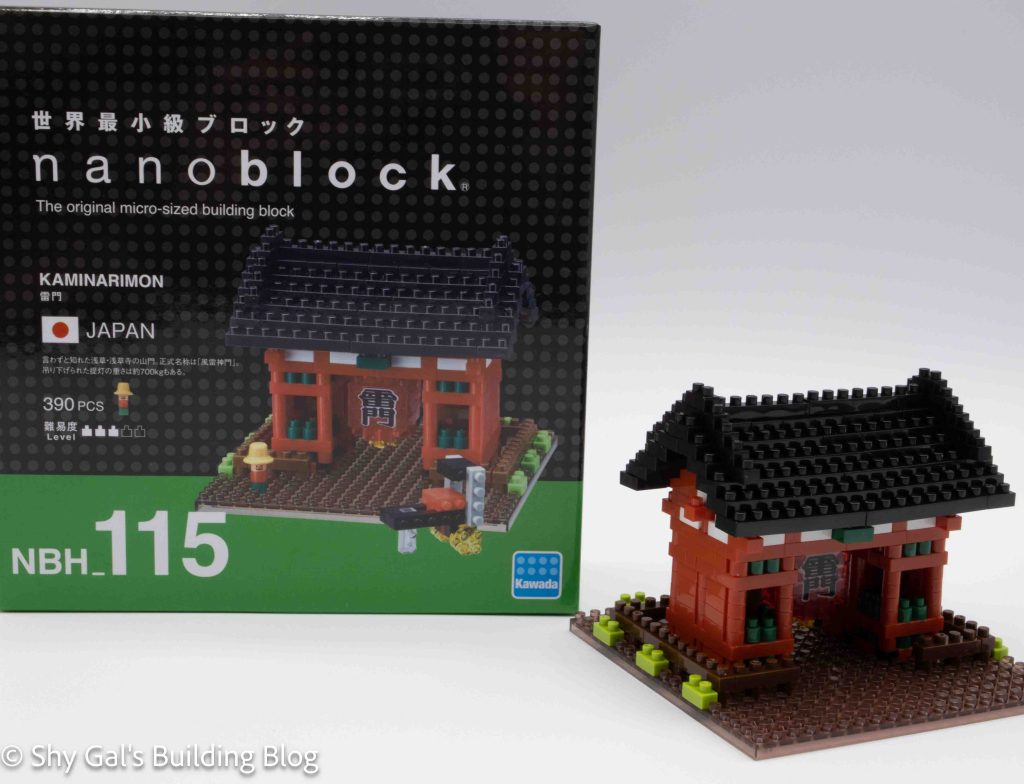
This post is a review of the nanoblock Kaminarimon build. Kaminarimon is part of the nanoblock Sights to See collection. Wondering what else is part of the Sights to See Collection? Click here for a list.
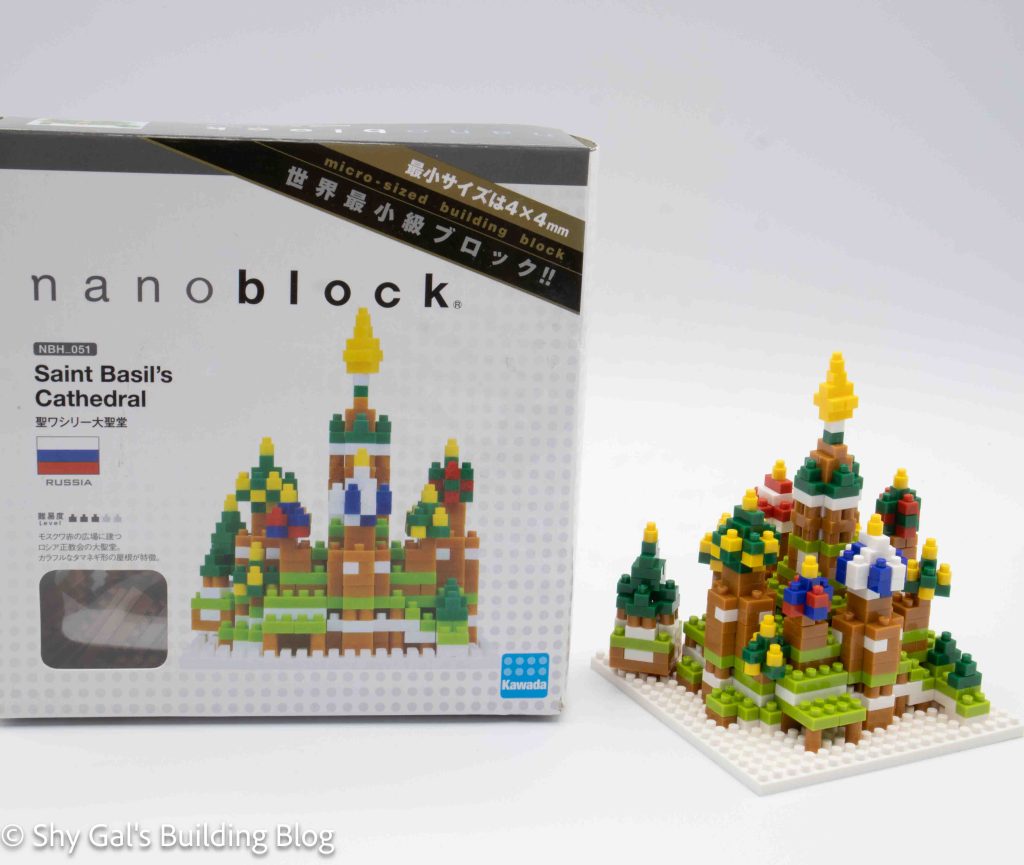
Number: NBH_115
Country: Japan
Number of Pieces: 390
Difficulty Rating: 3/5
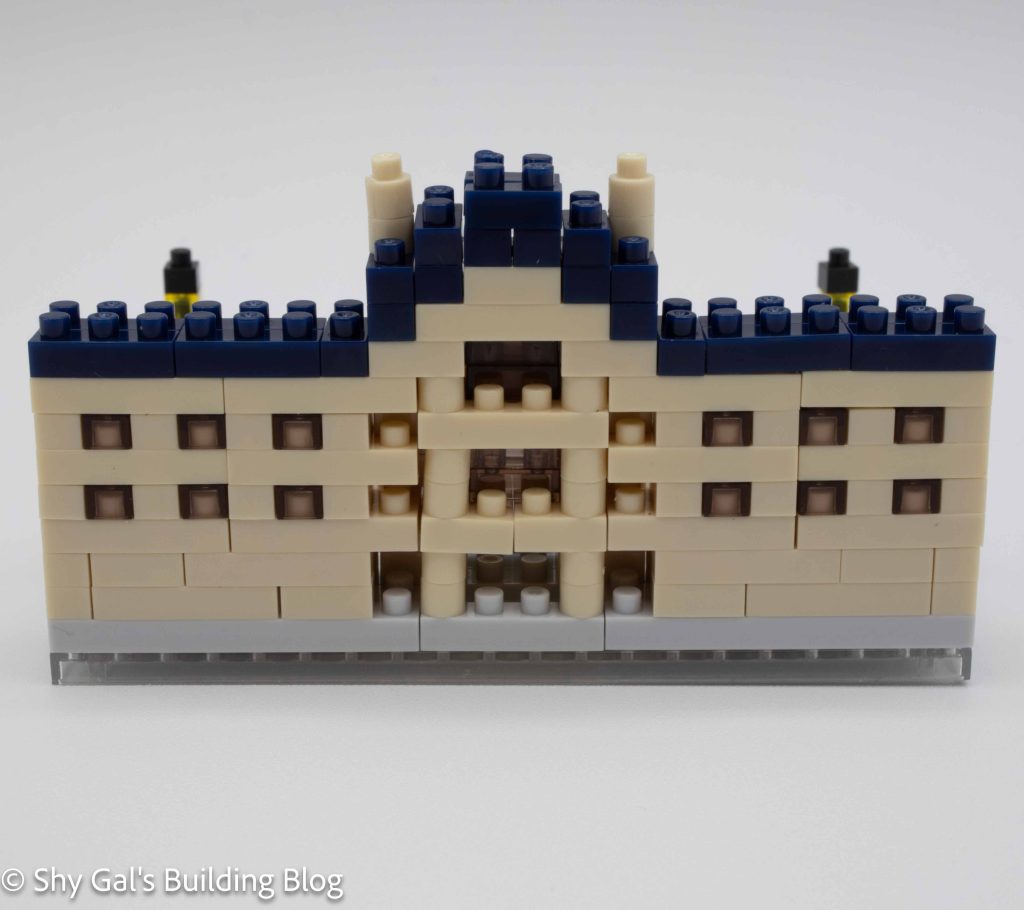
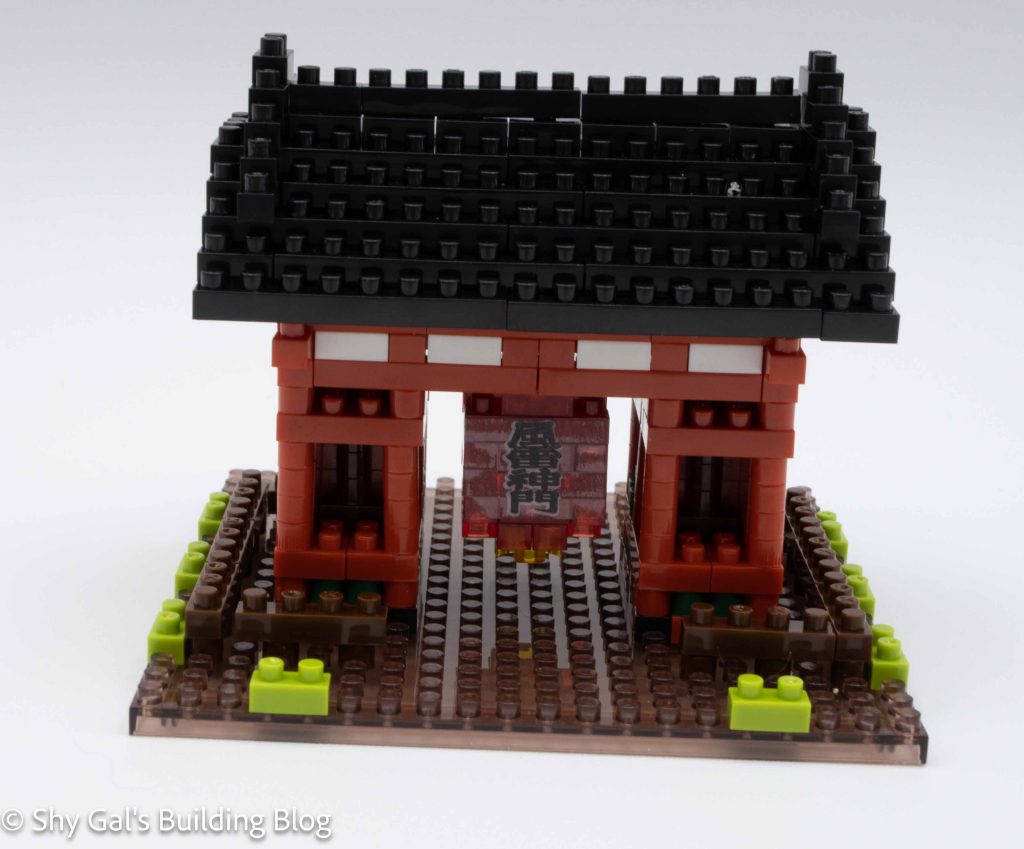
The Kaminarimon is part of the outer gate leading to Senso-ji, which is a Buddist temple in Asakusa, Tokyo, Japan. For more information, check out the wiki page here.
This is the second Kaminarimon build that I have done. The other is a lit version that you can read my review of here.
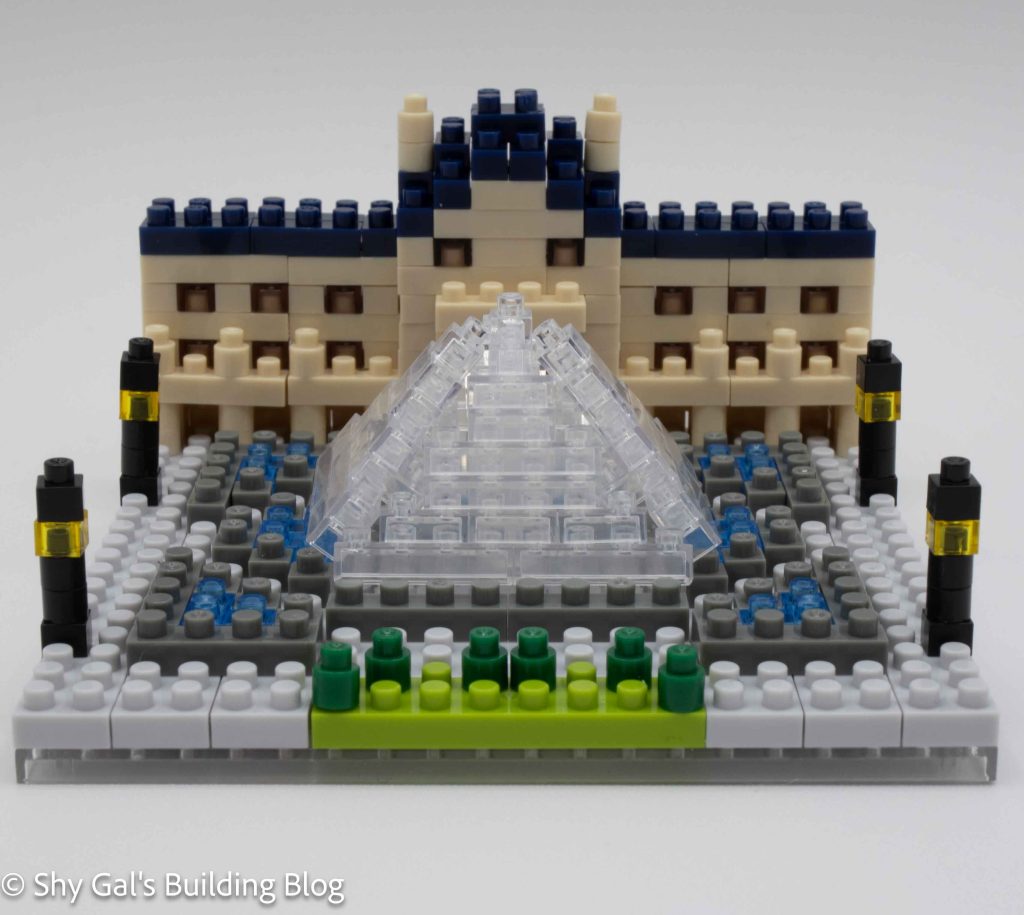
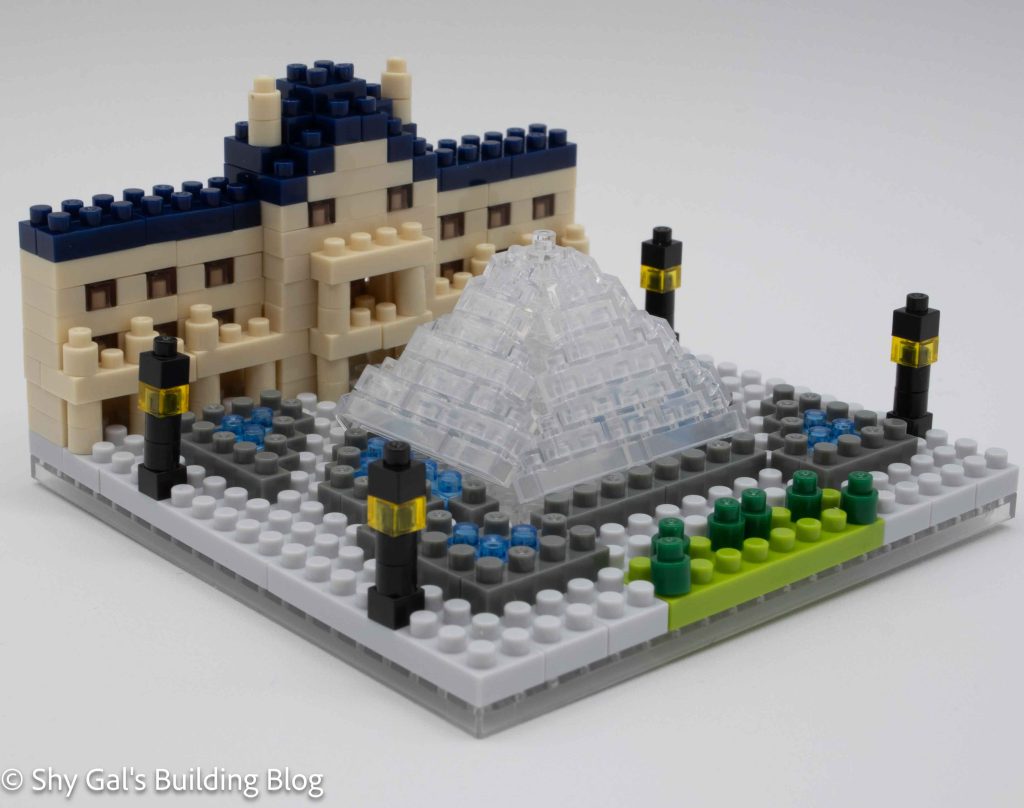
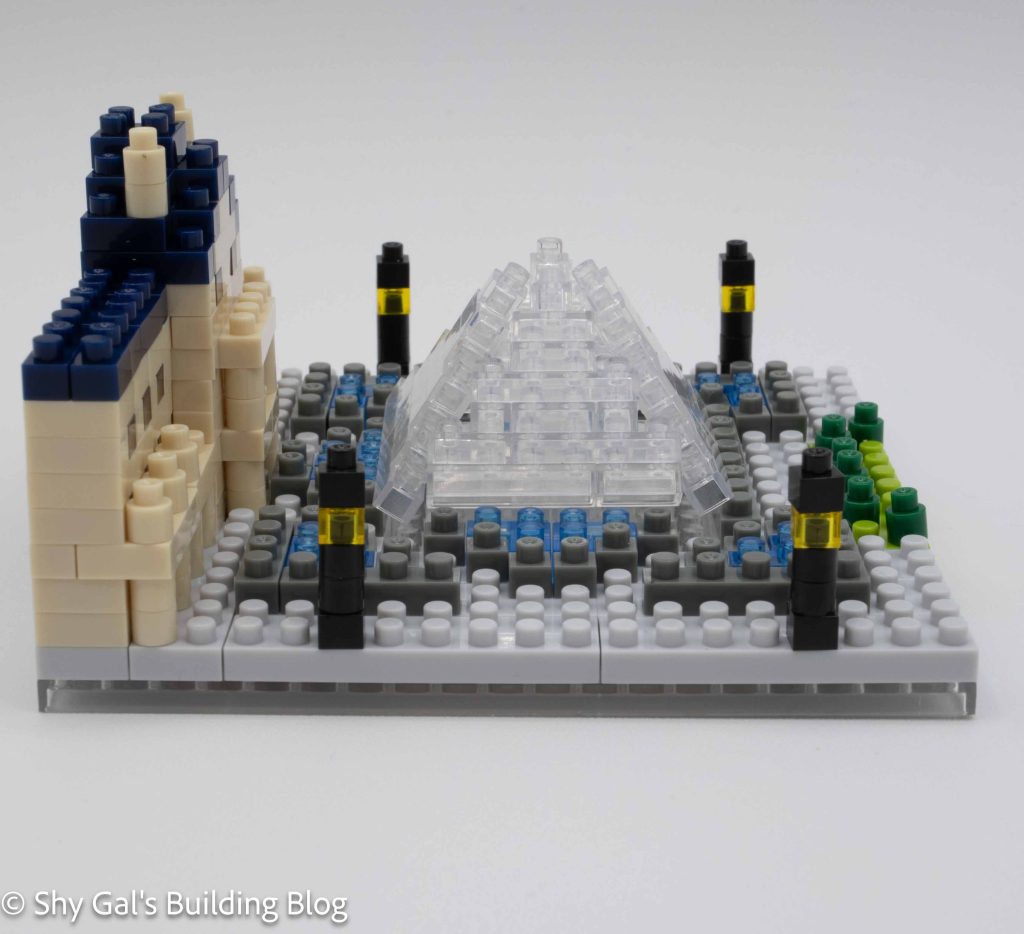
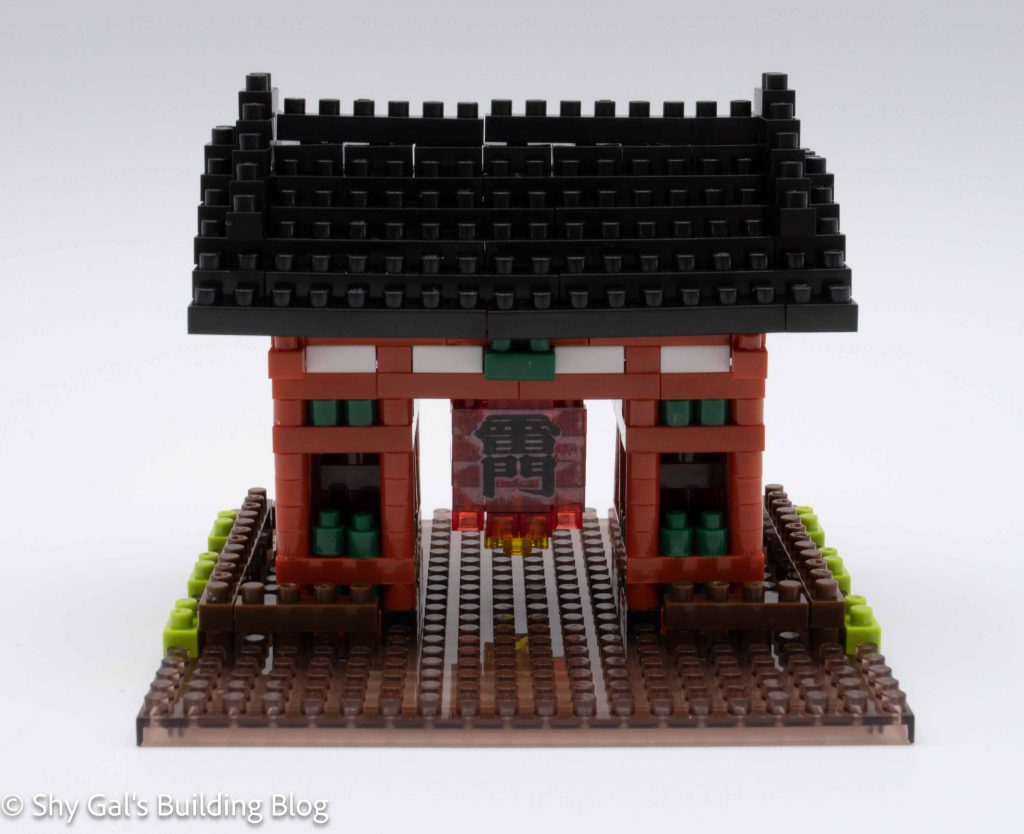
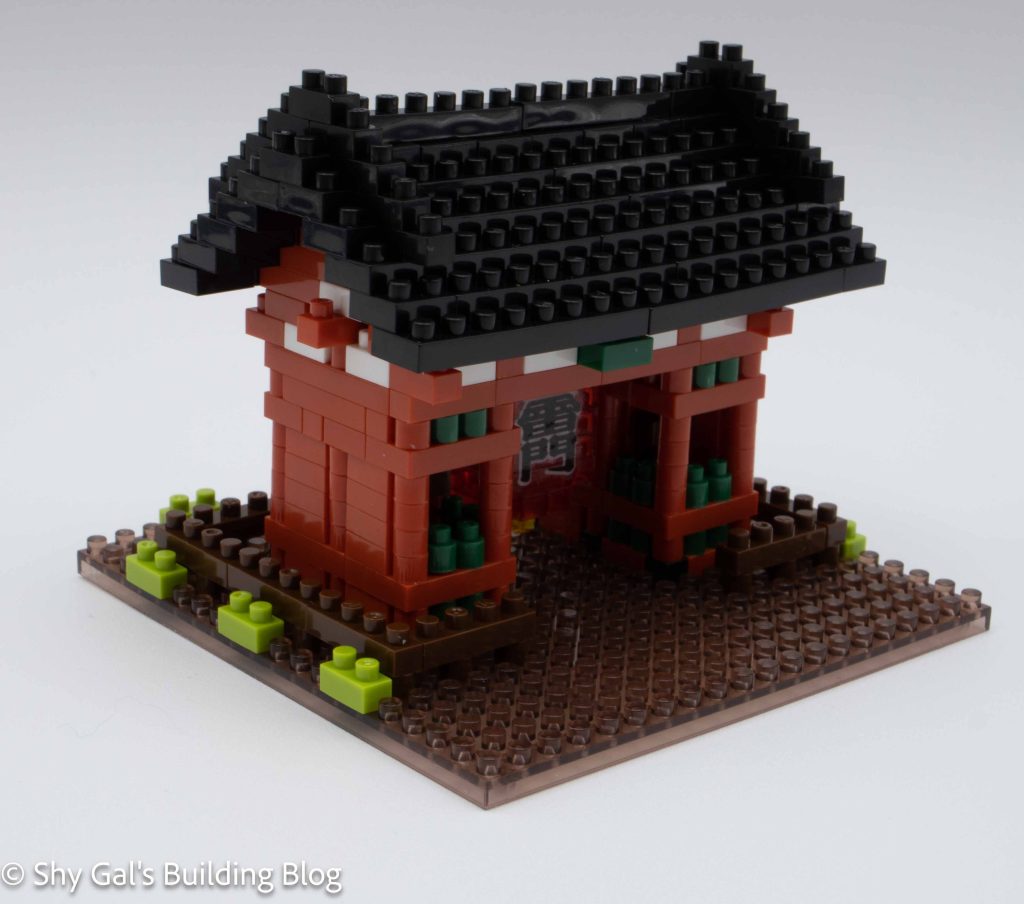
This build has an unusual base. While most of the landlocked buildings are on grey or green plates, this build is built up from a clear brown base.
The first step is to lay out the base layer. This creates the base for the two sides of the gate, the base for a fence, and some bushes around the edge.
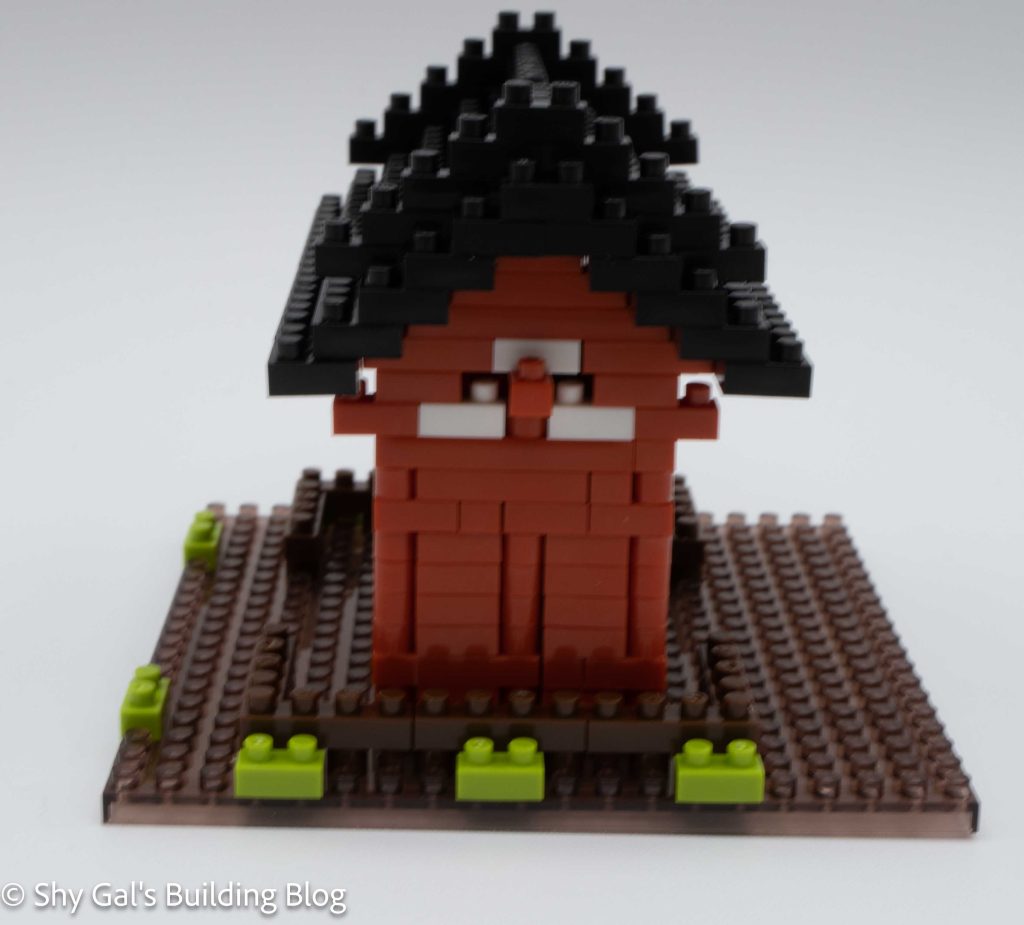
The next few steps build the sides of the gate. Building the gate adds the details of the statues that live inside and creates the base to attach the roof.
There are a few more steps to prepare everything so that you can attach the roof. The trickiest part is the triangles are off-center, so getting everything centered is tricky. This is also the step where you build and attach the large lantern. The lantern is straightforward, with a sticker to create the Kanji. I don’t normally like to use stickers on builds, but the kanji on the lantern is so important to completing the build I went ahead and added the stickers.
The final step is to build and attach the roof and add the final details. It is very straightforward.
The build also comes with a nanoid. I didn’t include them in my build because I don’t feel like it matches the scale. There is also a rickshaw that I didn’t include because it doesn’t attach to the build.
Things I liked:
- The difference between the red and clear red added a nice detail
Things I didn’t like:
- I don’t really like all the extras that got added to the build. The scale doesn’t seem right