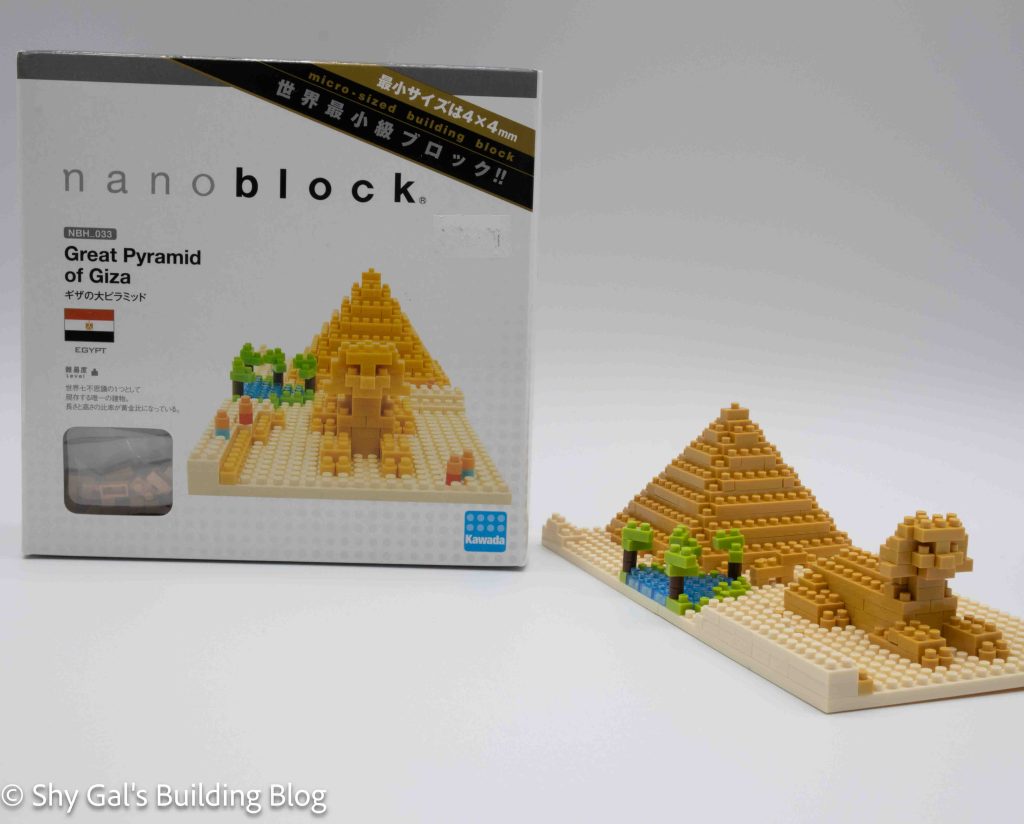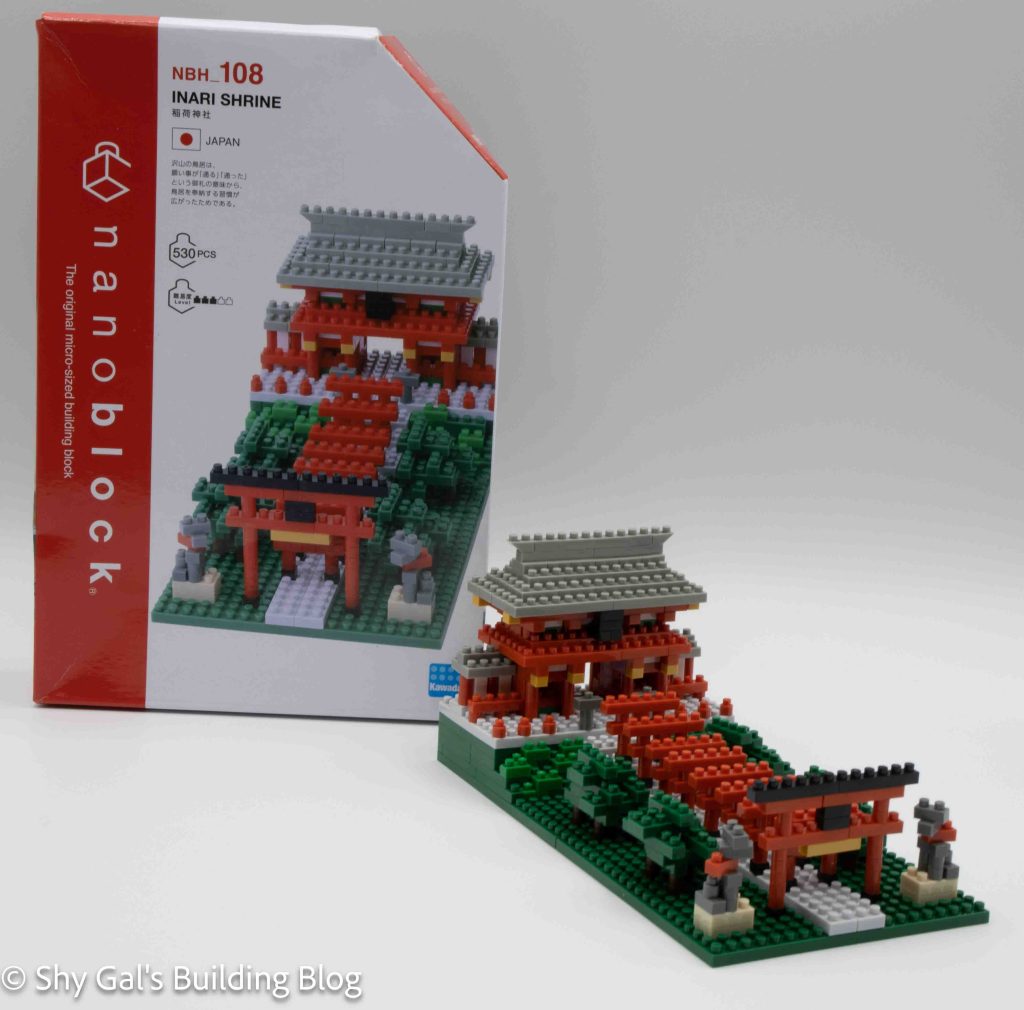
This post is a review of the nanoblock Inari Shrine build. The Inari Shrine is part of the nanoblock Sights to See collection. Wondering what else is part of the Sights to See collection? Click here for a list.
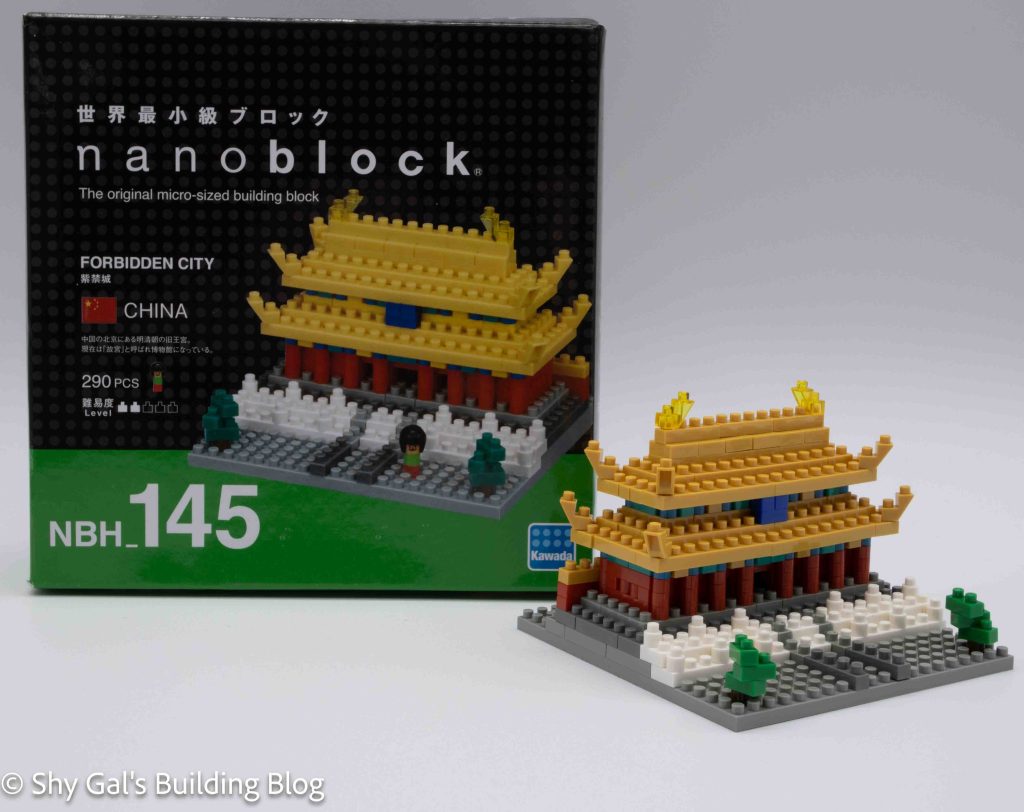
Number: NBH_108
Country: Japan
Number of Pieces: 530
Difficulty Rating: 3/5
I built this kit while recovering from Covid-19, so I was creating through brain fog. This meant that the build took several days instead of a few hours.
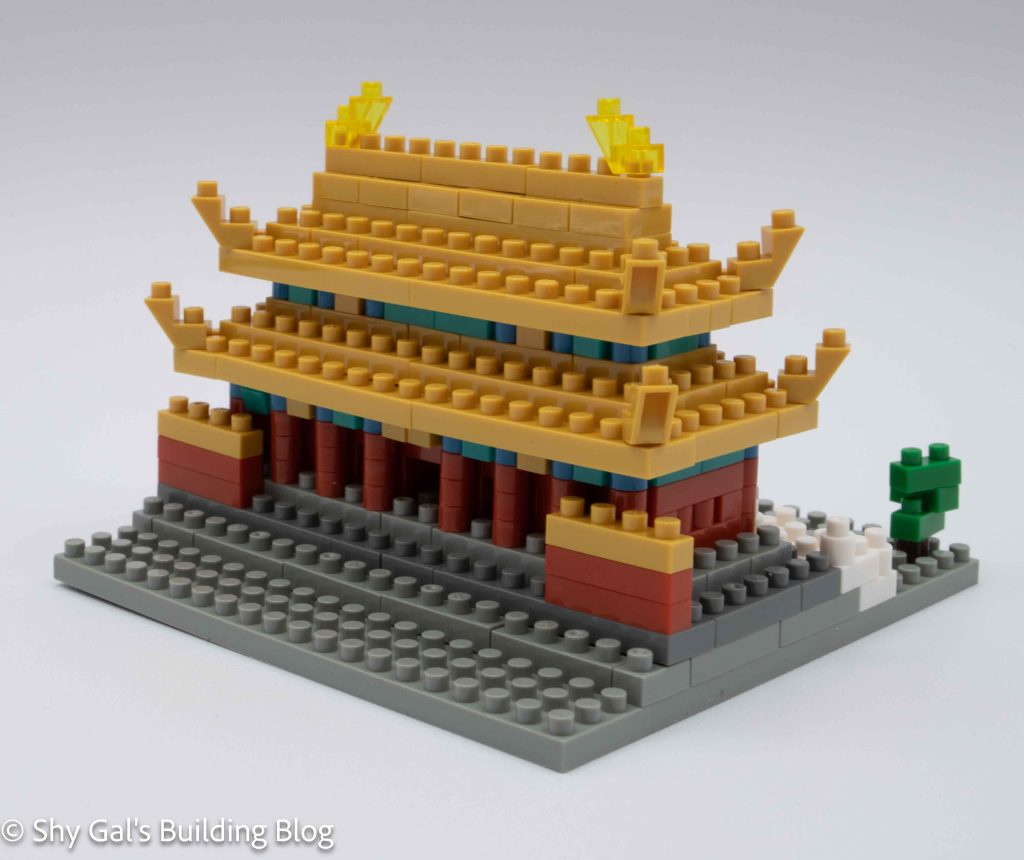
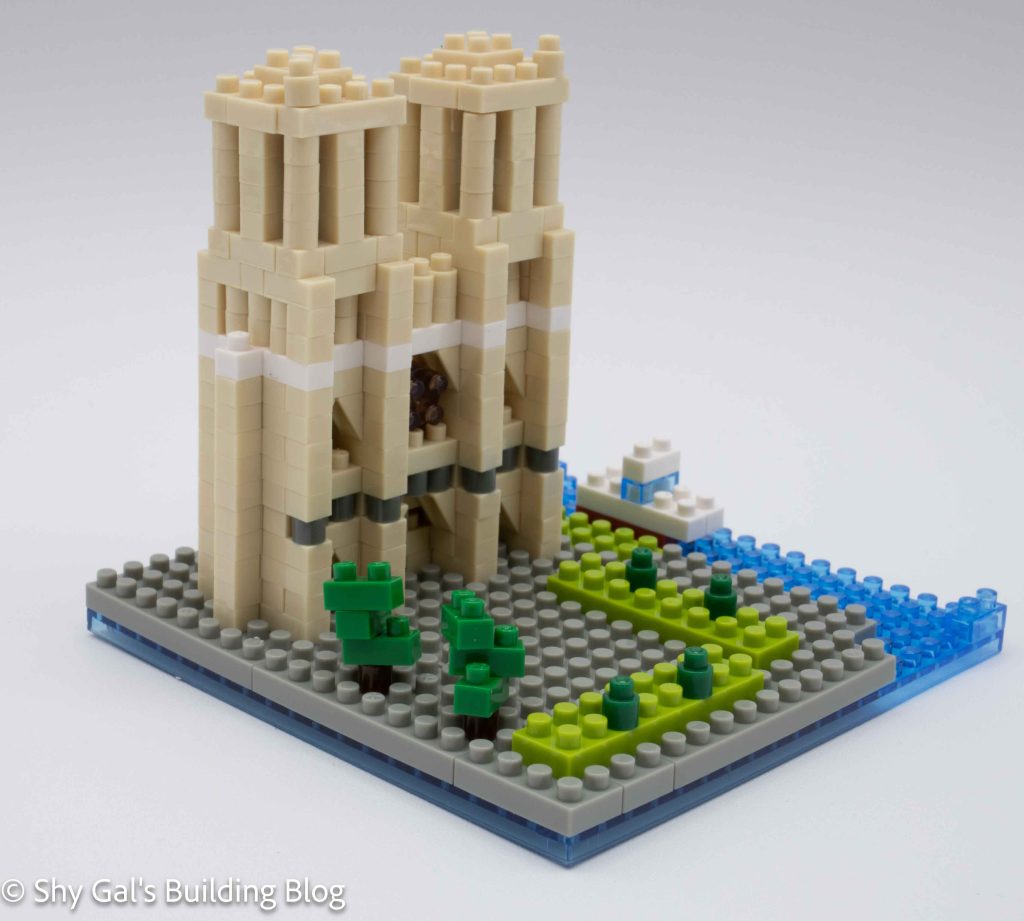
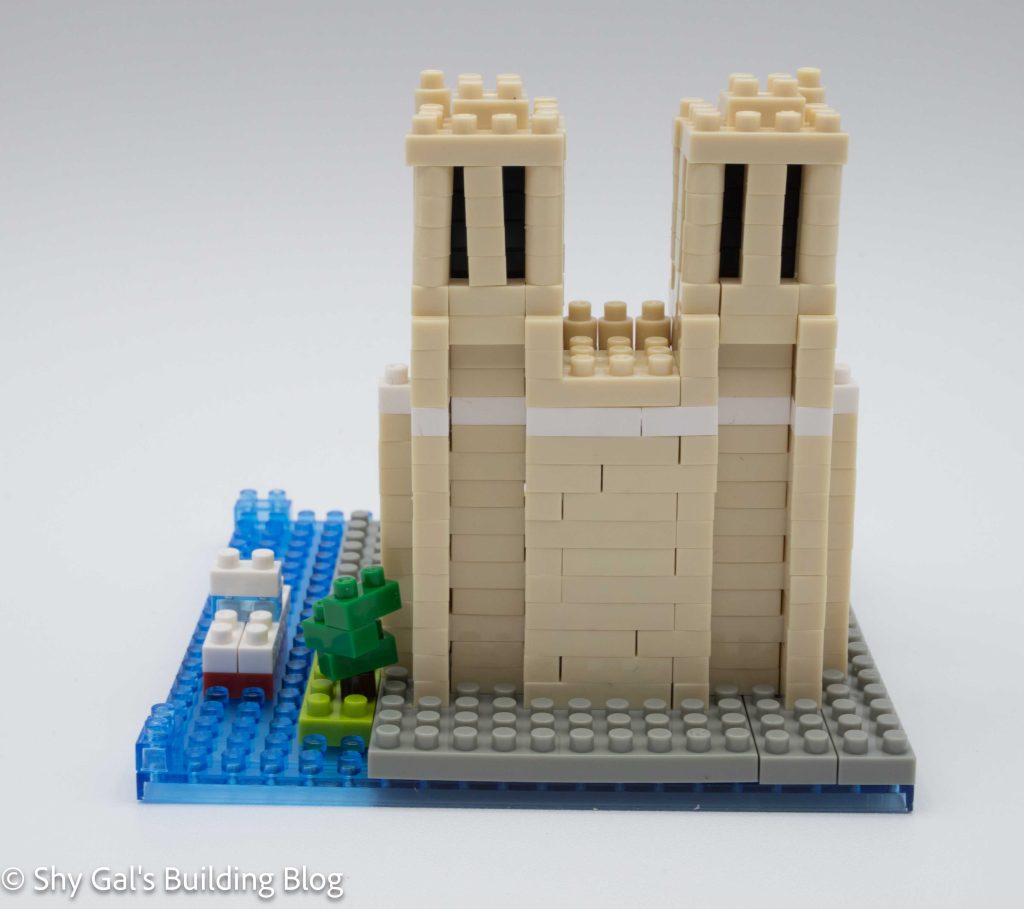
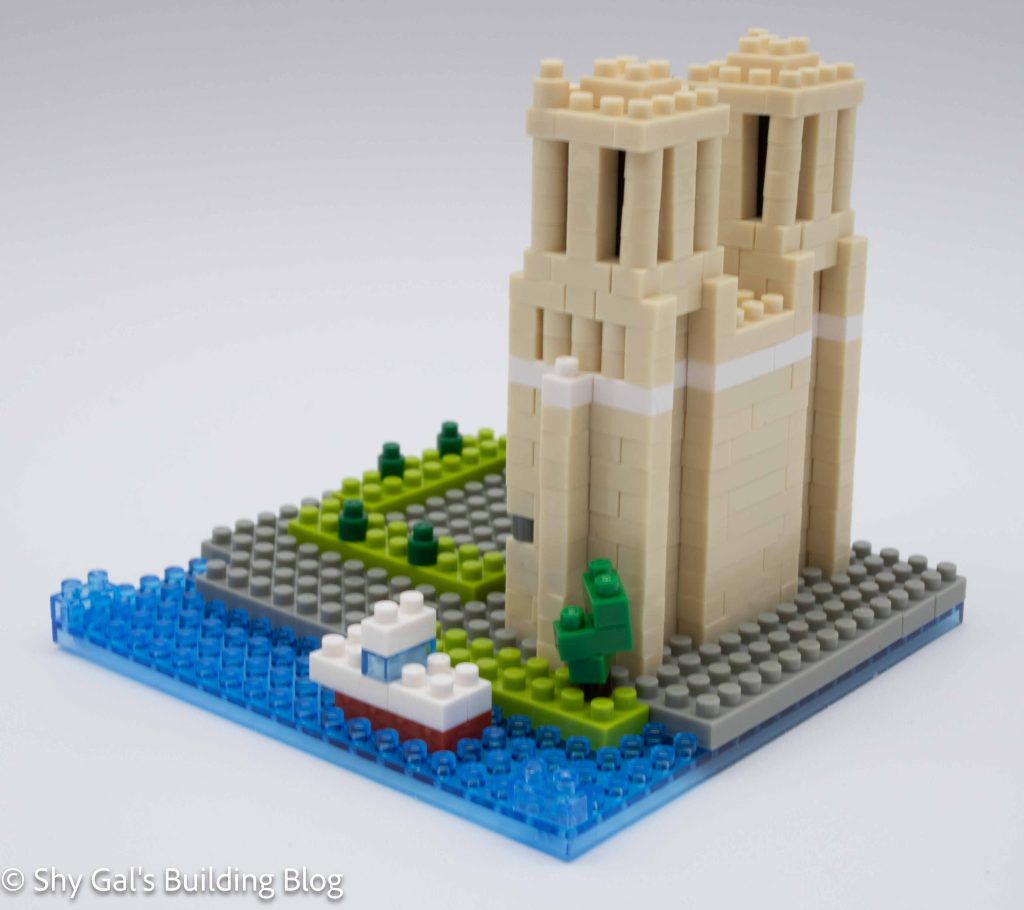
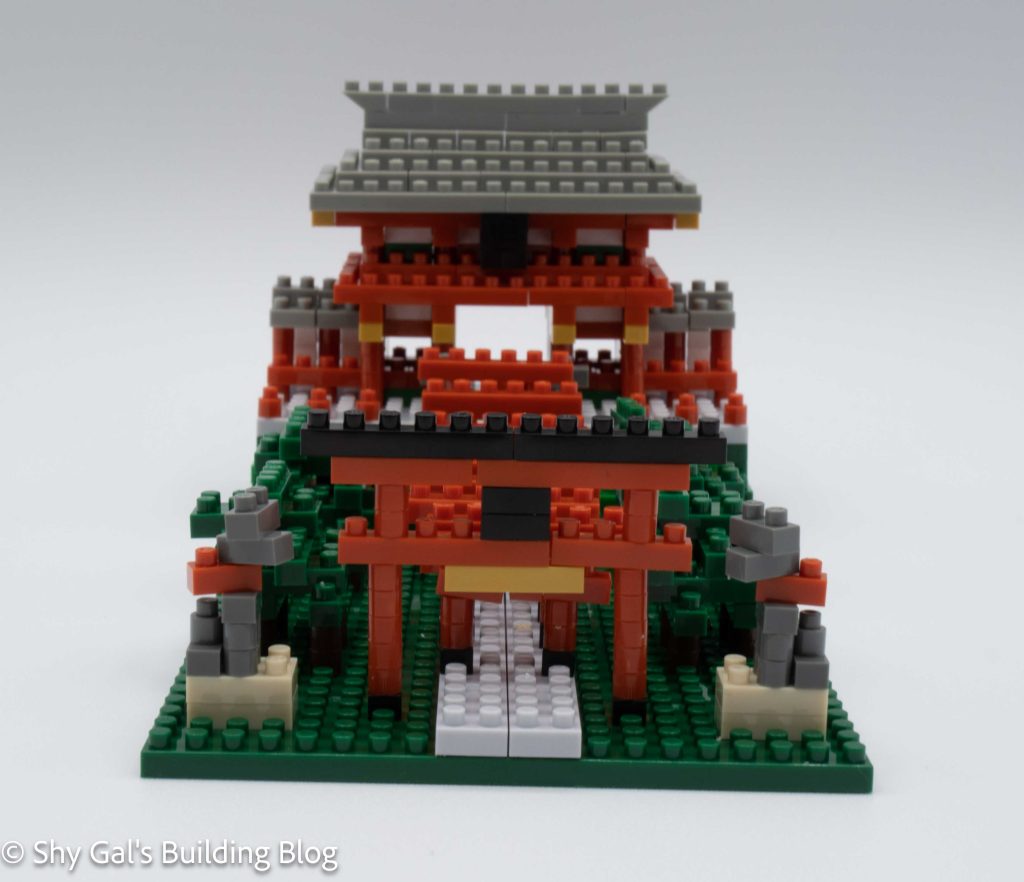
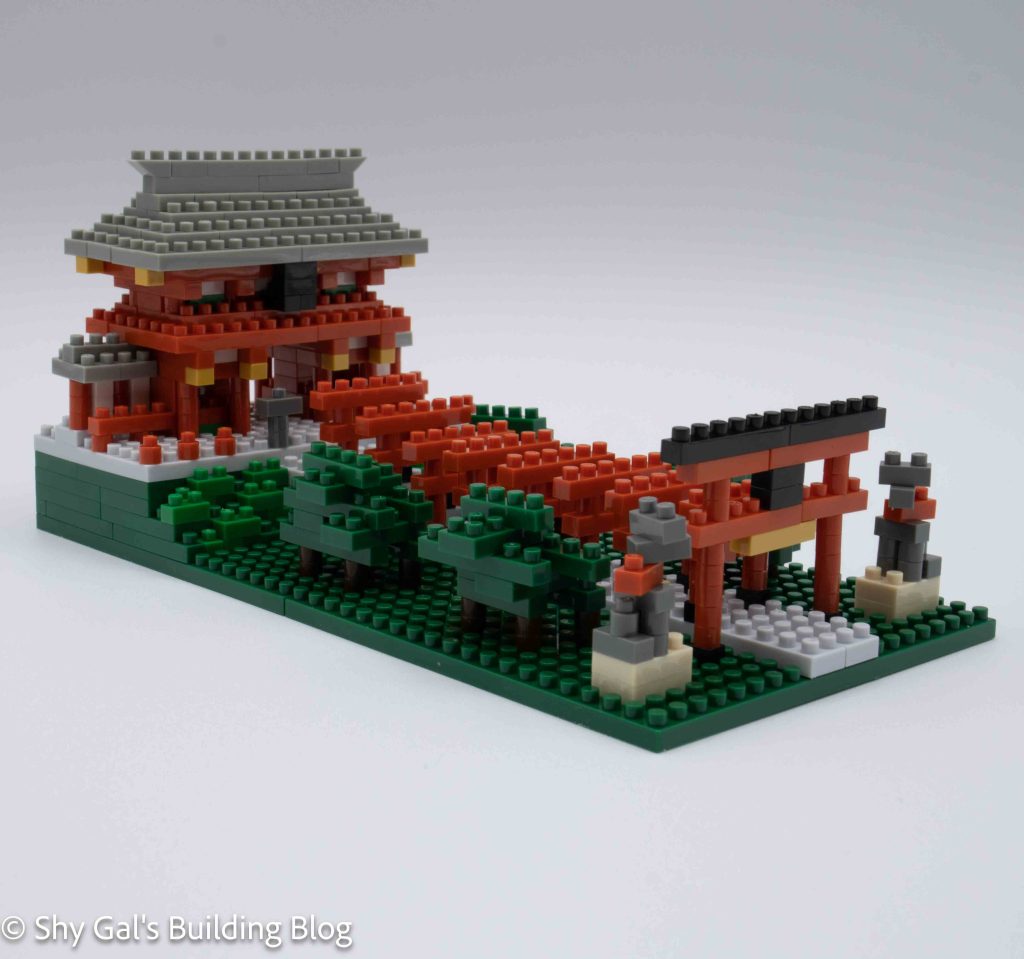
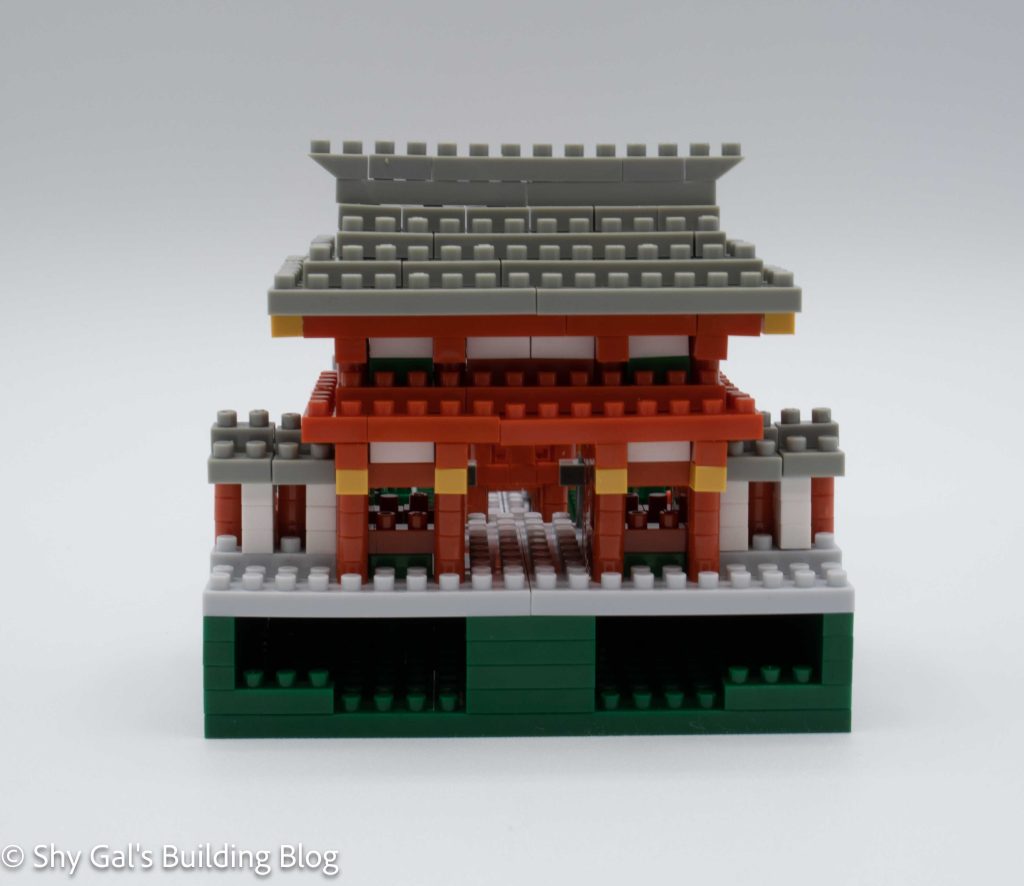
An Inari shrine is a Japanese shrine used to worship the kami Inari. Inari is a popular deity associated with foxes, rice, household well-being, business prosperity, and general prosperity. There are several shrines throughout Japan that are either Sinto or Buddhist. Inari shrines are typically constructed of white walls with red woodwork, and their entrances are marked by torii. These shrines commonly have statues of foxes.
In the first couple of steps, it is challenging to tell what exactly is happening. This is because the base is so dark, so it’s hard to see the top of the studs to count how many studs are in a gap. Personally, I have a hard time counting the bricks when they are outlined in white.
After a few layers, you lay the base for the temple and just focus on just building the shrine. From there, the temple goes up in basic layers until you reach the roof. The roof on the sides doesn’t line up with the other rows, so it is tough to tell where precisely the roof goes so it lines up.
Building the roof of the main shrine is very straightforward. It creates a layered look for the shrine’s roof.
After building the main structure of the shrine, you add the details along the path heading up to the main shrine.
First, there are the trees or bushes. Since the scale is a little off, it’s hard to know what is being built. I found the trees very tricky to get everything lined up correctly. For the first couple of steps, it’s hard to tell where precisely the overhangs are, so it is hard to line everything up. After a couple steps, there are overhead shots, so it is much easier to figure out where the bricks go.
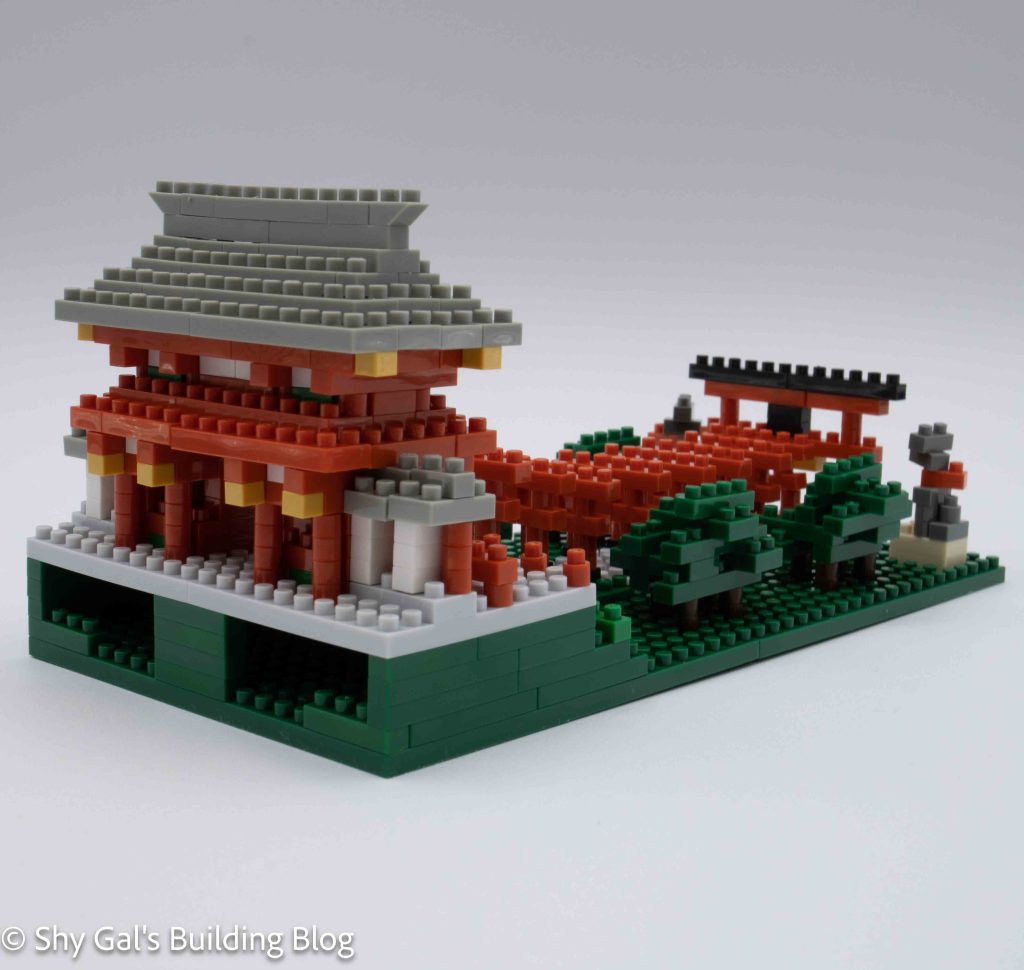
The final steps is to add the torii over a couple steps. First, you add the torii going up to the main shrine. These are a bit tricky to get everything lined up, but each top is straightforward. Then you add the main torii at the entrance to the shrine; this is also very straightforward.
Overall I really liked the build and found it enjoyable. However, I feel that the scale is off. When I’ve been to Inari shrines in Japan, I’ve never seen statues that are the size of torii gates. In the model, the pair of Inari are as tall as the torii on the path going up to the shrine. This means the scale is just a little off.
Things I liked:
- The fox statues at the front of the build
Things I didn’t like:
- How hard the directions were to read at the beginning
- The scale of the final build is a little off