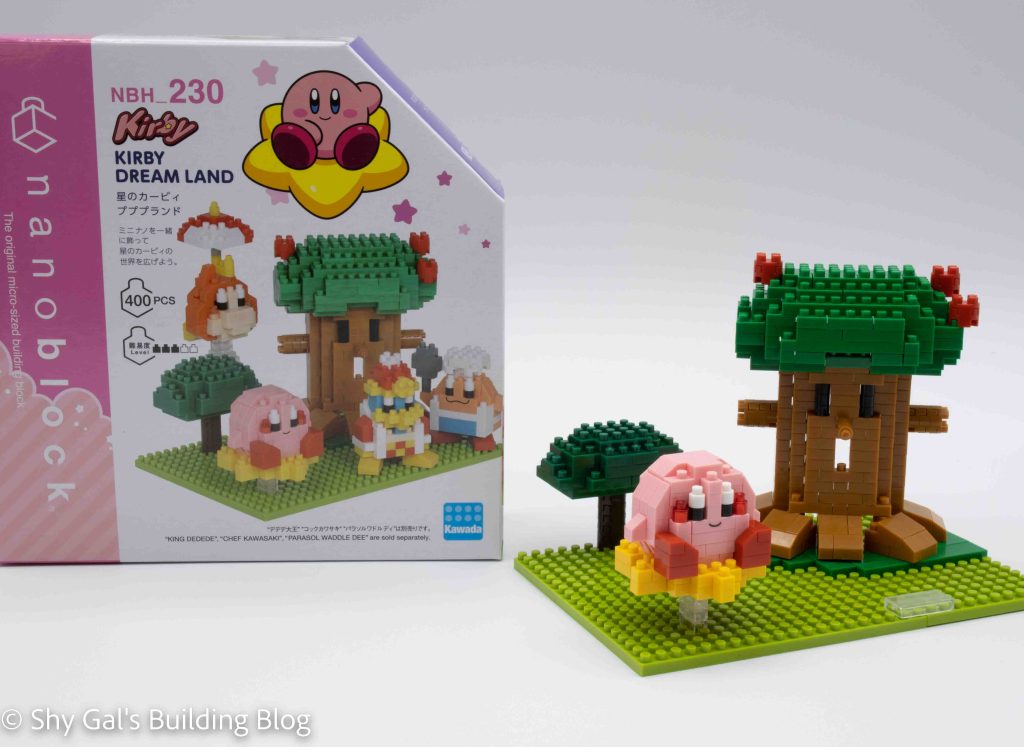
This post is a review of the nanoblock Kirby Dream Land build. Kirby Dream Land is part of the nanoblock Sights to See collection. Wondering what else is part of the Sights to See collection? Click here for a list.
Number: NBH_230
Number of Pieces: 400
Difficulty Rating: 3/5
Please note that while several characters are on the box, the only characters that are actually part of the build are Kirby and Whispy Woods (the tree). The other characters shown are part of volume 2 of the Kirby mininano collection.
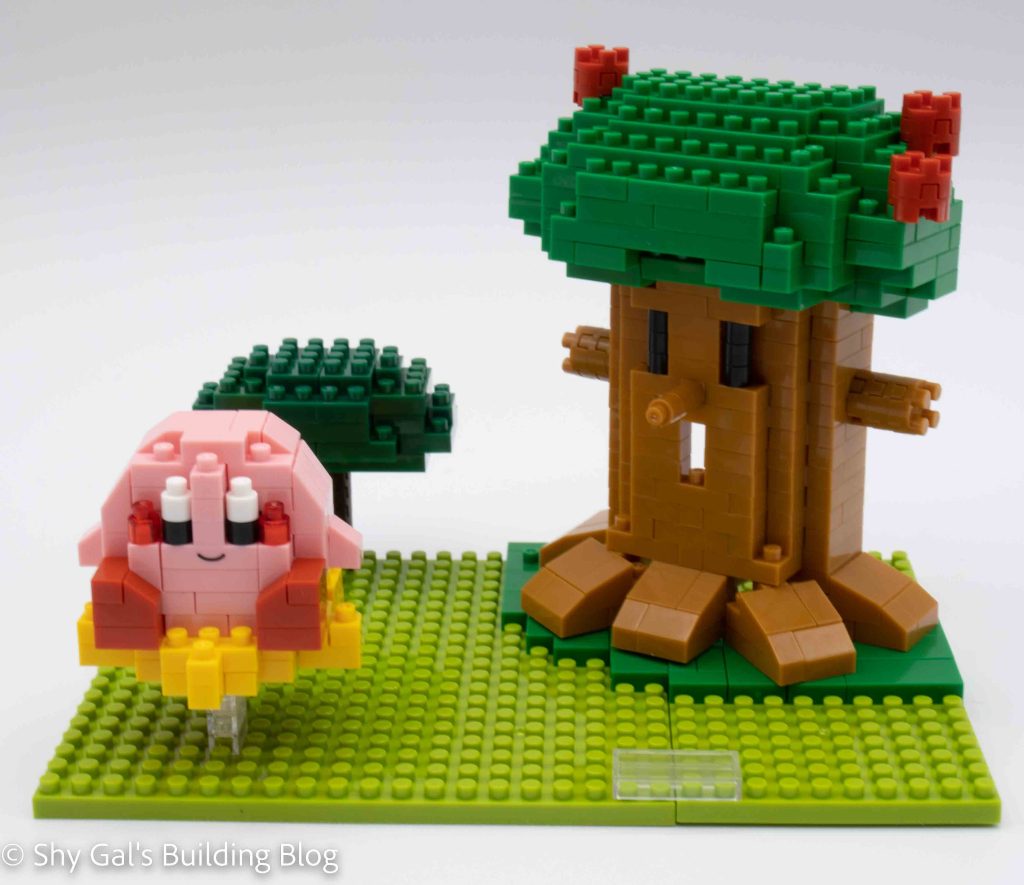
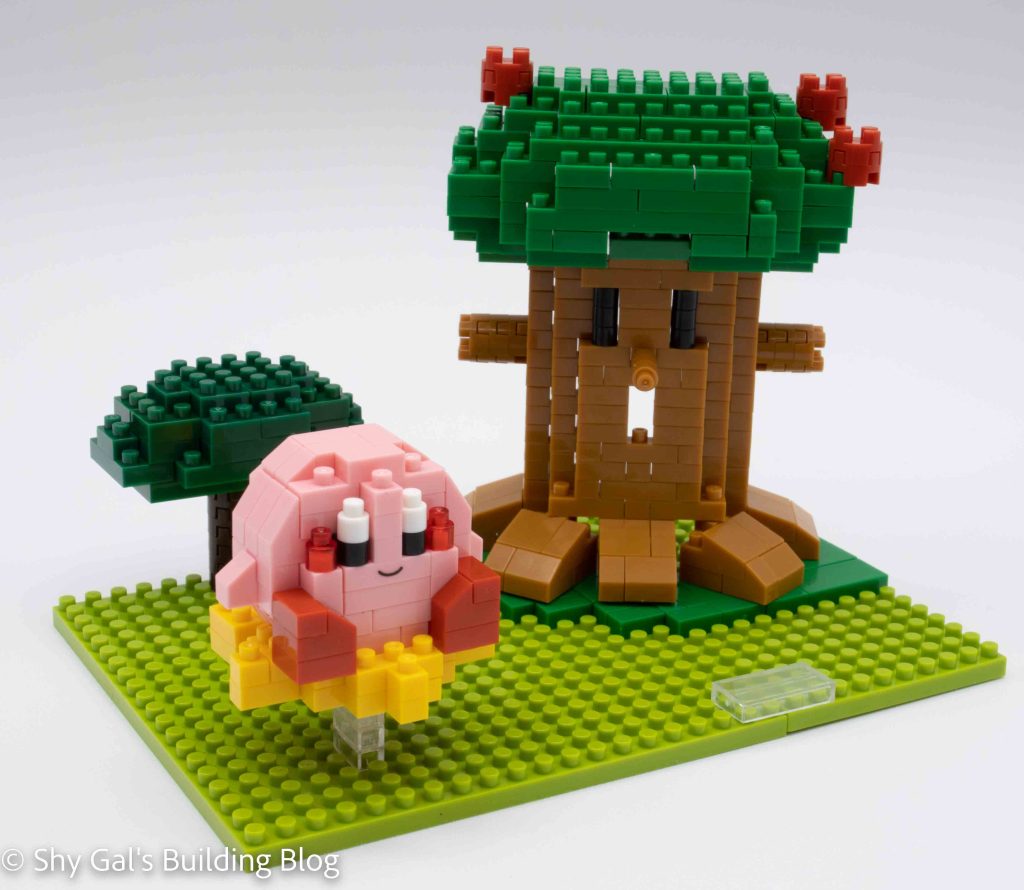
This build has 4 sections. There is Whispy Woods, the base, Kirby on a star, and a tree.
I think it is worth noting there are 2 shades of green (one used for each tree), but they are very similar in poor lighting, so be careful.
Whispy Woods is basically a semicircle of nanoblock. Until you add leaves, the build goes up in layers, with each layer covering the brick gaps from the previous layer. I was a little surprised that the mouth didn’t have anything behind it, but it is really just an opening that you can see through.
When adding the leaves to Whispy Woods, you need to be careful because there are several places where bricks are overhanging. This is tricky because if you push too hard, the bricks might collapse. After building the overhanging sections, the rest of the leaves are straightforward layers.
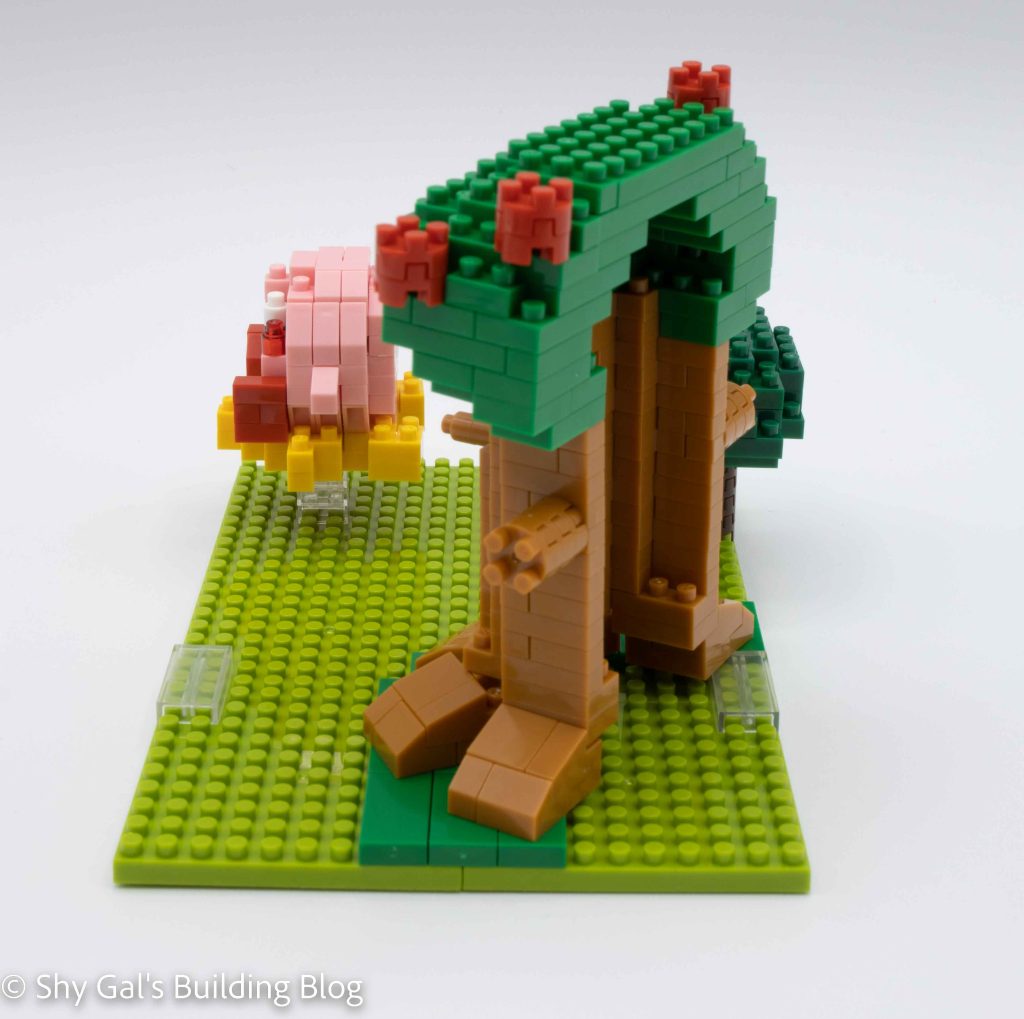
The final step for Whispy Woods is to add the details. This includes apples in the leaves. There are also the nose and arms added. The final step is to add the root details.
The second section in the instructions is the base. There is a misprint in the instructions. In step 27, the brick between the 2 10×10 plates is green. In step 28, the same brick is shown as clear. Based on extra brick counts and how it appears in steps 30 and 42, I determined the brick should be green. Other than the color typo setting up the base for Whispy Woods is very straightforward.
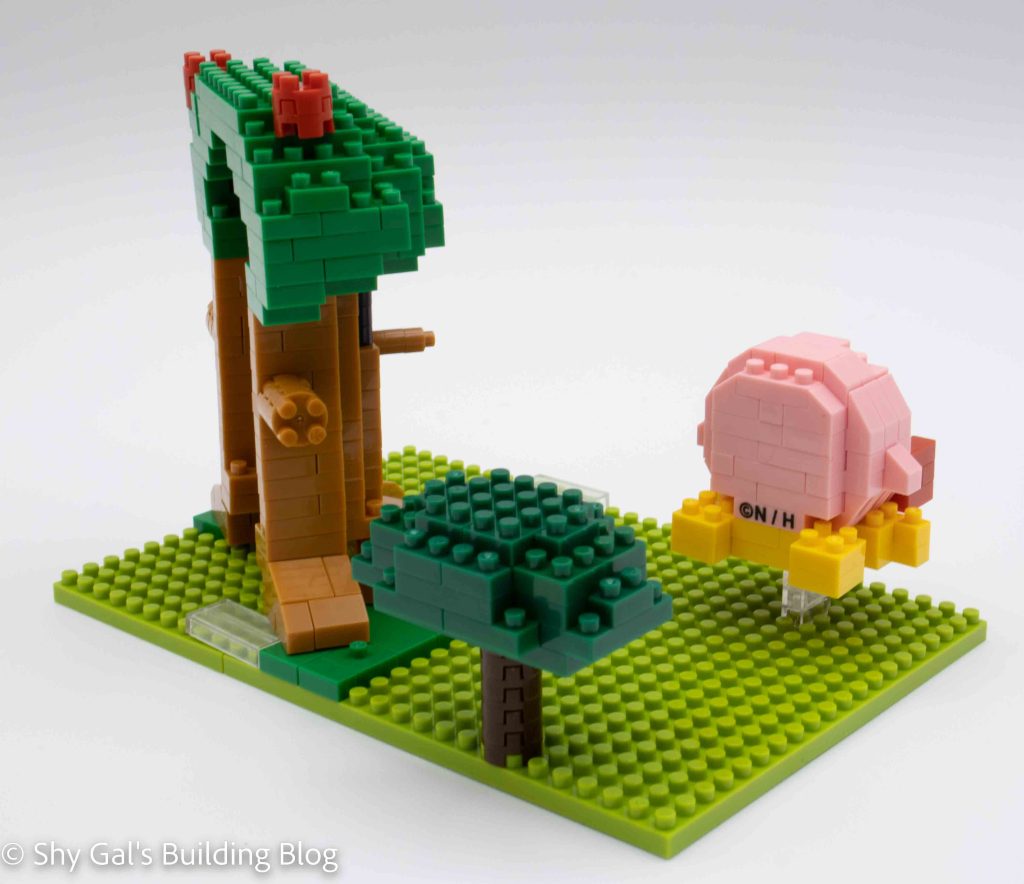
The third step in the instructions is the small tree in the background. The tree is very straightforward.
Next, you attach the smaller tree and Whispy Woods to the base. The studs for Whispy Woods are nicely lined up, so it was easy to attach him, which was nice and unexpected. I expected to need to turn the roots to attach Whispy Woods.
The final step is to build Kirby on the star. I built Kirby on my nanoblock pad. At some point, I picked up the build, which was very flexible, so I made sure to do the building on the pad.
First, you build Kirby. It begins with building the base couple of layers that create the entirety of Kirby’s base. The build then goes up in layers using slanted pieces to the arms and to create Kirby’s round shape.
The second step to building Kirby is to build the star he sits on. The star is 2 layers tall and very straightforward to put together.
The final step is to connect Kirby to the star. Then attaching Kirby to the base.
Things I liked:
- That the build is the same scale as the mininano collection and it even comes with parts to attach those characters to the base
Things I didn’t like:
- Kirby was really flexible while building him, so I was super glad that I had my pad