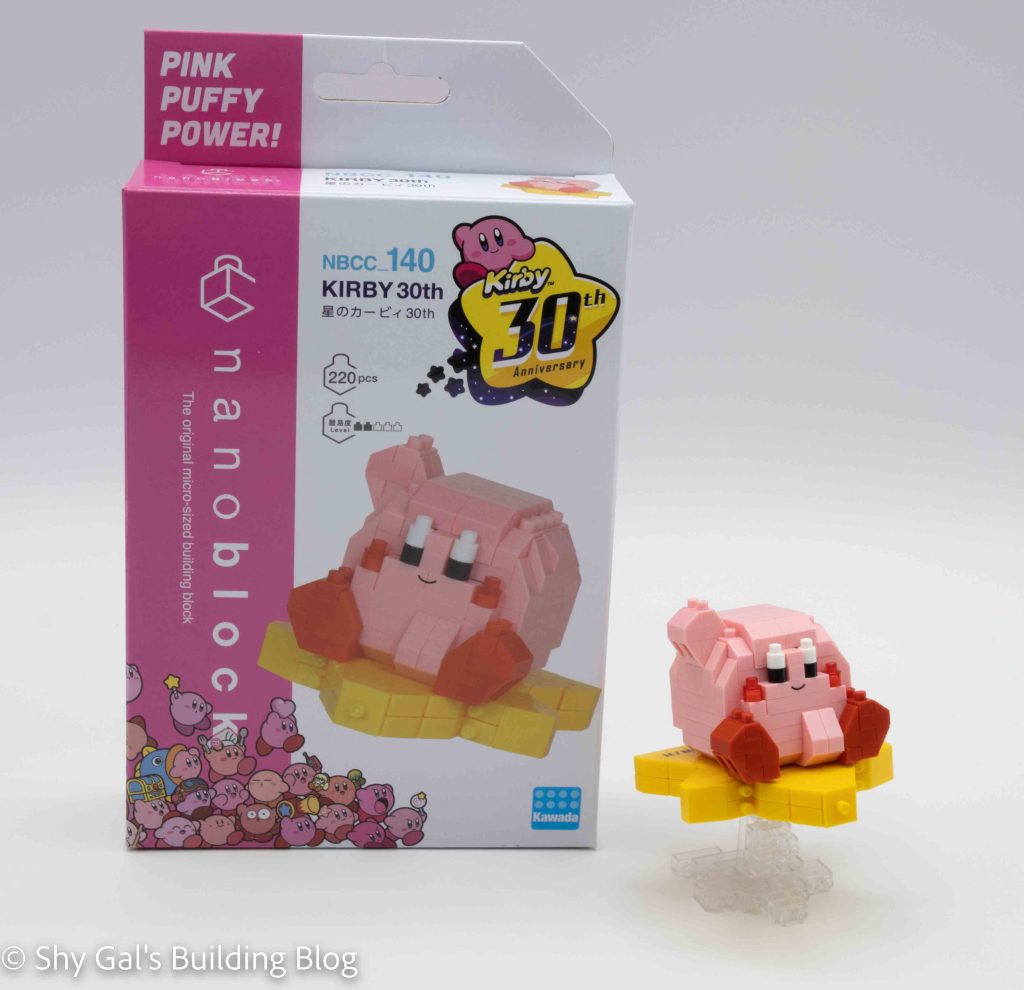
This post is a review of the nanoblock Kirby 30th build. Kirby is part of the nanoblock Character collection. Wondering what else is part of the Character collection? Click here for a list.
Number: NBCC_140
Number of Pieces: 220
Difficulty Rating: 2/5
This build is made up of 3 sections. There is Kirby, the star, and the stand.
Kirby begins by making a base in pink bricks. Then the feet are added to the base. After that, Kirby begins going up in layers. Overall, things are fairly straightforward. In the step that adds Kirby’s mouth, I didn’t understand from the instructions that there was a custom piece with the mouth printed. Once I found the piece, the only other concern was the slanted pieces.
Kirby has 2 different slanted pieces. I appreciated that the colors in the instructions were different enough that it was very clear when to use which slanted piece.
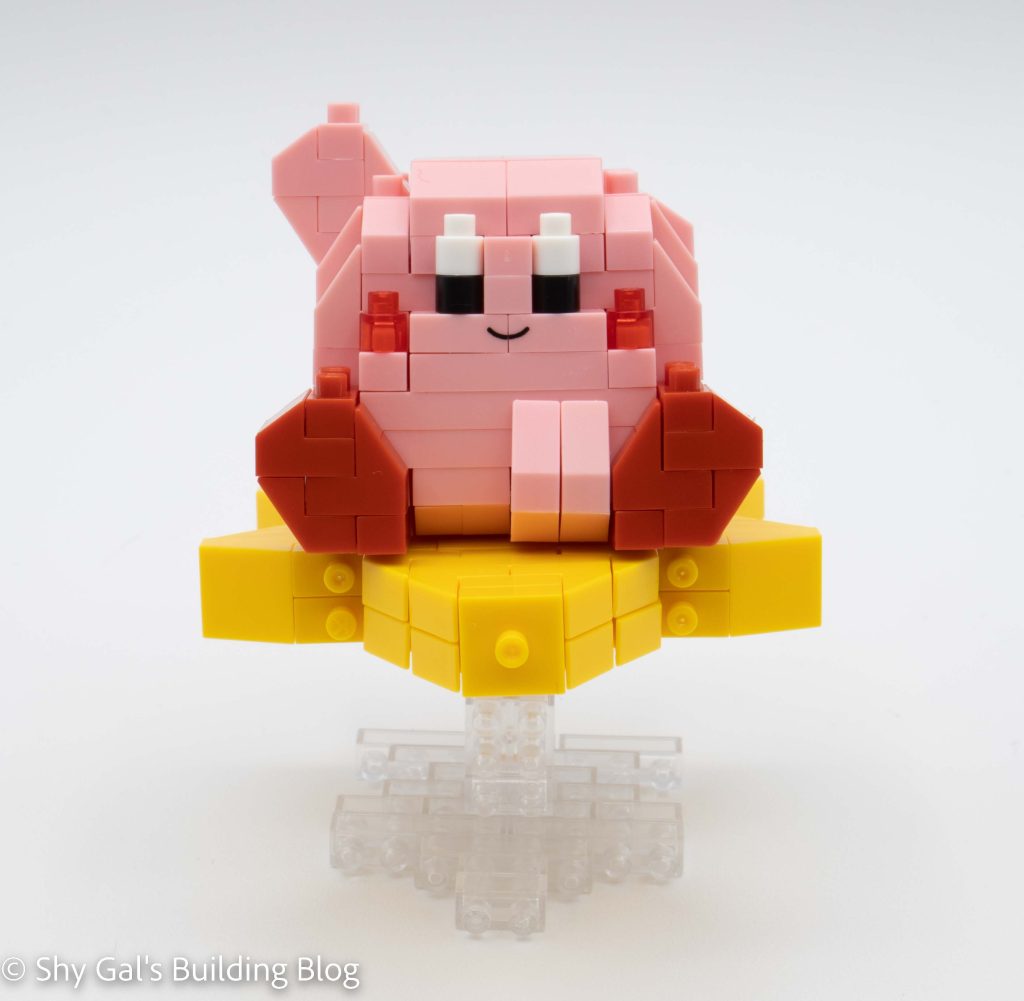
The final step to building Kirby is to finish his hand and smooth out the top of his head.
Kirby comes with a big 30th sticker to put on his back. I didn’t use the sticker on this build because it would have meant that I wouldn’t be able to take Kirby apart.
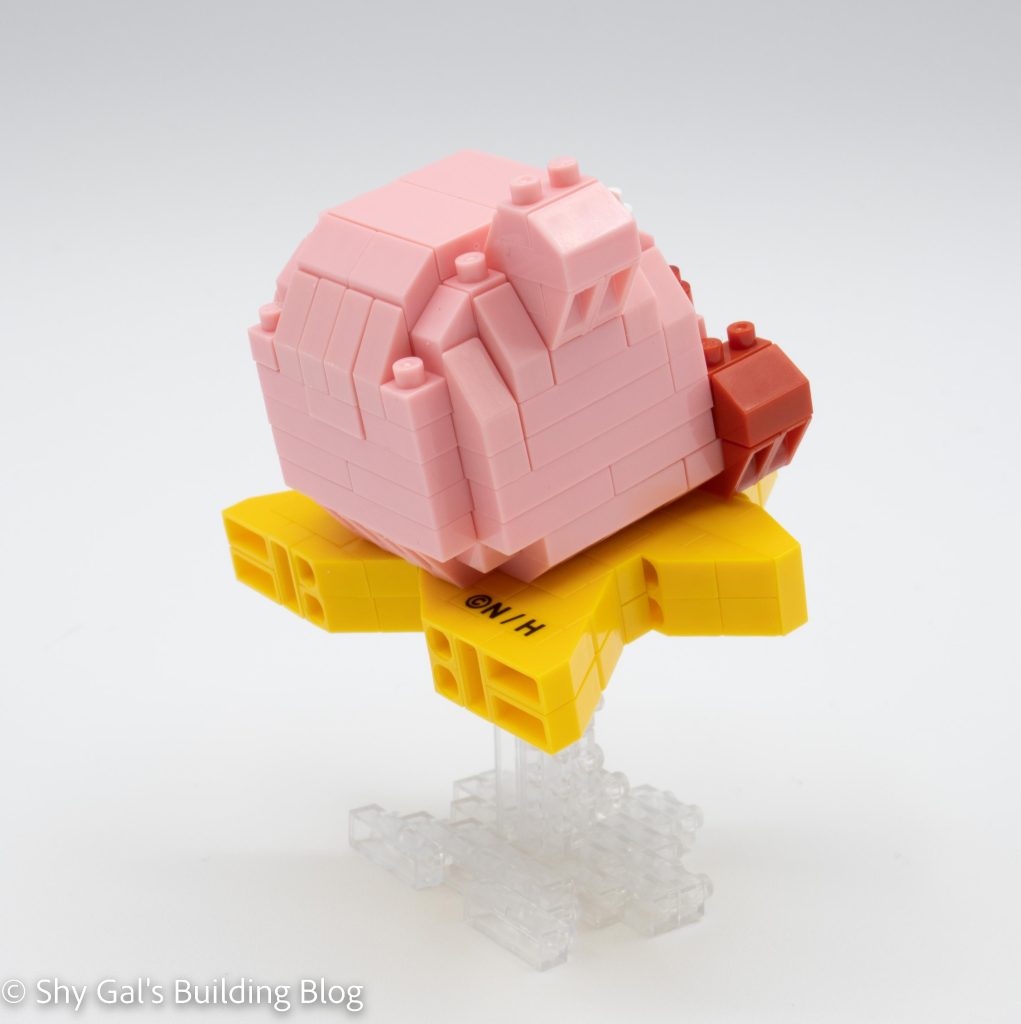
The star is created by several layers of yellow bricks with a width of 2, so the final build is 2 bricks tall. The first step creates a gap in the 2 depth. I wasn’t sure why there was a gap, but it became clear when I put the sections together. The second step adds the socket of the ball joint, which is needed to connect the star to the stand.
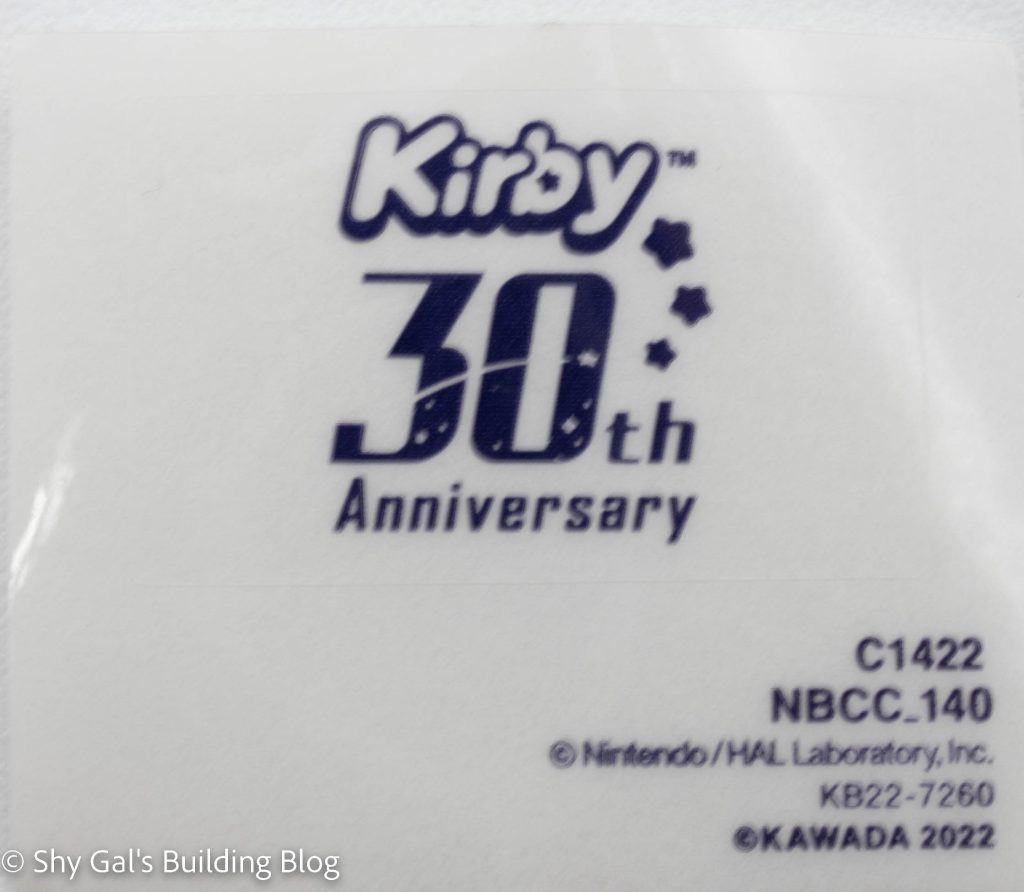
After adding the socket, the rest of the star is fairly straightforward until the final step. There are 2 notable things about the final step. First, there is a custom-printed brick. I think it is for copyright, but I’m not sure for what exactly. Secondly, it wasn’t clear that it mattered what order sections were added. It was pretty easy to fix when I realized the order did matter.
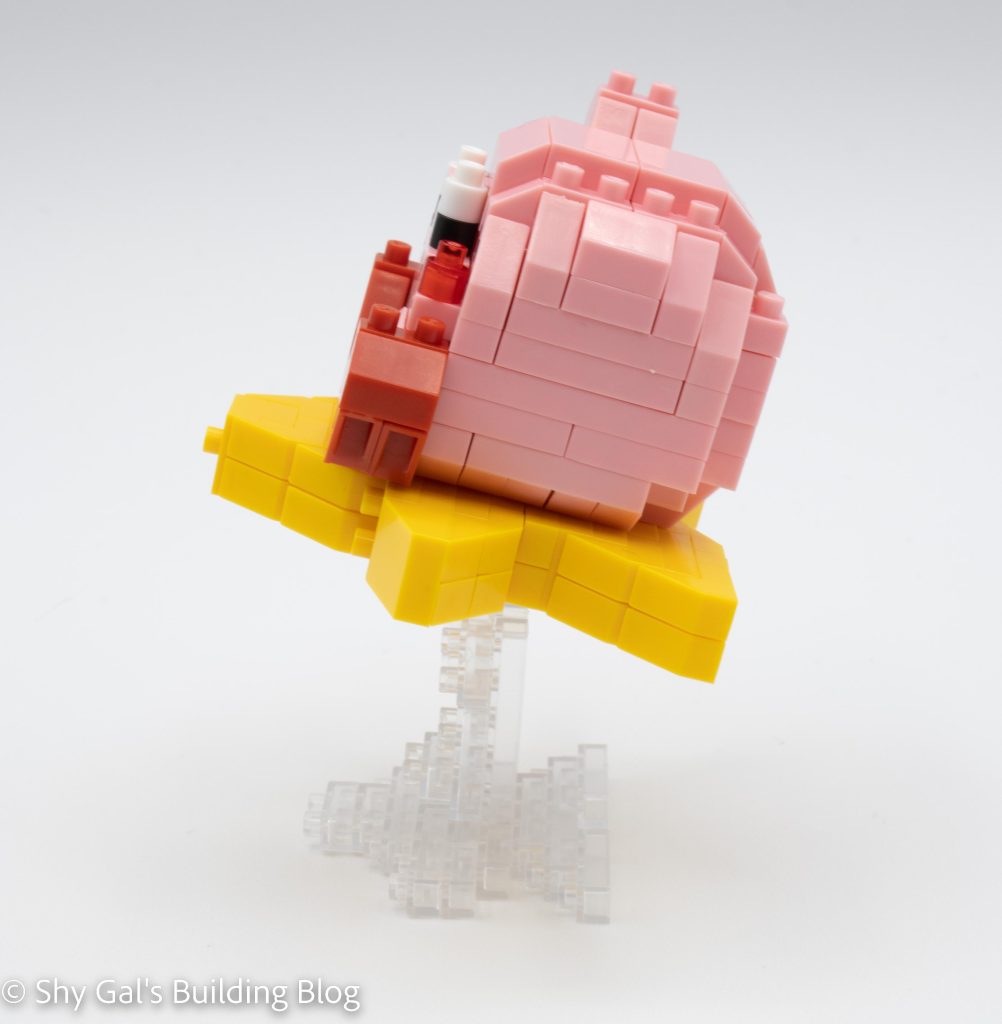
Kirby sits on studs that point out the star, so he is very stable.
The stand is fairly straightforward. It begins by building up several layers of clear bricks. After building the layers, some additional bricks are added to the bottom layer. The stand is then laid on its side so the ball joint is up in the air.
Kirby’s star attaches to the ball joint on the stand. The part sticking up above the joint goes into the hole in the star to all the star to sit at an angle.

Things I liked:
- The custom brick for Kirby’s mouth because it means there isn’t a sticker for the mouth
- How Kirby sits at an angle on his star ride
Things I didn’t like:
- It was really hard to tell about the special brick that had Kirby’s mouth was a special brick