Review of nanoblock Lying Nobita NBCC_075

Lying Nobita build and box

This post is a review of the nanoblock Nobita build. Nobita is part of the nanoblock Character collection. Wondering what else is part of the Character Collection? Click Here for a list.
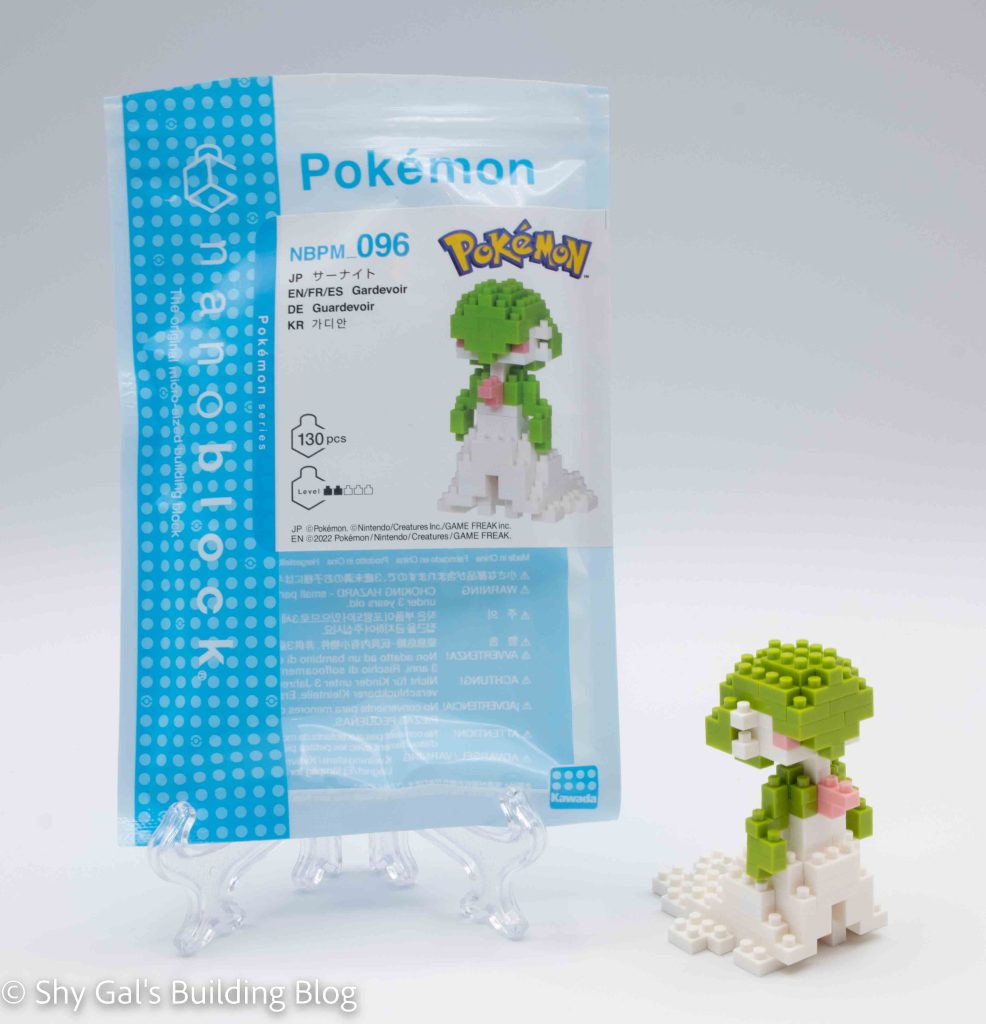
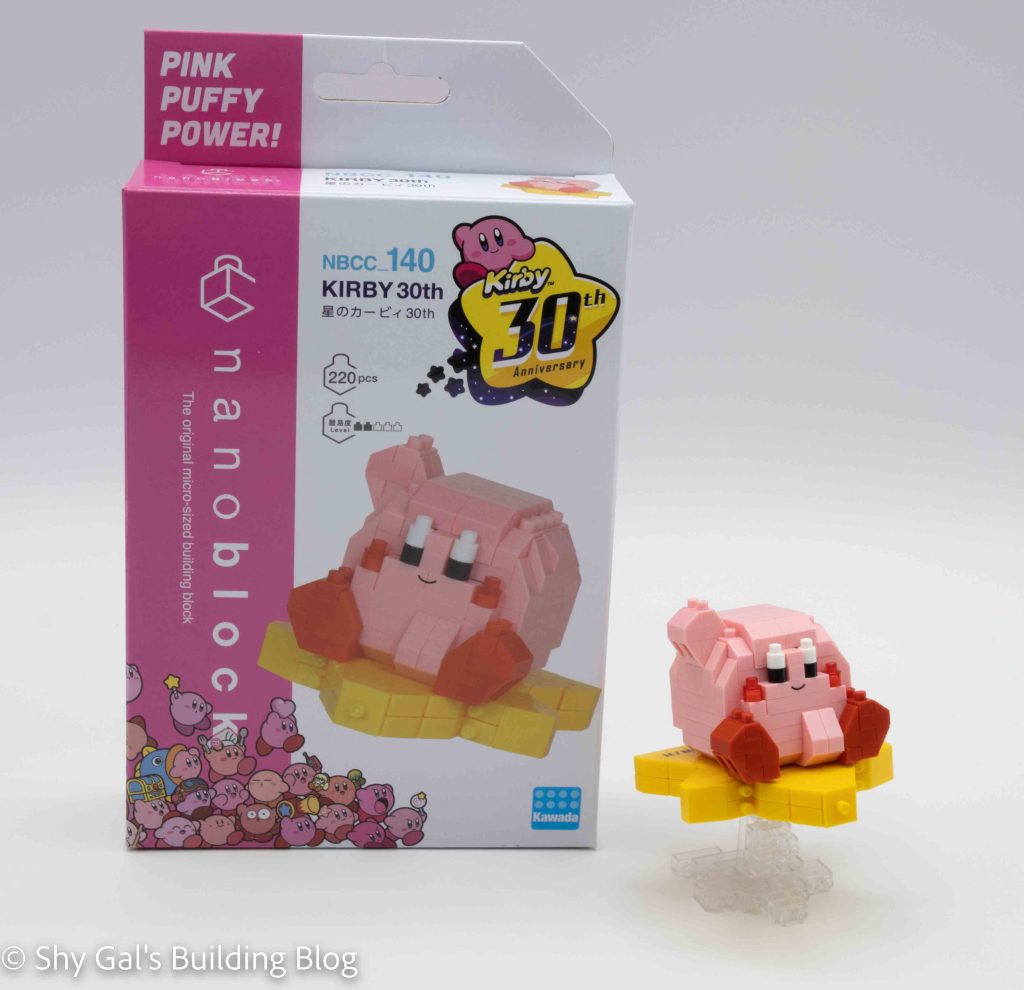
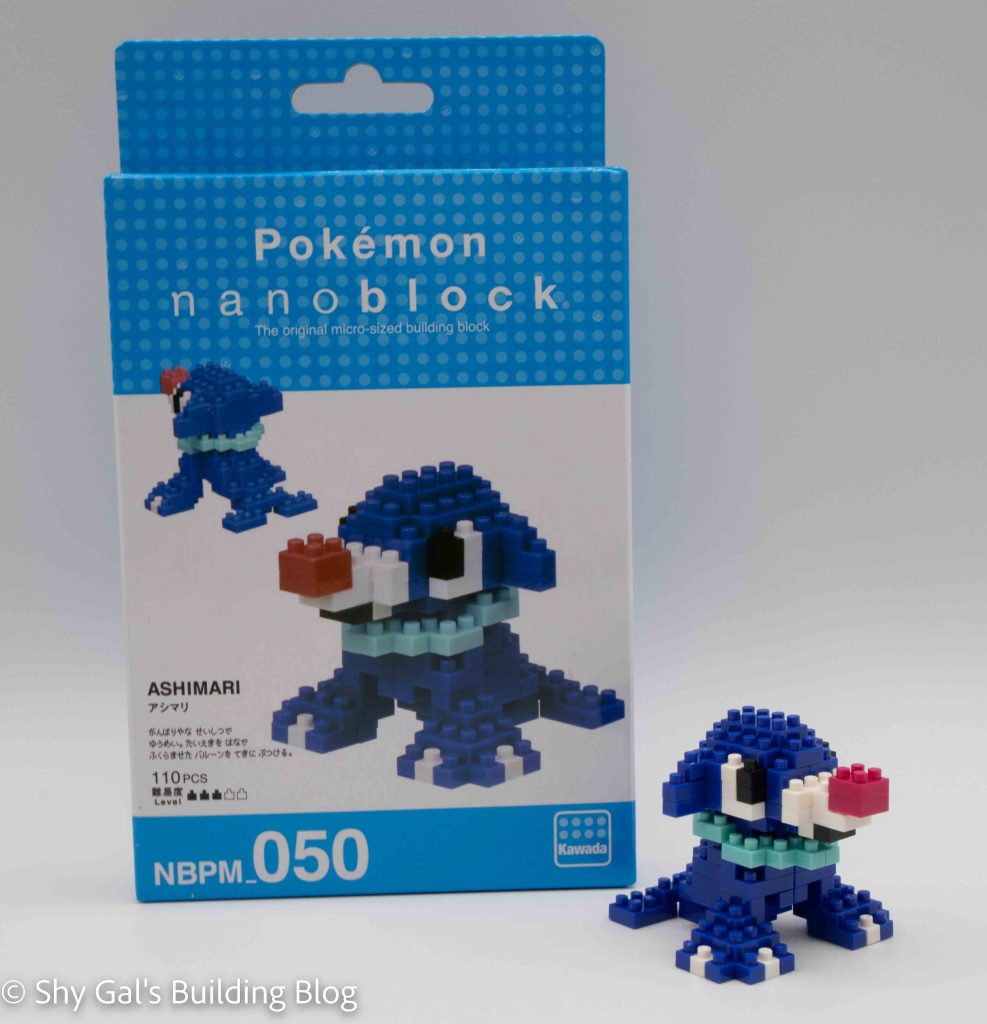
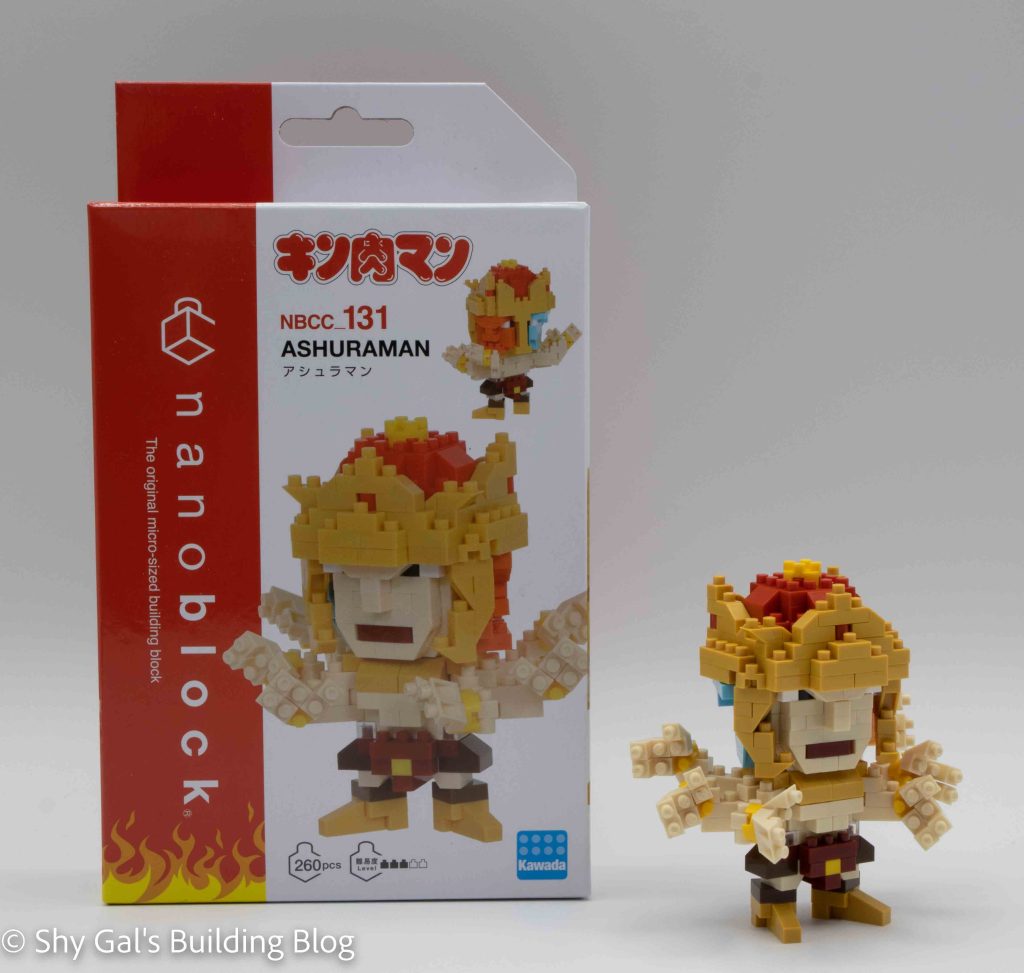
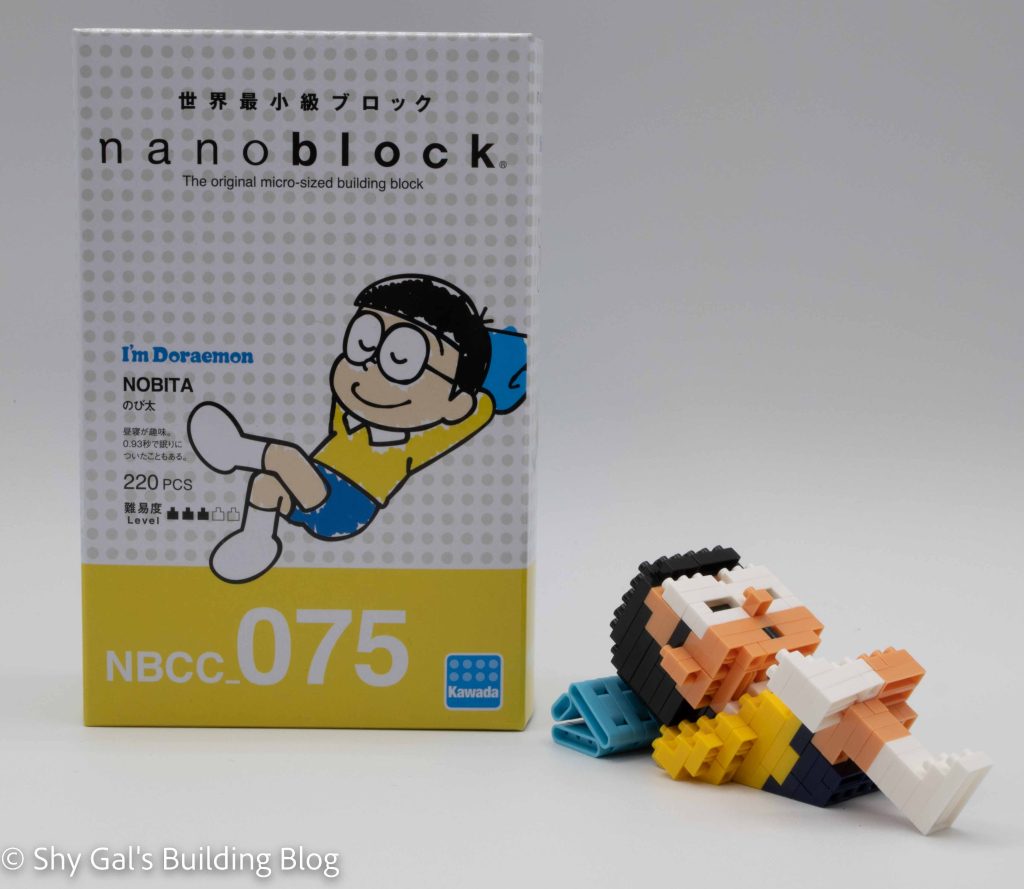
Number: NBCC_075

Number of Pieces: 220

Difficulty Rating: 3/5

Lying Nobita build front view

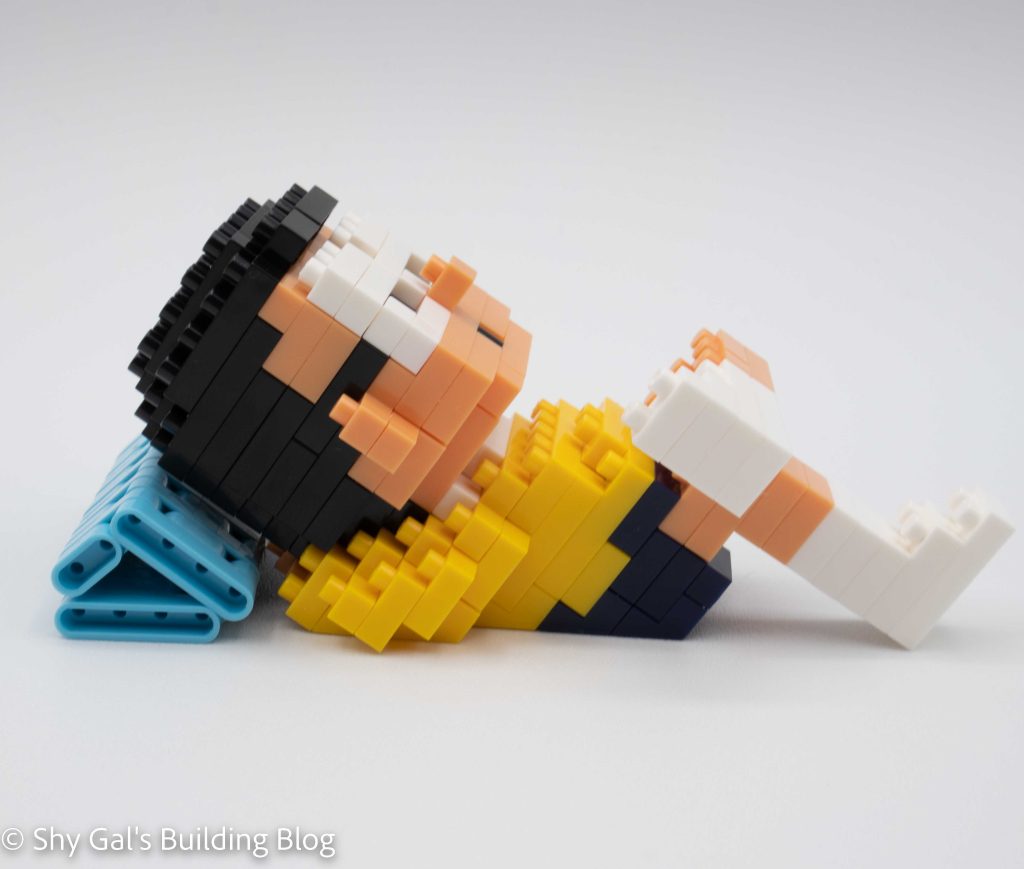
Nobita is the protagonist of the Doraemon series. He is lazy, which really bothers Doraemon. For more information about Nobita, check out the Doraemon wiki page about him here. This is the second nanoblock kit for Nobita and has him lying down instead of standing up like a normal nanoblock build.

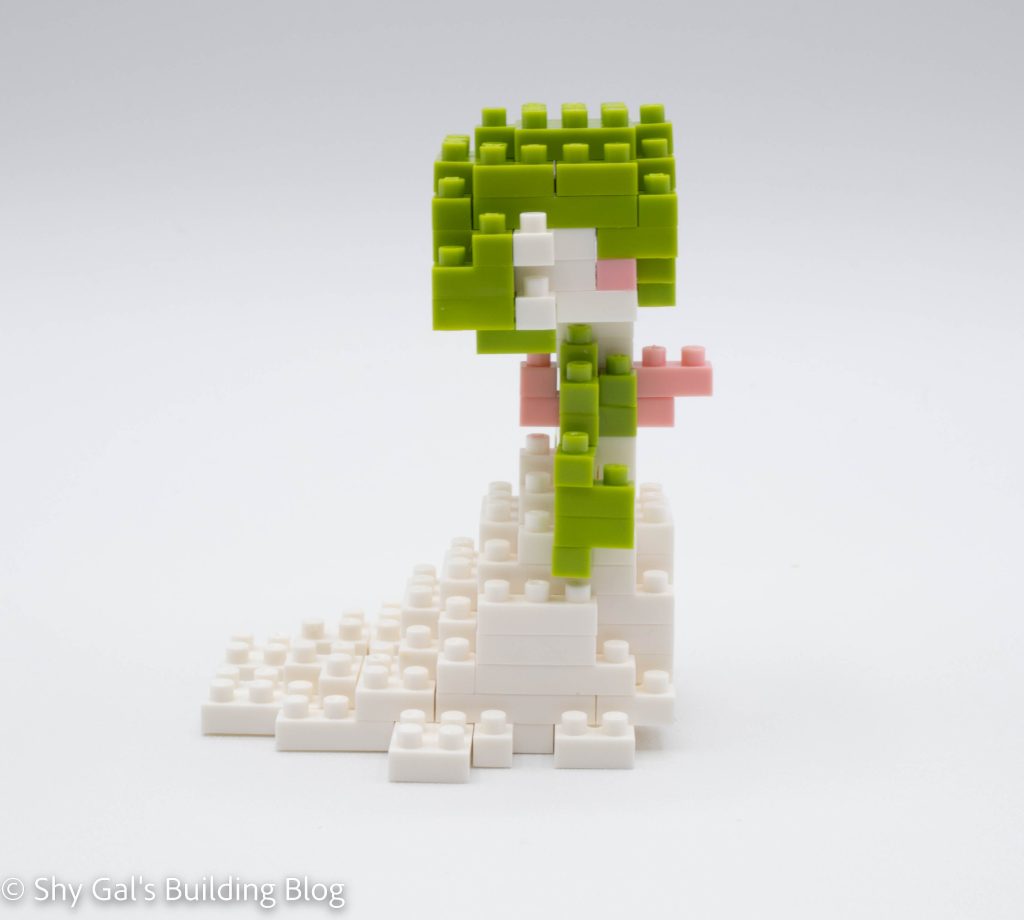
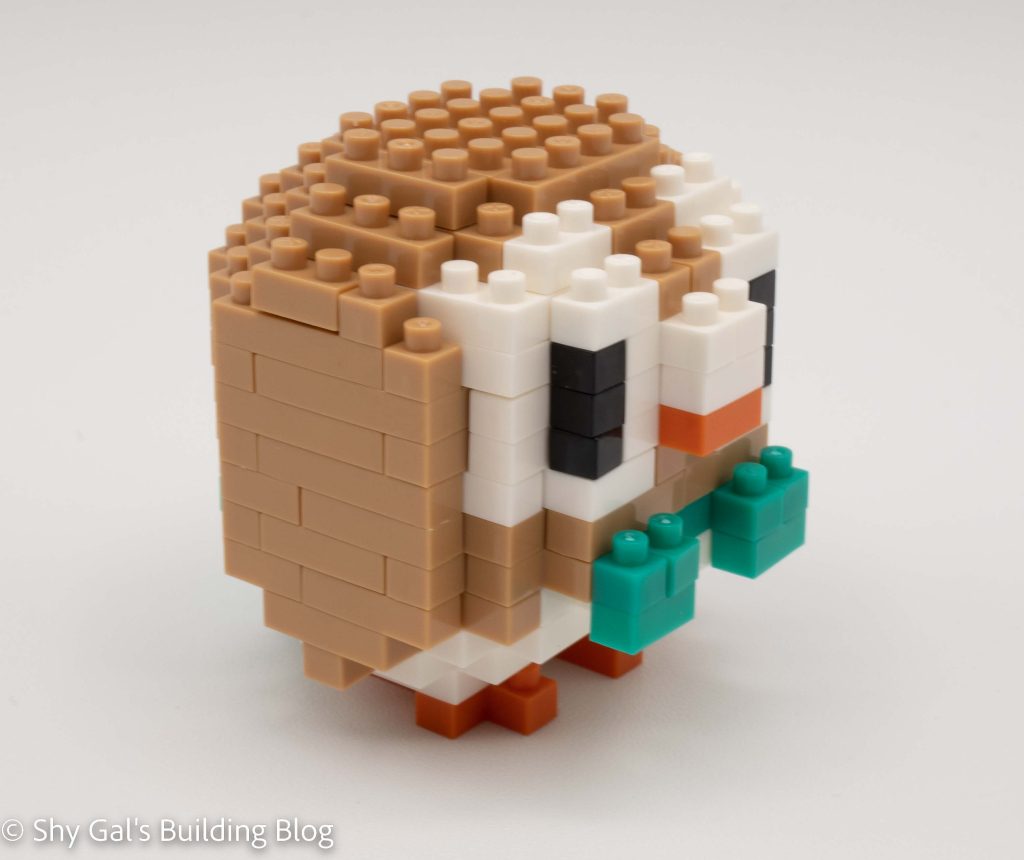
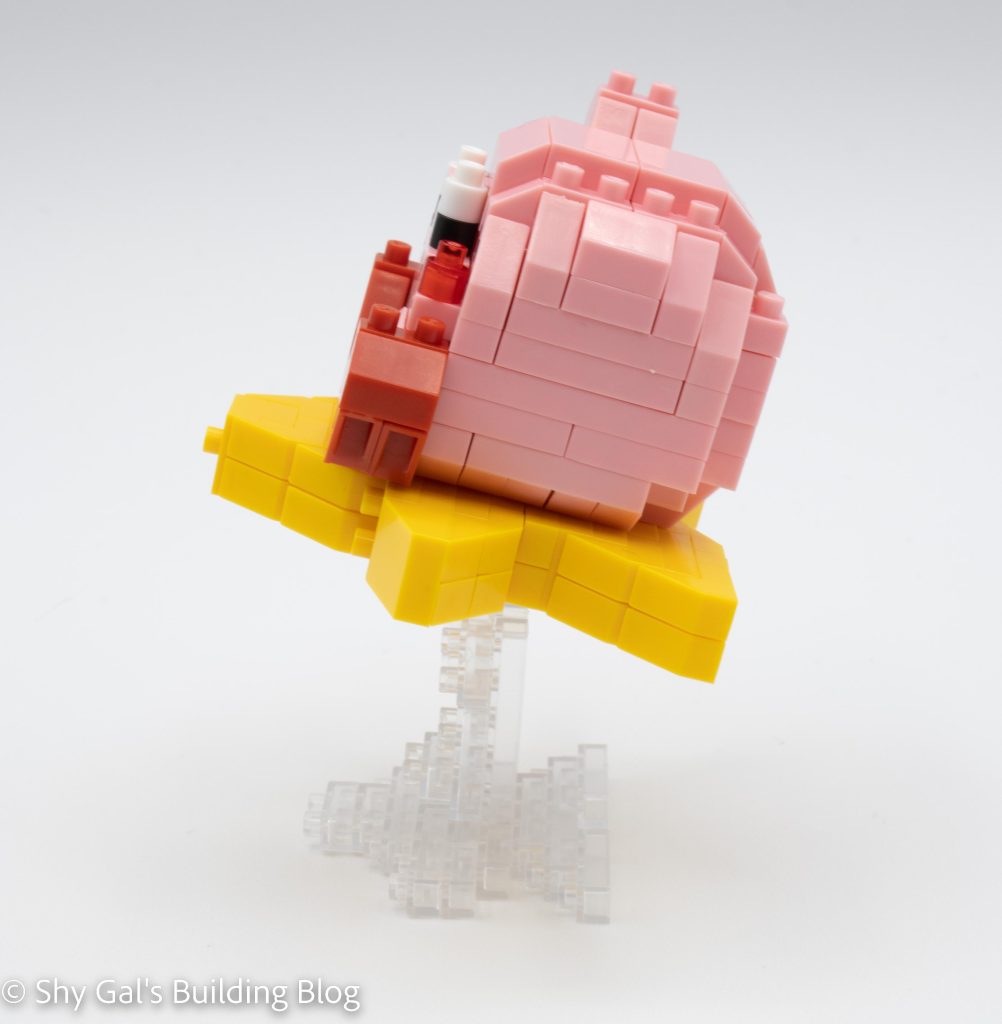
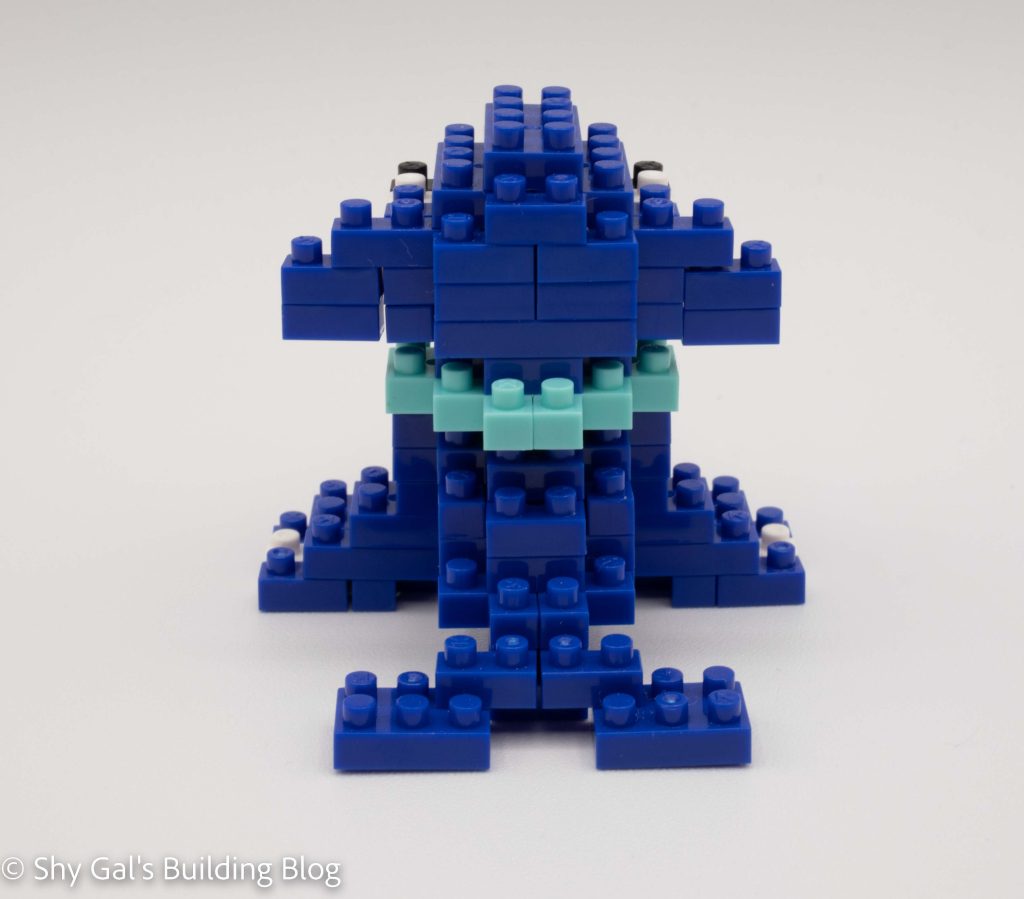
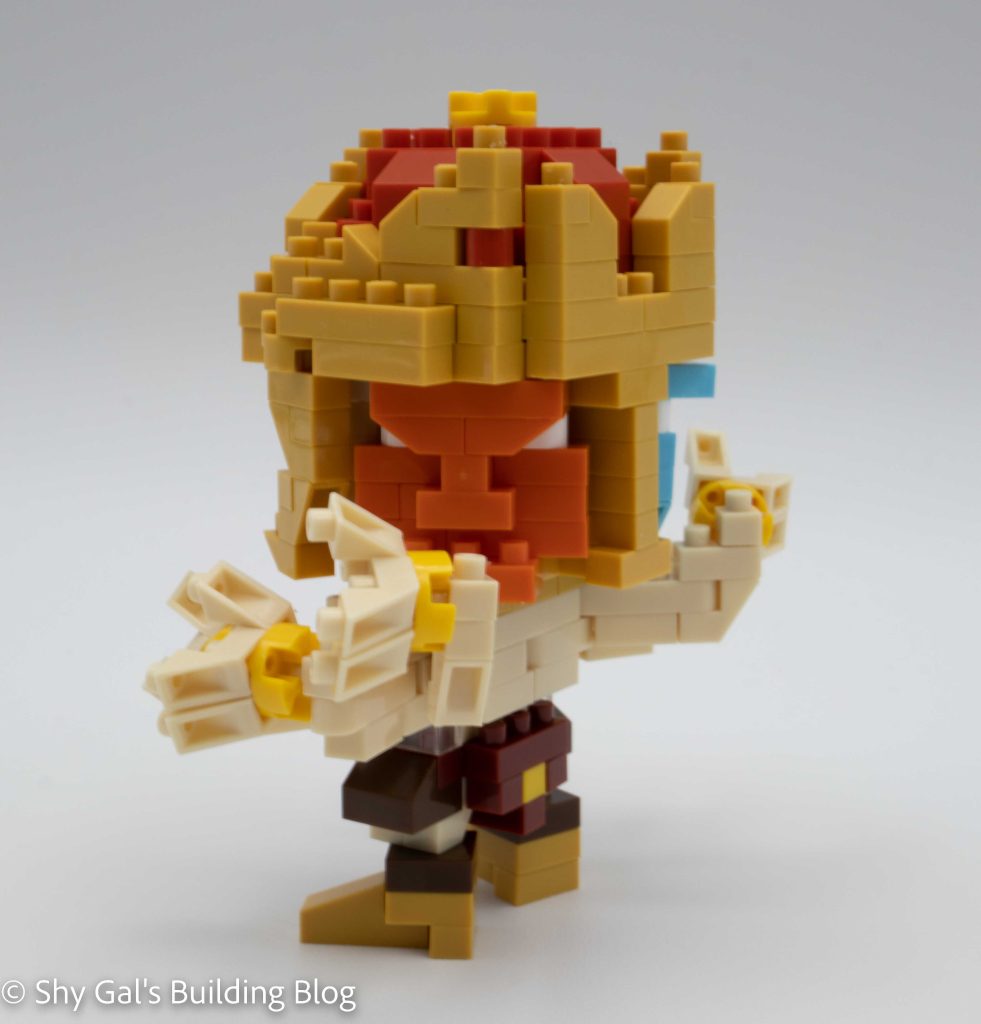
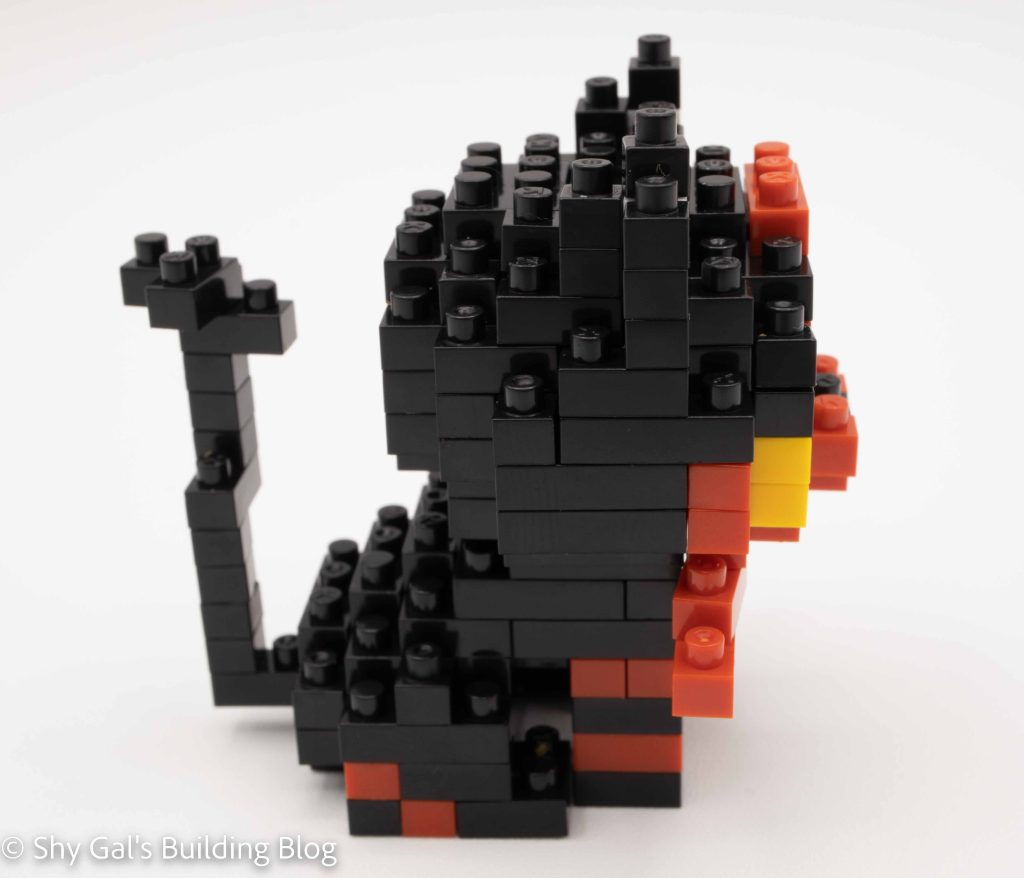
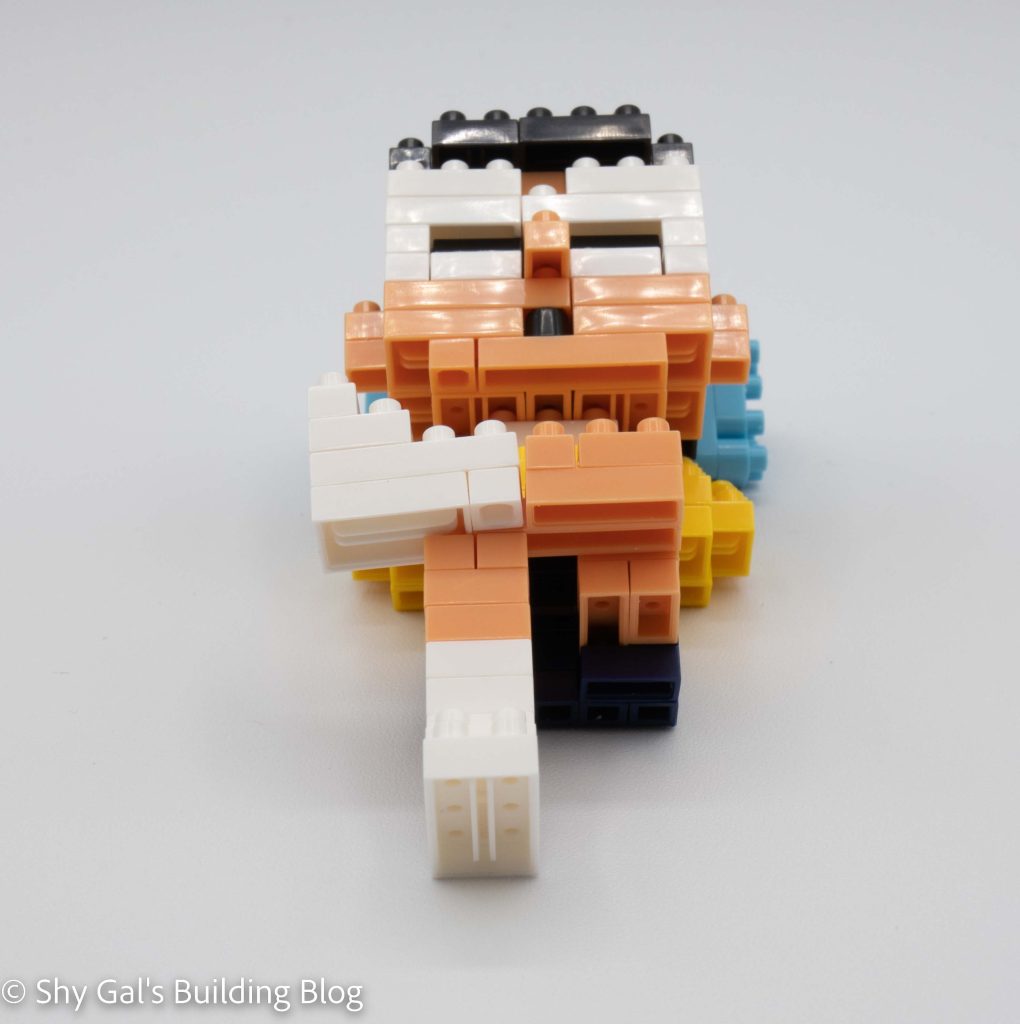
This is an unusual build because instead of the final model standing, the final build is lying down on his back. This is created using the bricks that I call the steps. They are the bricks that are 1×2, but one stud is a brick higher with a slanted connection.

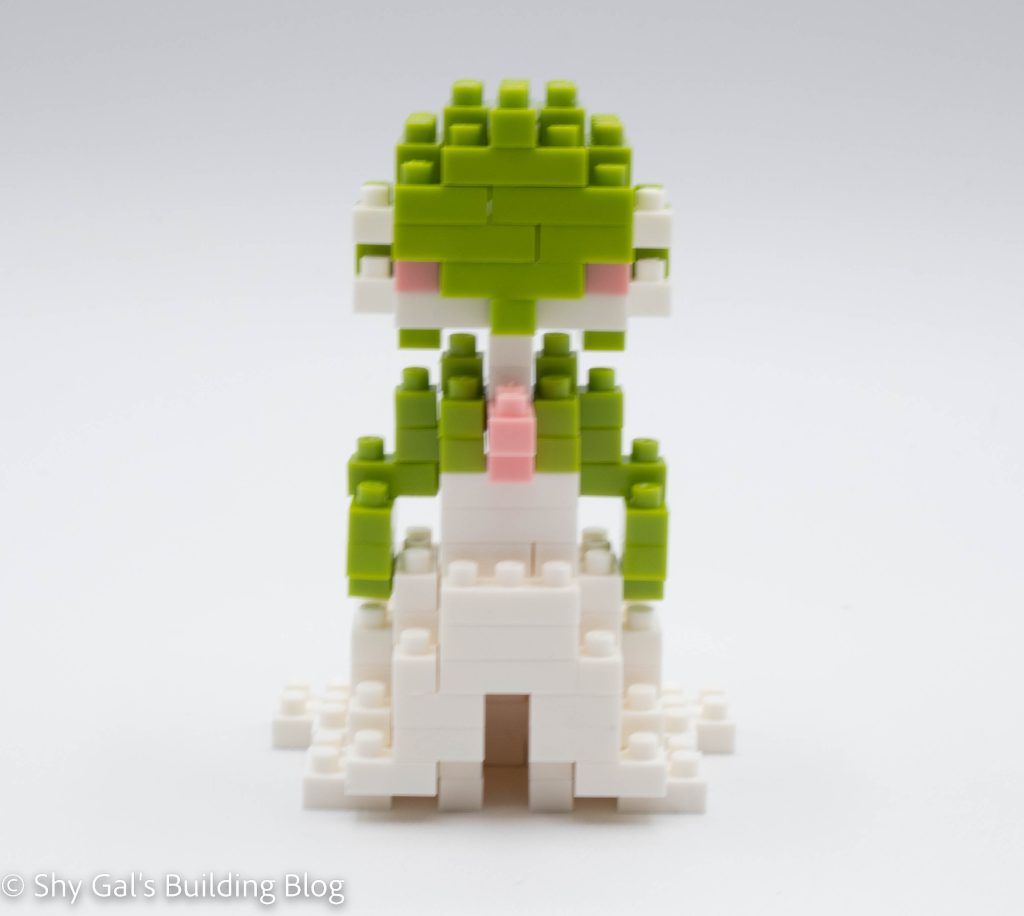
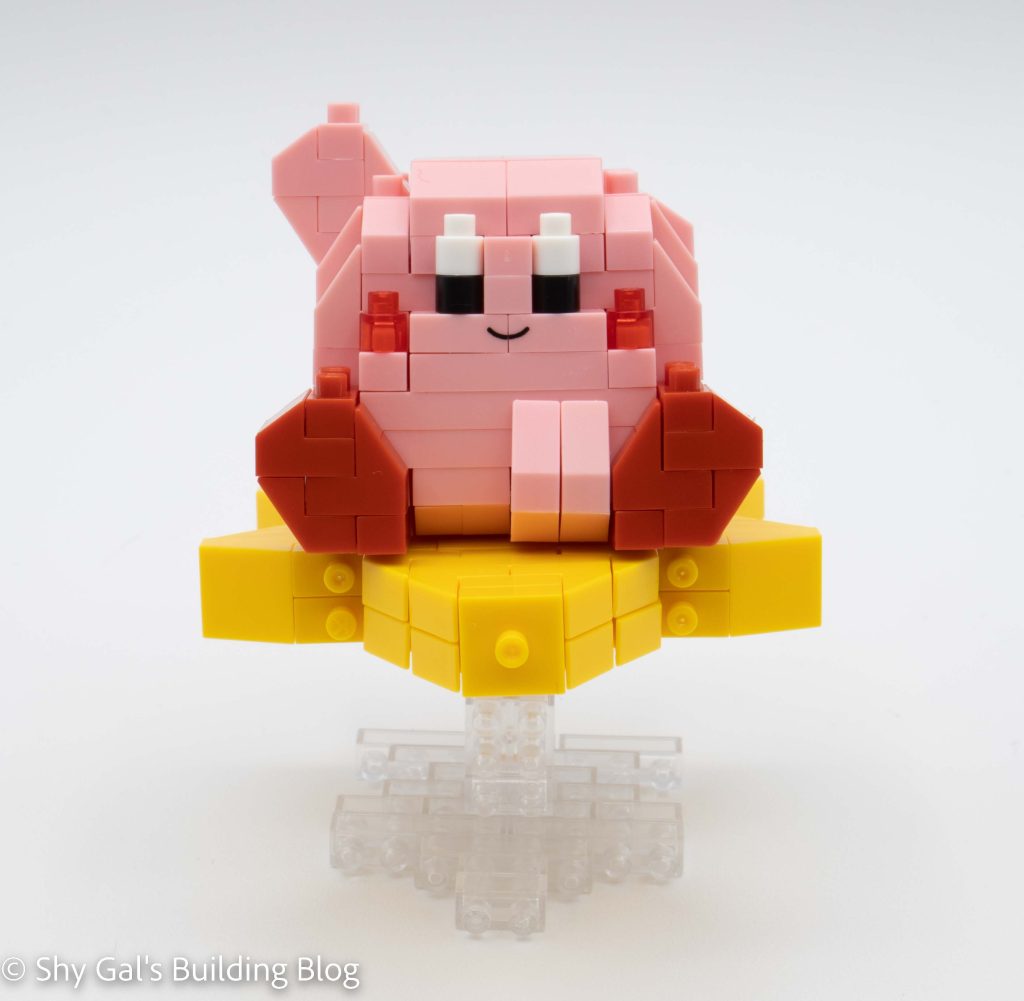
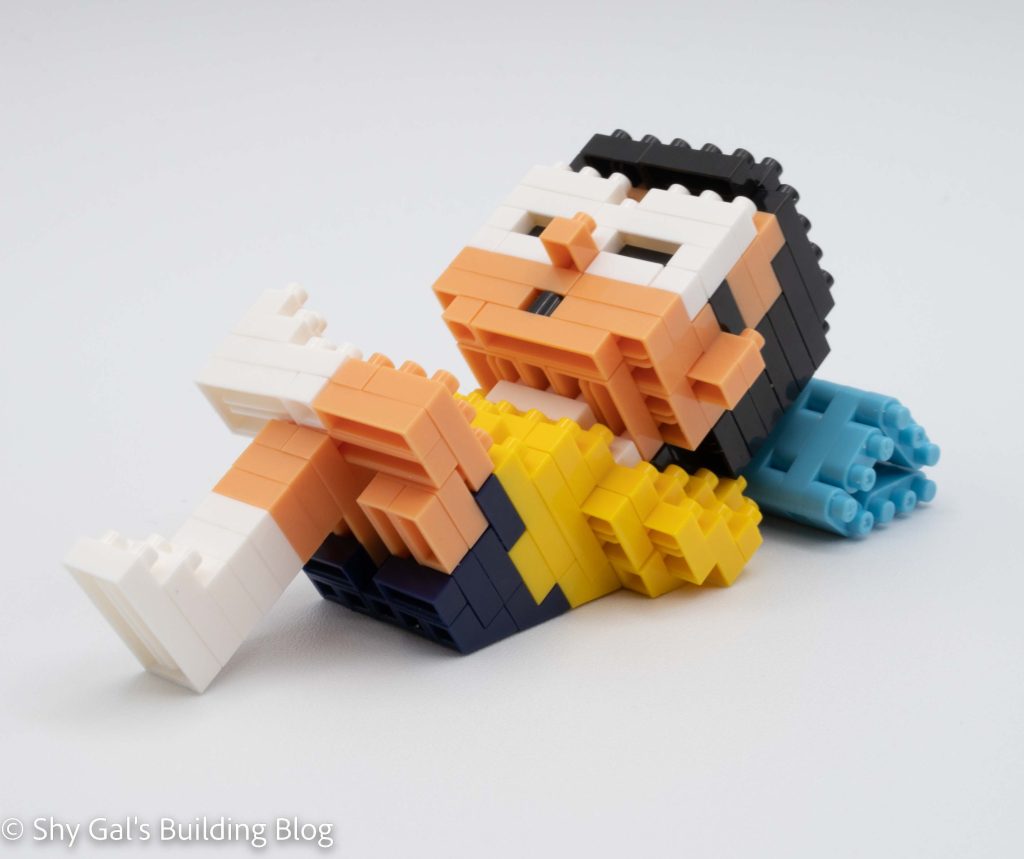
This nanoblock build is made up of the body, the head, and a little pillow.

Lying Nobita build side view

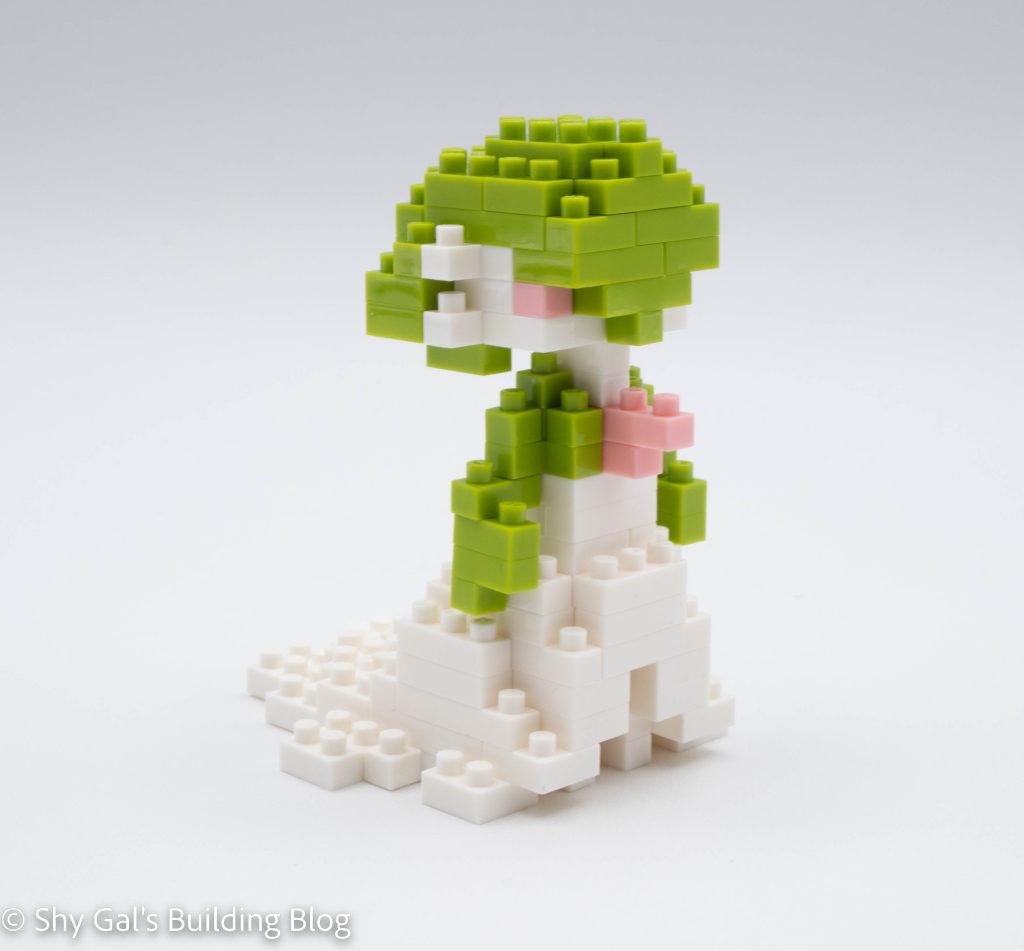
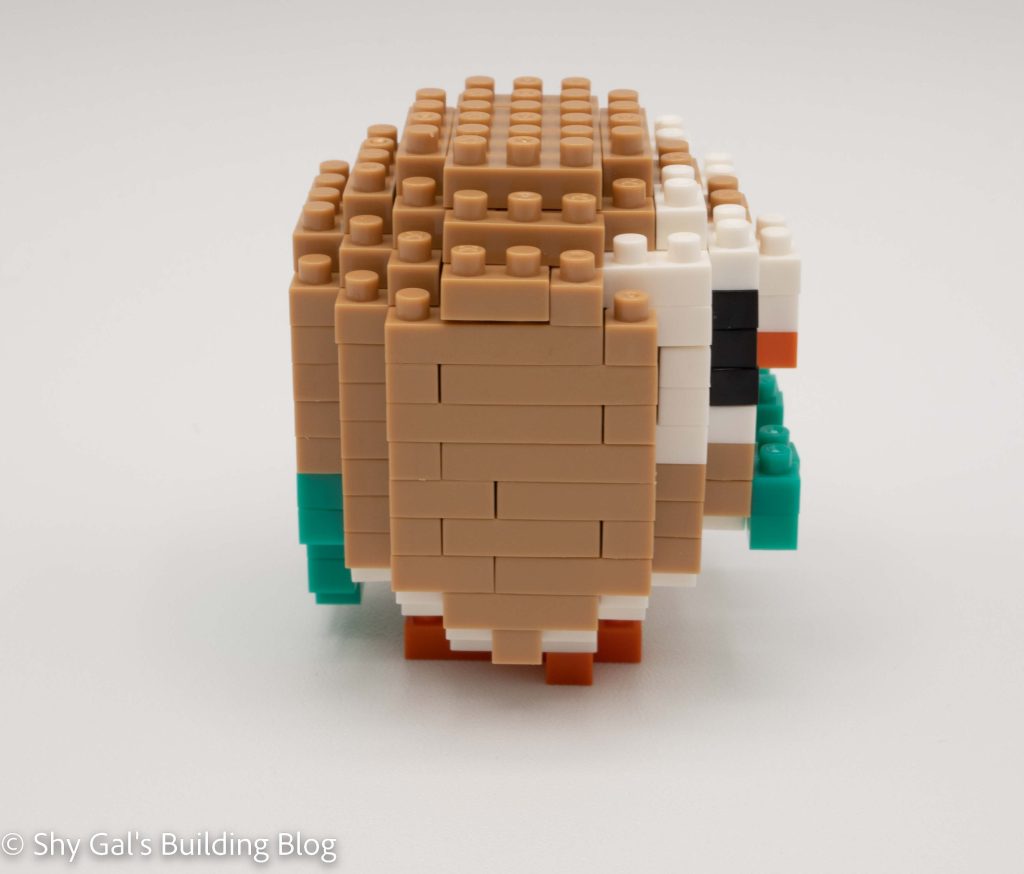
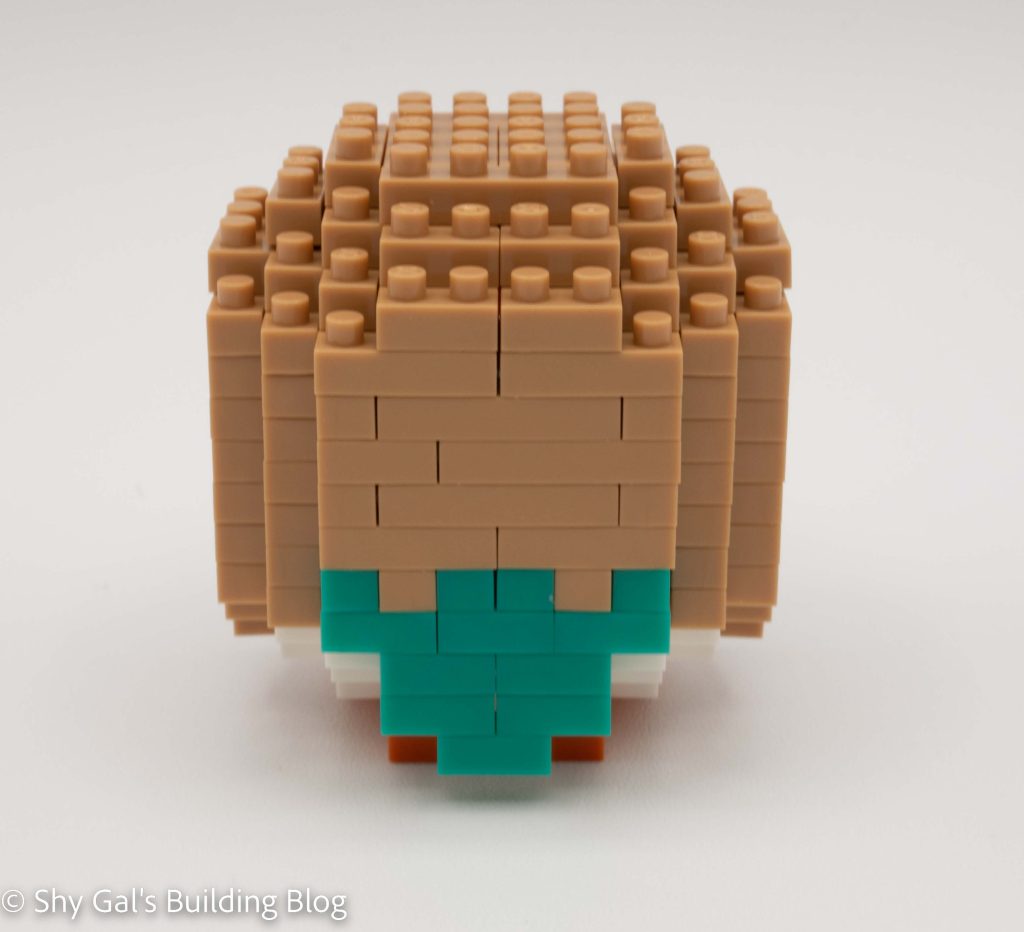
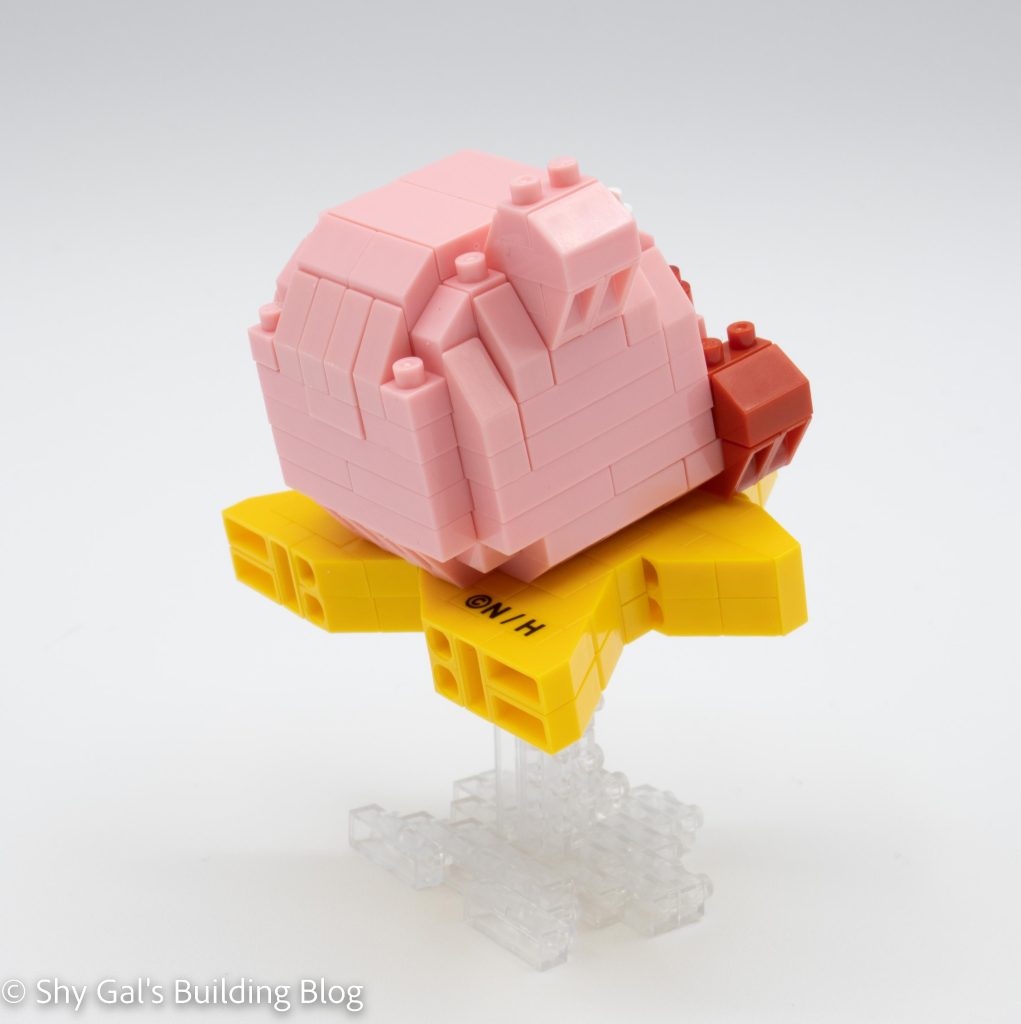
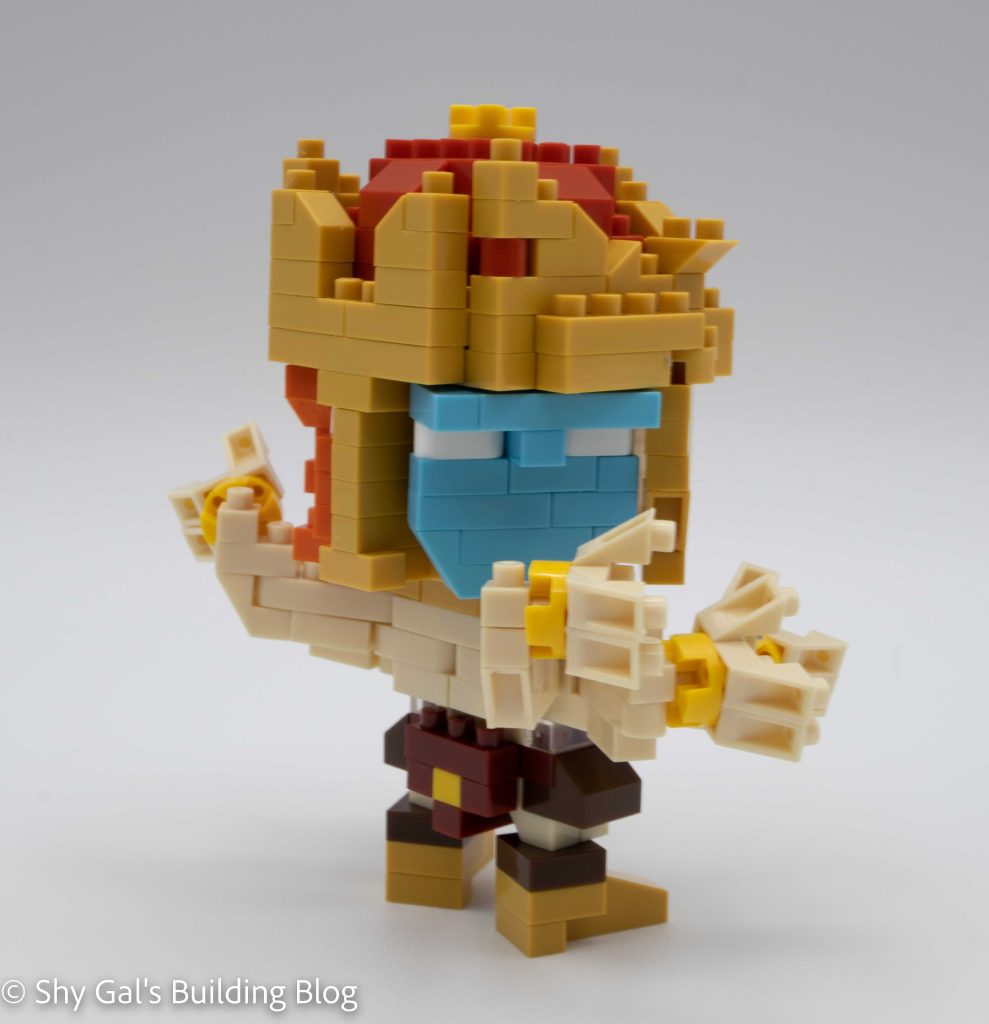
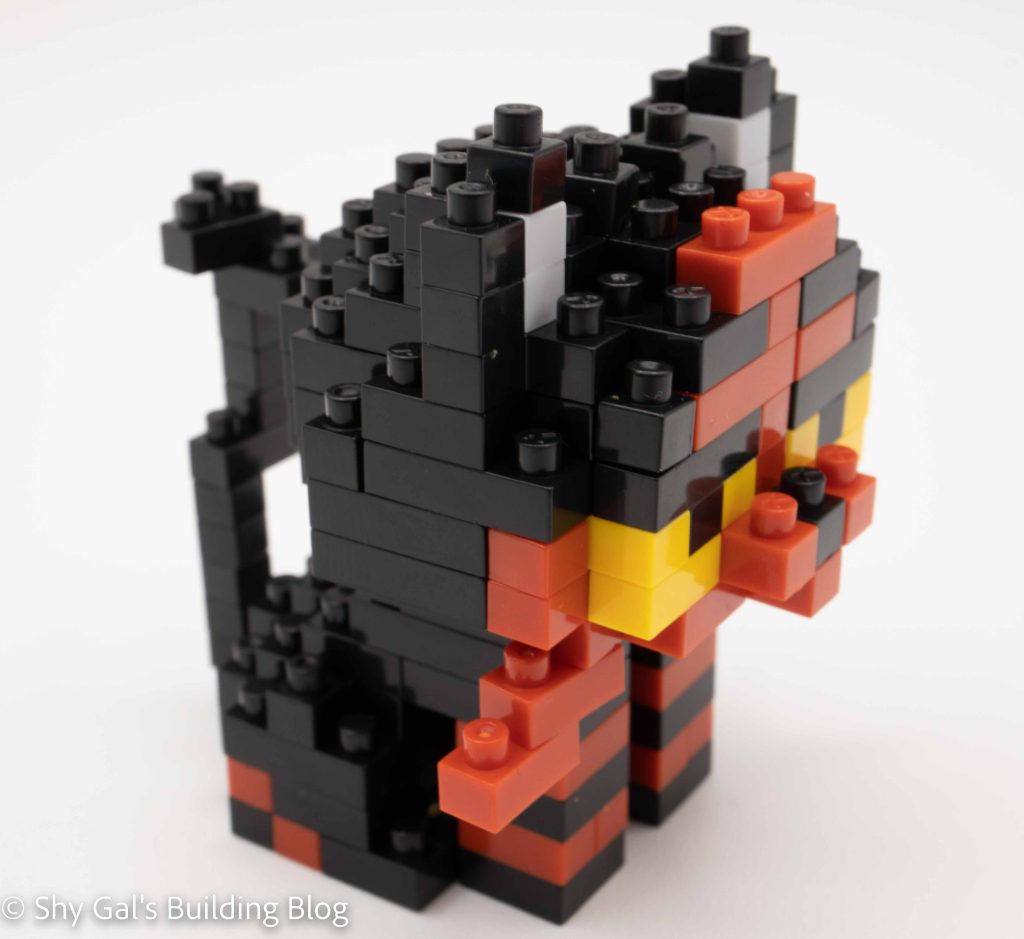
The body begins by building a base layer. It begins using step bricks to create Nobita’s back. You make the body in layers. You eventually add the leg that crosses over the body. You keep adding onto the body with each layer, adding a step brick to create Nobita’s back that finished build will lie on. The body ends with completing the arms that go around the back of the head.

Lying Nobita build back view

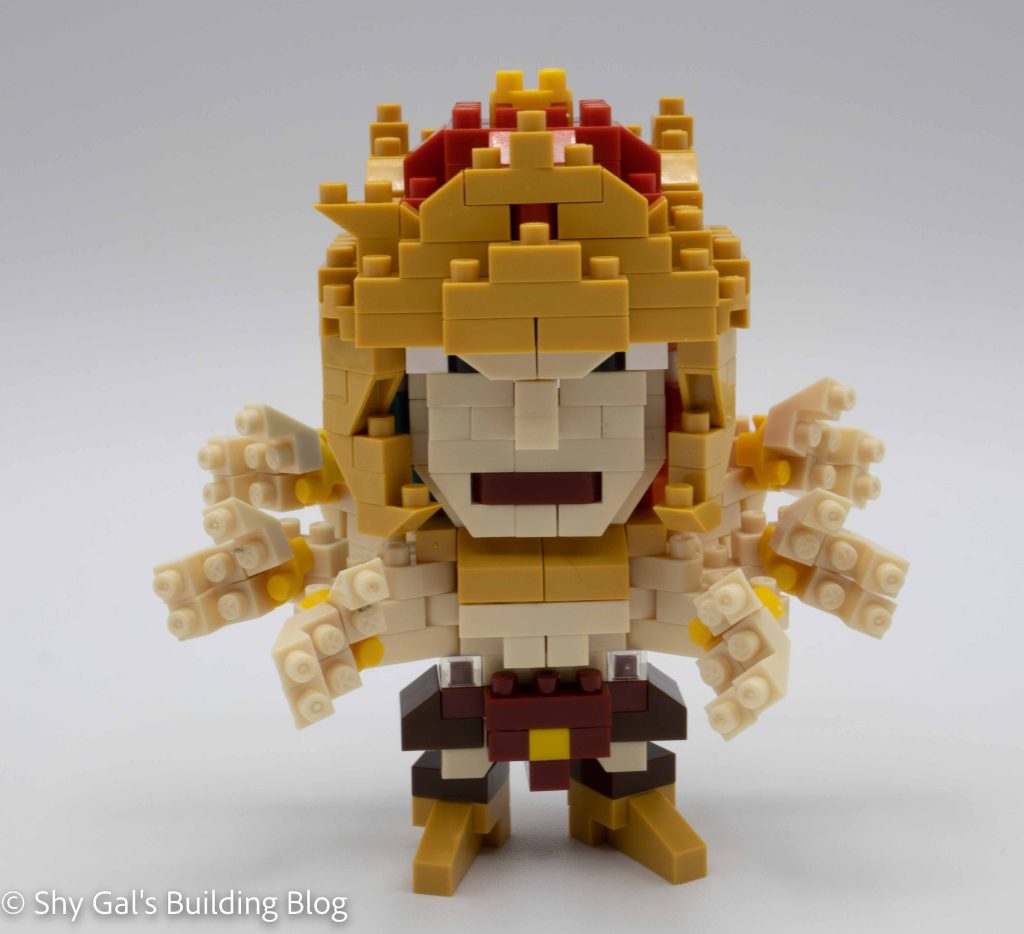
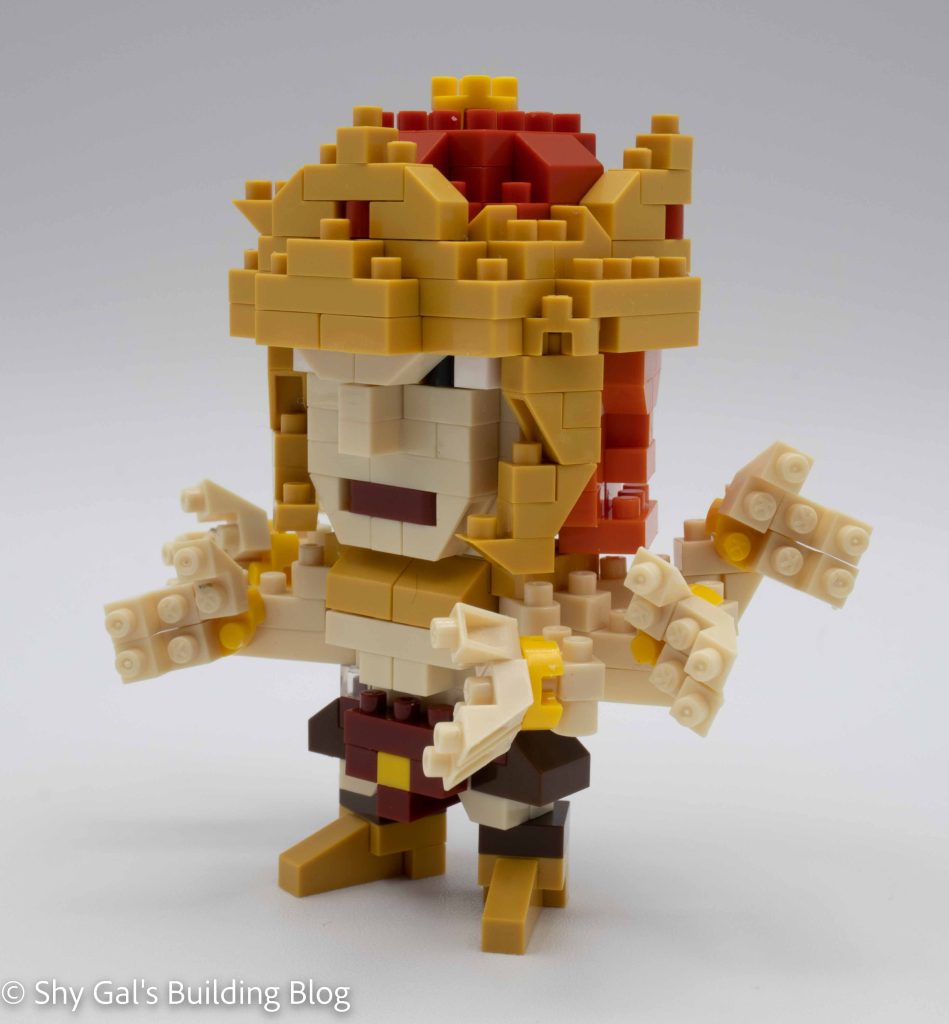
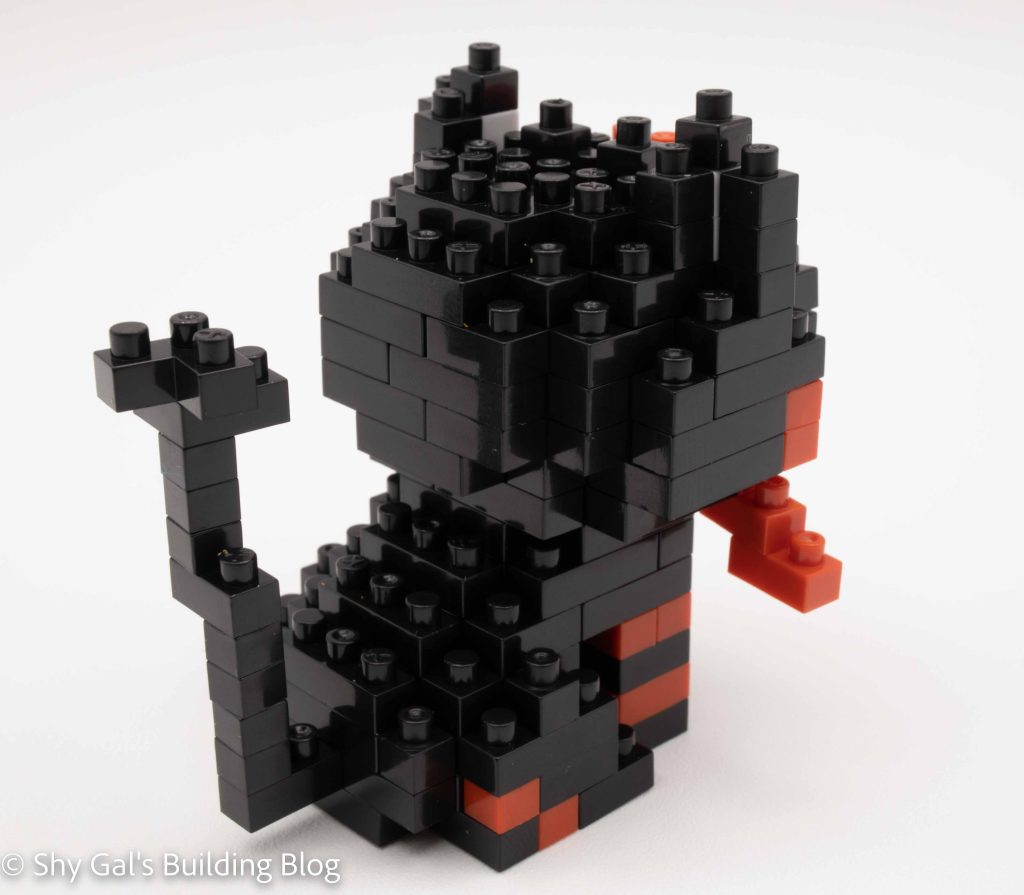
The other major piece of the build is the head. Like the body, the head is built in layers. The head is very straightforward. There are nice details to create the mouth and glasses. I also like how the eyes are a little inset which adds to the various details of the build.

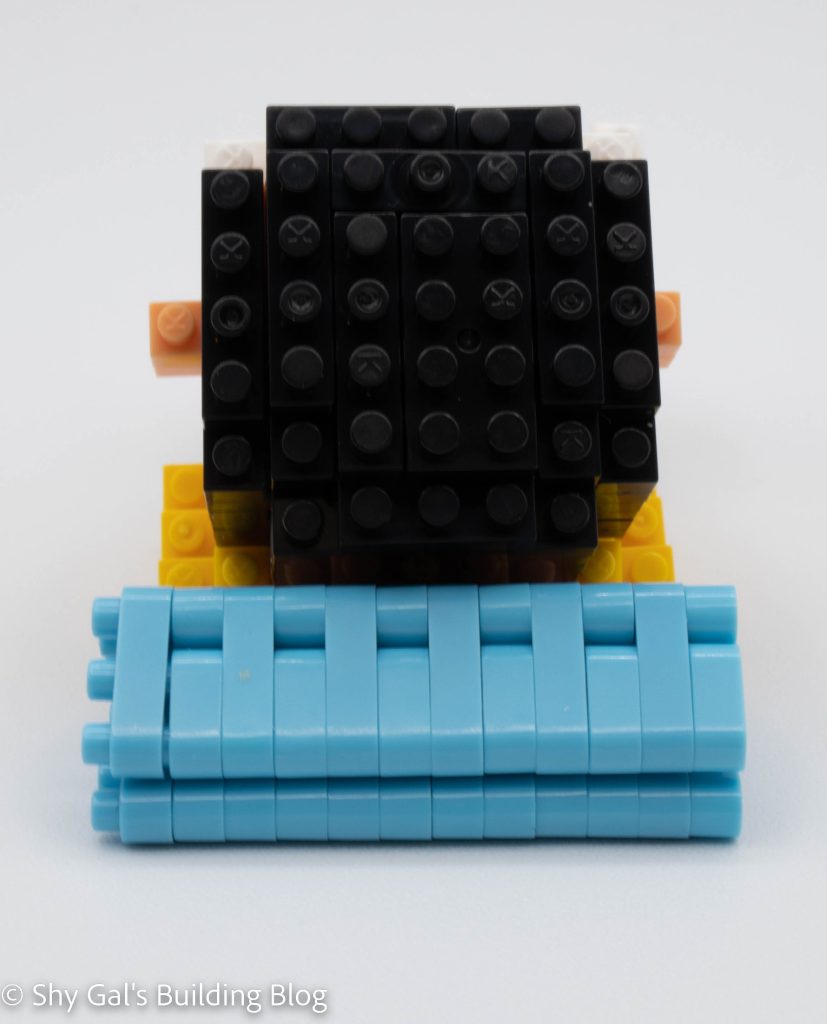
The final build is a pillow for Nobita to lie on. It is simply a stack of rounded blue bricks that you curl around to make a triangular pillow.

Lying Nobita build 3/4 view

Things I liked:

  • The positioning of Nobita is very unique for the nanoblock characters

Things I didn’t like:

  • That the navy and the black bricks were in the same bag

Review of nanoblock Gardevoir NBPM_096

Gardevoir build and packaging

This post is a review of the nanoblock Gardevoir build. Gardevoir is part of the nanoblock Pokemon collection. Wondering what else is part of the Pokemon collection? Click here for a list.

Number: NBPM_096

Number of Pieces: 130

Difficulty Rating: 2/5

Gardevoir build front view

Gardevoir is the original final evolution of Ralts. It was initially only a psychic type but became a psychic / fairy type when the fairy type was introduced.

Gardevoir build front 3/4 view

Unlike most pokemon builds, I feel that Gardevoir isn’t really recognizable. This is for 2 major reasons.

First, the head is misshapen and doesn’t appear like the head in video games. The head in video games is much smoother and rounder than the head. Also, Gardevoir has redder eyes, so it might be slightly better if red bricks had been used for the eyes.

Secondly, I also feel that the body isn’t correct. The nanoblock Gardevoir appears to wear a skirt with visible legs. The build simply has the skirt without the legs.

Gardevoir build side view

The first few steps of the build create the base of Gardevoir’s skirt. Laying out the entire skirt took about half of my larger nanoblock pad.

After creating the base, the body goes up in layers of white. Then the arms are added along with the detail coming out of Gardevoir’s chest.

The head begins with creating a base layer over a few steps. The head goes up in straightforward layers adding details to the face. I feel that the head isn’t shaped in a recognizable way.

The final step is to attach the head to the body, and the build is done.

Gardevoir build back view

Things I liked:

  • I really like the detail in the skirt and how it creates Gardevoir’s hips.

Things I didn’t like:

  • I feel that this build isn’t very recognizable as the Pokemon Gardevoir. The head isn’t really appropriately shaped, which I find disappointing since, normally, Pokemon builds are very recognizable.

Review of nanoblock Kirby Dream Land NBH_230

Kirby Dream Land build and box

This post is a review of the nanoblock Kirby Dream Land build. Kirby Dream Land is part of the nanoblock Sights to See collection. Wondering what else is part of the Sights to See collection? Click here for a list.

Number: NBH_230 

Number of Pieces: 400

Difficulty Rating: 3/5

Kirby Dream Land build front view

Please note that while several characters are on the box, the only characters that are actually part of the build are Kirby and Whispy Woods (the tree). The other characters shown are part of volume 2 of the Kirby mininano collection.

This build has 4 sections. There is Whispy Woods, the base, Kirby on a star, and a tree.

I think it is worth noting there are 2 shades of green (one used for each tree), but they are very similar in poor lighting, so be careful.

Whispy Woods is basically a semicircle of nanoblock. Until you add leaves, the build goes up in layers, with each layer covering the brick gaps from the previous layer. I was a little surprised that the mouth didn’t have anything behind it, but it is really just an opening that you can see through.

When adding the leaves to Whispy Woods, you need to be careful because there are several places where bricks are overhanging. This is tricky because if you push too hard, the bricks might collapse. After building the overhanging sections, the rest of the leaves are straightforward layers.

Kirby Dream Land build back 3/4 view

The final step for Whispy Woods is to add the details. This includes apples in the leaves. There are also the nose and arms added. The final step is to add the root details.

The second section in the instructions is the base. There is a misprint in the instructions. In step 27, the brick between the 2 10×10 plates is green. In step 28, the same brick is shown as clear. Based on extra brick counts and how it appears in steps 30 and 42, I determined the brick should be green. Other than the color typo setting up the base for Whispy Woods is very straightforward.

The third step in the instructions is the small tree in the background. The tree is very straightforward.

Next, you attach the smaller tree and Whispy Woods to the base. The studs for Whispy Woods are nicely lined up, so it was easy to attach him, which was nice and unexpected. I expected to need to turn the roots to attach Whispy Woods.

Kirby Dream Land build side view

The final step is to build Kirby on the star. I built Kirby on my nanoblock pad. At some point, I picked up the build, which was very flexible, so I made sure to do the building on the pad.

First, you build Kirby. It begins with building the base couple of layers that create the entirety of Kirby’s base. The build then goes up in layers using slanted pieces to the arms and to create Kirby’s round shape.

The second step to building Kirby is to build the star he sits on. The star is 2 layers tall and very straightforward to put together.

The final step is to connect Kirby to the star. Then attaching Kirby to the base.

Kirby Dream Land build front 3/4 view

Things I liked:

  • That the build is the same scale as the mininano collection and it even comes with parts to attach those characters to the base

Things I didn’t like:

  • Kirby was really flexible while building him, so I was super glad that I had my pad

Review of nanoblock Rowlett NBPM_051

Rowlett build and box

This post is a review of the nanoblock Rowlett build. Rowlett is part of the nanoblock Pokemon collection. Wondering what else is part of the Pokemon Collection? Click Here for a list.

Names:

  • English: Rowlett
  • Japanese: Mokuroh

Number: NBPM_051 

Number of Pieces: 170

Difficulty Rating: 2/5

Rowlett front view

Rowlett is the grass starter from generation 7. Initially released under NBPM_27, it was only available at Japanese Pokemon Centers.

Rowlett front 3/4 view

Overall this is a straightforward build. It is building the outer shell of a sphere from the base. The first step is to create the base by putting two smaller builds together. From there, you add the Pokemon’s sweet little bow tie. Next, you build the Pokemon by adding rings of bricks for several layers.

As you reach the top of the Pokemon, you begin to close up the head. At this point, you need to be careful to make sure that bricks are extra carefully lined up. As you close up the head bricks, you can push bricks into the cavity and create indents so that you can’t build the next layer.

Rowlett side view

Once you have closed up the sphere, it’s time for the final details. Attach the tail and the feet, and viola, the build is done.

Overall, I really liked this build. I liked the color that was selected for the green details. I had some difficulty getting the head to close up because I wasn’t super tight on my connections.

Rowlett back view

Things I liked:

  • The color of the green details

Review of nanoblock Kirby 30th NBCC_140

Kirby build and box

This post is a review of the nanoblock Kirby 30th build. Kirby is part of the nanoblock Character collection. Wondering what else is part of the Character collection? Click here for a list.

Number: NBCC_140 

Number of Pieces: 220

Difficulty Rating: 2/5

Kirby build front view

This build is made up of 3 sections. There is Kirby, the star, and the stand.

Kirby begins by making a base in pink bricks. Then the feet are added to the base. After that, Kirby begins going up in layers. Overall, things are fairly straightforward. In the step that adds Kirby’s mouth, I didn’t understand from the instructions that there was a custom piece with the mouth printed. Once I found the piece, the only other concern was the slanted pieces.

Kirby has 2 different slanted pieces. I appreciated that the colors in the instructions were different enough that it was very clear when to use which slanted piece.

The final step to building Kirby is to finish his hand and smooth out the top of his head.

Sticker for build

Kirby comes with a big 30th sticker to put on his back. I didn’t use the sticker on this build because it would have meant that I wouldn’t be able to take Kirby apart.

The star is created by several layers of yellow bricks with a width of 2, so the final build is 2 bricks tall. The first step creates a gap in the 2 depth. I wasn’t sure why there was a gap, but it became clear when I put the sections together. The second step adds the socket of the ball joint, which is needed to connect the star to the stand.

Kirby build back 3/4 view

After adding the socket, the rest of the star is fairly straightforward until the final step. There are 2 notable things about the final step. First, there is a custom-printed brick. I think it is for copyright, but I’m not sure for what exactly. Secondly, it wasn’t clear that it mattered what order sections were added. It was pretty easy to fix when I realized the order did matter.

Kirby build side view

Kirby sits on studs that point out the star, so he is very stable.

The stand is fairly straightforward. It begins by building up several layers of clear bricks. After building the layers, some additional bricks are added to the bottom layer. The stand is then laid on its side so the ball joint is up in the air.

Kirby’s star attaches to the ball joint on the stand. The part sticking up above the joint goes into the hole in the star to all the star to sit at an angle.

Kirby build front 3/4 view

Things I liked:

  • The custom brick for Kirby’s mouth because it means there isn’t a sticker for the mouth
  • How Kirby sits at an angle on his star ride

Things I didn’t like:

  • It was really hard to tell about the special brick that had Kirby’s mouth was a special brick

Review of nanoblock Popplio NBPM_050

Popplio box and build

This post is a review of the nanoblock Popplio build. Popplio is part of the nanoblock Pokemon collection. Wondering what else is part of the Pokemon Collection? Click Here for a list.

Names:

  • English: Popplio
  • Japanese: Ashimari

Number: NBPM_050

Number of Pieces: 110

Difficulty Rating: 3/5

Popplio front view

Popplio is the water starter Pokemon from generation 7. Initially released under NBPM_26, it was only available at Japanese Pokemon Centers.

Popplio front 3/4 view

The build begins at the tail and builds up along the body. The directions are straightforward for building the body. Until you add the feet, the build can easily tip over. Adding the feet happens in steps 4 and 5 with great directions. Next, you add the light blue collar and build the head directly on the build. The head can be a bit tricky to perfectly line up because a couple of chains of bricks go into making the head.

Overall I enjoyed the Popplio build. I feel that the colors are close and nicely match the original pokemon. Every build has a couple tricks, but overall I thought of this as a pretty easy build.

Popplio side view

Things I liked:

  • The colors they picked for the pokemon

Things I didn’t like:

  • It kept tipping when I was building before adding the legs

Review of nanoblock Ashuraman NBCC_131

Ashuraman build and box

This post is a review of the nanoblock Ashuraman build. Ashuraman is part of the nanoblock Character collection. Wondering what else is part of the Character collection? Click here for a list.

Number: NBCC_131

Number of Pieces: 260

Difficulty Rating: 3/5

Ashuraman build front view

Ashuraman is a character in the Kinnikuman series. He is based on the Hindu god Ashura and has 3 faces. For more information about him, check out his fandom wiki page here.

Since Ashuraman has 3 faces, building the head is very different from any of the other Kinnikuman figures.

The build begins by creating the center section of the head that divides the 3 faces.

The next section is building the front face. This head is very straightforward and adds the mouth and eyes to the build.

Ashuraman build side view of blue face

The next several sections is to build Ashuraman’s crown. It takes several steps to build the outline of the crown. After building the outline, the crown goes up in layers with details around the edge. After building the crown, the crown is connected to the main face piece.

The next collection of steps is building the rest of the head. This includes building the 2 other faces in orange and blue and connecting them in the ball joints. There is also some decorative framing around the main face.

Now it is time to start the body. There are a few layers of maroon and skin tone that create the core of the body. This section is fragile and didn’t really get more solid as I added more bricks.

Ashuraman side view of red face

Then 6 arms are added to the build. After adding the arms, the top of the body is topped off, and the bricks to attach the head are added.

The legs and feet are added. Compared to the rest of the build, adding the feet is very straightforward.

Next, each of the arms receives a hand. They are only tricky to ensure the thumbs are in the right place.

The final step of the build is to add the head onto the body section.

Ashuraman build front 3/4 view

Things I liked:

  • I enjoyed building the head because it was so unique

Things I didn’t like:

  • The body never got super stable while I was building it up. It was frustrating to be building on such a flexible part.
  • Based on his wiki page, he is supposed to be blue. It would have been cool if he had been blue instead of skin tone.

Review of nanoblock Litten NBPM_049

Litten box and build

This post is a review of the nanoblock Litten build. Litten is part of the nanoblock Pokemon collection. Wondering what else is part of the Pokemon Collection? Click Here for a list.

Names:

  • English: Litten
  • Japanese: Nyabby

Number: NBPM_049

Number of Pieces: 170

Difficulty Rating: 2/5

Litten front view

Litten is the fire starter Pokemon from generation 7. Initially released under NBPM_25, it was only available at Japanese Pokemon Centers.

Litten front 3/4 view

Litten is a unique build compared to almost all the Pokemon builds. It starts like normal with a base layer that is built up. Then start building parts separately and adding them back to the build.

Litten side view

In step seven, there is something I don’t remember seeing in any other builds. You start by building the face as a separate piece, but then you have a shot looking in from the back of Litten, and you need to figure out how exactly to connect the face. I had some difficulty, but I made it work. After attaching the face, the rest of the build is straightforward.

Overall I find the final Litten recognizable, and I think it looks like a cute kitty.

Litten back 3/4 view