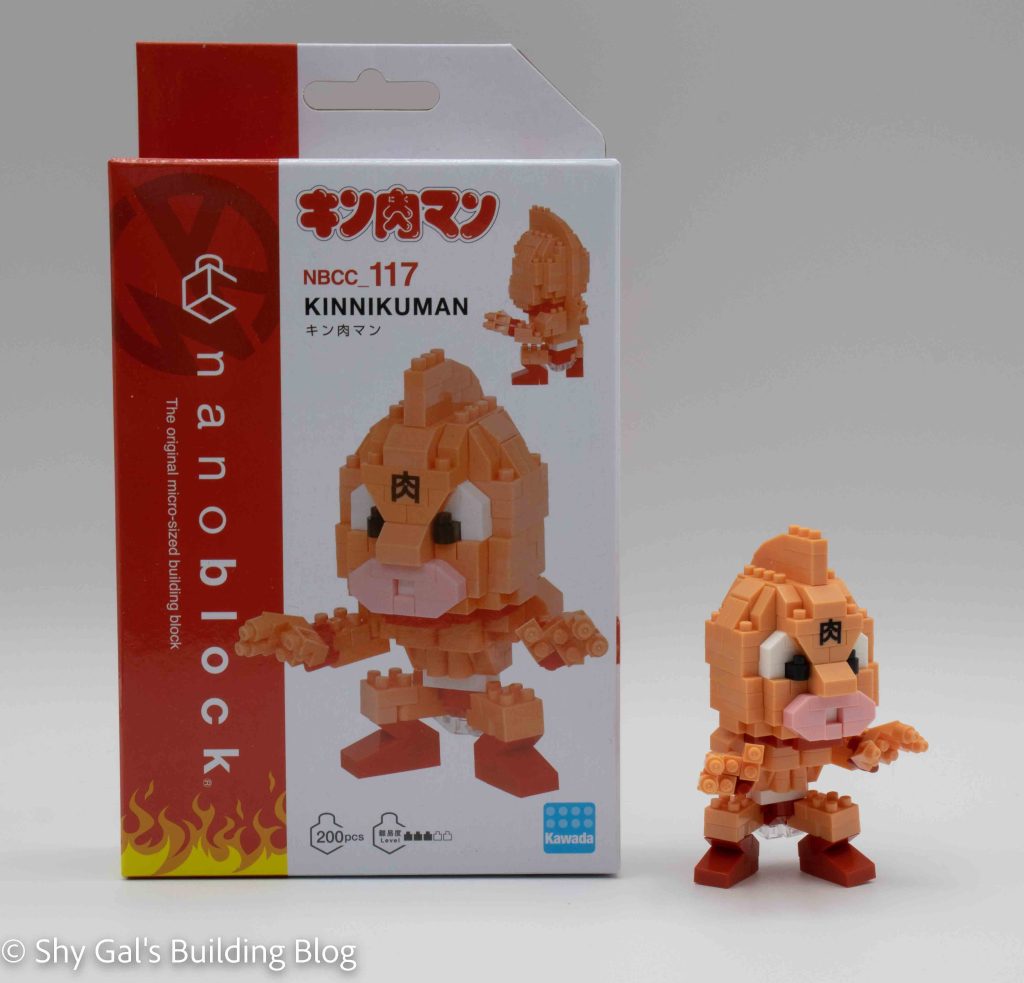
This post is a review of the nanoblock Kinnikuman build. Kinnikuman is part of the nanoblock Character collection. Wondering what else is part of the Character collection? Click here for a list.
Number: NBCC_117
Number of Pieces: 200
Difficulty Rating: 3/5
Kinnikuman is the main character of Kinnikuman. He is working to prove that he is strong enough to rule Kinniku. For more information about him, check out his fandom wiki page here.
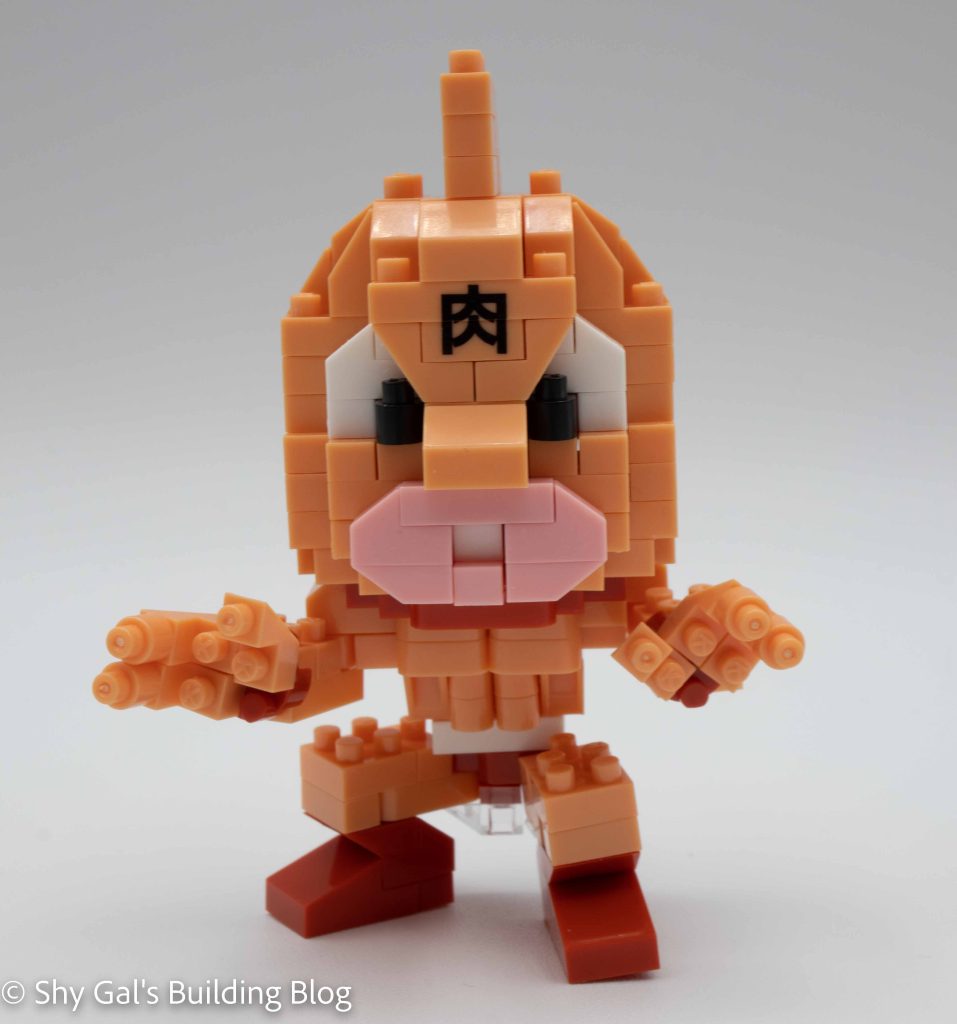
Since Kinnikuman barely wears any clothing, this build is almost all blush bricks. The appearance of blush bricks changes a lot depending on what other bricks are around them. Since this build is mostly blush, you can see the color and how close it is to skin tone.
When I looked at this build, I was concerned that Kinnikuman would have a sticker in the middle of his forehead. I normally don’t use stickers when they come with nanoblock builds, so I was worried the Chinese would be missing. However, when I opened the kit, I was pleasantly surprised to find that there was a custom brick that had the character, so I didn’t need to use the sticker.
This build is unusual because it begins in the center of Kinnikuman’s head. It begins by laying out the eyes and the outline of the head. I used my nanoblock pad for this section. Over the next several steps, the top part of the head builds up in simple layers, and one of the layers adds the custom brick. The last detail is to add the fin-looking thing to the top of the head.
The next chunk of building is to create the lower section of the head and finish the head section. First, I laid out the jaw on my nanoblock pad. Then I added the layers. At one point, a small stack of bricks is added to the back of the jaw to create the back of the head. I missed that the new small stack is added to the back brick. This meant the head didn’t line up, and I needed to rip the build apart and build the sections again. At this point, the top section of the head is added to the jaw section.

The head is flipped upside down, and bricks are added to the bottom of the head. I don’t like building upside down and find it very difficult. I could easily figure out what was needed because the instructions were clear.
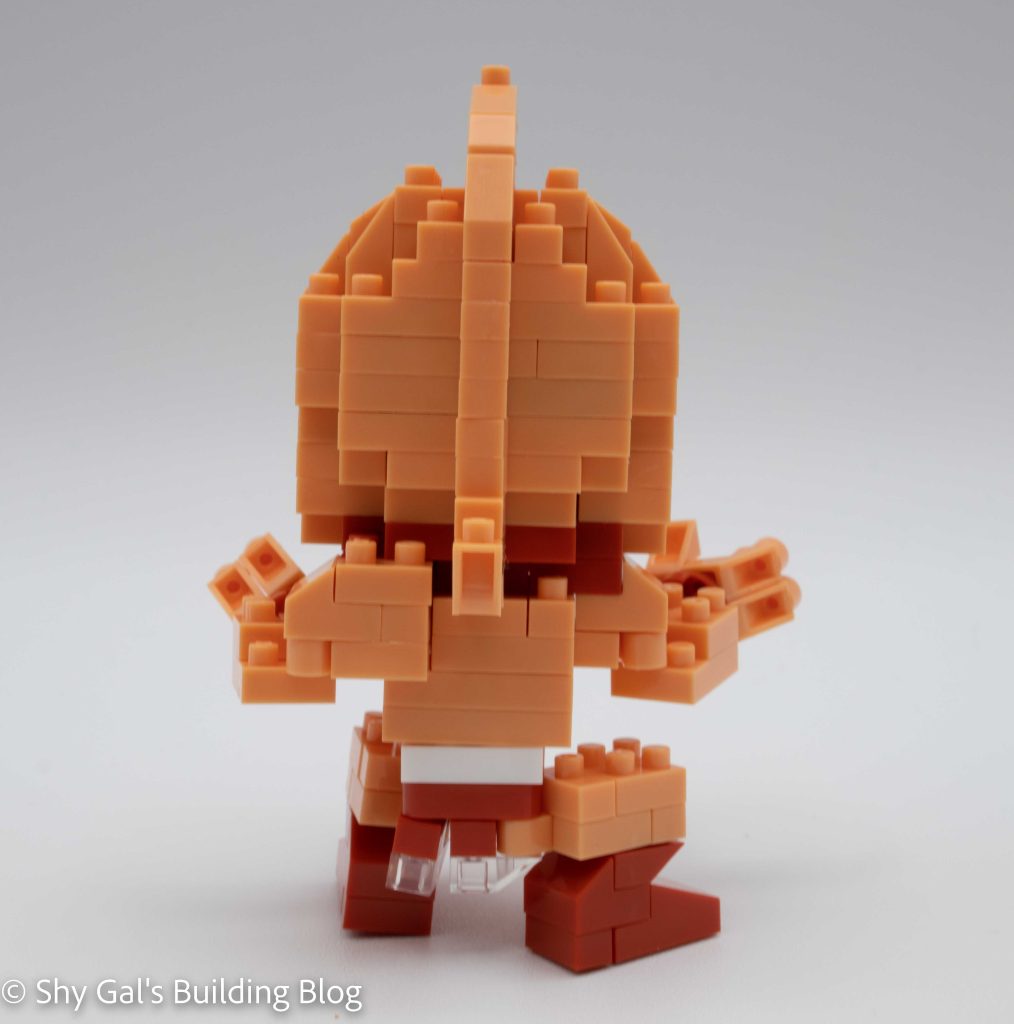
The final detail of the head is to add a stack of bricks that are attached to the fin on the top of the head.
The next step is to build the upper body section. The directions for the body are very clear in this section. The head is attached to the upper body section.
The next step is to build Kinnikuman’s hands. Each hand has a section that is the arm and a section that is the actual hand. How to build and attach the sections to the main body section is very clear. It was even clear how to rotate the hands to have them properly positioned so that the thumbs are in the right place.
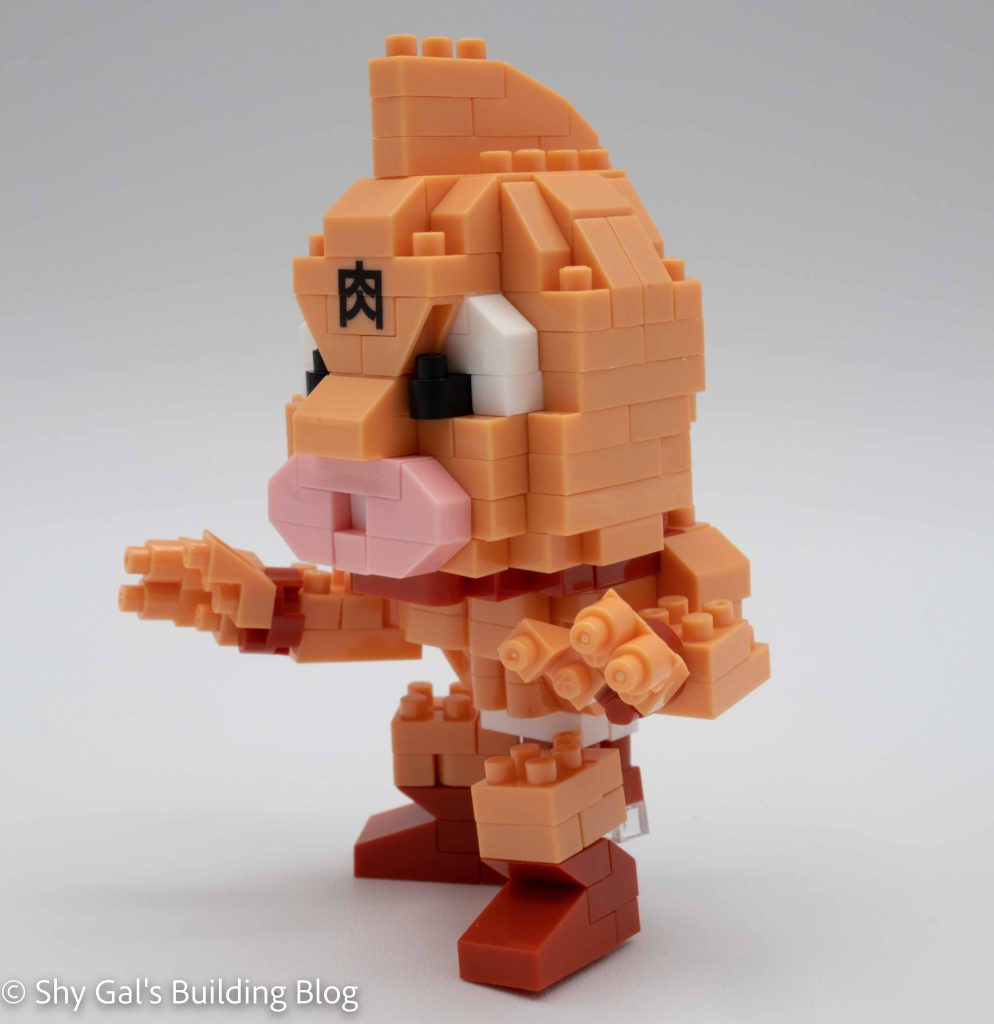
I found the hips to be the trickiest section of this build. This is because the step to connect the thighs isn’t super clear. It does show where exactly the brick goes, but it doesn’t show the depth. It appears that it connects to a white brick, but it actually connects to a red rounded brick that is right below where the arrow is.
After building the hips, it is time to build the feet, which is very straightforward.
The final step is to connect the hips to the main torso. I set the build on the table and expected it to be able to stand on its own. It didn’t. It actually fell forward. I shifted the legs around and managed to find a position that finally did allow Kinnikuman to stand. However, it was still flimsy, and as soon as the table moved at all, the build fell right back over.
Things I liked:
- The custom-printed brick (I really don’t like stickers)
Things I didn’t like:
- Getting the build to stand on its own is tricky, and any movement to the table causes the build to move