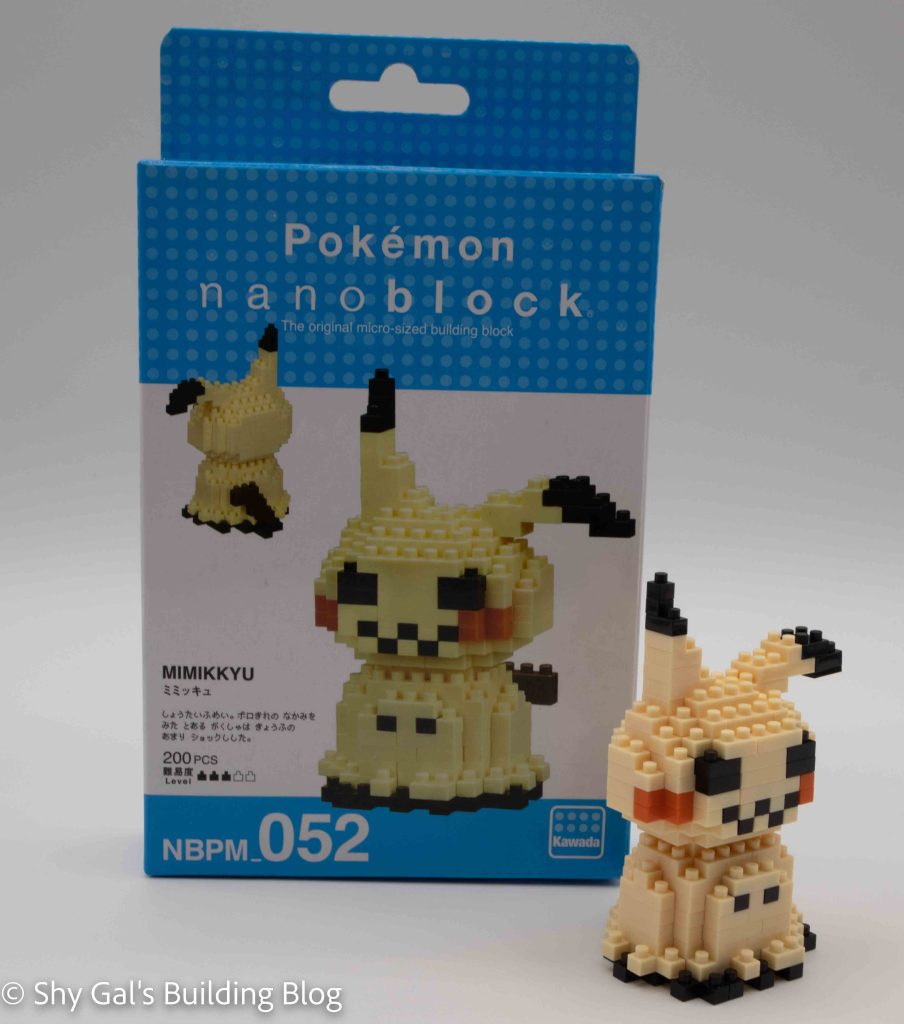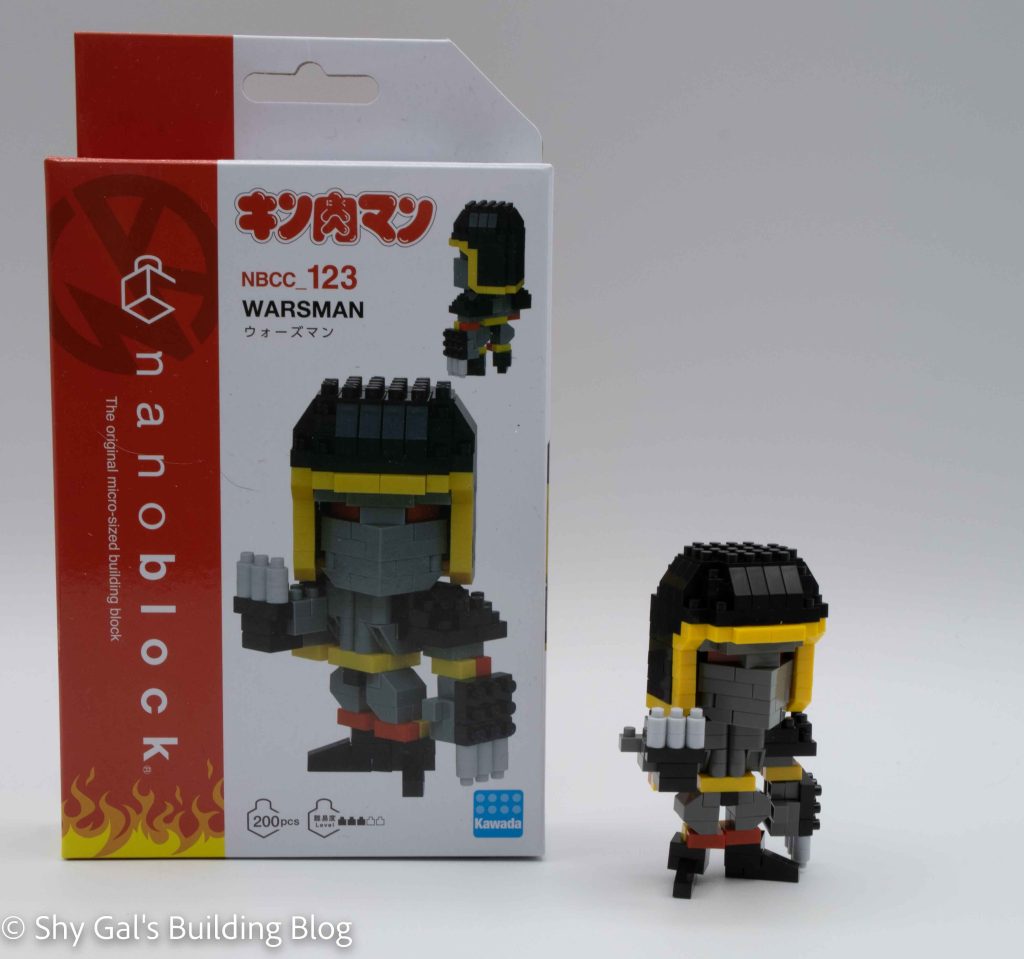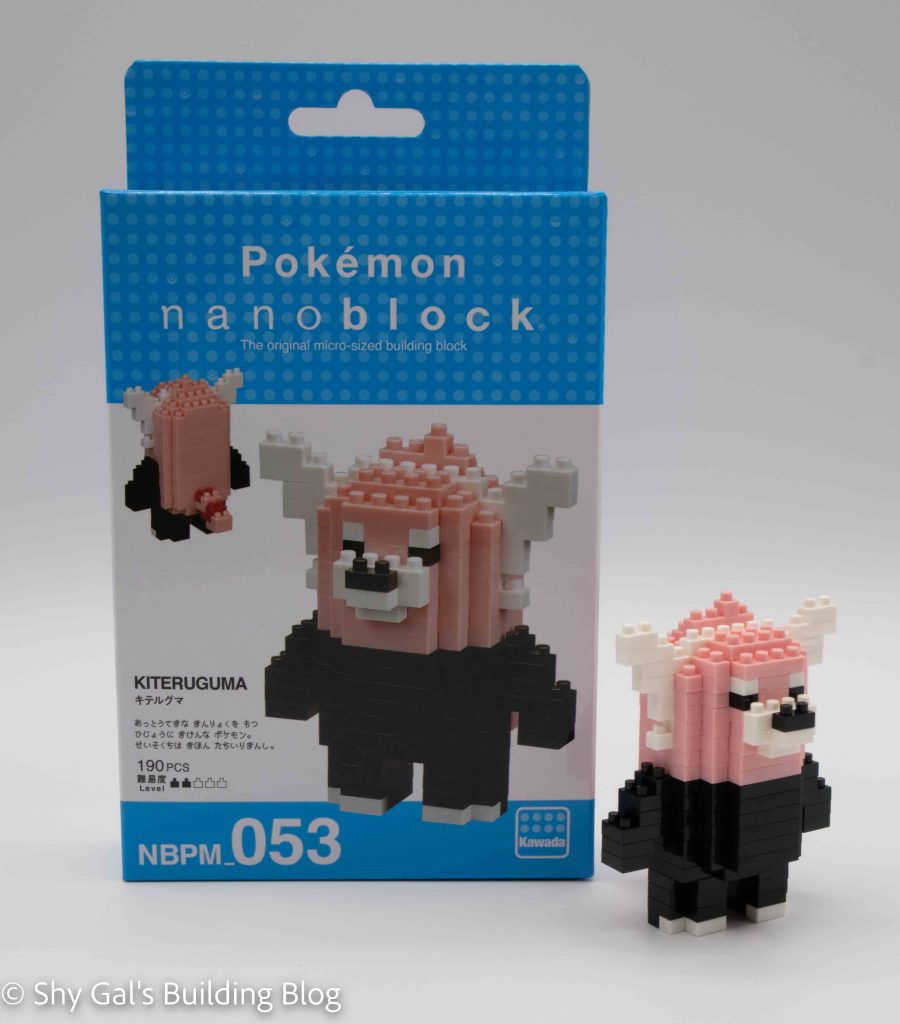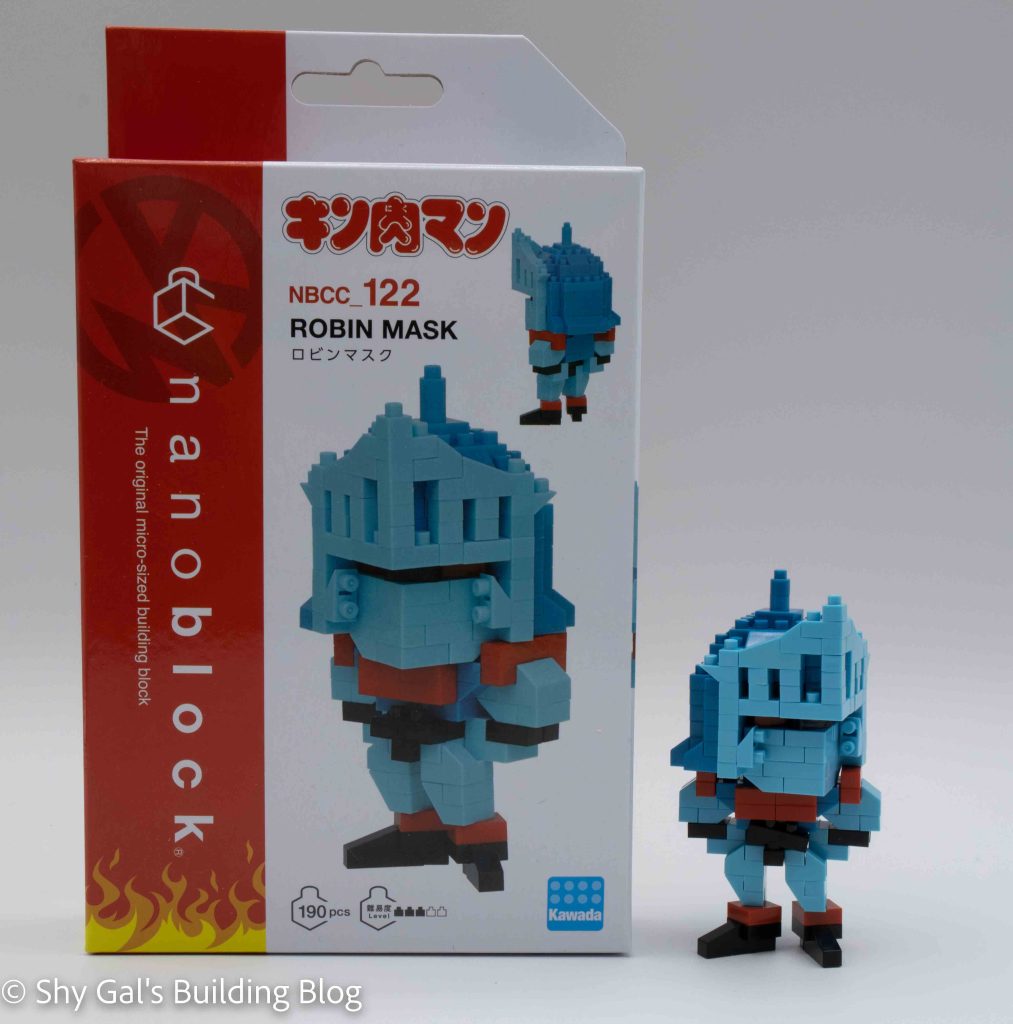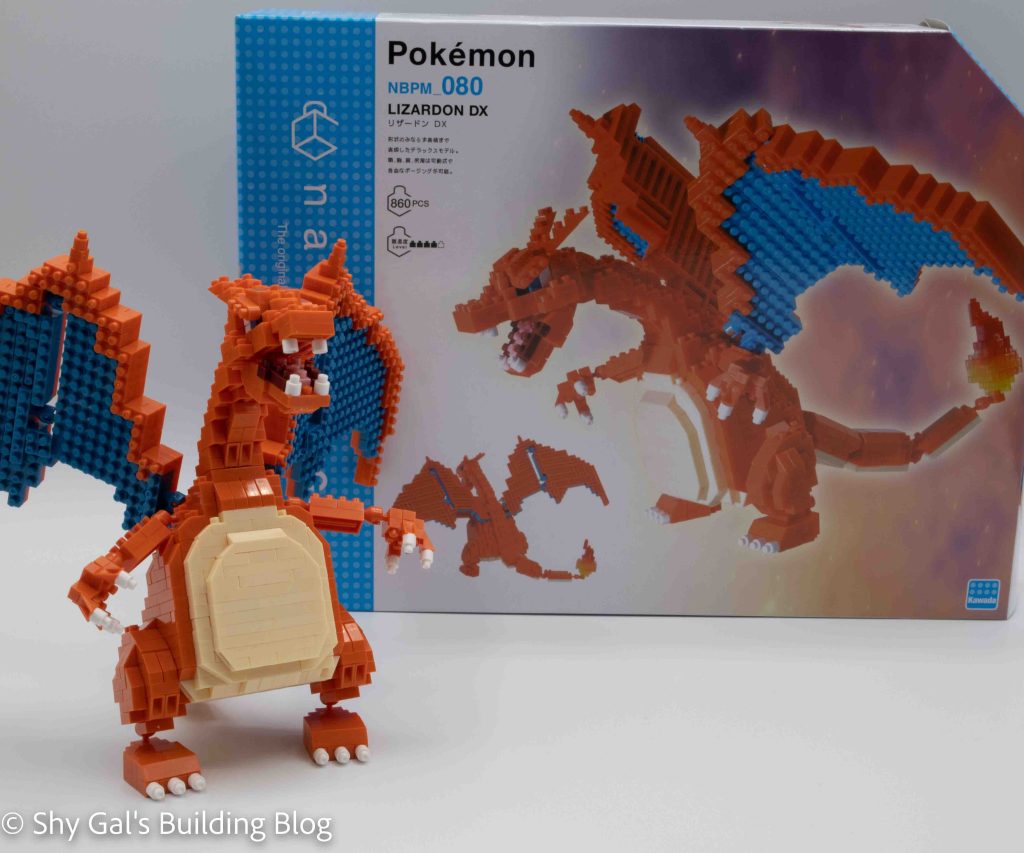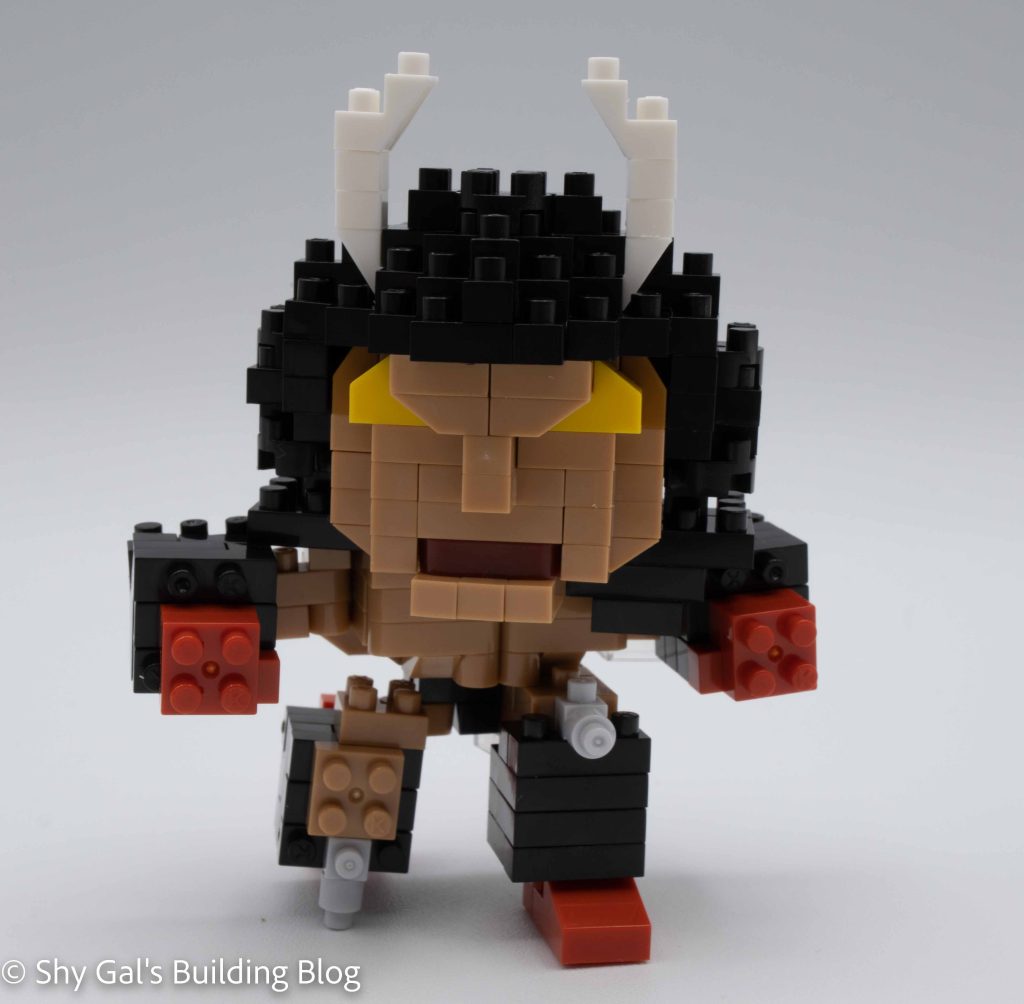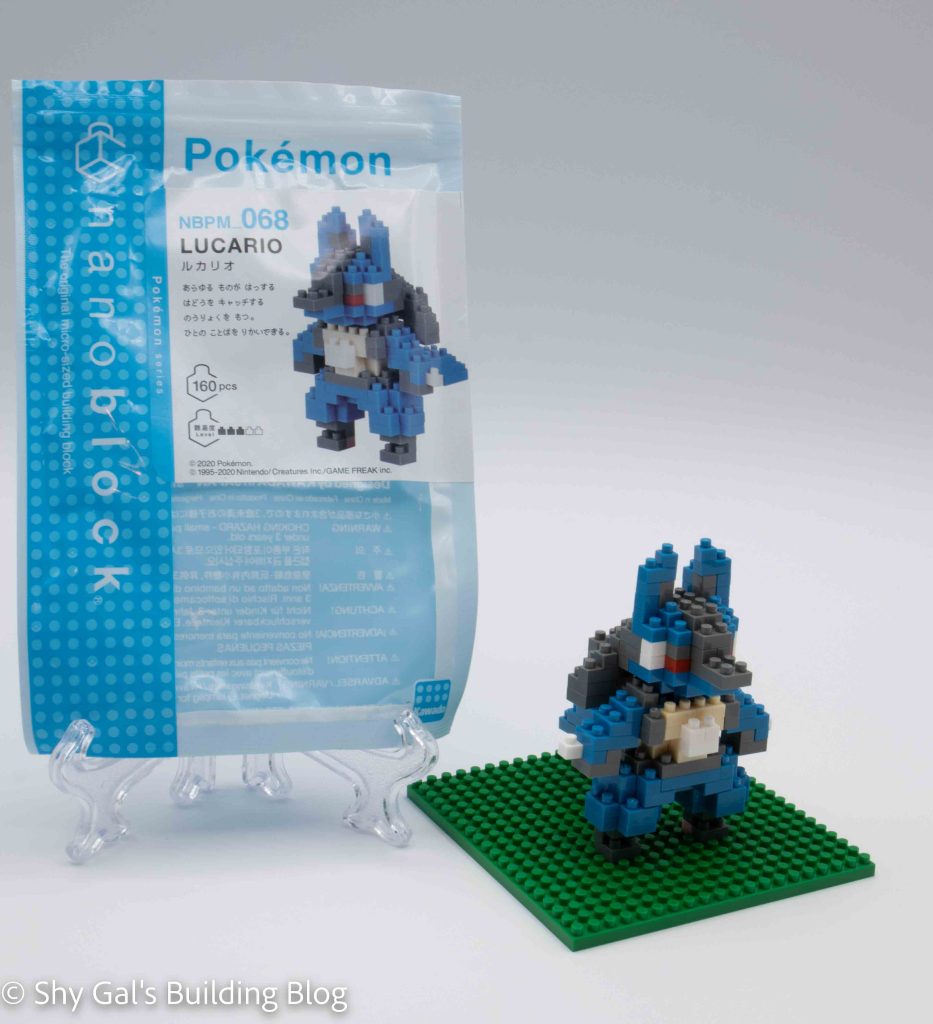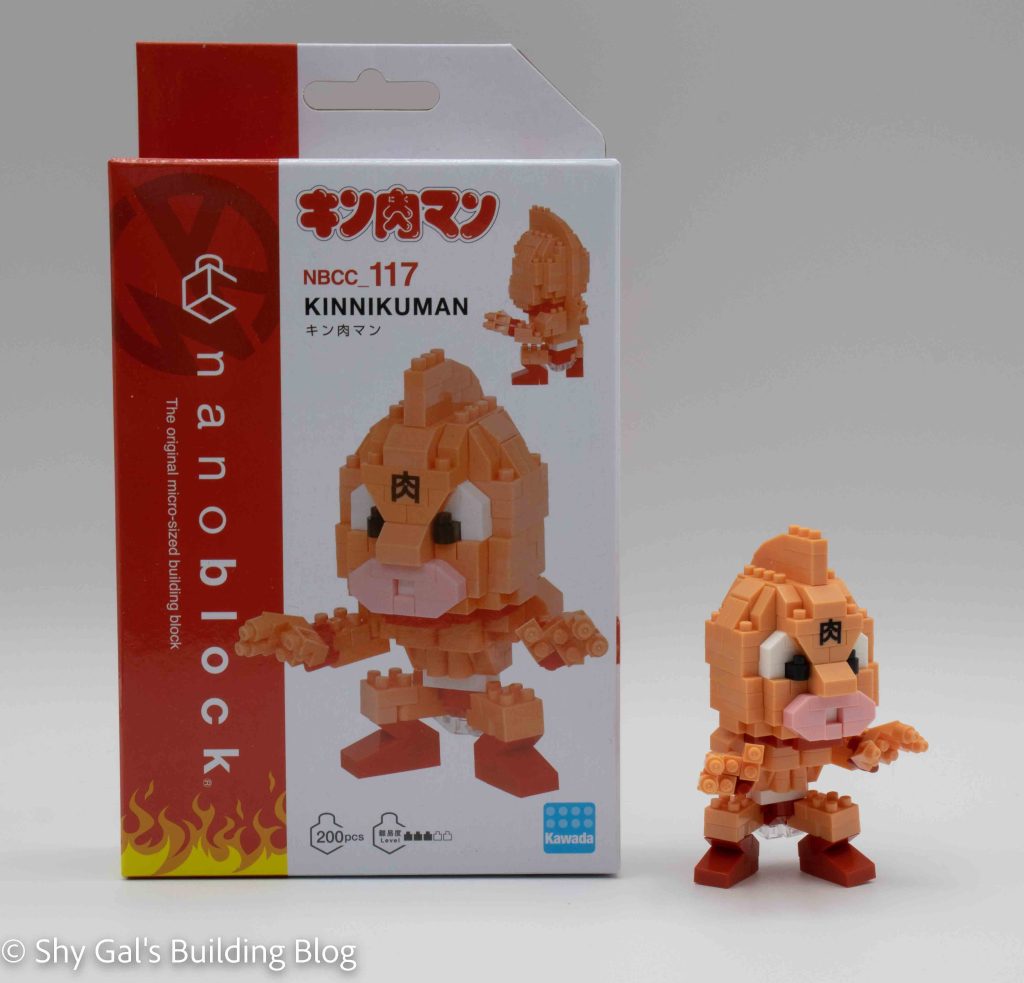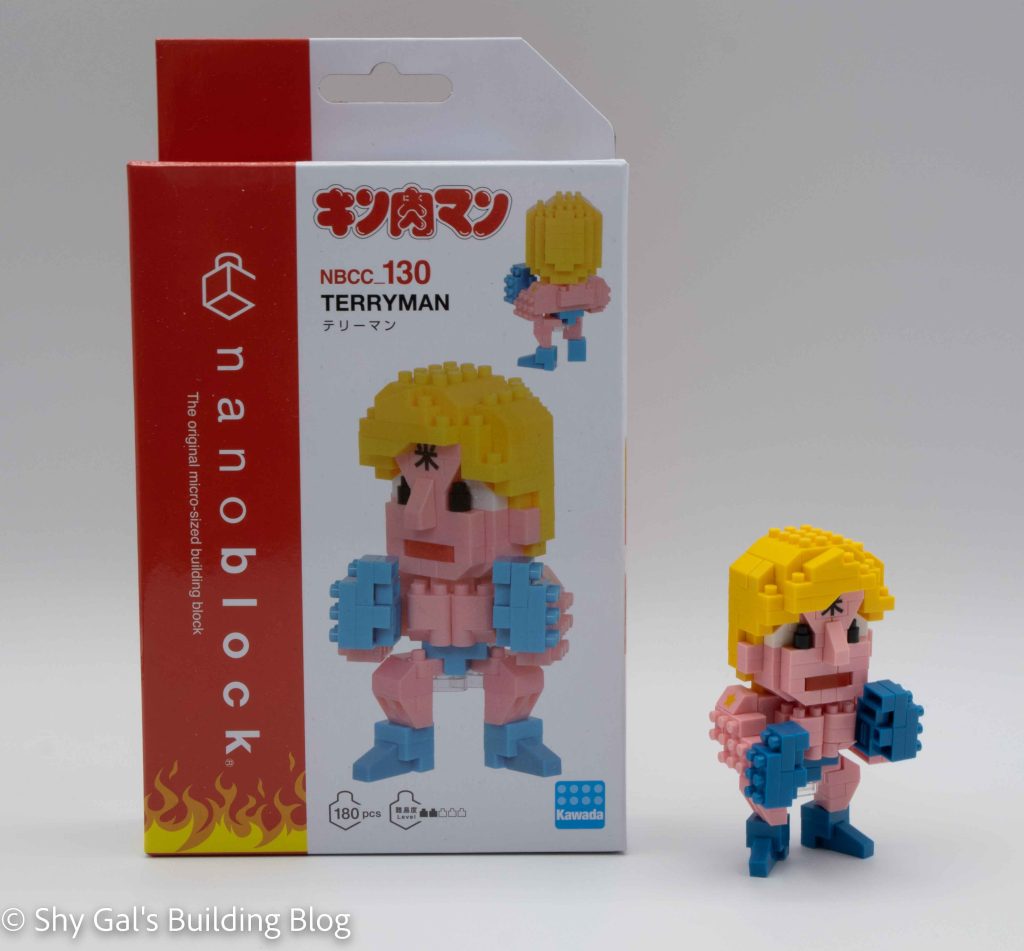
This post is a review of the nanoblock Terryman build. Terryman is part of the nanoblock Character collection. Wondering what else is part of the Character collection? Click here for a list.
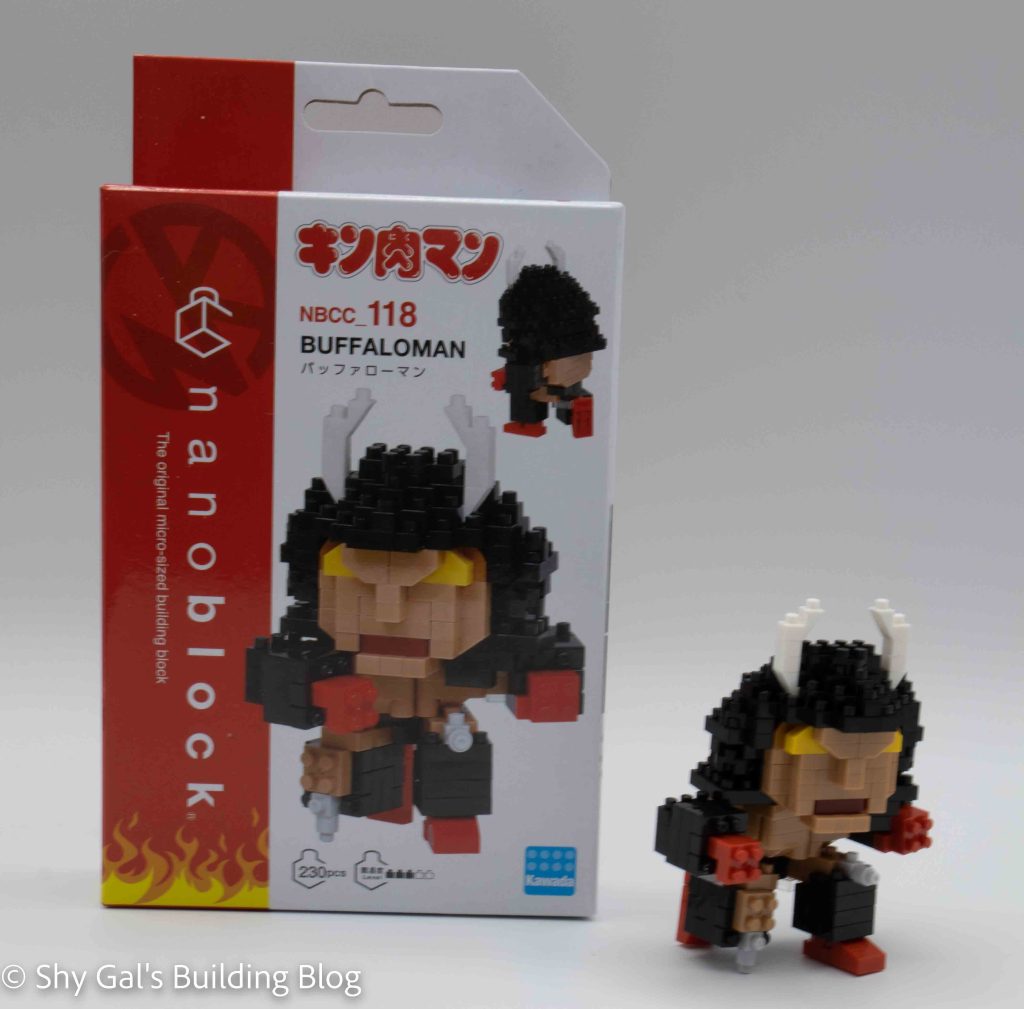
Number: NBCC_130
Number of Pieces: 180
Difficulty Rating: 2/5
Terryman is a character in the Kinnikuman series. He is the best friend of Kinnikuman. For more information about him, check out his fandom wiki page here.
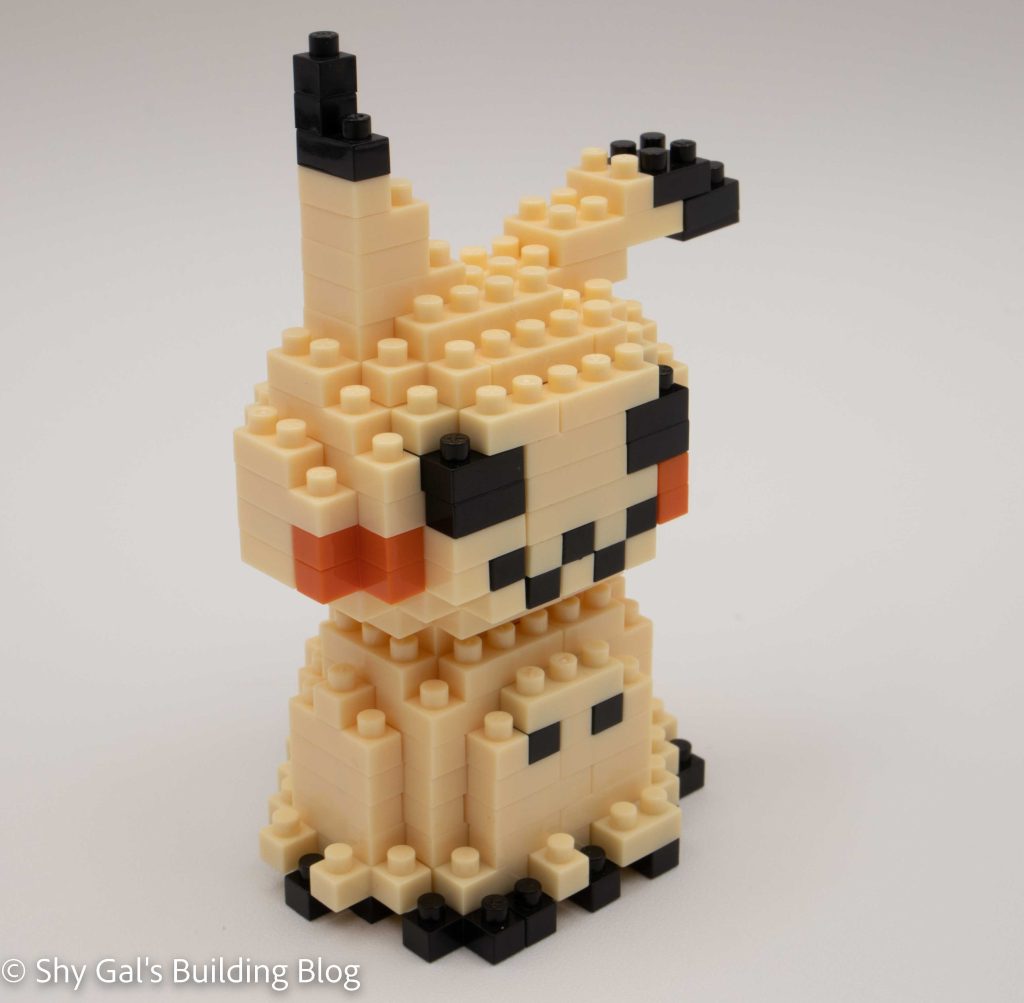
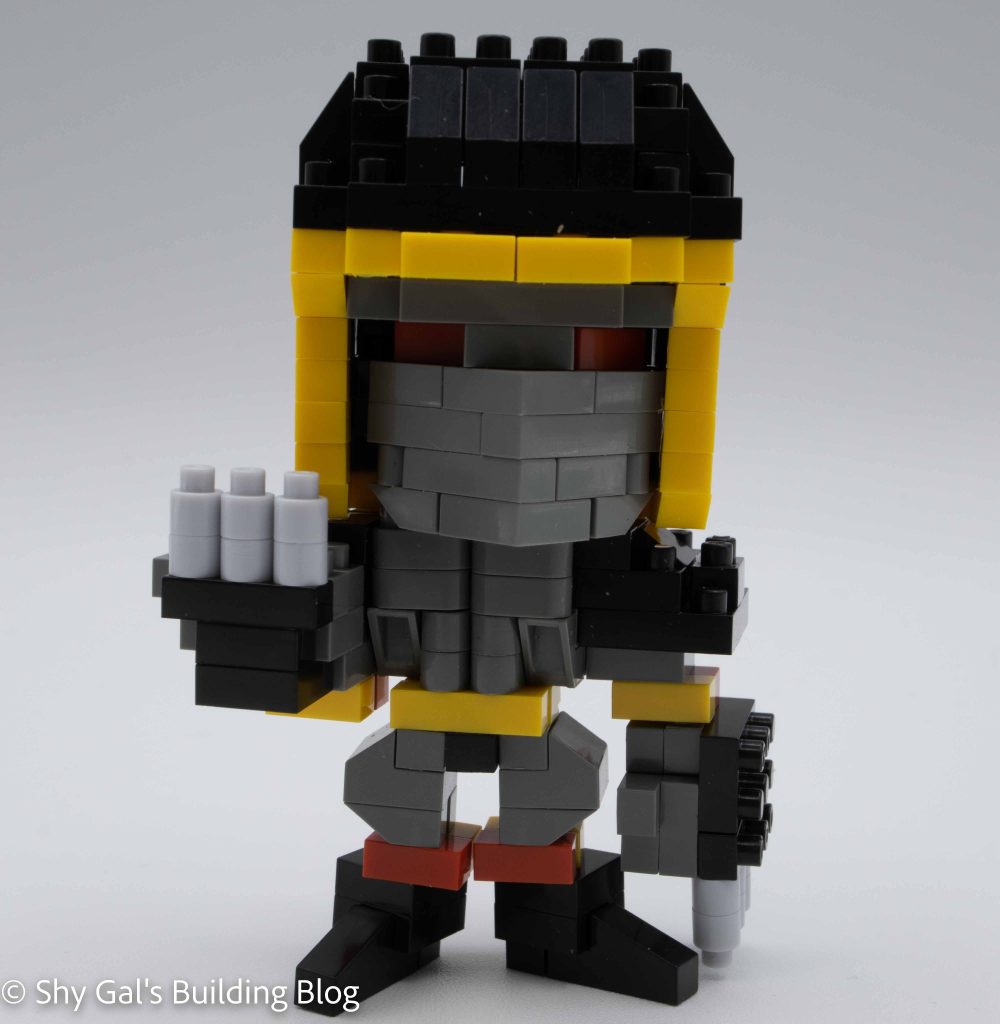
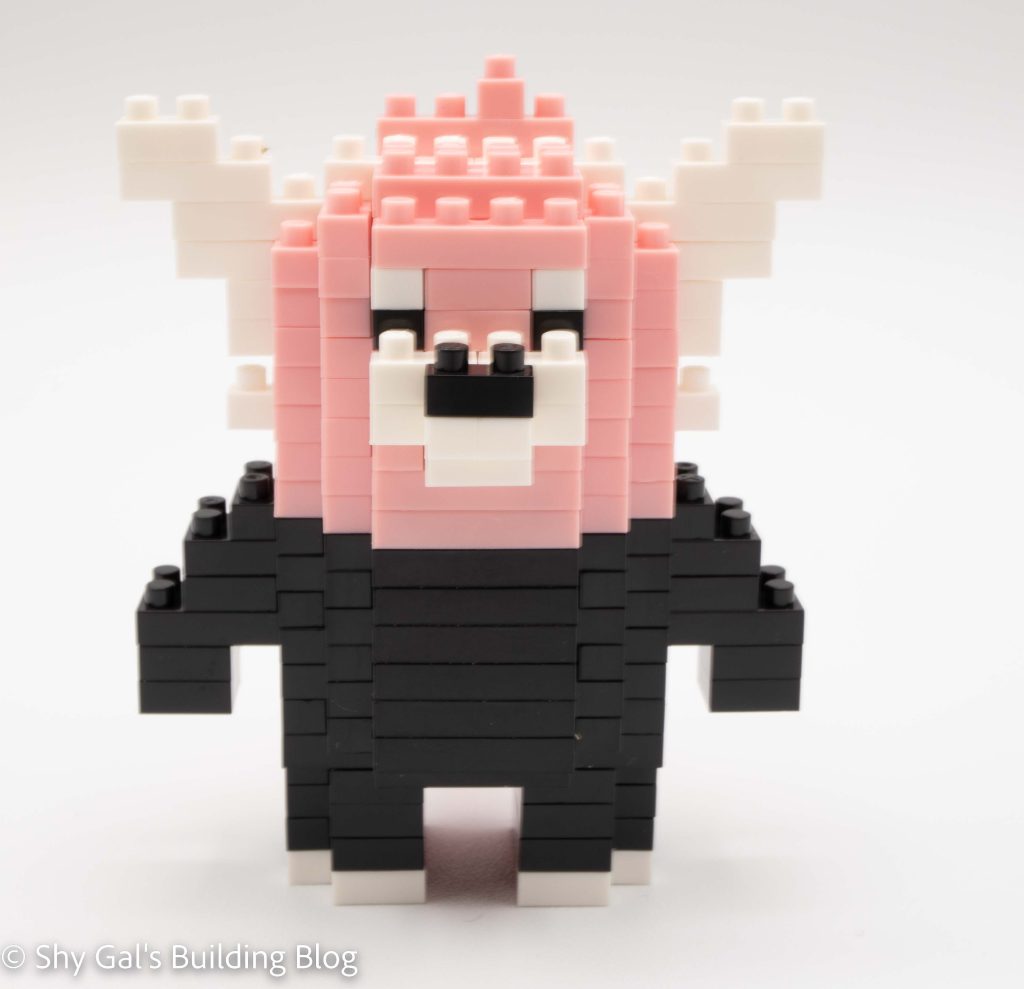
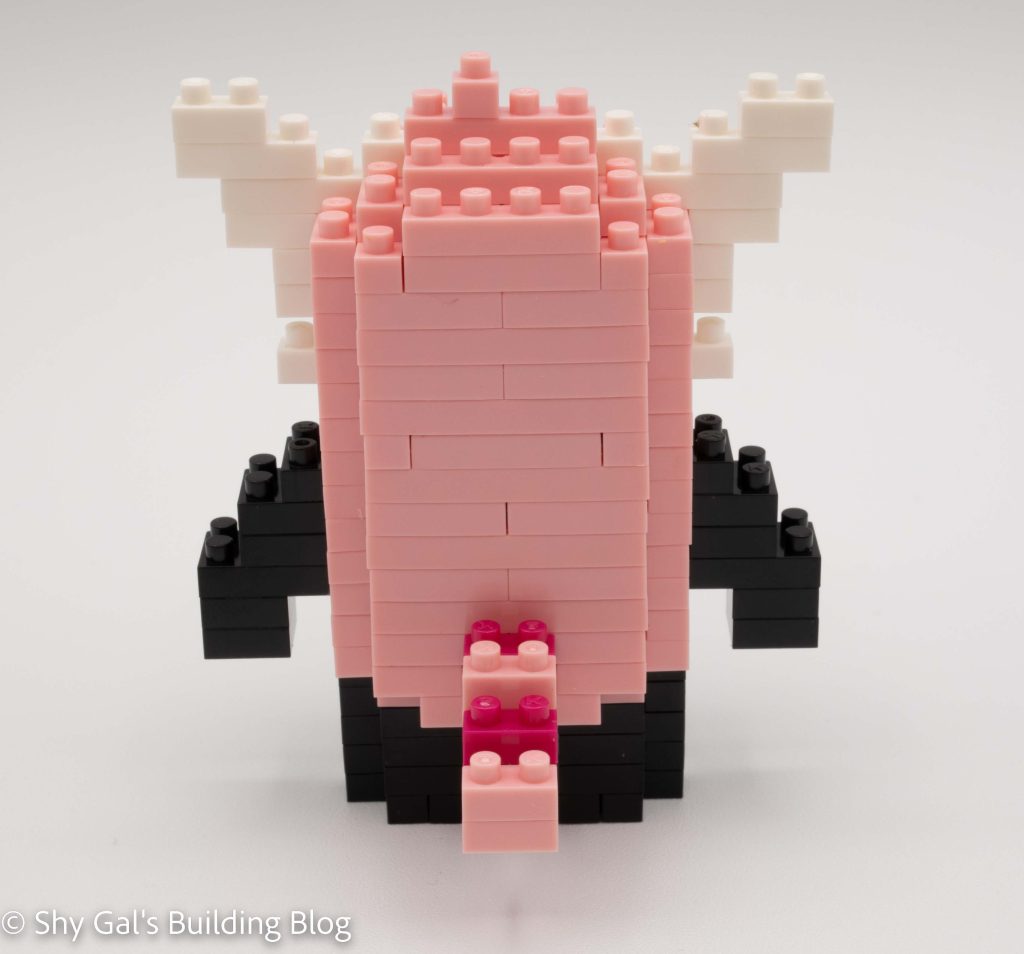
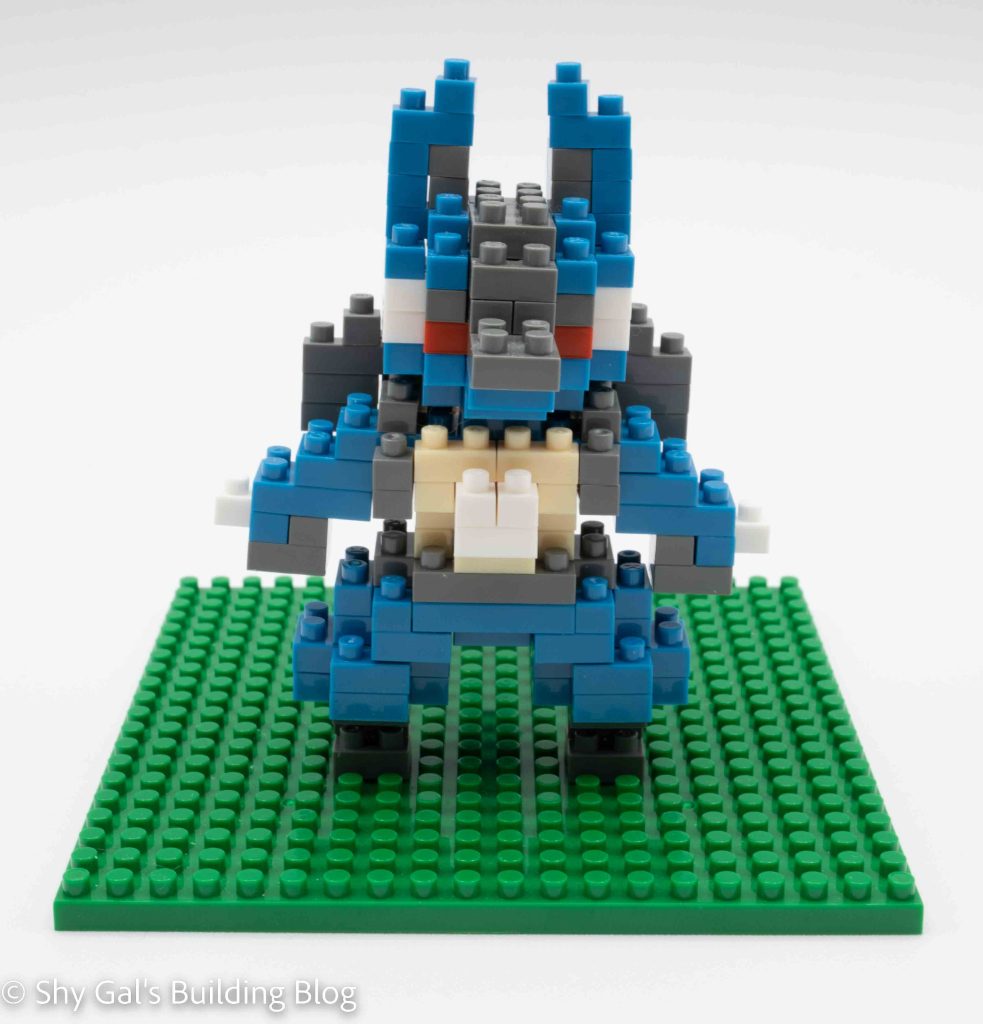
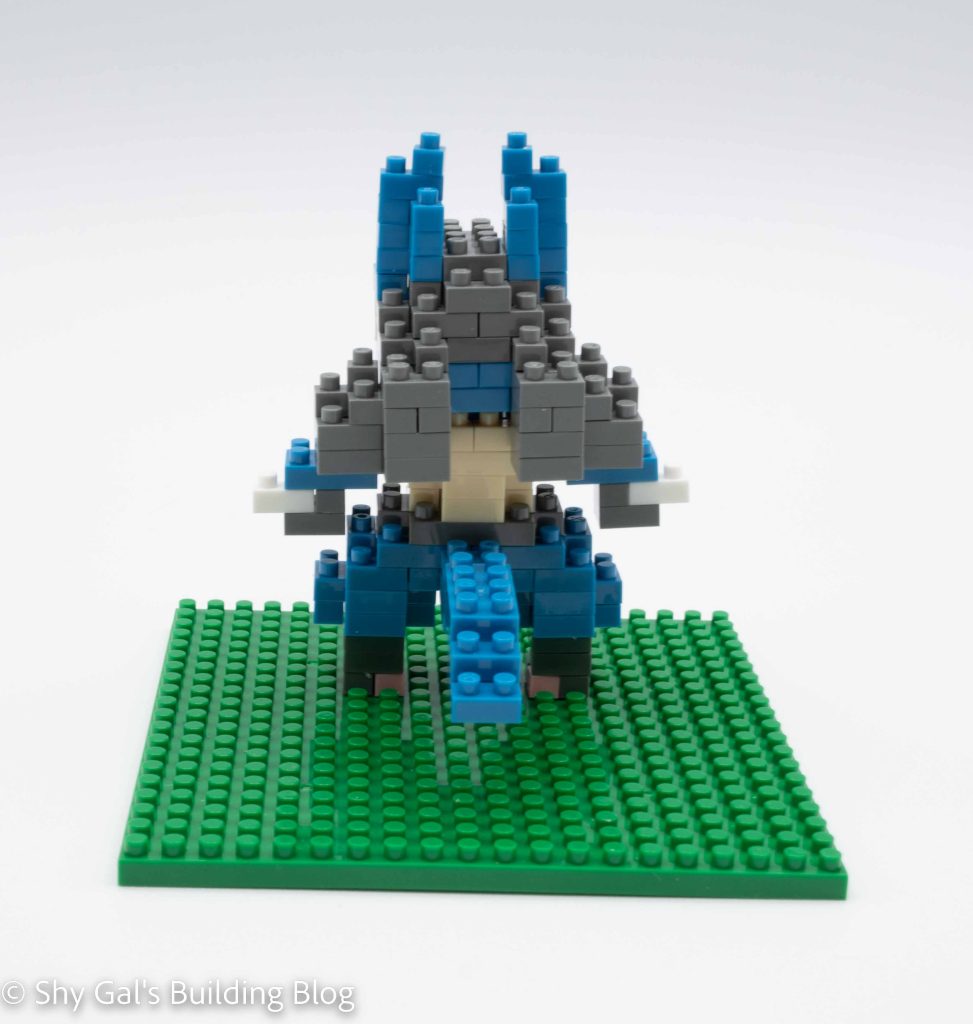
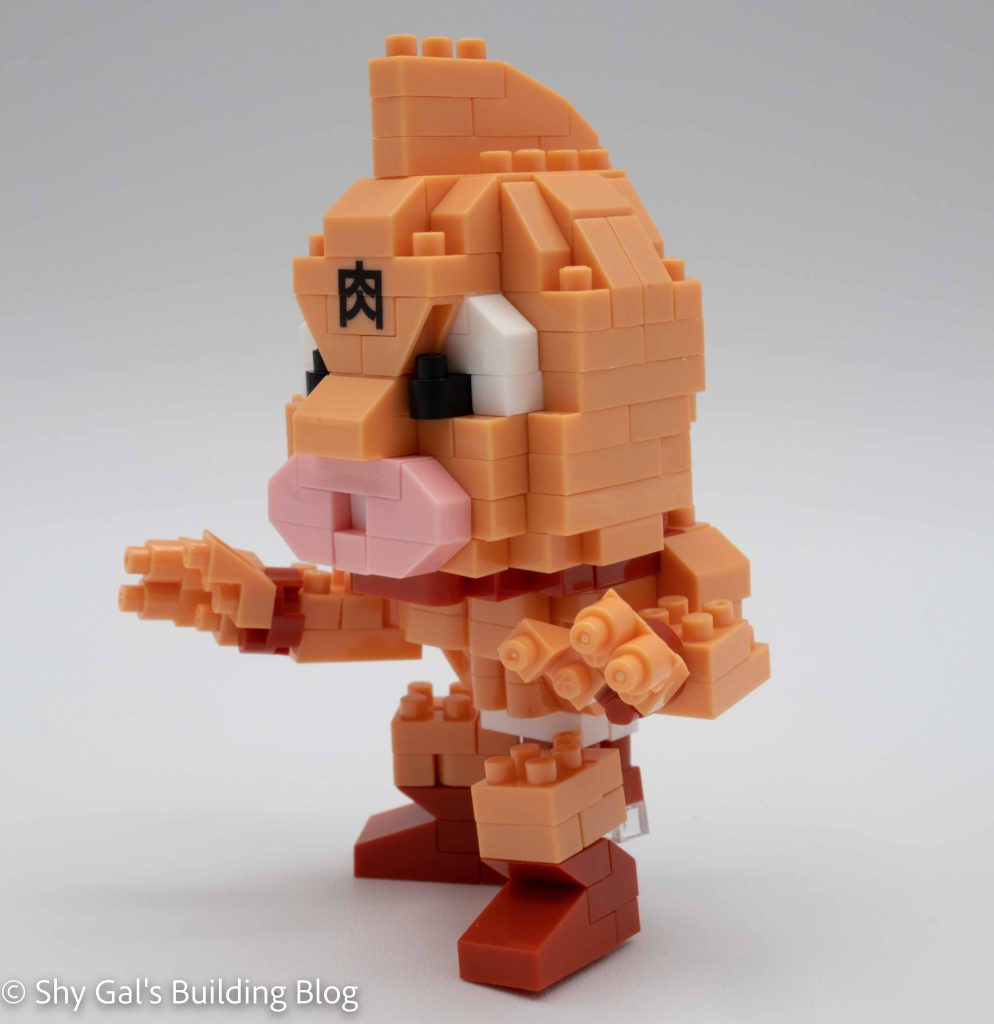
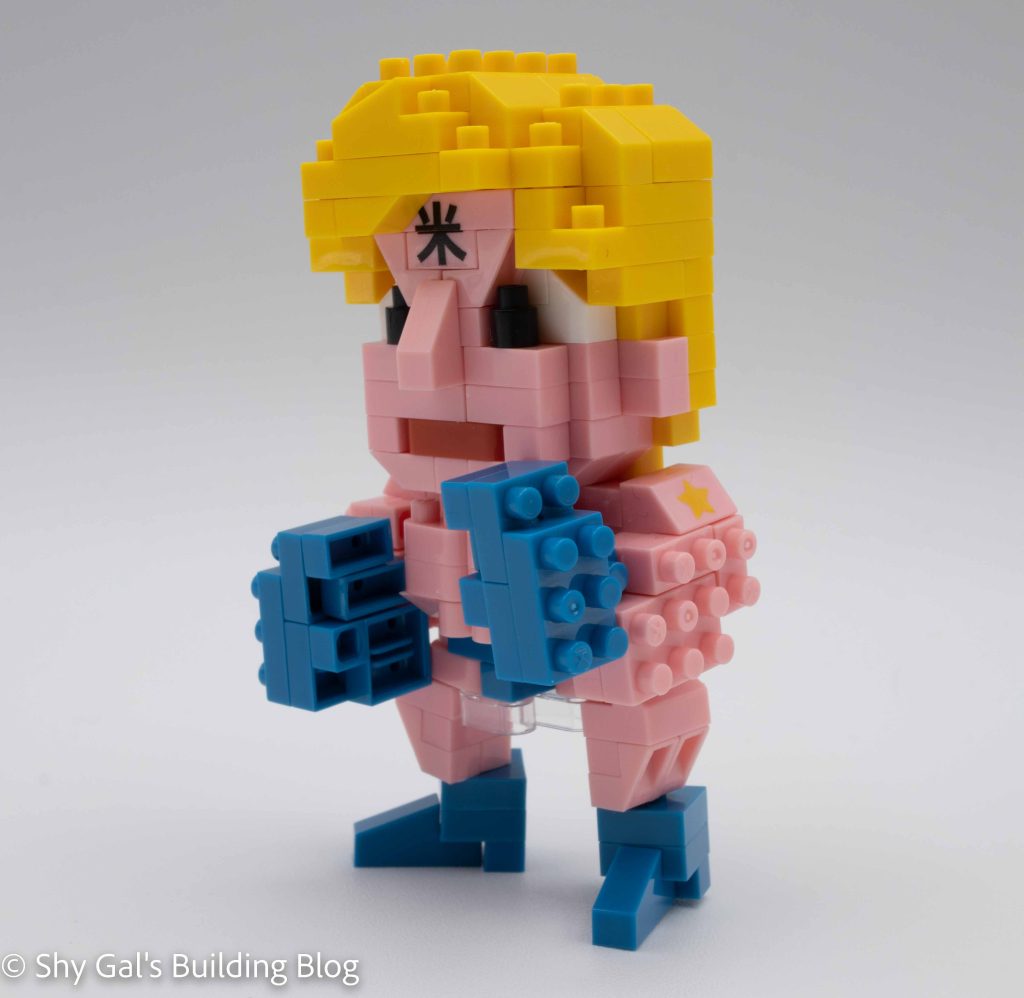
The head begins by creating a staggered base layer. This means you can’t build the head on the nanoblock pad. These staggered layers create the mouth, the center of the head, and the base of his hair. However, all the steps for building the head are fairly straightforward.
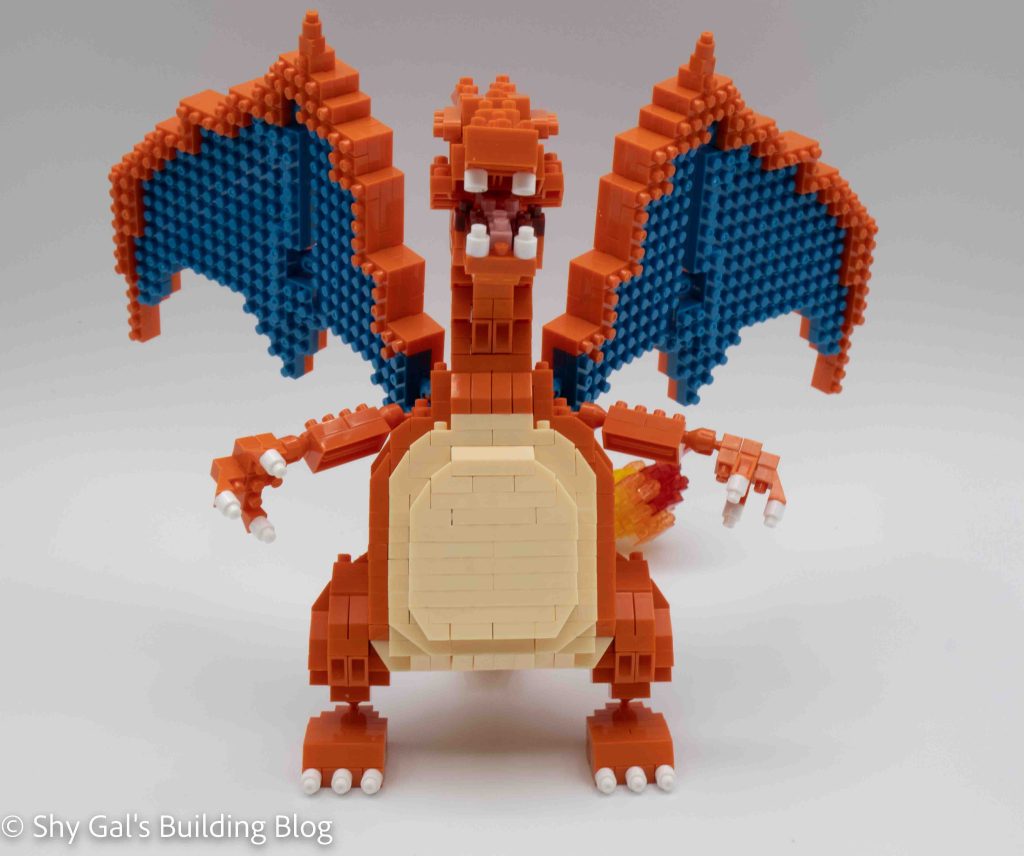
The head then goes up in layers adding the nose, eyes, and more hair. The Chinese character custom brick is also added to the head. (I really like that the brick is custom and doesn’t require a sticker.
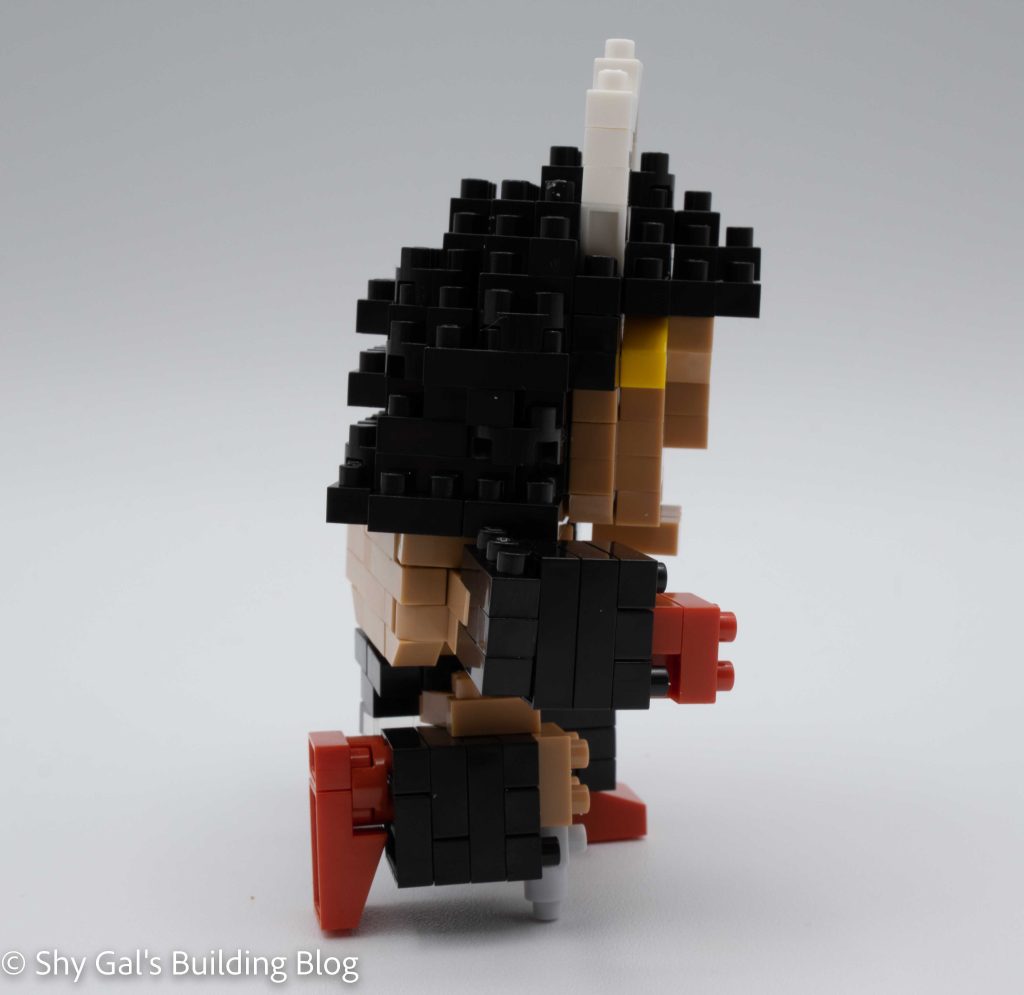
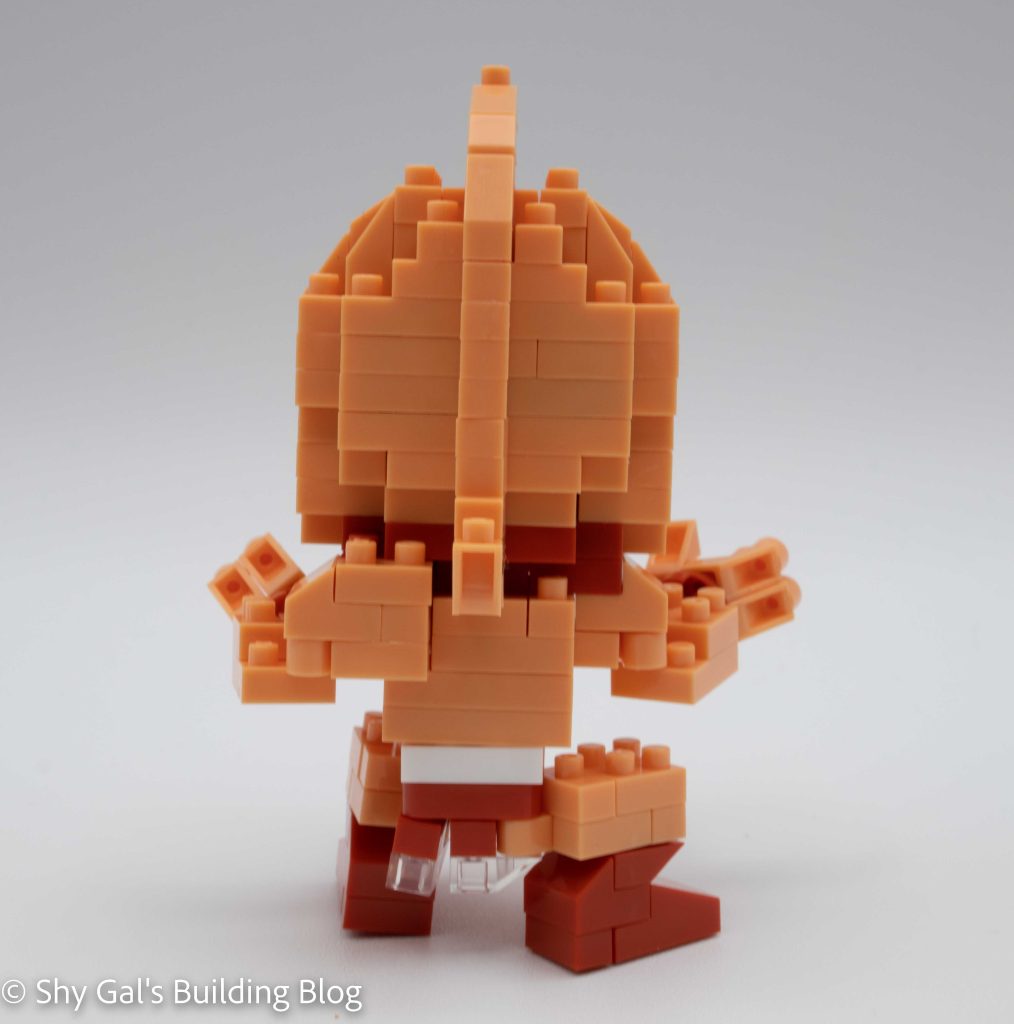
After completing the face, the final step of the head is to complete the hair.
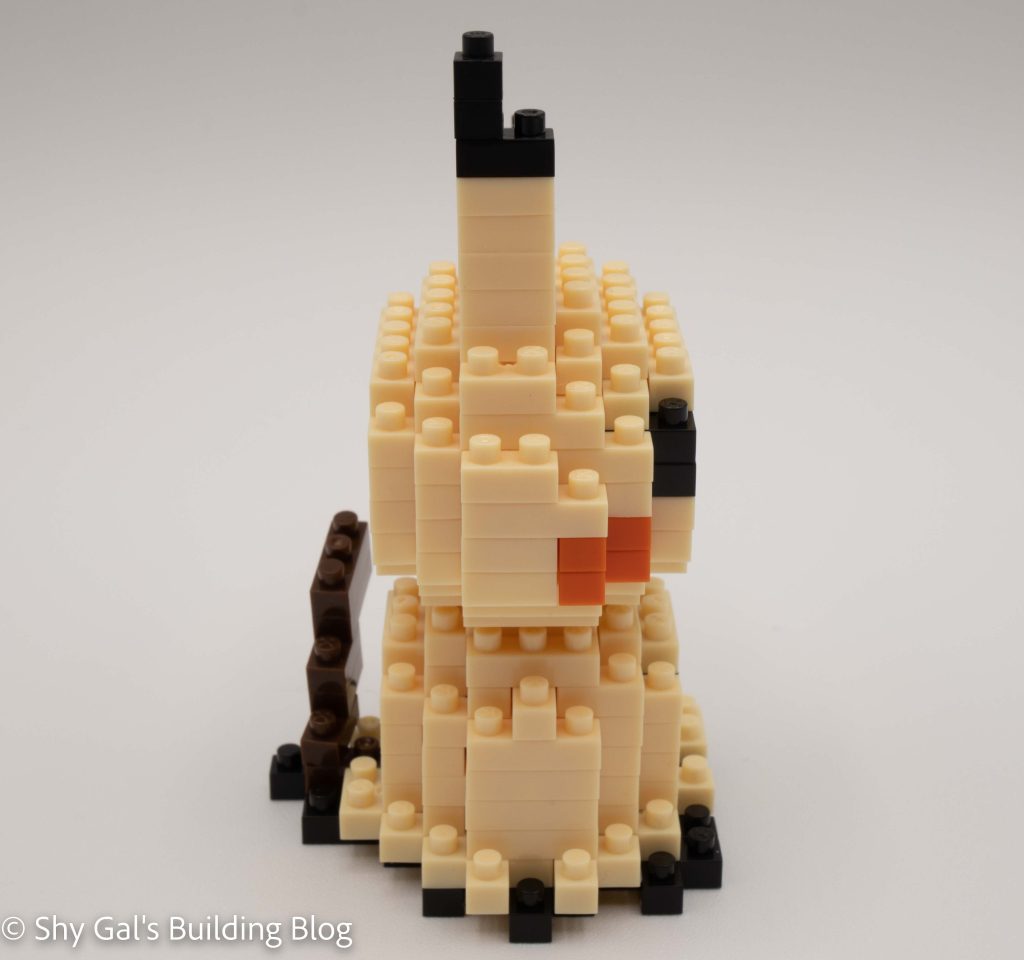
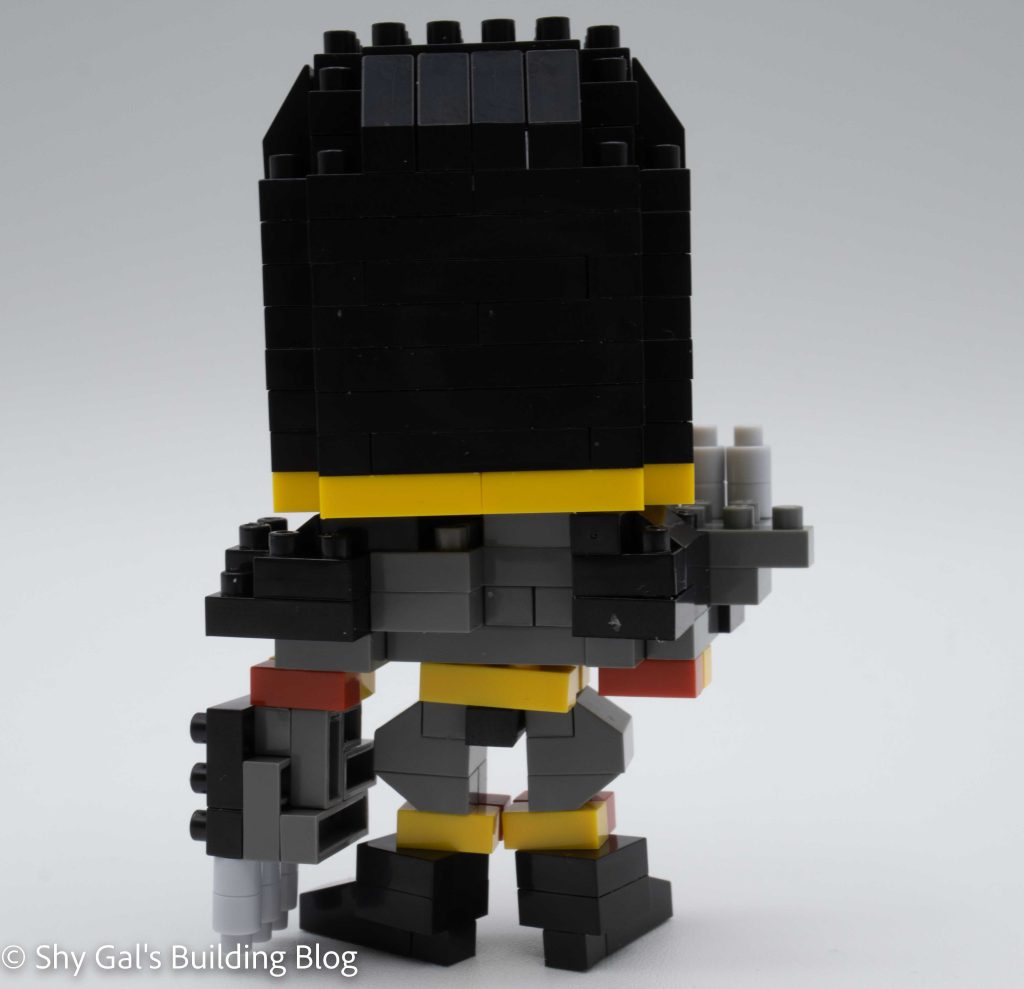
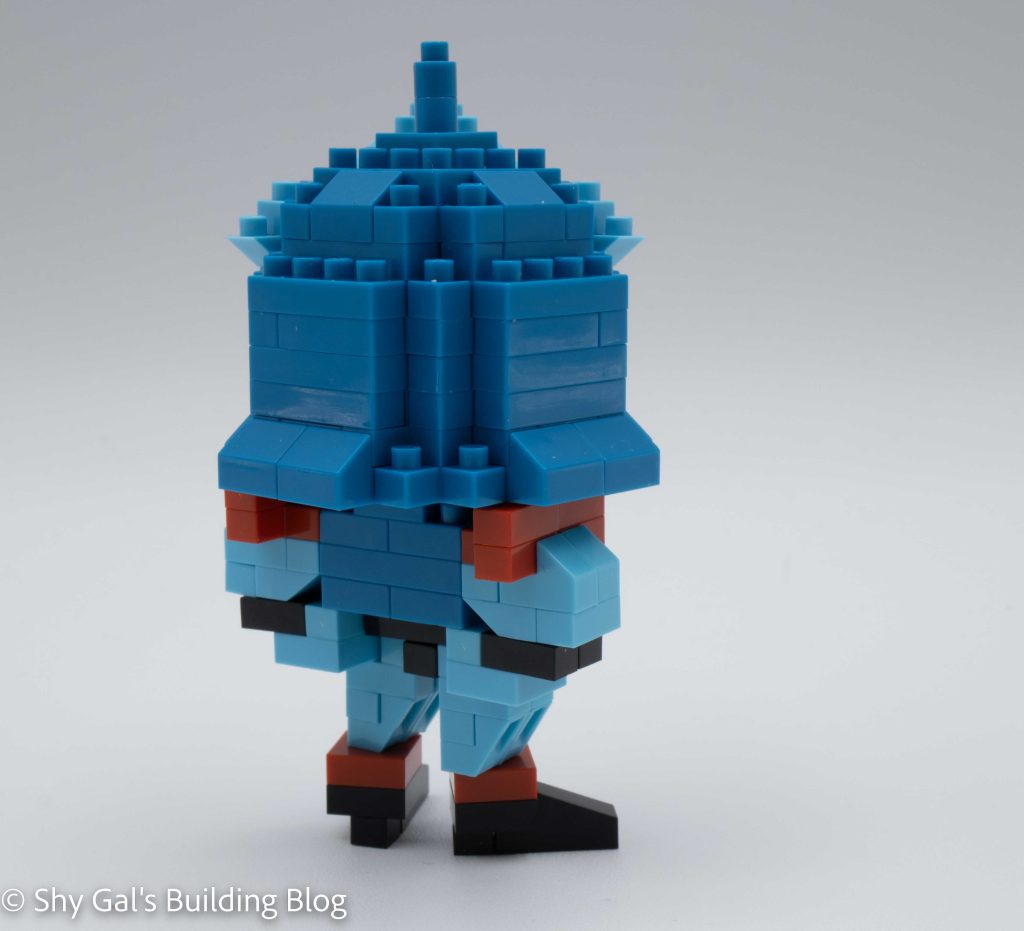
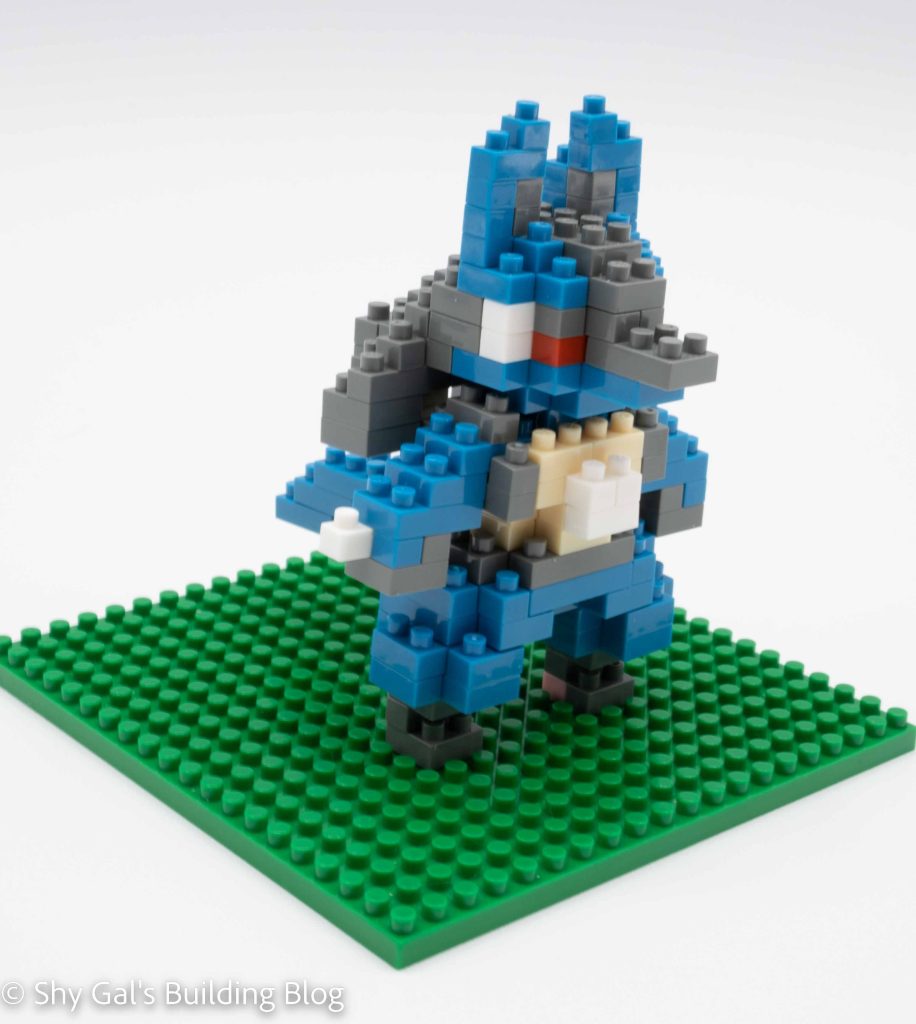
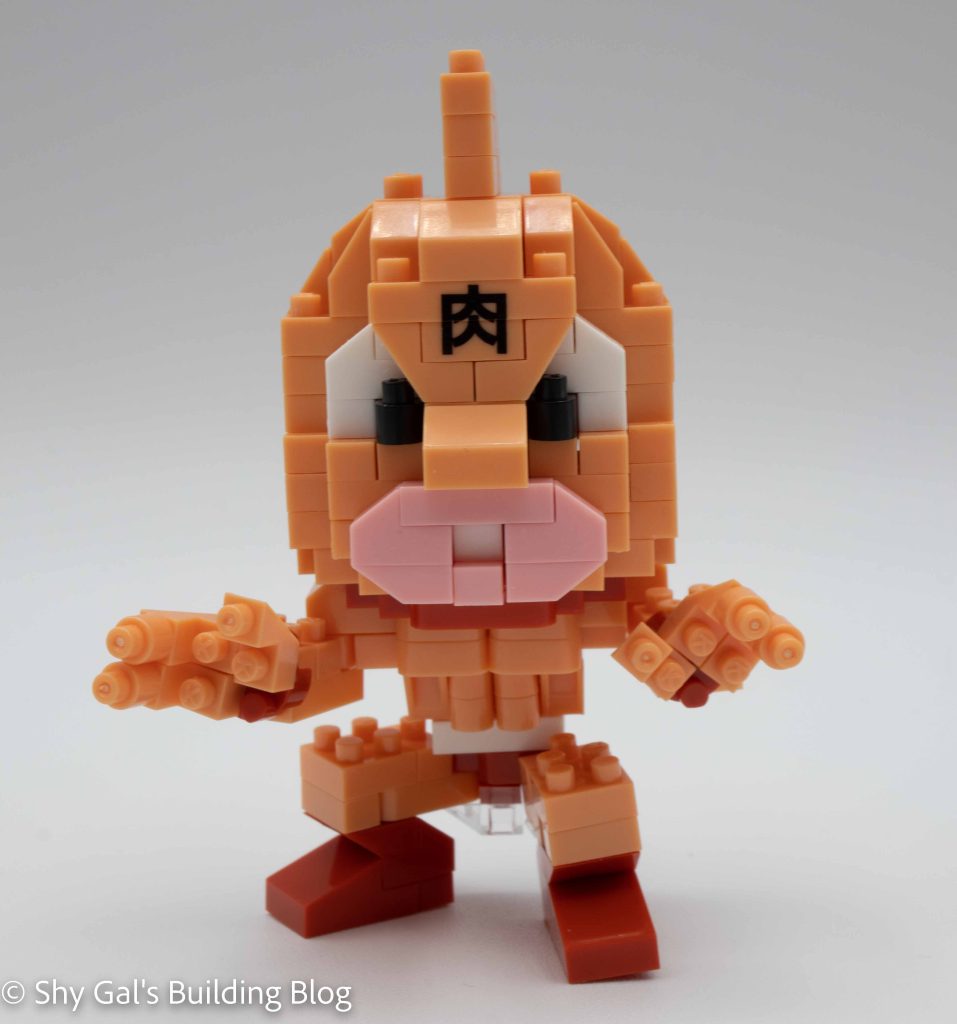
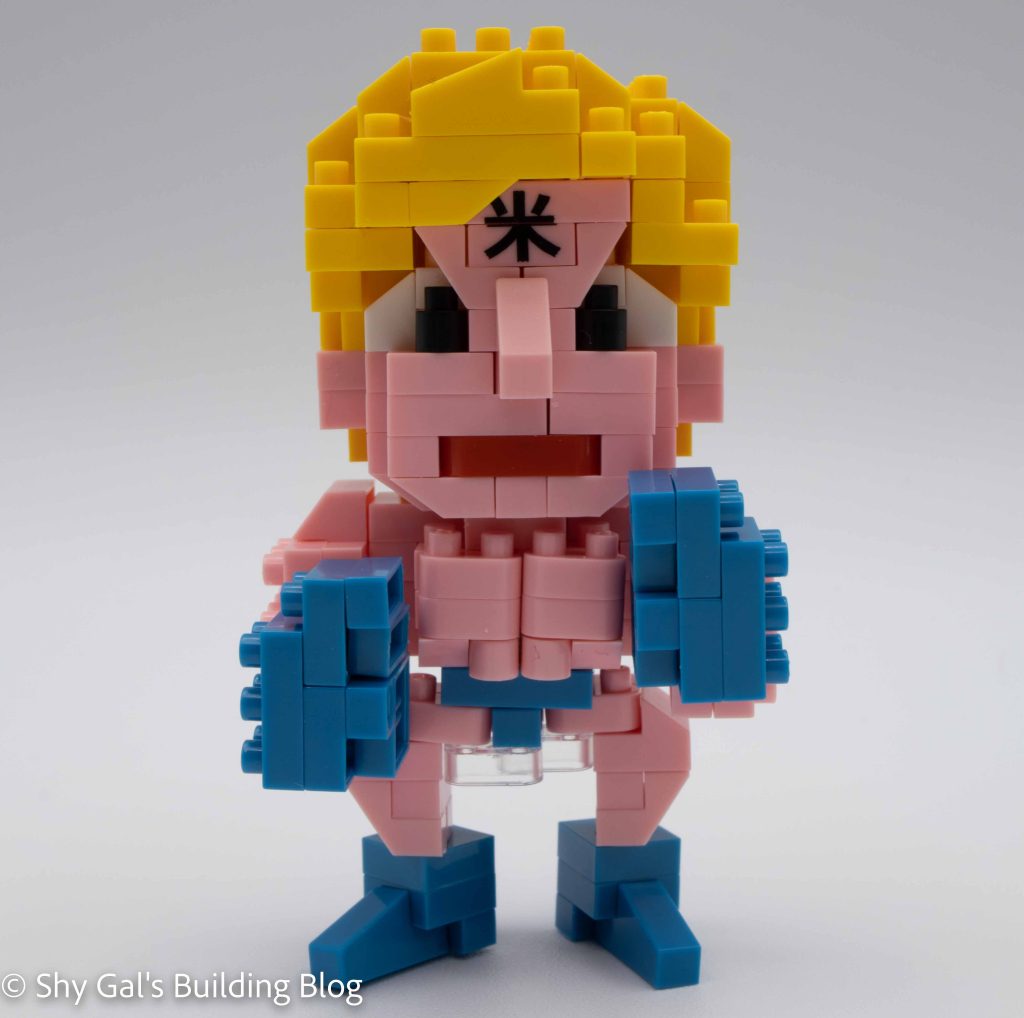
After completing the head, it is time to body. The body is a straightforward 4 layers of bricks.
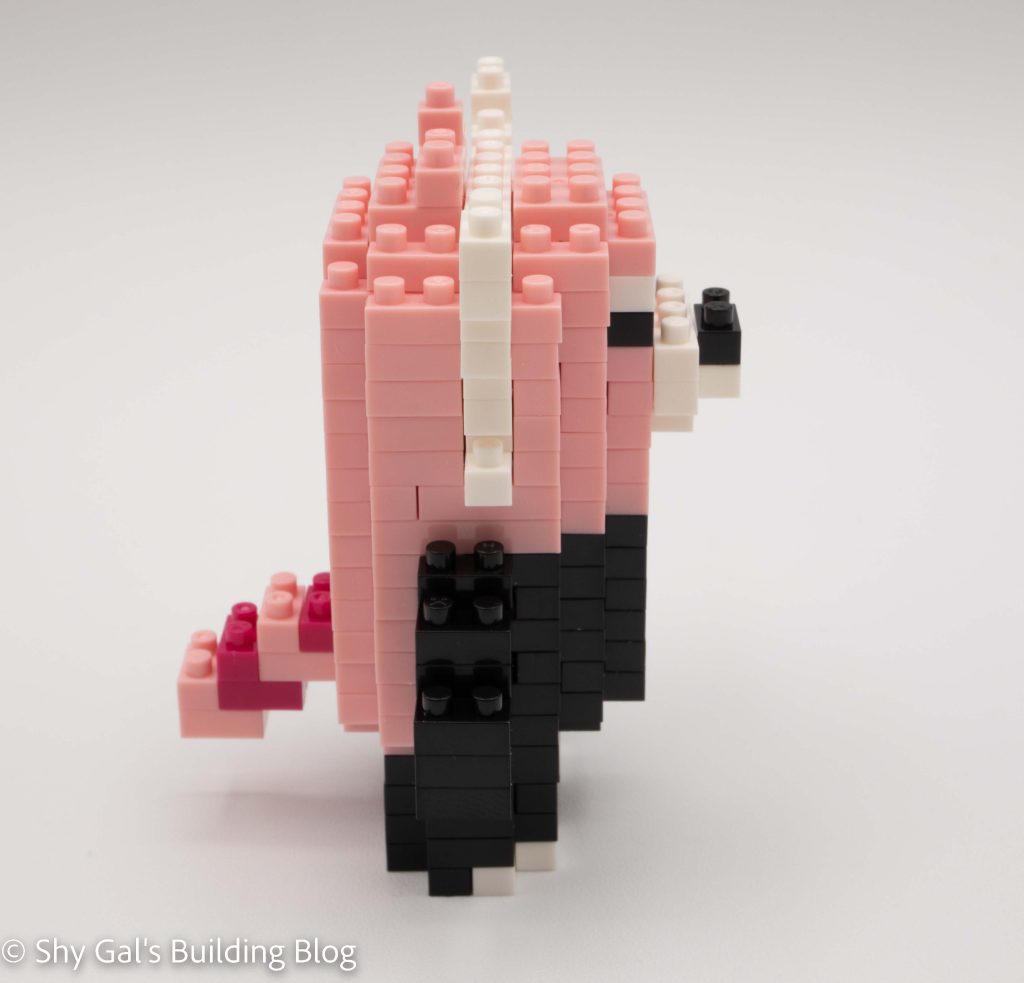
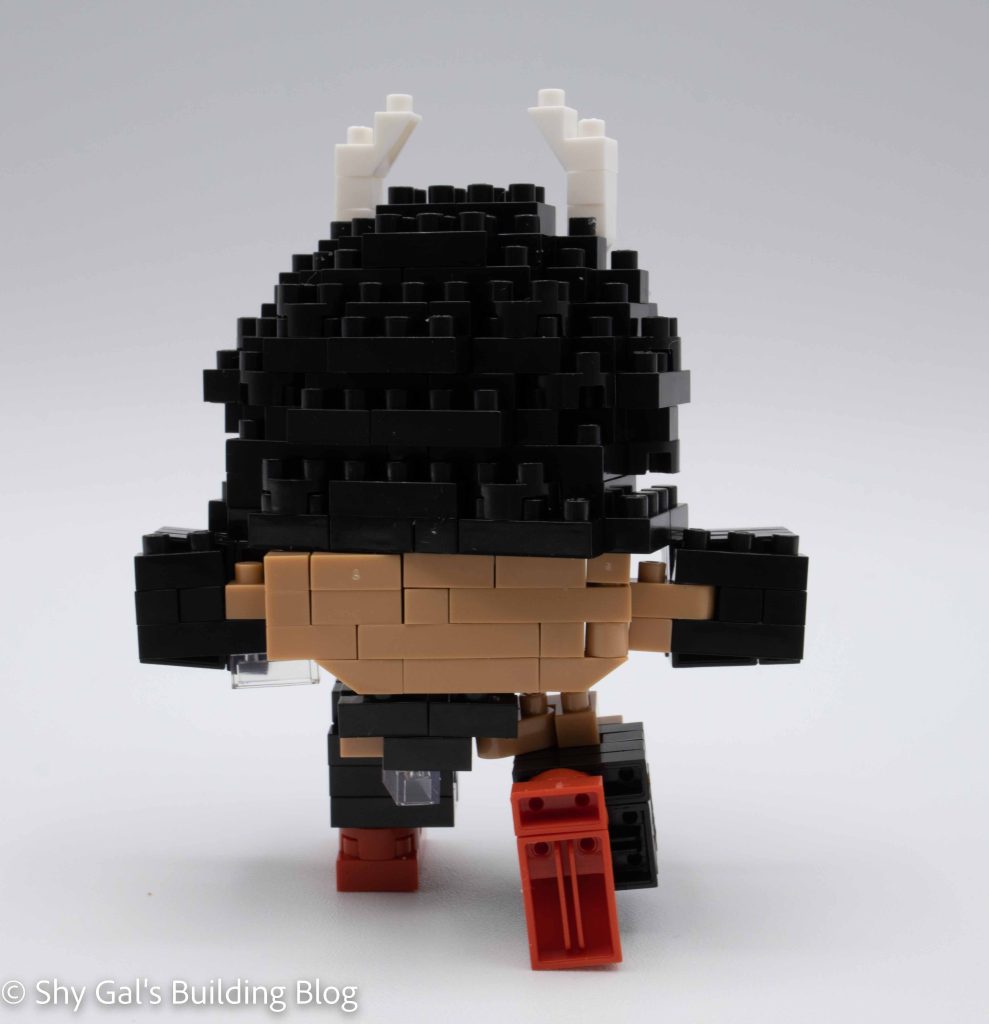
The next step is to create the hips, legs, and feet. The hips are fairly straightforward. When I attached the thighs to the hip, I had difficulty getting things lined up when I tried to attach the arms. The lower legs and feet are also straightforward.
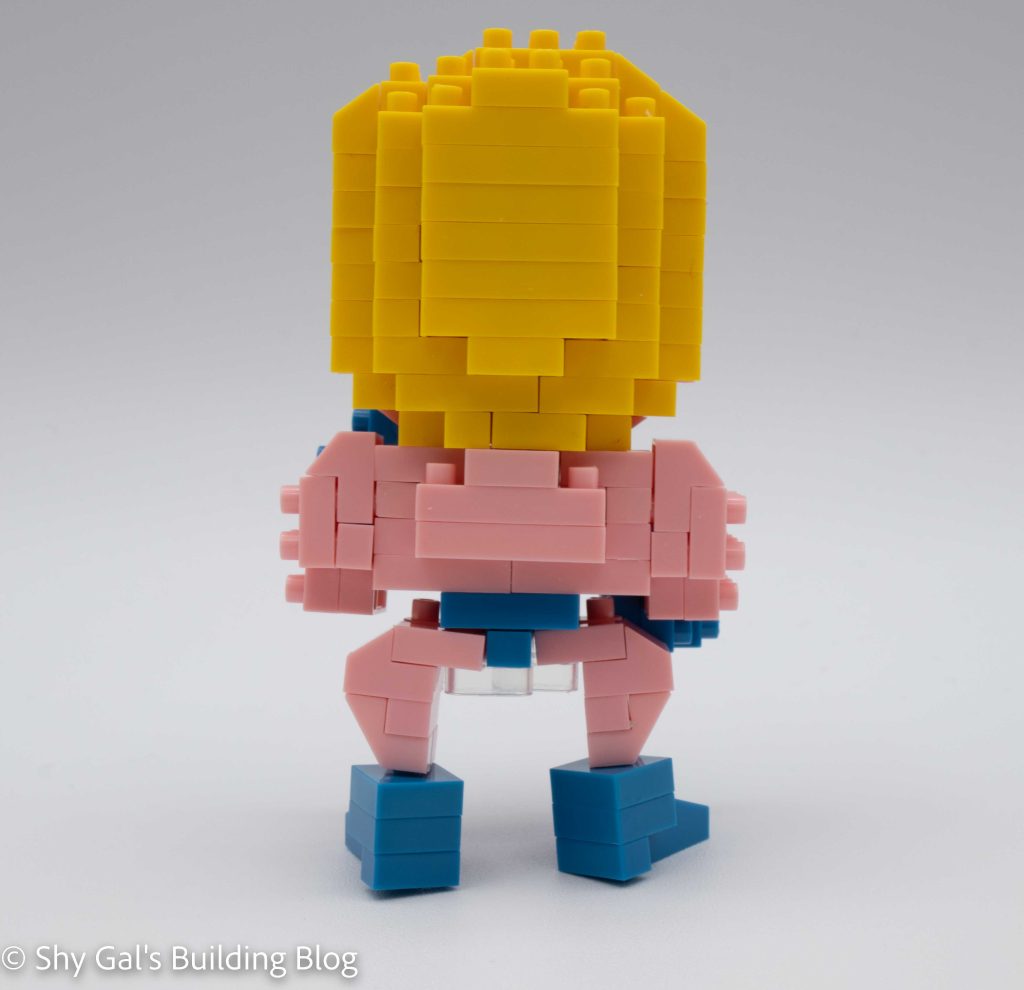
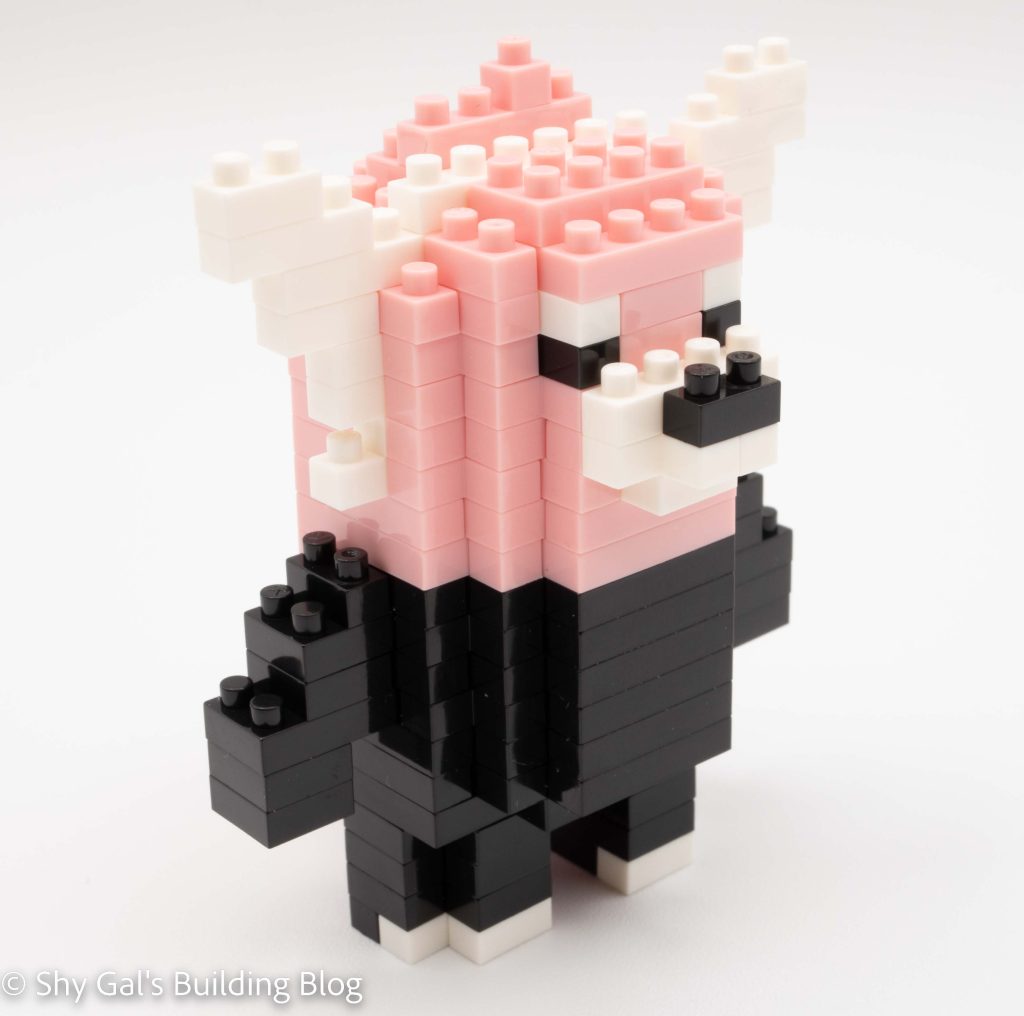
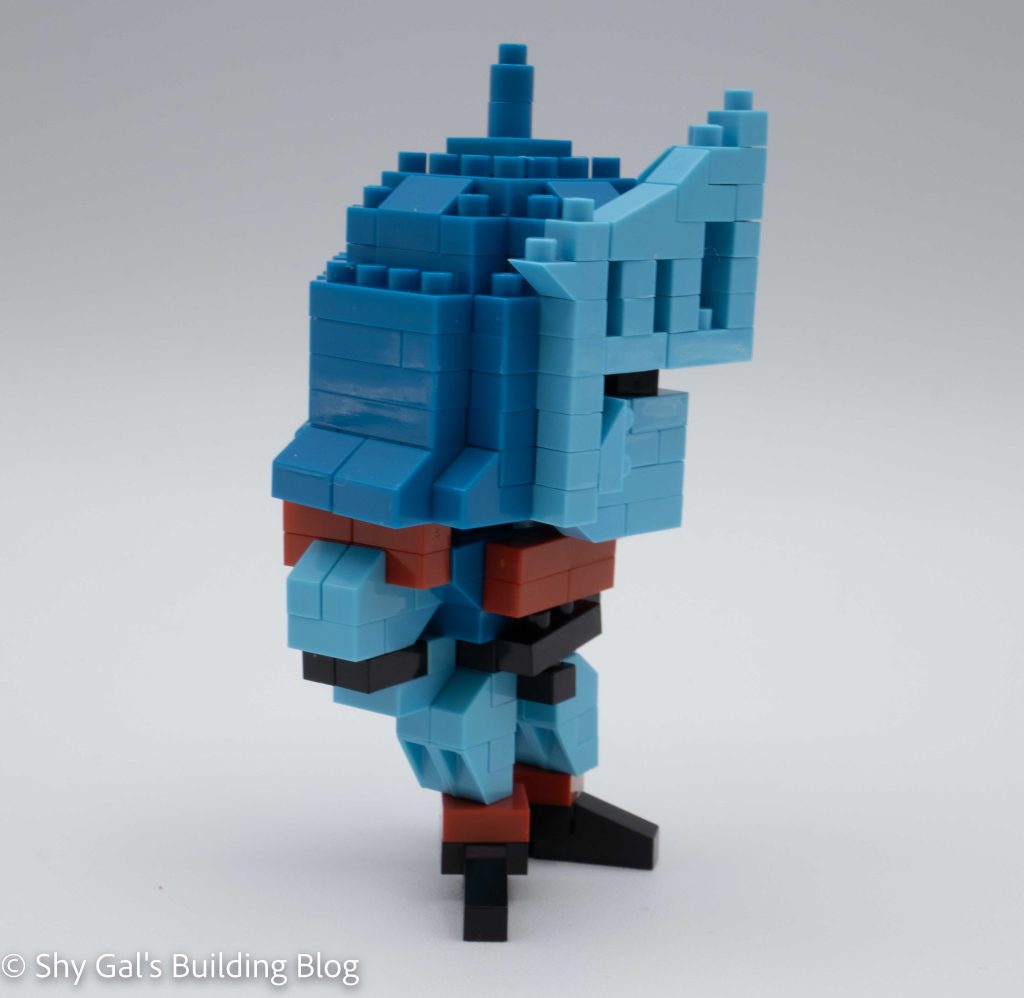
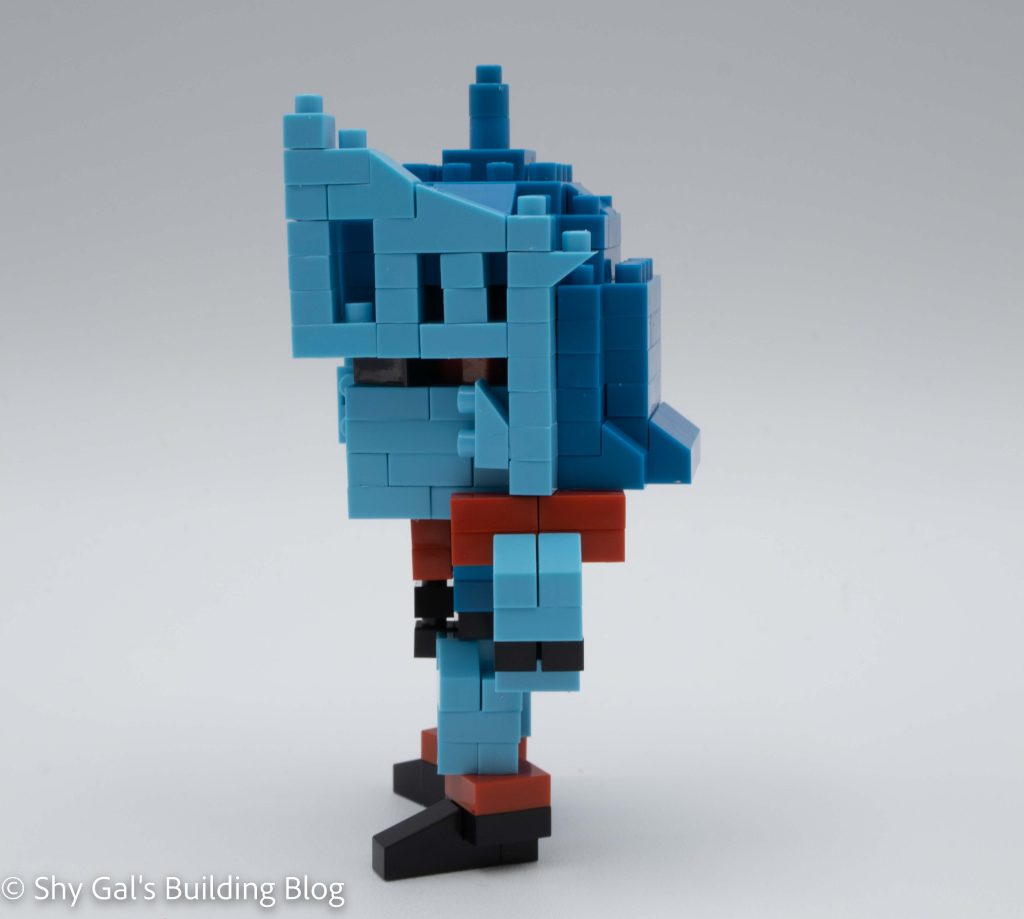
Then the head is attached to the body. I had a hard time getting the head lined up properly and attached. This means the head isn’t at the angle it is supposed to be.
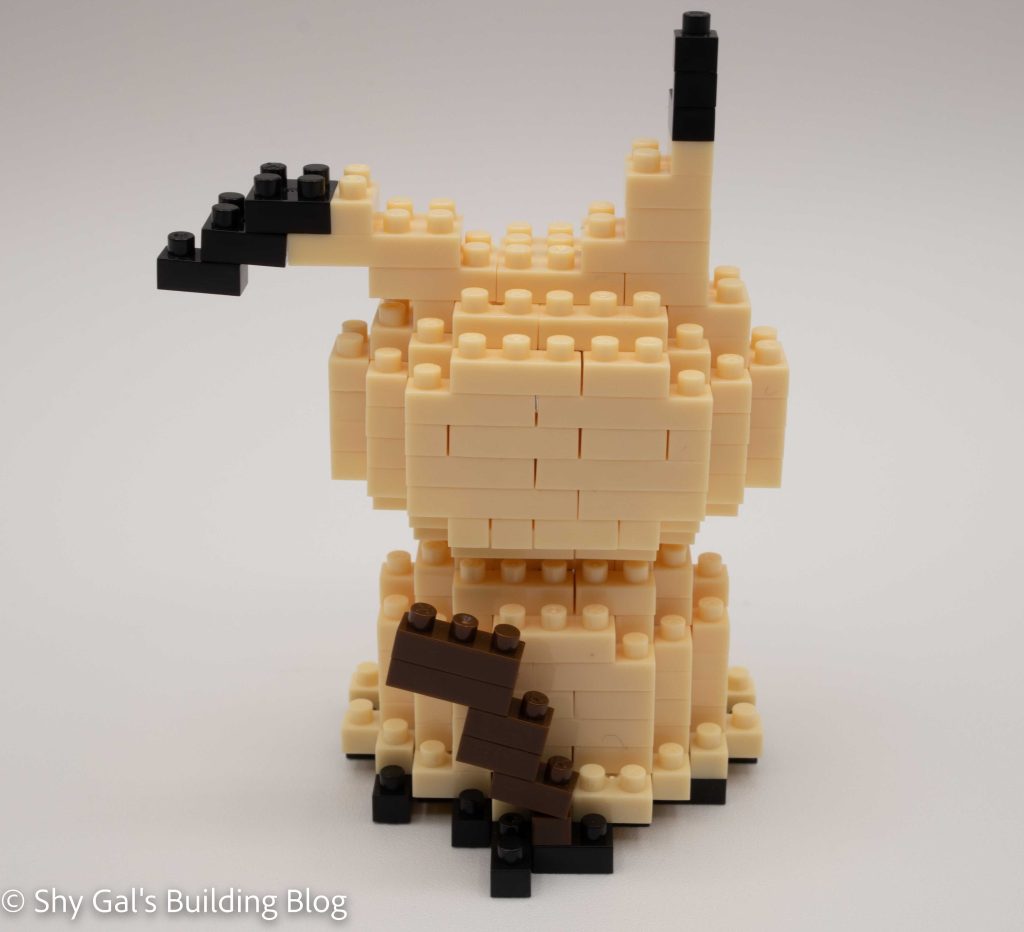
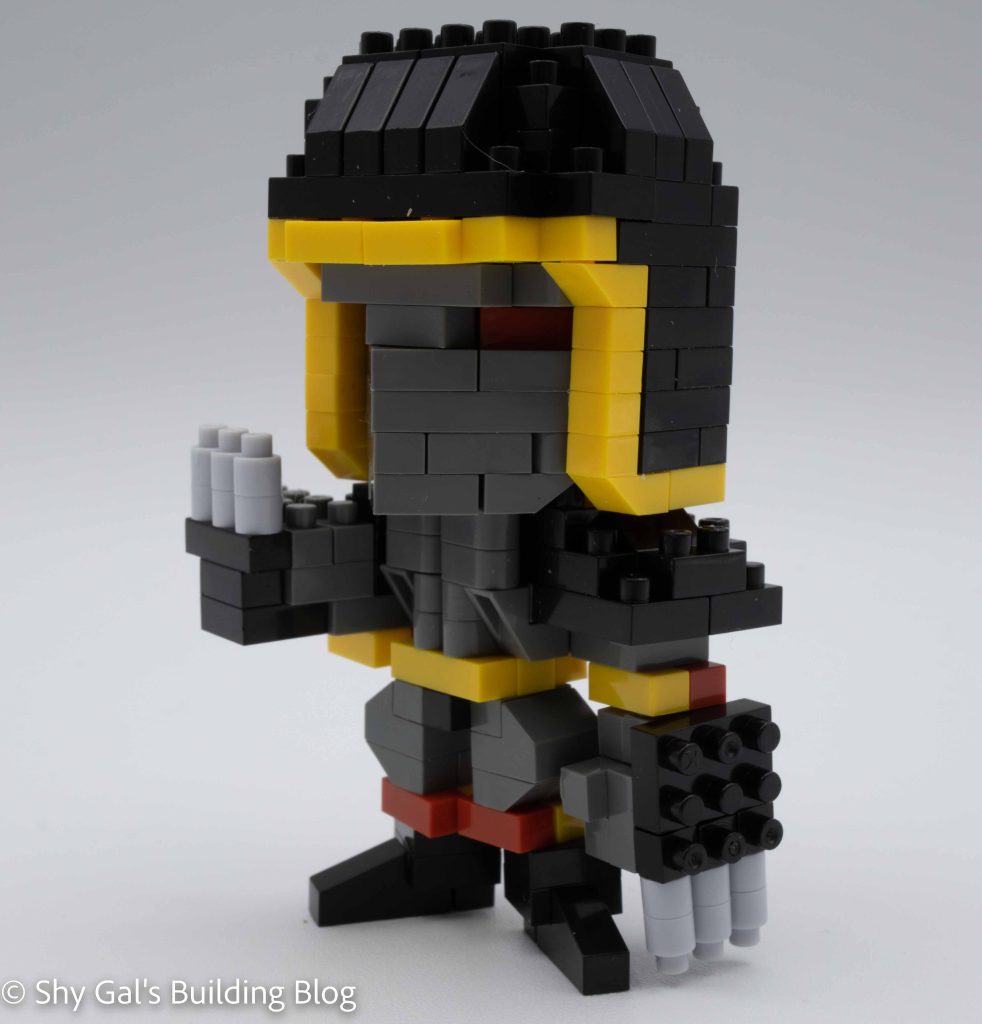
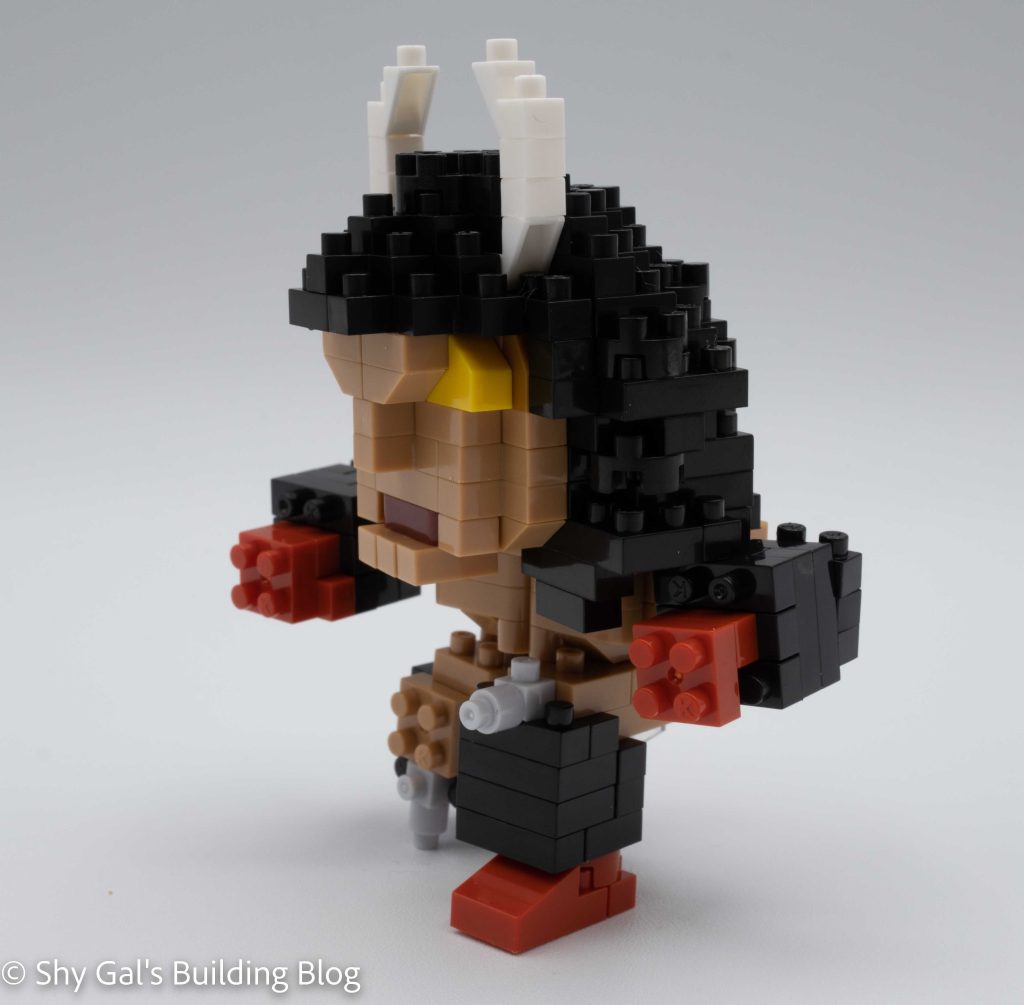
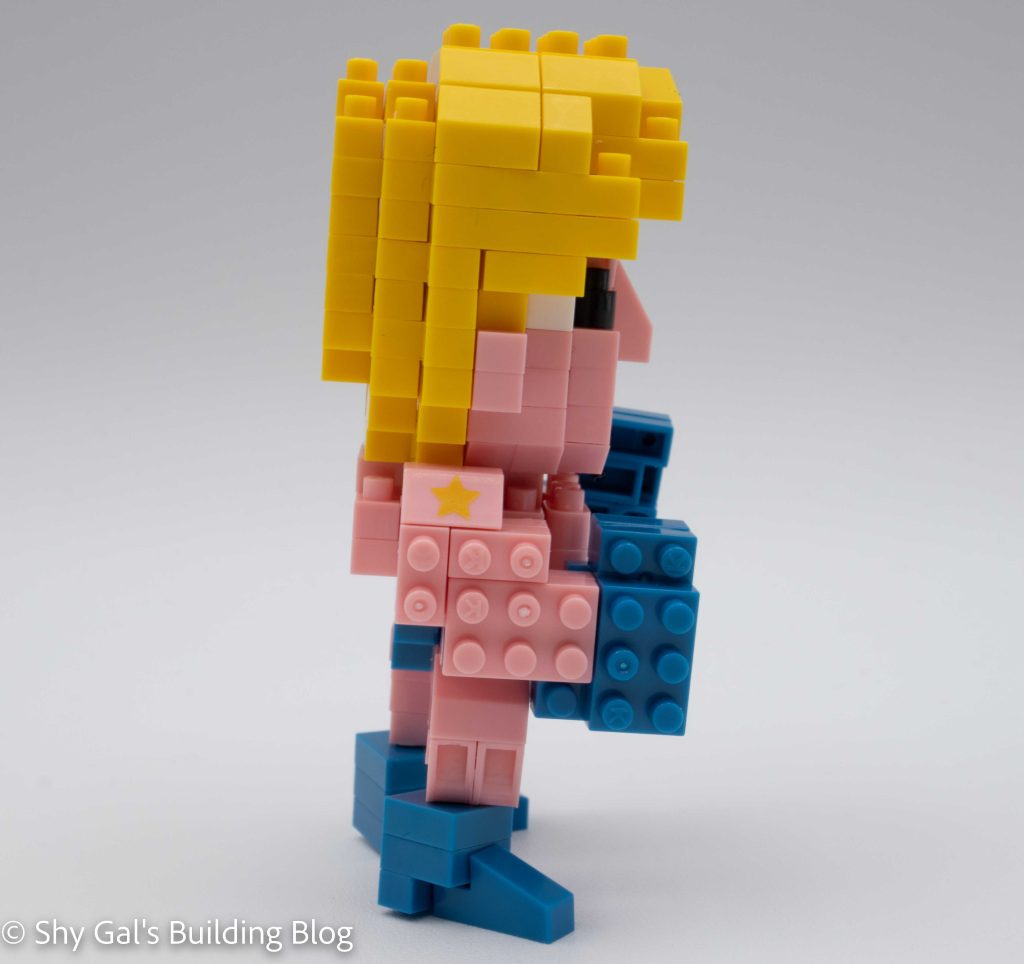
The final step is to build the arms. The arms also have a custom-printed brick, but it is a little hard to see the printing due to how light the printing is. The arms are fairly straightforward and easy to complete. Once the arms are built, they are added to the body. When I attached one of the arms, I needed to move one of the legs for all the body parts to be attached.
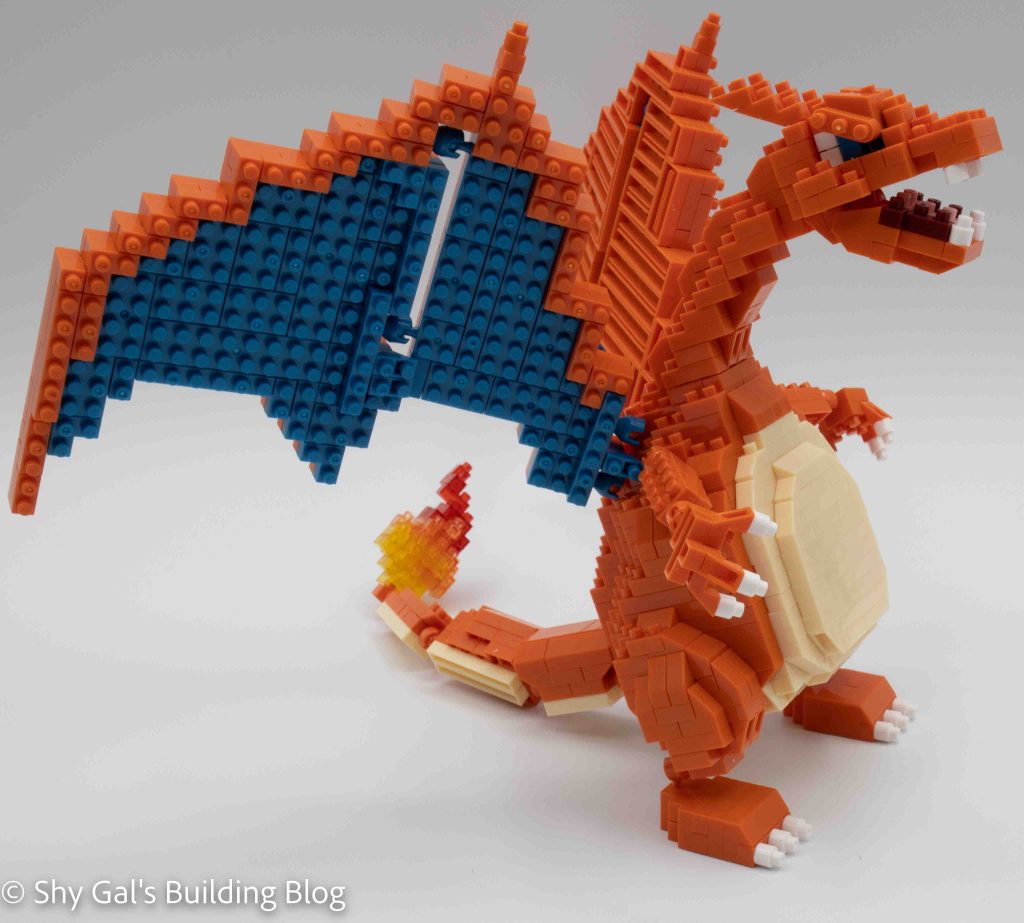
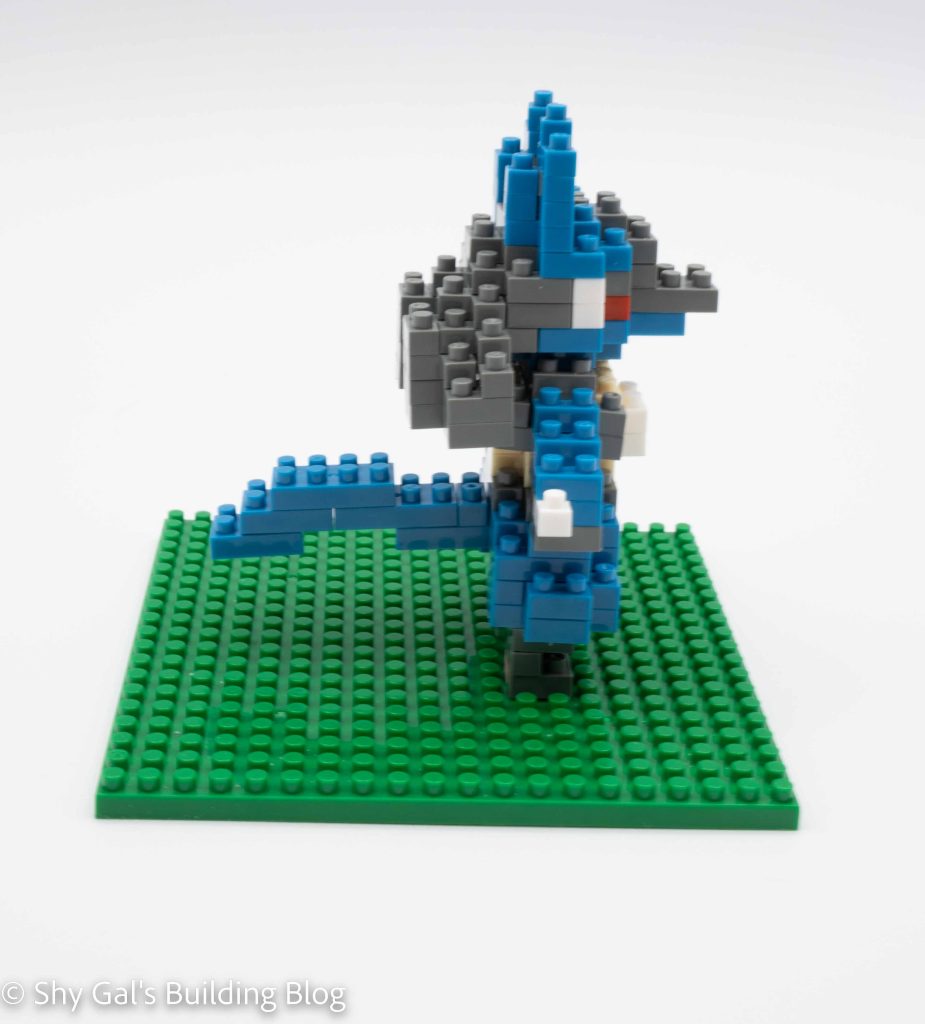
Overall the build is pretty straightforward, but many angles in my finished model don’t match the photos.
Things I liked:
- I really like the custom-printed bricks and apricate that stickers were not required
Things I didn’t like:
- When I was building, things just in general didn’t line up to match the picture, which is annoying