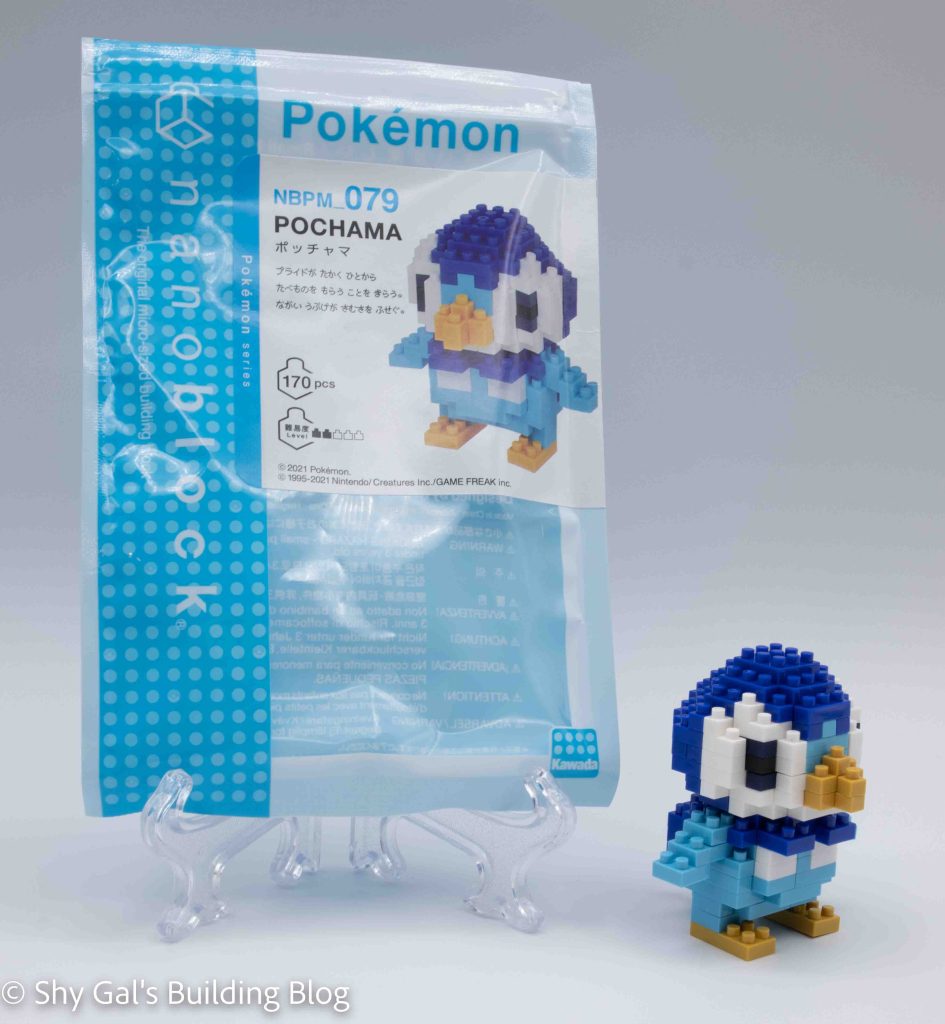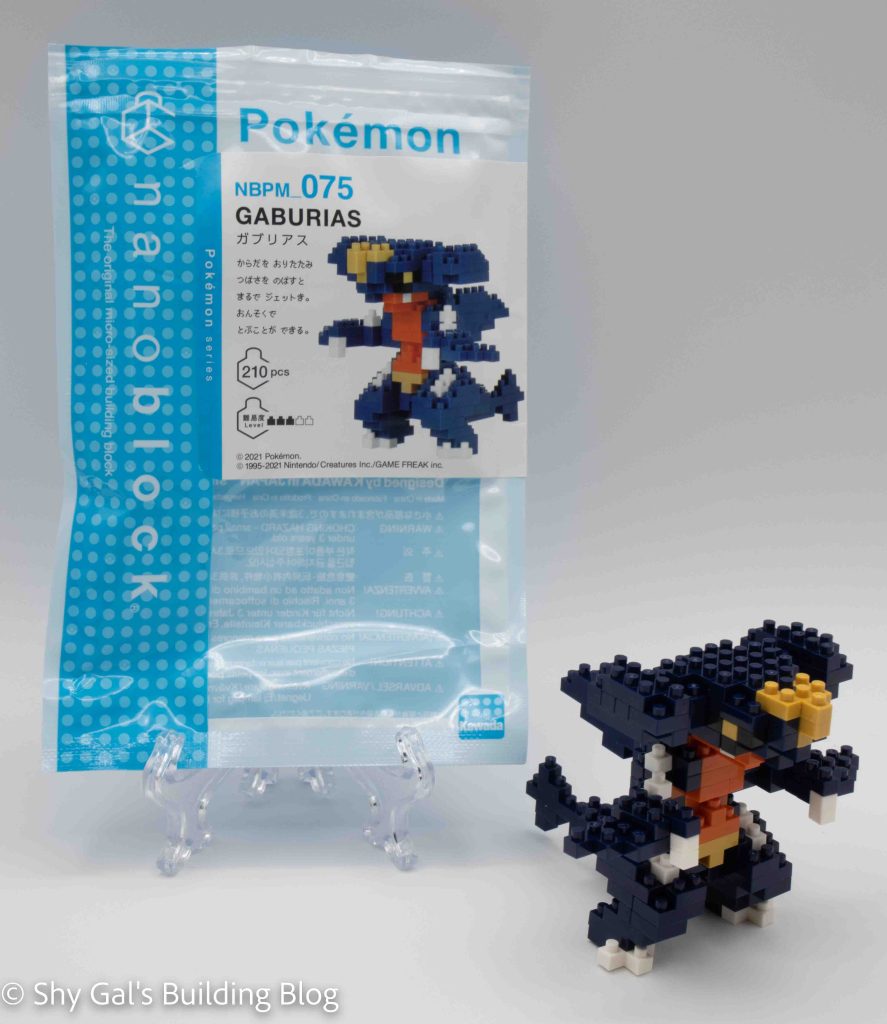
This post is a review of the nanoblock Garchomp build. Garchomp is part of the nanoblock Pokemon collection. Wondering what else is part of the Pokemon Collection? Click Here for a list.
Names:
- English: Garchomp
- Japanese: Gaburias
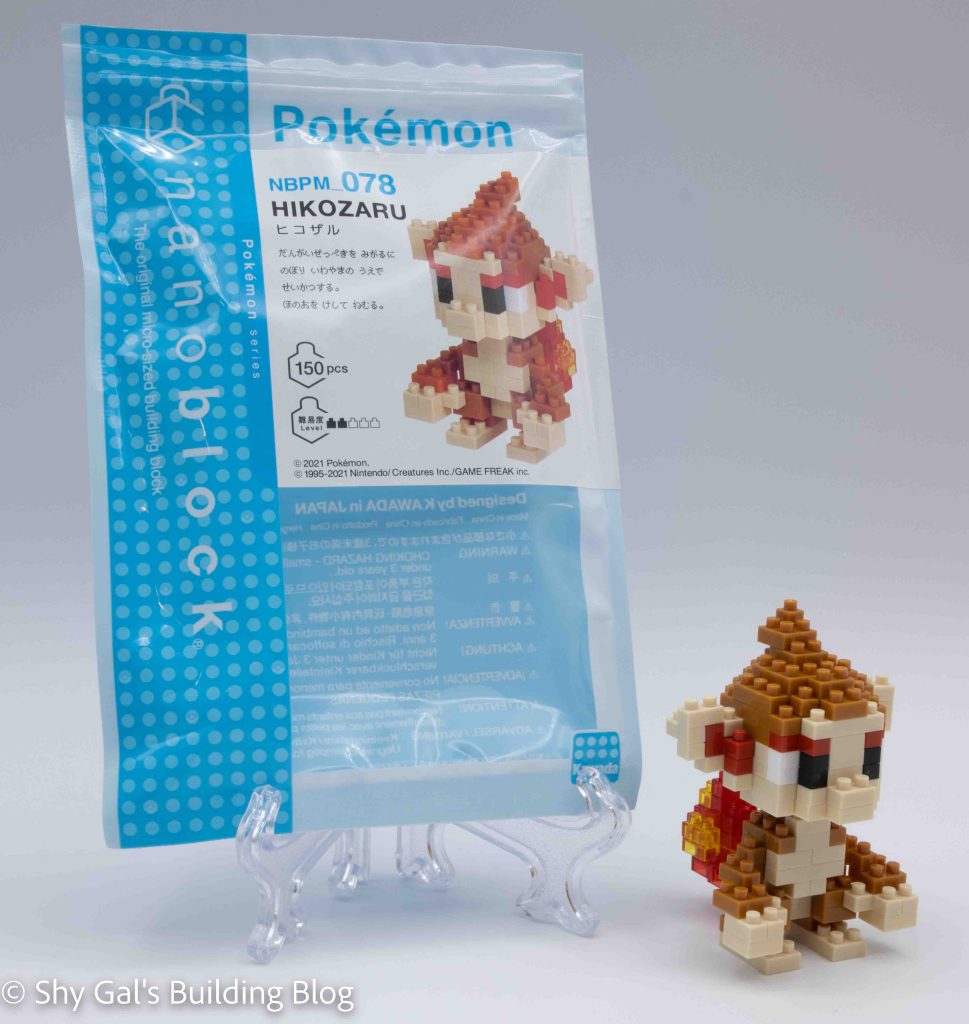
Number: NBPM_075
Number of Pieces: 210
Difficulty Rating: 3/10
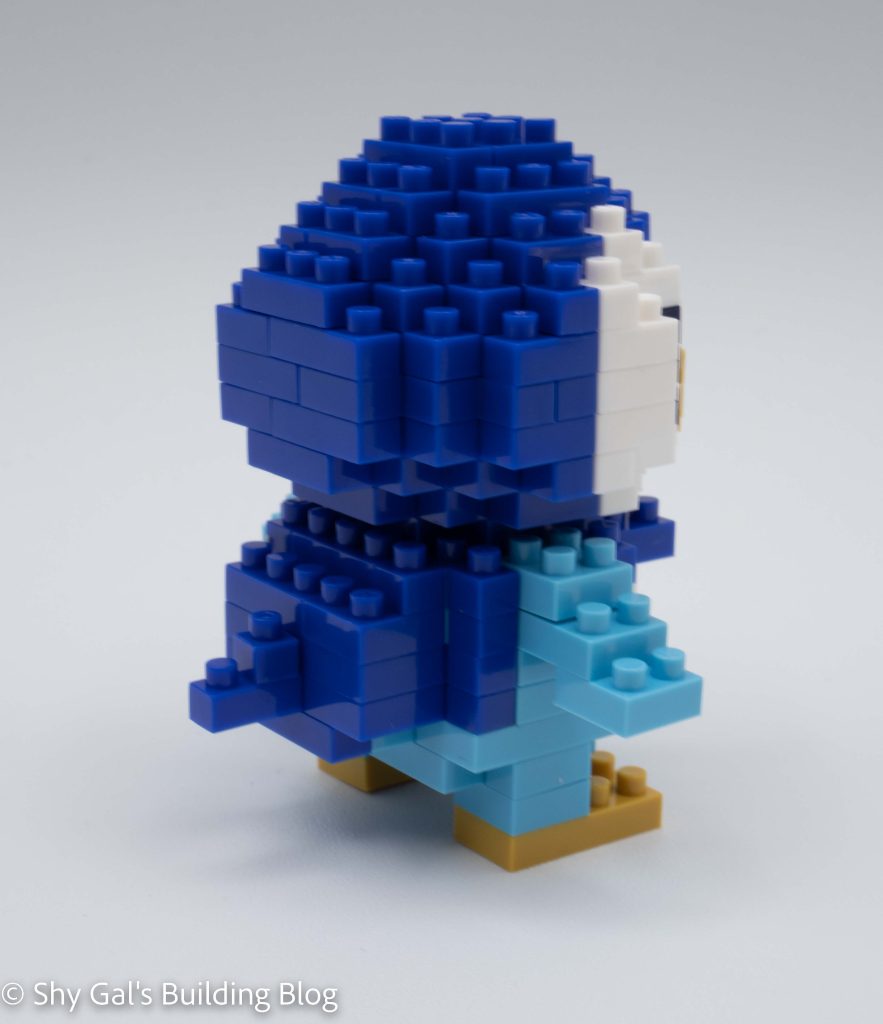
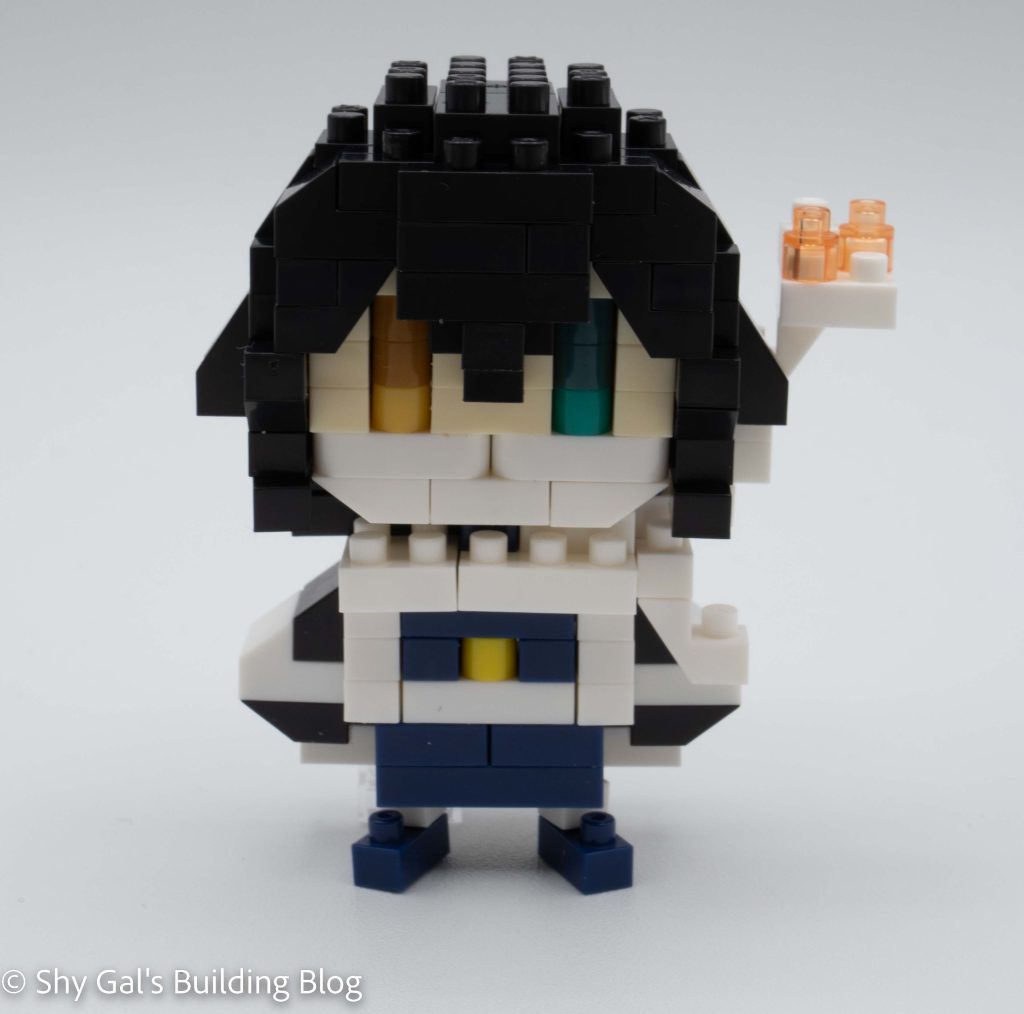
Garchomp is ground/dragon Pokemon that was released in generation 4. It is the final evolution of Gible and looks a bit like a hammerhead shark. It is also the last Pokemon that the generation 4 champion Cynthia.
When I started the nanoblock build, I made a couple of observations. First, it is hard to tell the difference between the black bricks and the navy that makes up most of the build. I was also worried that I would need a base plate because I was concerned the figure would be tippy.
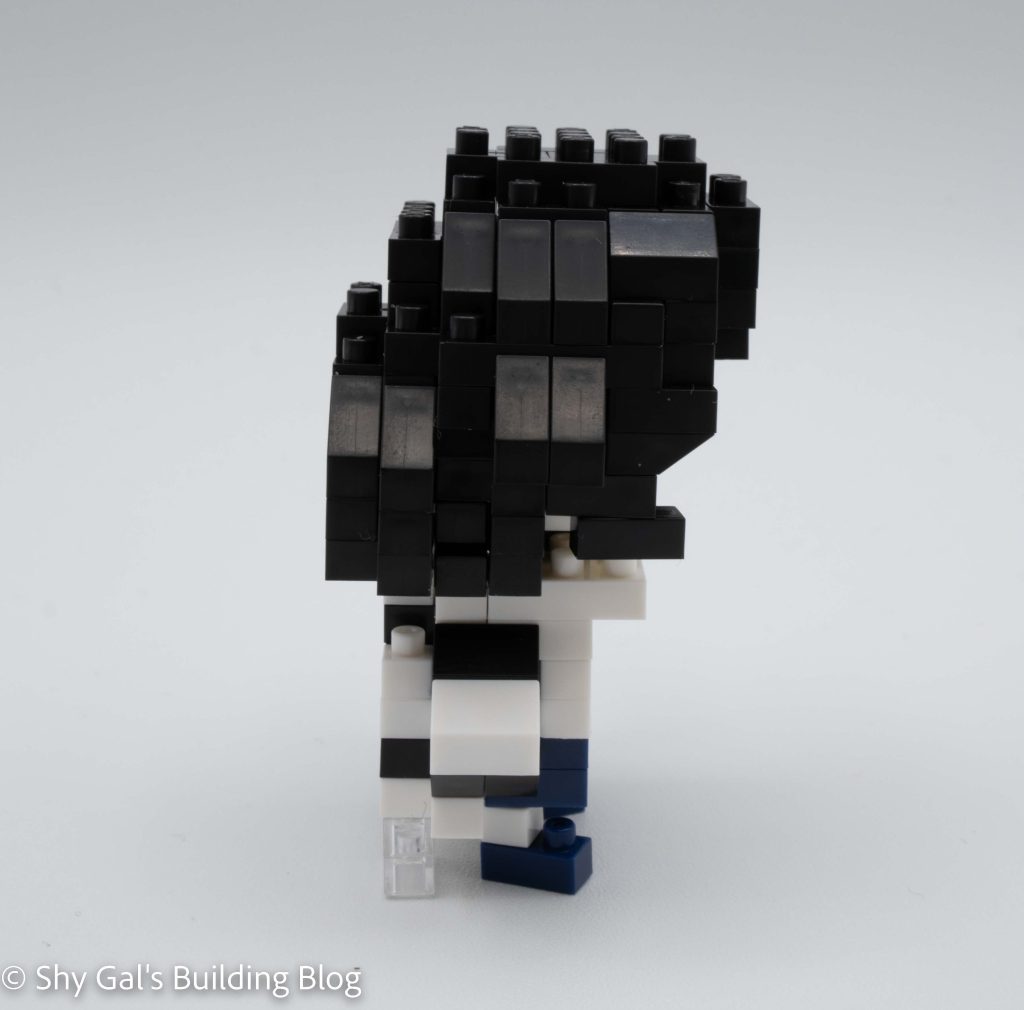
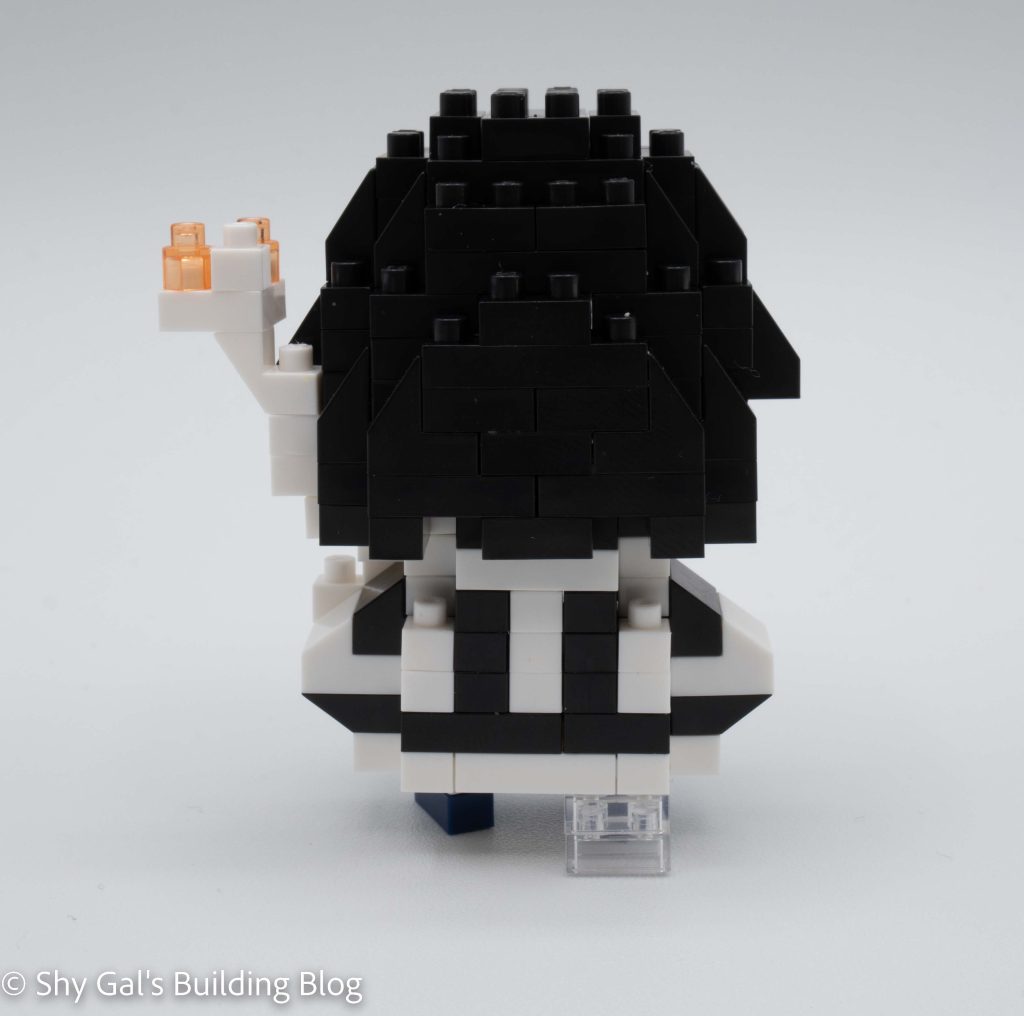
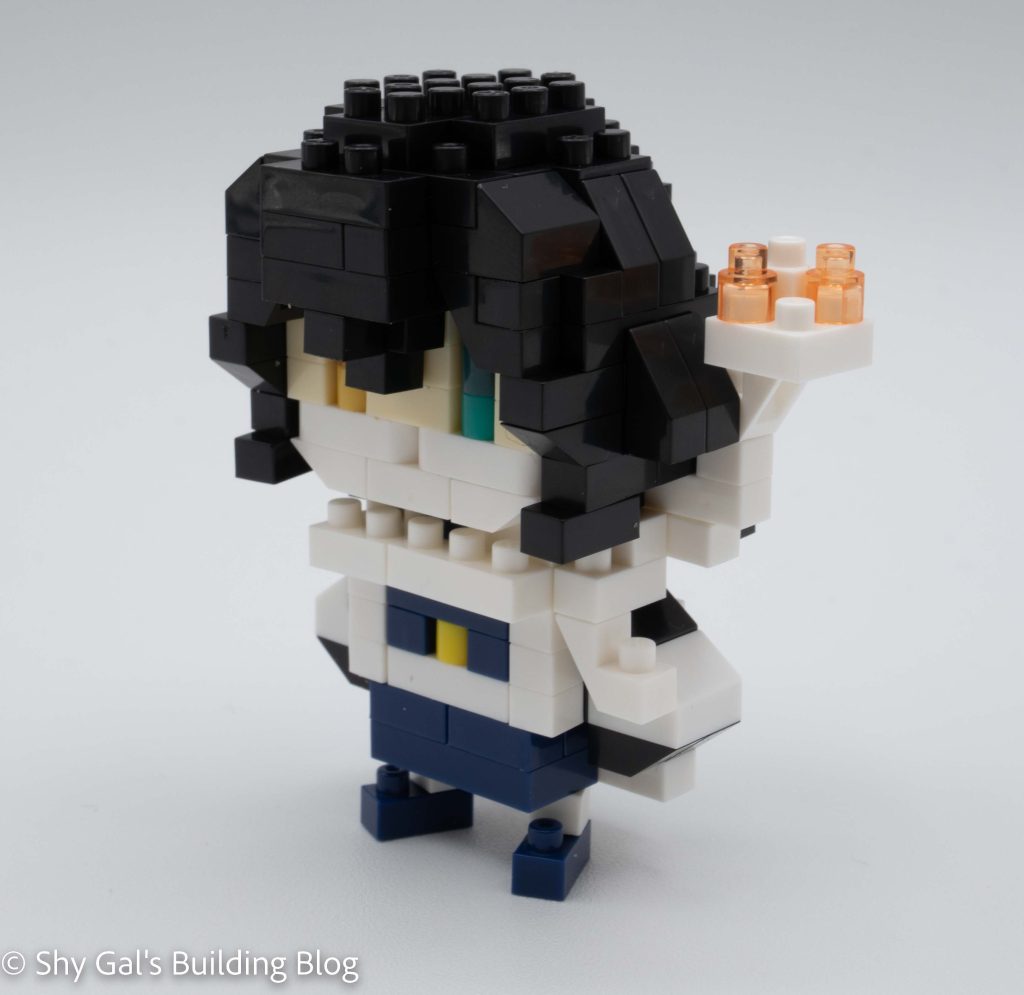
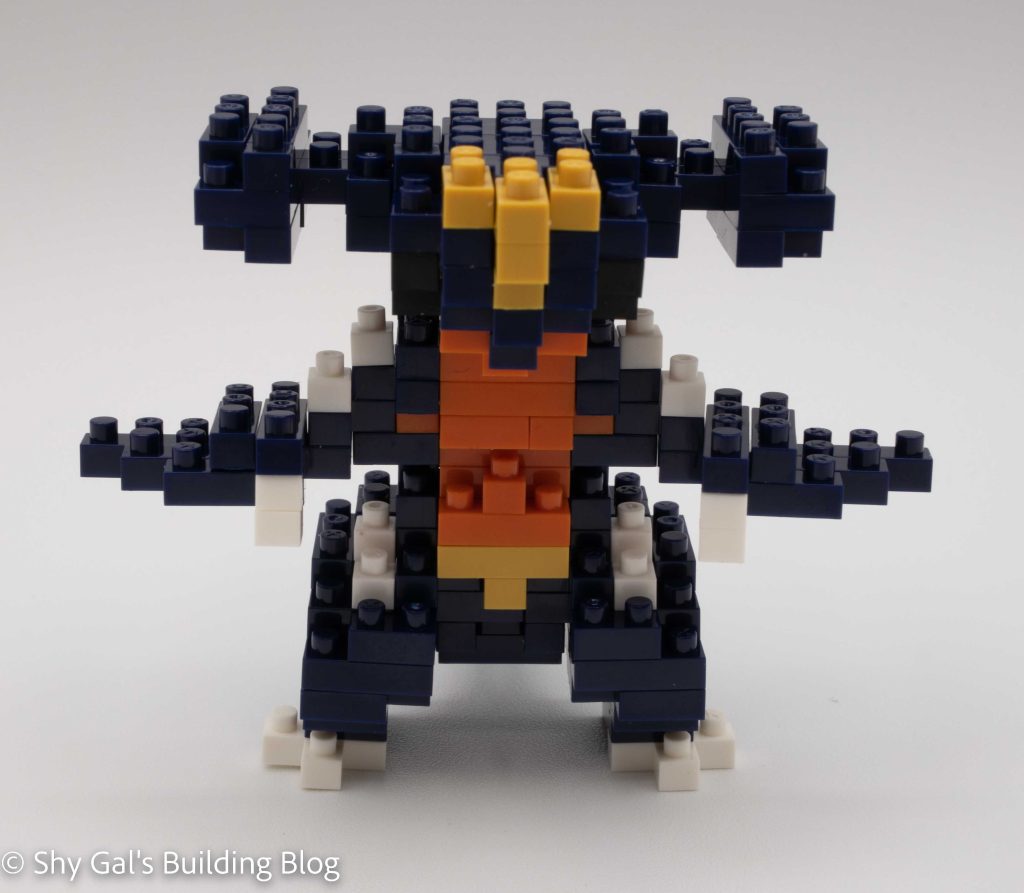
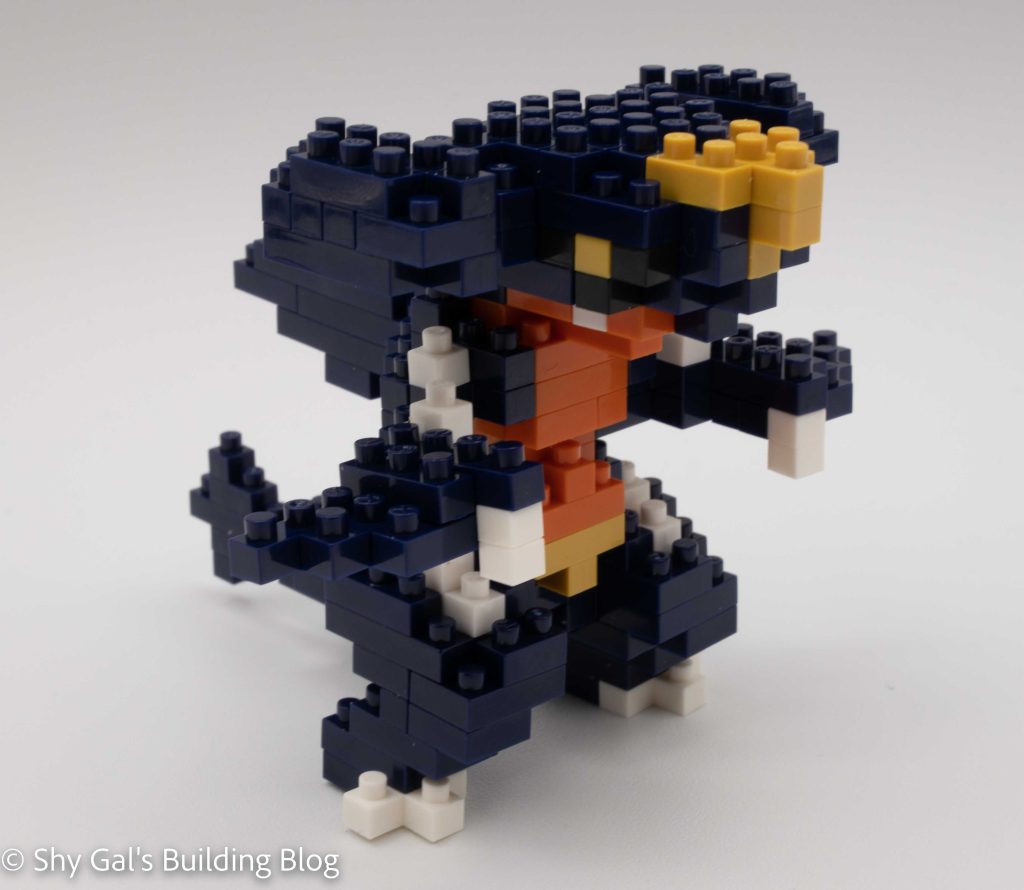
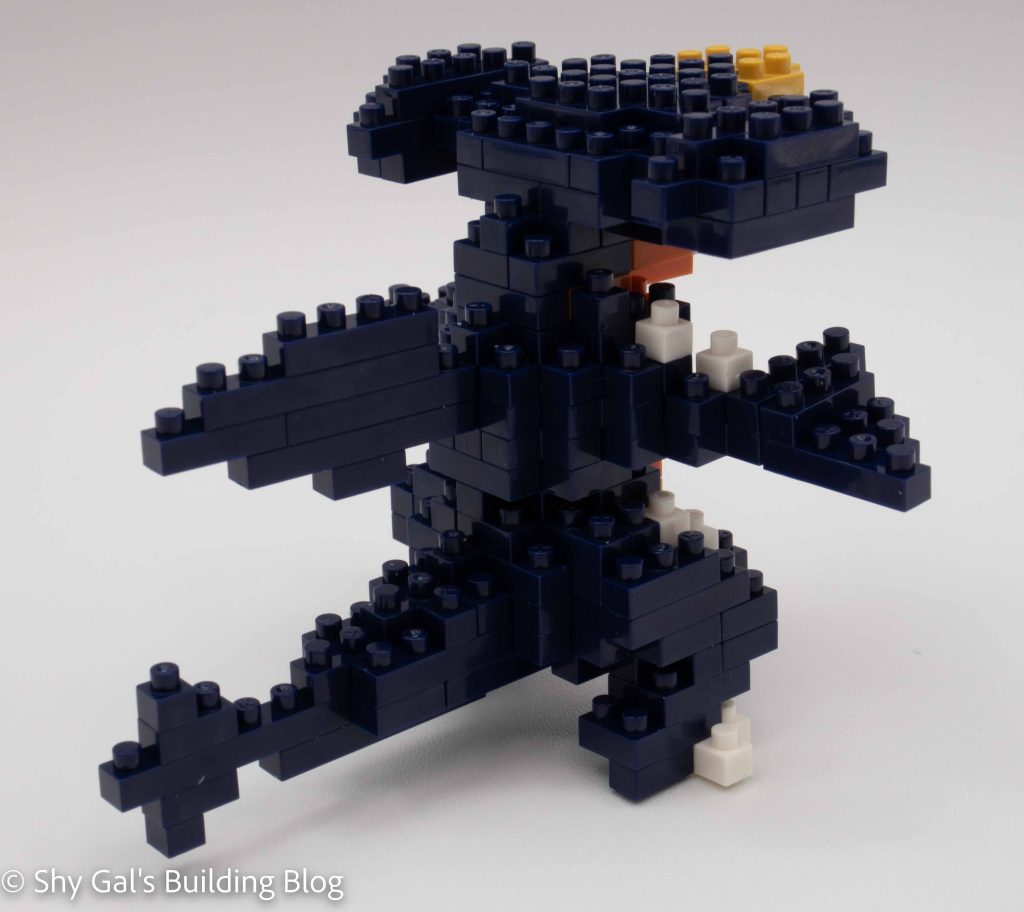
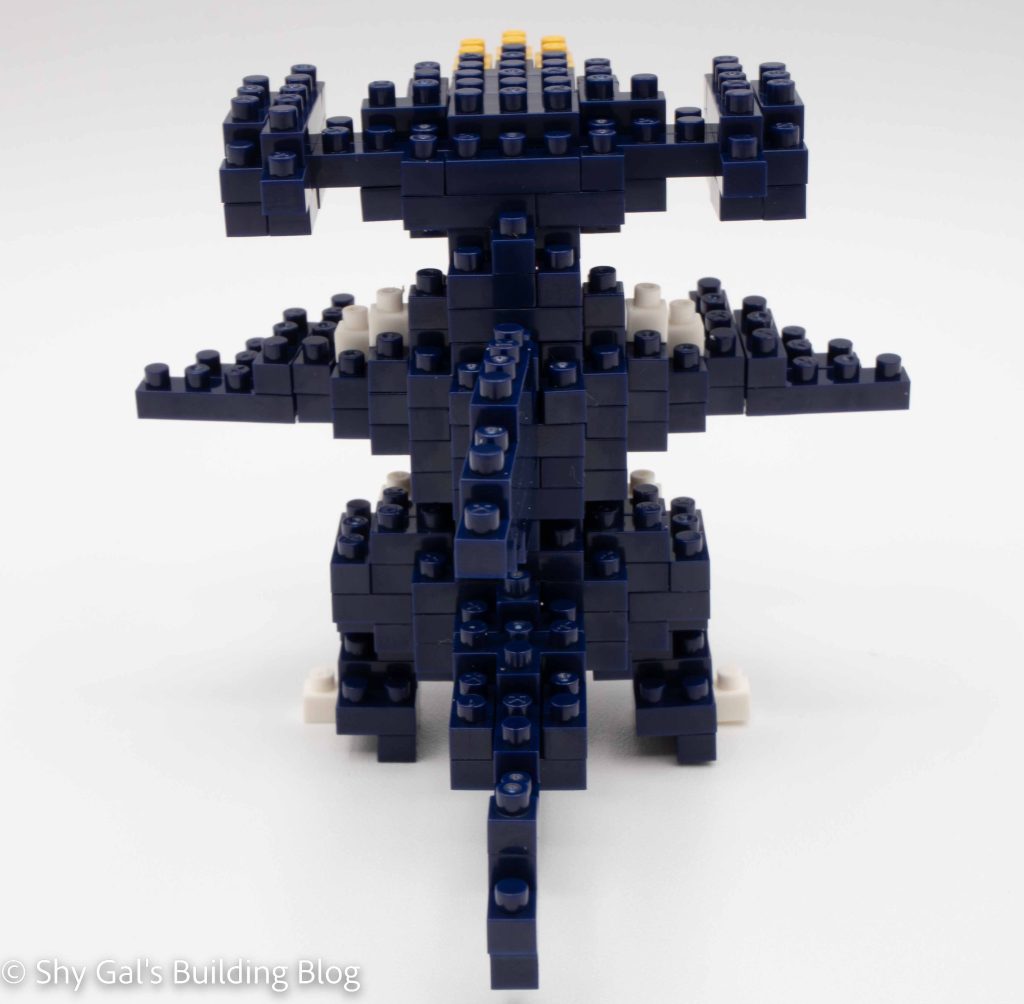
You begin with a base of navy bricks. In the second step, you begin to build the front of Garchomp since he has a tail sticking off the back end of the base. As you build up the layers, you make the orange stomach and the navy back of Pokemon. In step 6, you build the arms, which hang off by a stud. The arms are fragile and may break off as you continue to build. It is relatively easy to reattach the arms if they do break off.
Once you attach the arms, you build and attach the back fins. You then add a few layers to lock the arms and fin in place. Then it’s time to move on to the head.
You begin the head with a base and build it up in layers. In the layers, you add eyes surrounded by black. After a few layers, you add the distinct head to create the hammerhead shape. Then you add a final layer and attach the head. Please note once you attach the head, the build is temporarily no longer able to stand on its own, so be careful when you put it down.
It’s then time to finish up the build by adding the final details. You first build 2 legs that mirror each other and attach them to the Garchomp. Your build will once again stand on its own. The final detail is to finally finish the tail to complete the build.
Overall, I felt this build should be a 4/5, not a 3/5, because it was difficult, and bits kept breaking off as I tried to build the layers. I was presently surprised that the feet are wide enough to keep the build upright. It is a very fragile build, so I don’t recommend putting it near the edge of a shelf where it could fall super easily.
Things I liked:
- I really like the amount of detail in the nanoblock build
Things I didn’t like:
- I feel like the arms are a bit weak and likely to break if you move the build a lot