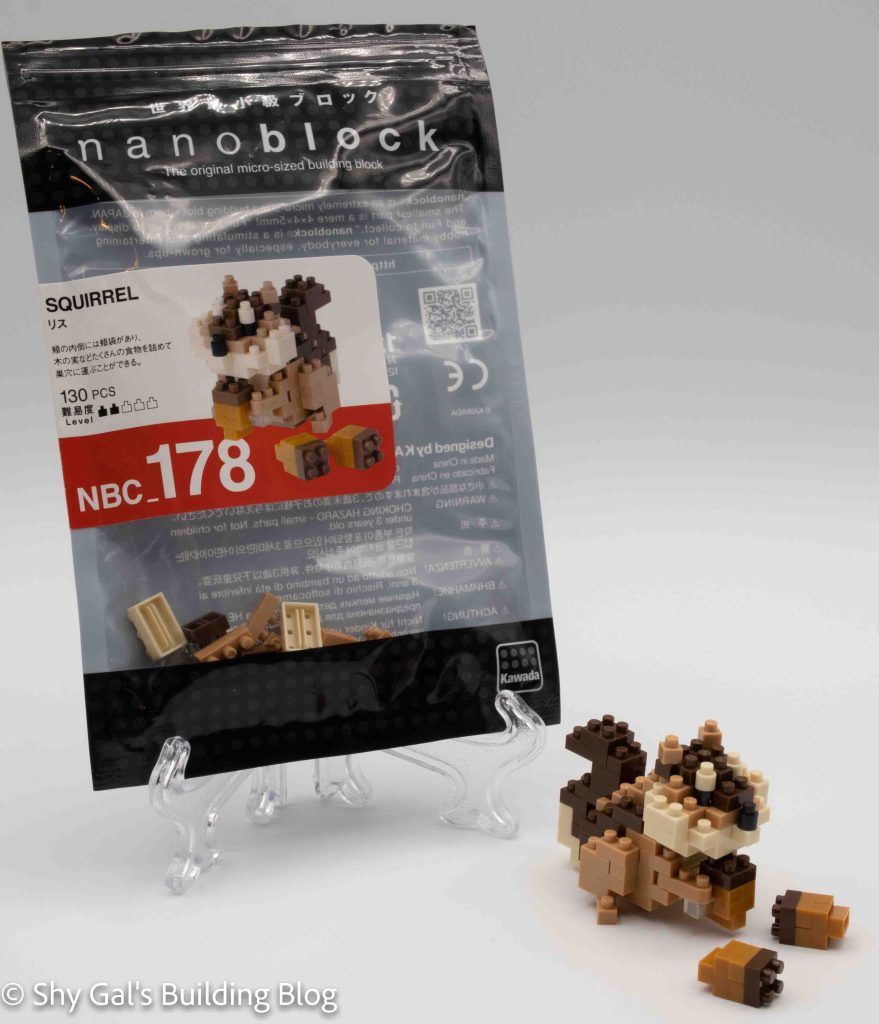
This post is a review of the nanoblock Squirrel build. Squirrel is part of the nanoblock Mini Collection series. Wondering what else is part of the Mini Collection series? Click here for a list.
Number: NBC_178
Number of Pieces: 130
Difficulty Rating: 2/5
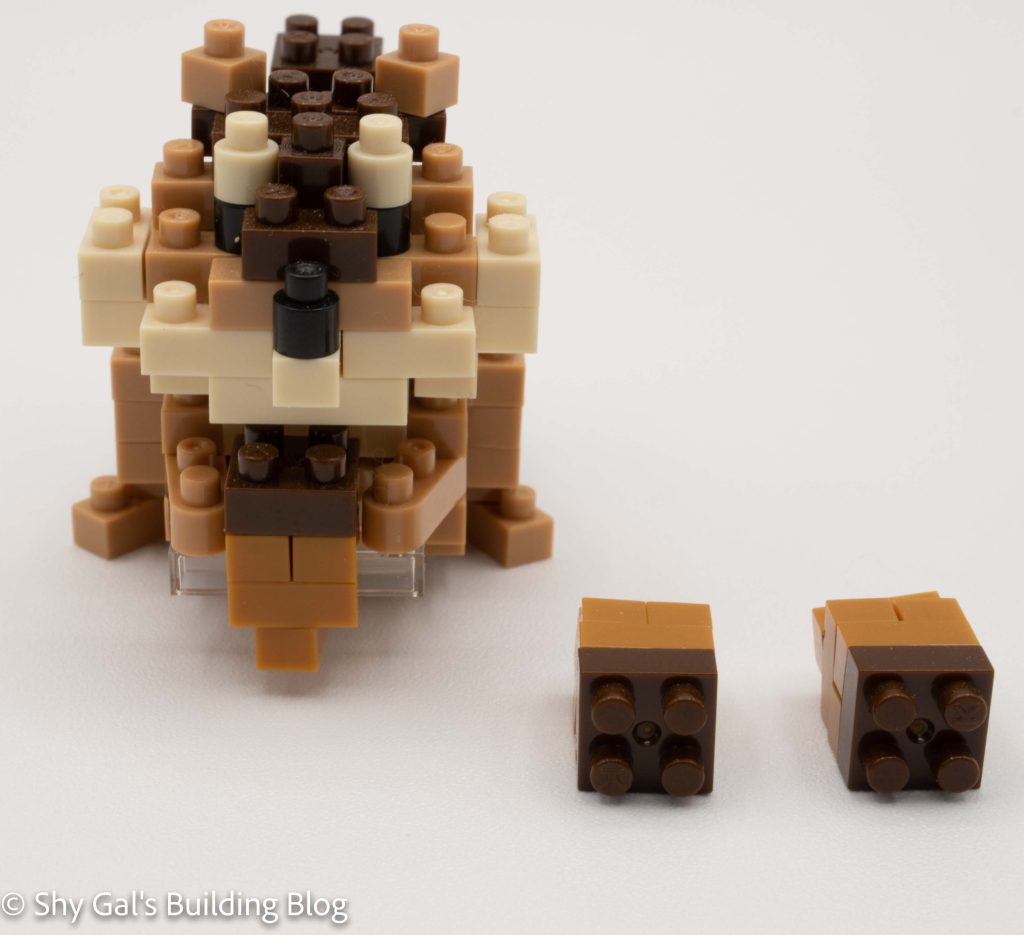
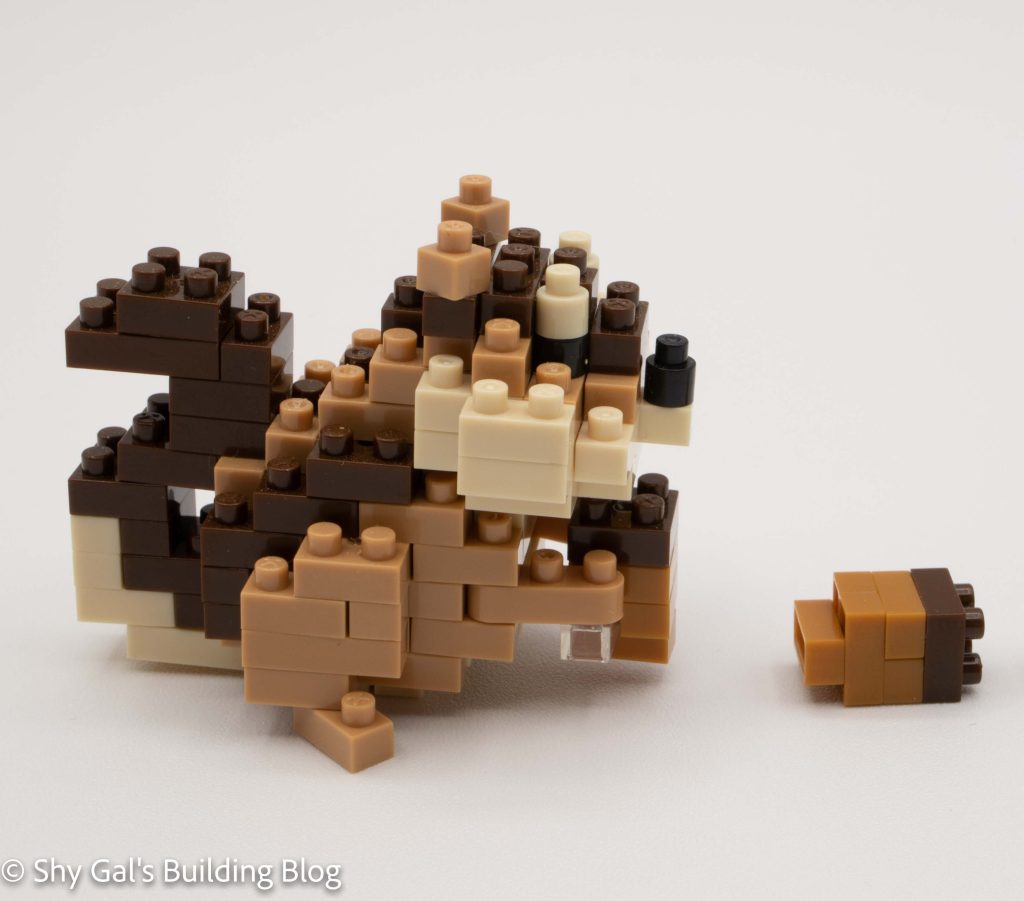
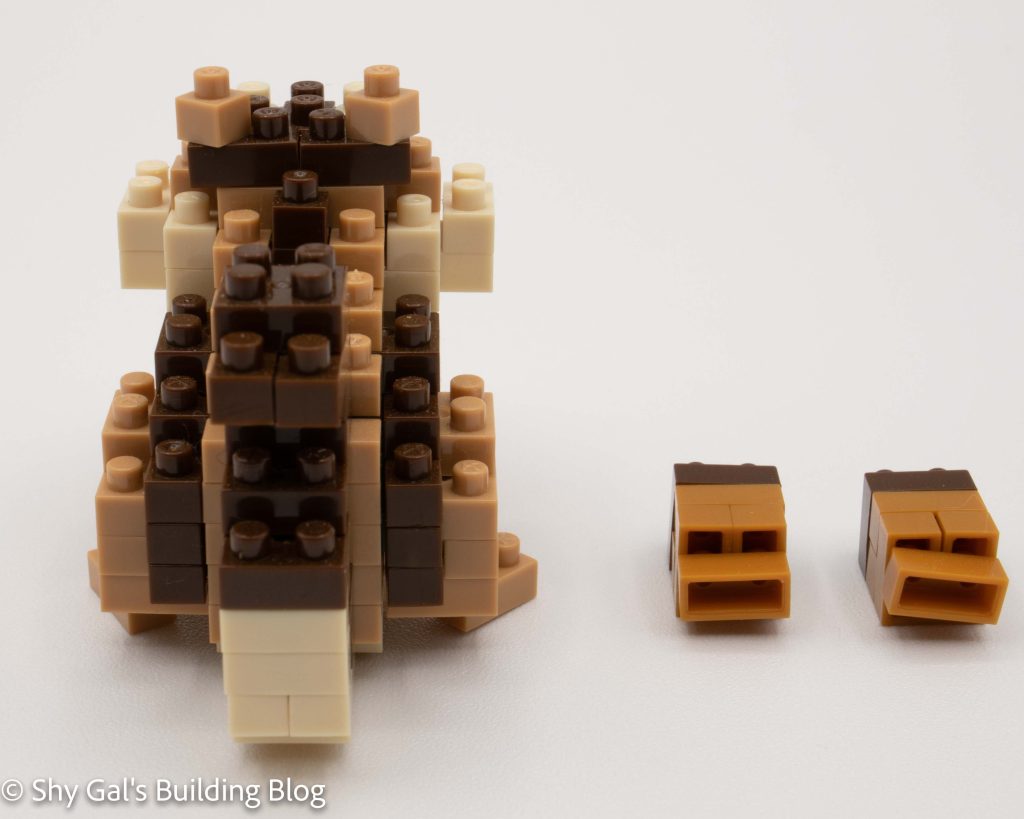
The Squirrel build starts as a basic build, starting with a base and building the height of the Squirrel. After step 5, you turn the build upside down and add the feet, the acorn it holds, and the base of the tail. Once you flip it back right-side-up, you build and attach the tail and head. 2 extra acorns sit near the Squirrel.
Overall I think the Squirrel is adorable. I like that it looks like its cheeks are full and puffed up.
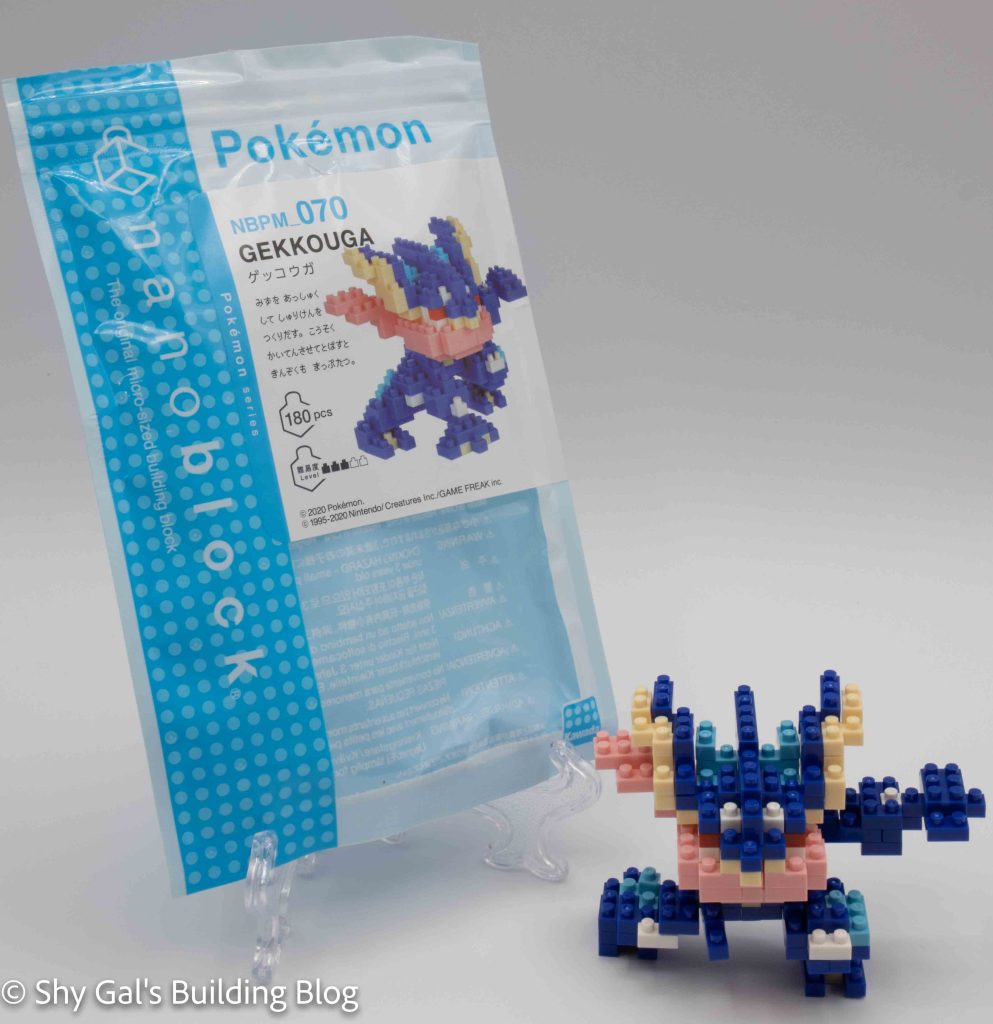
This post is a review of the nanoblock Greninja build. Greninja is part of the nanoblock Pokemon collection. Wondering what else is part of the Pokemon Collection? Click Here for a list.
Names:
English: Greninja
Japanese: Gekkouga
Number: NBPM_070
Number of Pieces: 180
Difficulty Rating: 3/5
Greninja is the 3rd evolution of the generation 6 starter Froakie. There is a unique form known as Ash-Greninja, with the center fin on its head being red instead of blue. While there is not a model for Ash-Greninja, I think if you have a few red bricks, you can customize the build to create that form.
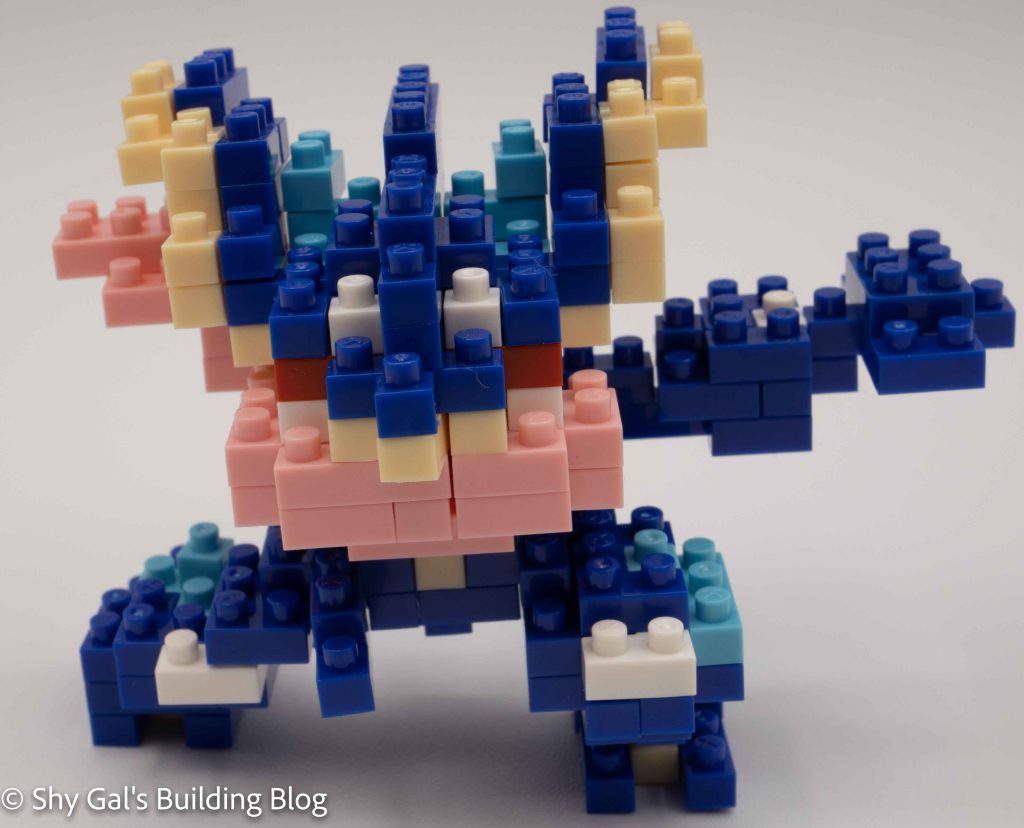
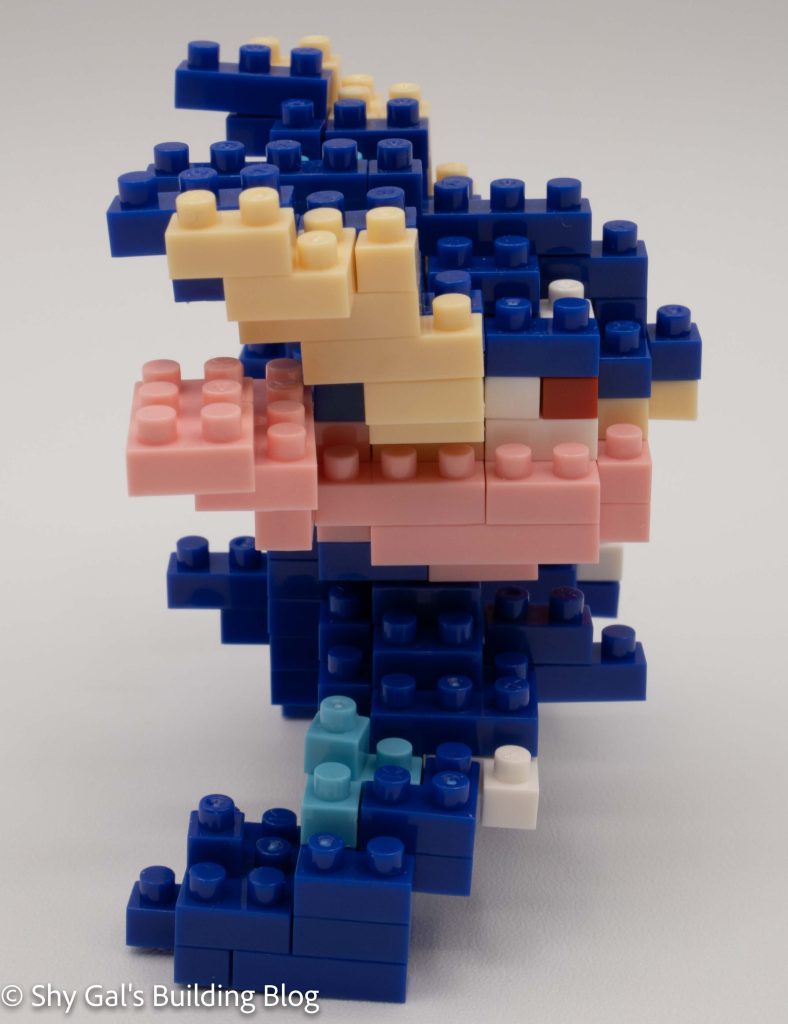
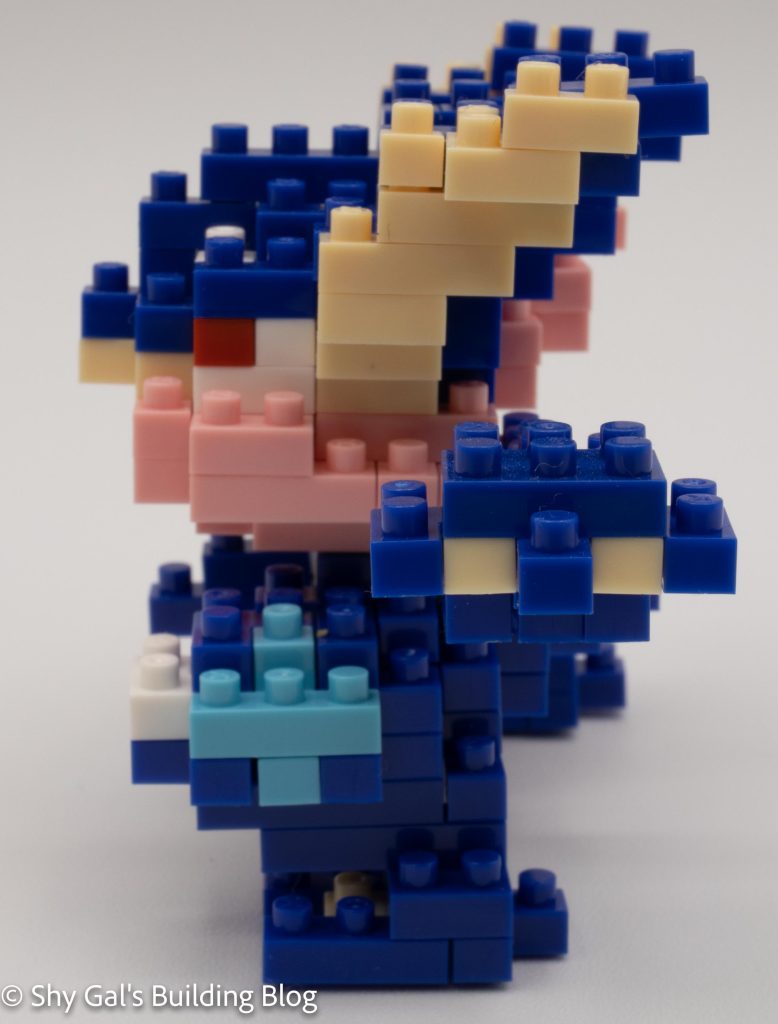
The build is different from many other Pokemon because it is not based on a sphere on a rectangle Greninja is posed like a ninja. All of the instructions are different and detailed because nothing is mirrored. However, building him was tippy, and he couldn’t stand up reliably until the final hand was attached. It was also hard to use my pad to build, which meant my bricks were shifting more than usual.
Overall I enjoyed the build and liked the final result. I’m not sure how much it looks like Greninja from the games or the anime, but it was a fun build.
Things I liked:
How he is posed means, there was no mirroring in the build
Things I didn’t like:
How it didn’t want to stand up until the final step was completed
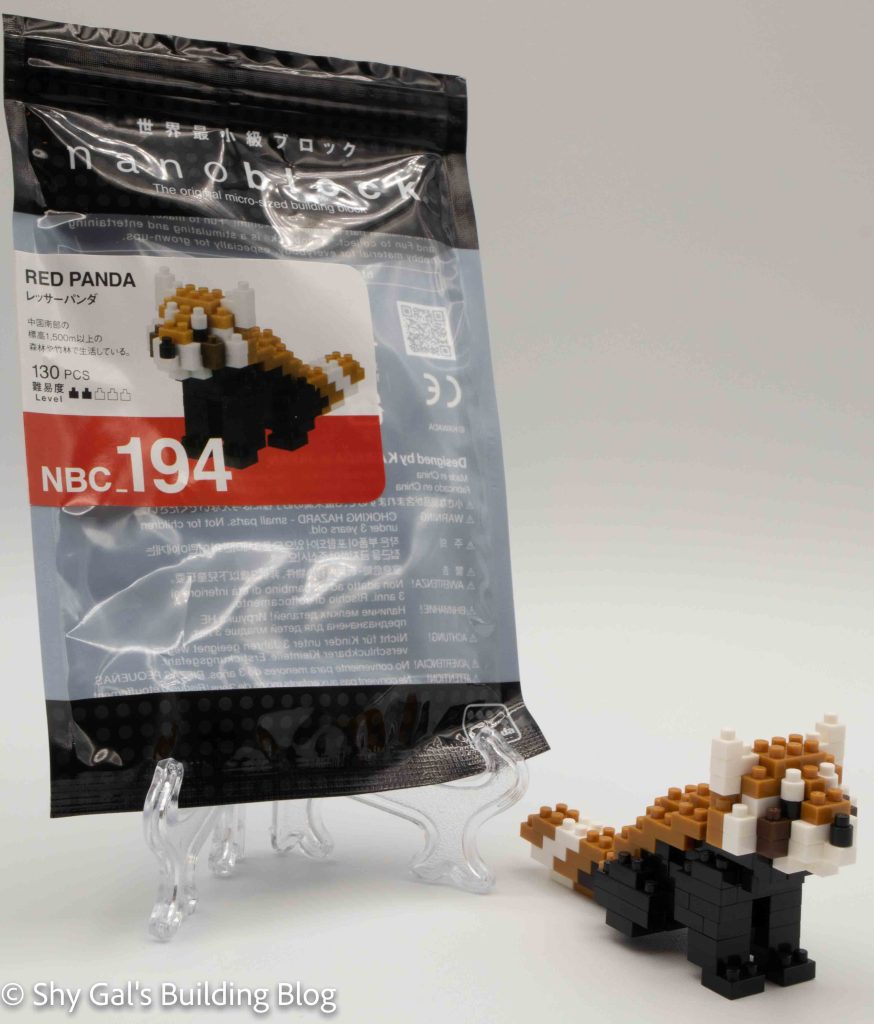
This post is a review of the nanoblock Red Panda build. The Red Panda is part of the nanoblock Mini Collection series. Wondering what else is part of the Mini Collection series? Click here for a list.
Number: NBC_194
Number of Pieces: 130
Difficulty Rating: 2/5
Red Pandas are smaller furry animals that live in China and Nepal. Their habitat is getting cut down significantly due to human activity. They look a little like super fluffy raccoons. They are also prevalent in zoos worldwide.
This build is building chunks of the nanoblock and connecting them together to create the Red Panda.
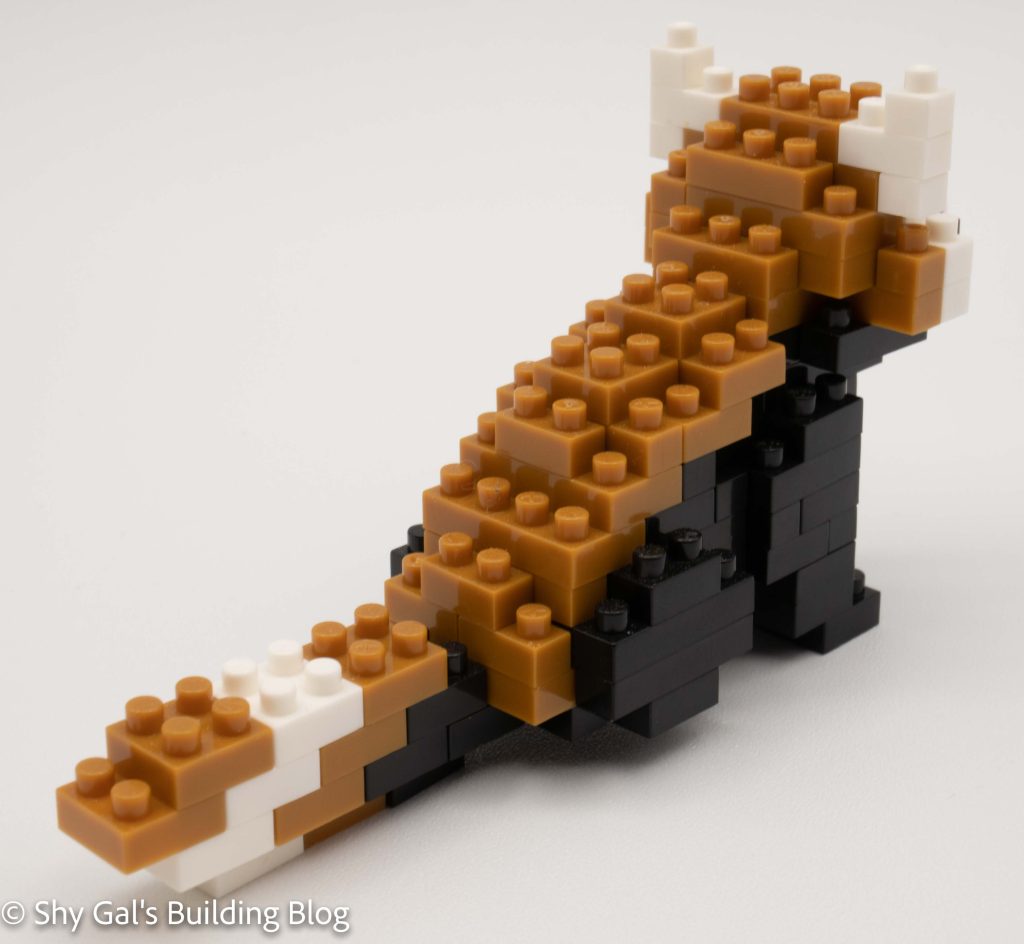
Since the animal is on a slant, you start with the back of the animal and work forward. The first 5 steps are building the body and preparing the base for the head to attach onto.
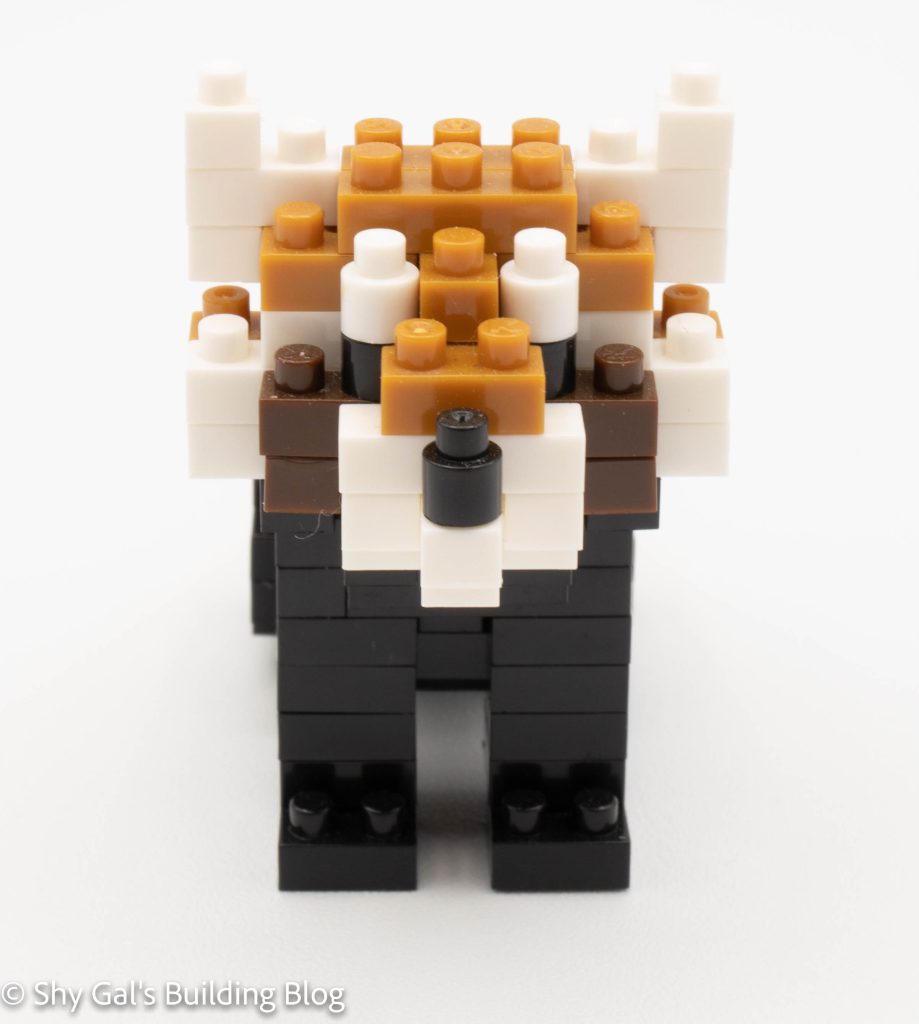
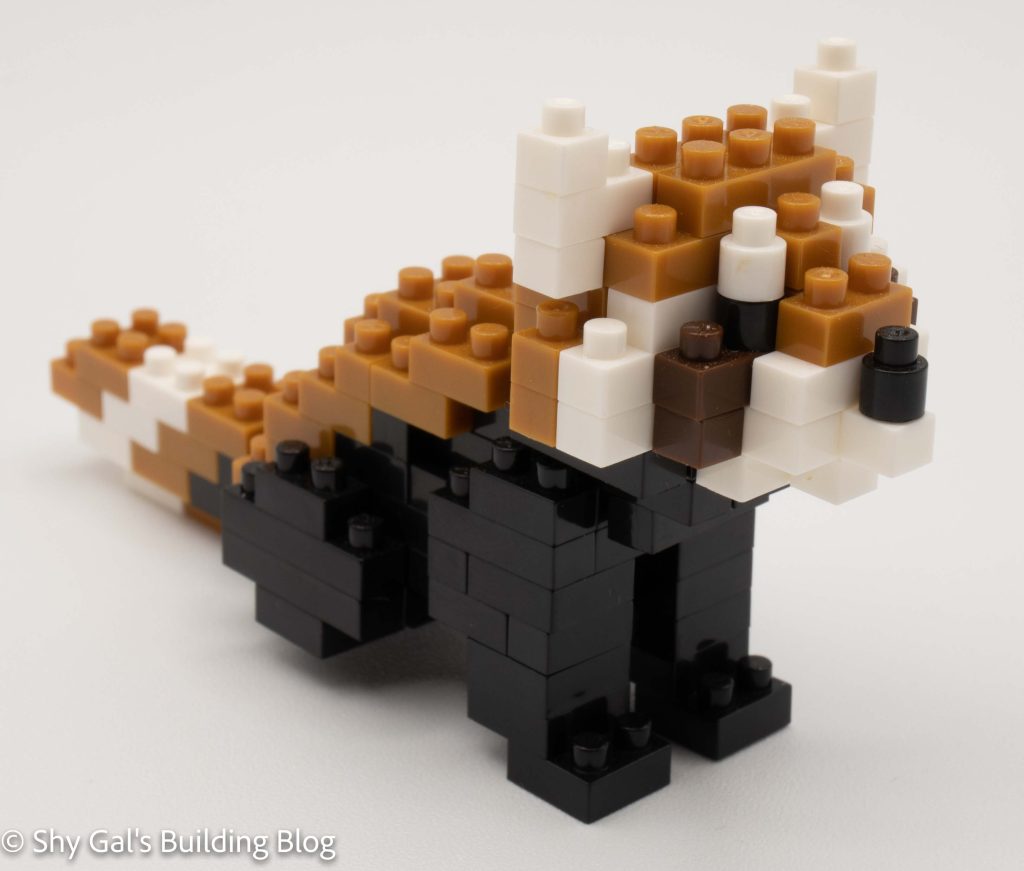
In step 6, you make the head with reasonable detail, including round eyes and an additional shade of brown to create the cheeks. Once you attach the head, you build the tail with striped detail.
The final step is to connect the paws so that the build sits flat.
Overall I enjoyed this build. I liked building the individual chunks and seeing the red panda come together in larger pieces. In most of my builds, things come together in layers, so the chunks were a nice change. I really like the detail in the face and tail, which are vital to making this build recognizable.
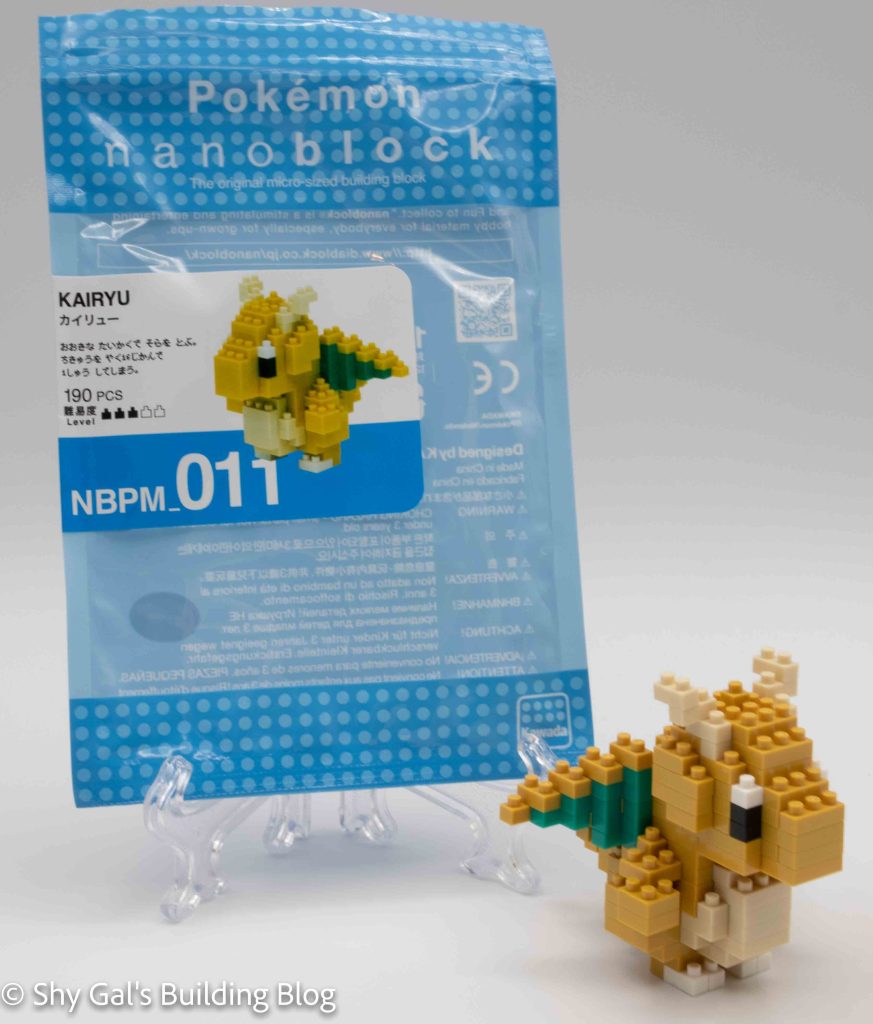
This post is a review of the nanoblock Dragonite build. Dragonite is part of the nanoblock Pokemon collection. Wondering what else is part of the Pokemon Collection? Click Here for a list.
Names:
English: Dragonite
Japanese: Kairyu
Number: NBPM_011
Number of Pieces: 190
Difficulty Rating: 3/5
Dragonite is the original endgame dragon from generation 1. He is a lot rounder and more cartoon-looking than the dragons later in the series. In the Pokemon games and TV show, Dragonite can both transport mail and people.
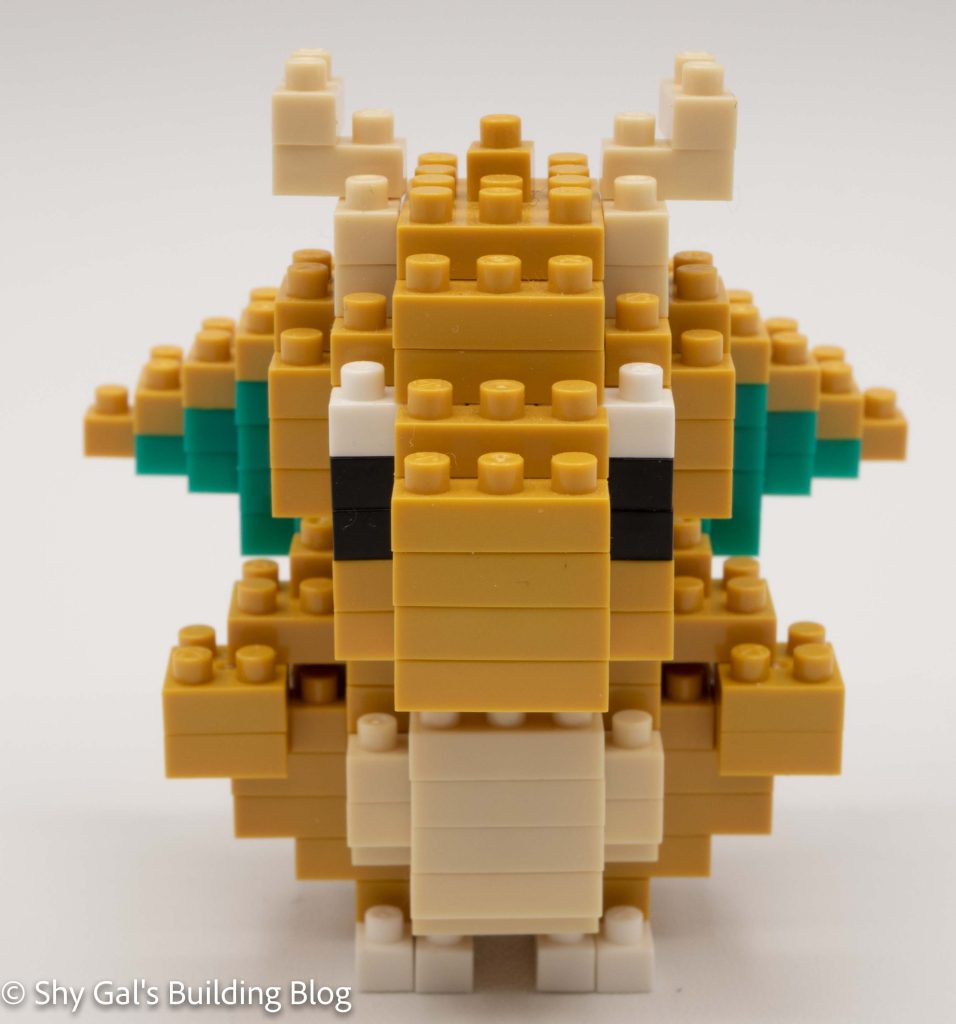
This build starts with the head. You start with a base and build the dragon up. The head has the tricky part of getting the antenna lined up correctly and keeping them in place for the rest of the build.
Next, you build the body in a matter similar to the head.
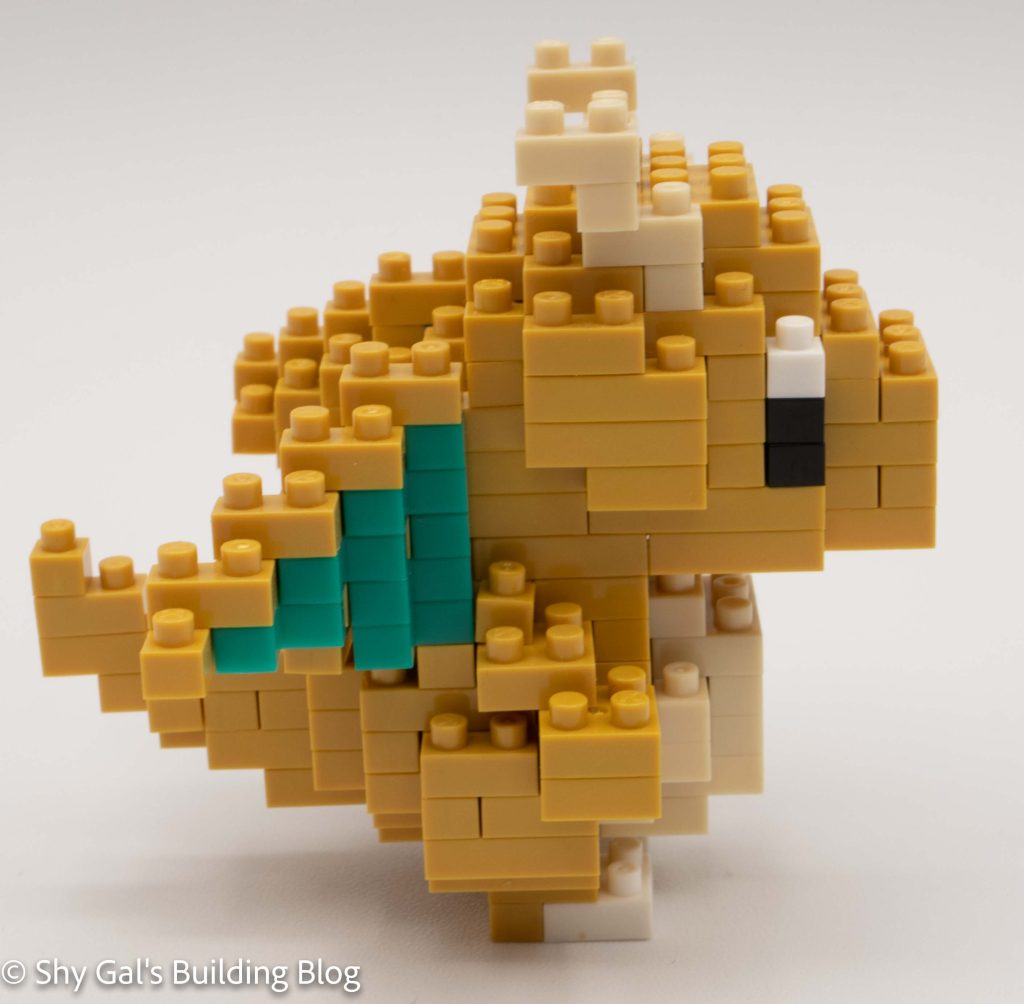
Once you have a body and head, you attach them to each other. The next step is to build the wings. These are the most challenging part because of the amount of detail to create the illusion that the tan is all on one side and the teal is on the other.
I think the Dragonite build does an excellent job of capturing the fat round dragon, which is how it appears in the games.
This post is a review of the nanoblock Sushi build. The Sushi is part of the nanoblock Mini Collection series. Wondering what else is part of the Mini Collection series? Click here for a list.
Number: NBC_220
Number of Pieces: 120
Difficulty Rating: 2/5
I bought the sushi kit as a gift for my husband. I’m not really a fan of Sushi, but my husband loves the stuff.
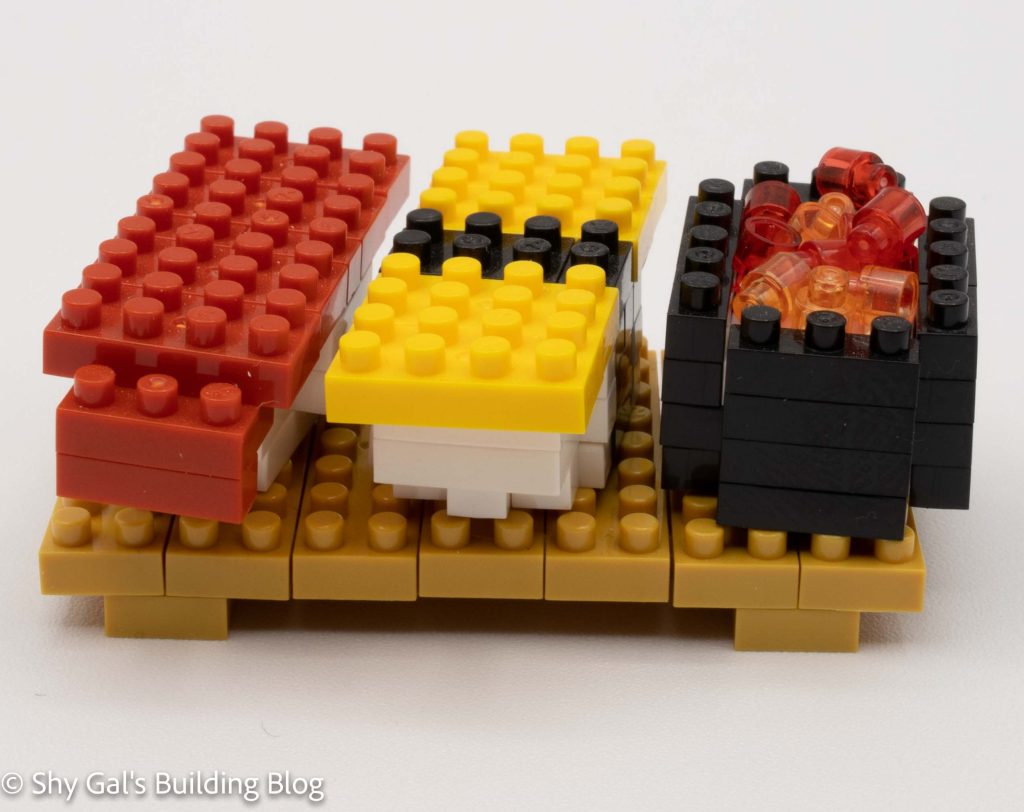
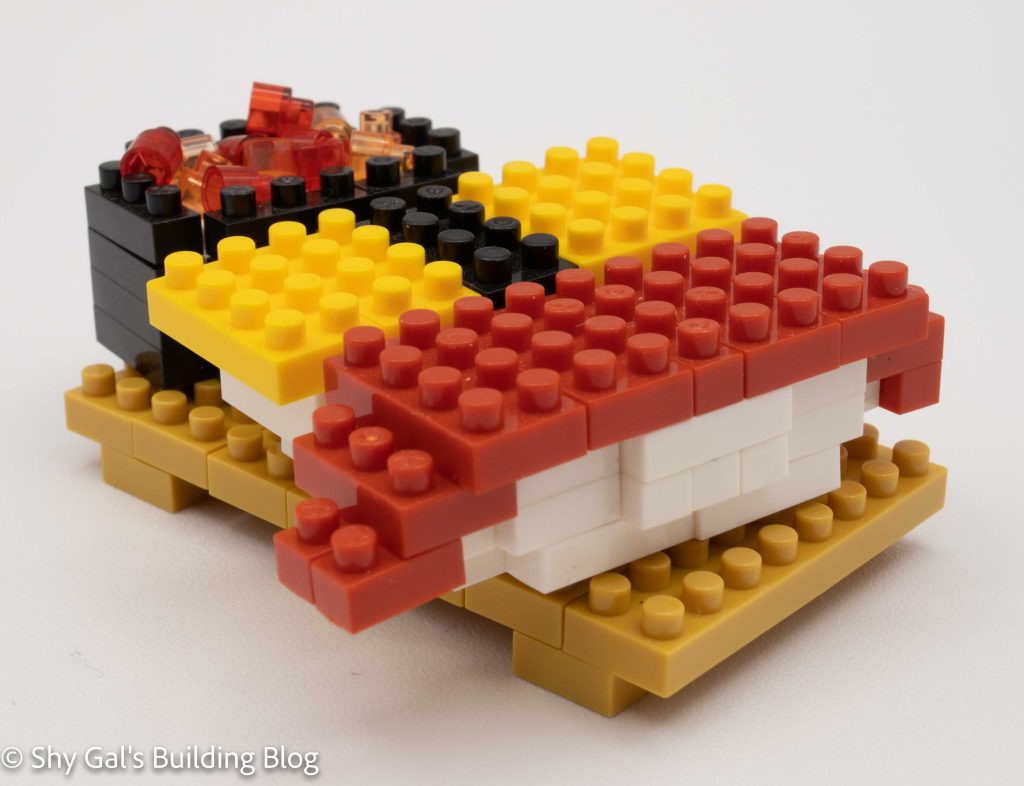
There are 3 pieces of Sushi (tuna, egg, and roe) and a base. The base is a very simple and straightforward build.
I really liked building the tuna; it has colors hanging off-center, creating details that make it look like the tuna is hanging off the rice.
The egg is also a nice build, but it is more symmetrical than the tuna, so it was more straightforward.
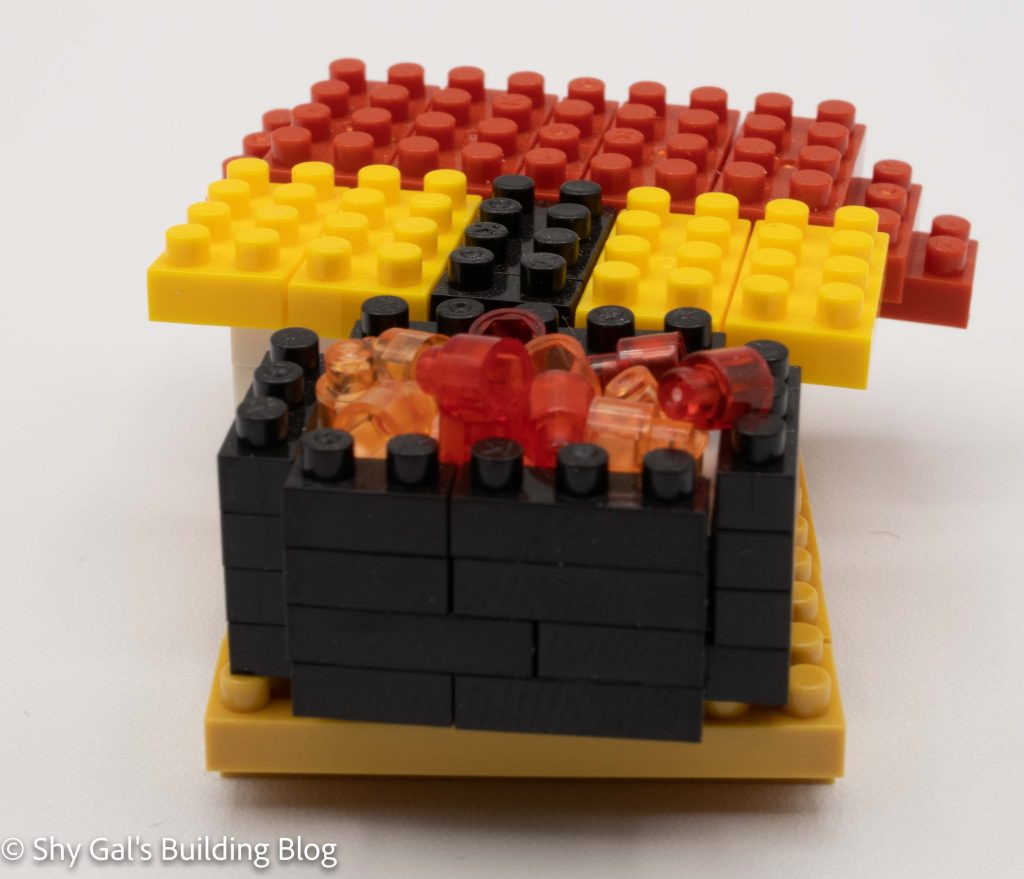
The easiest to build was the sushi roe. It is basically creating a basket to hold loose nanoblocks. I don’t like the fact there are loose nanoblocks in the build because it is easier to lose the bricks even moving things carefully.
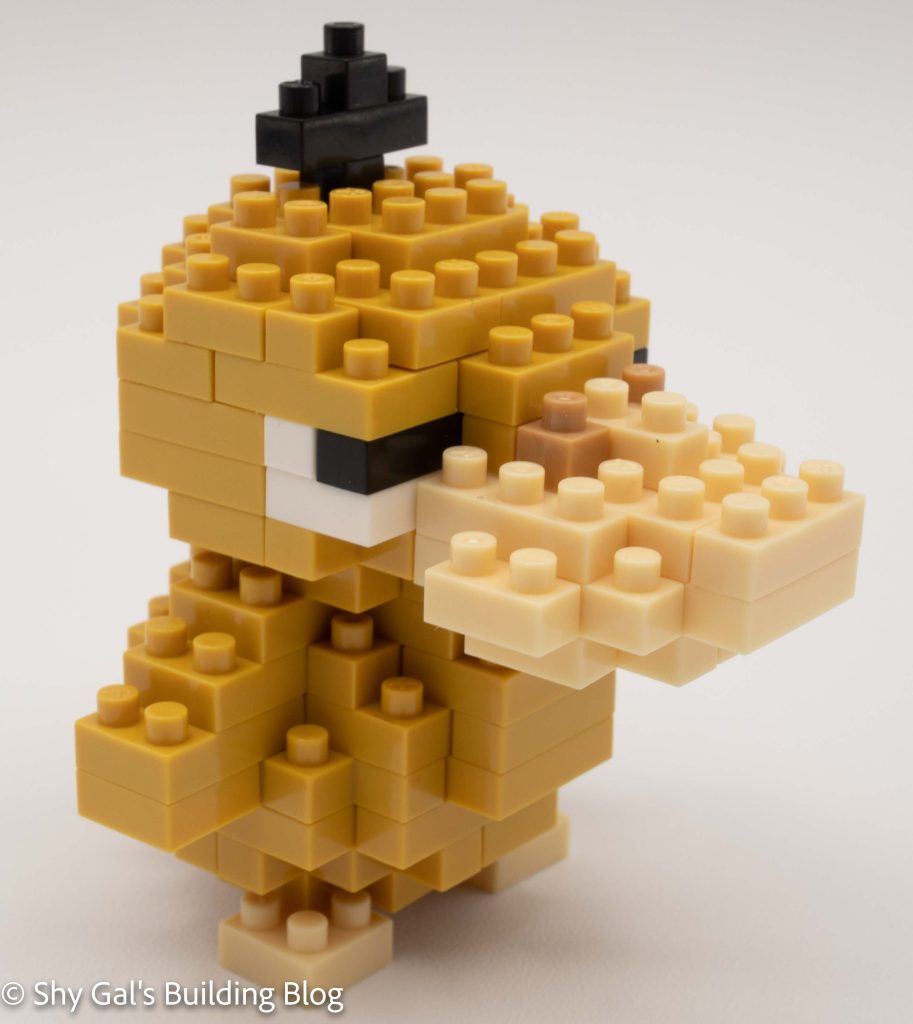
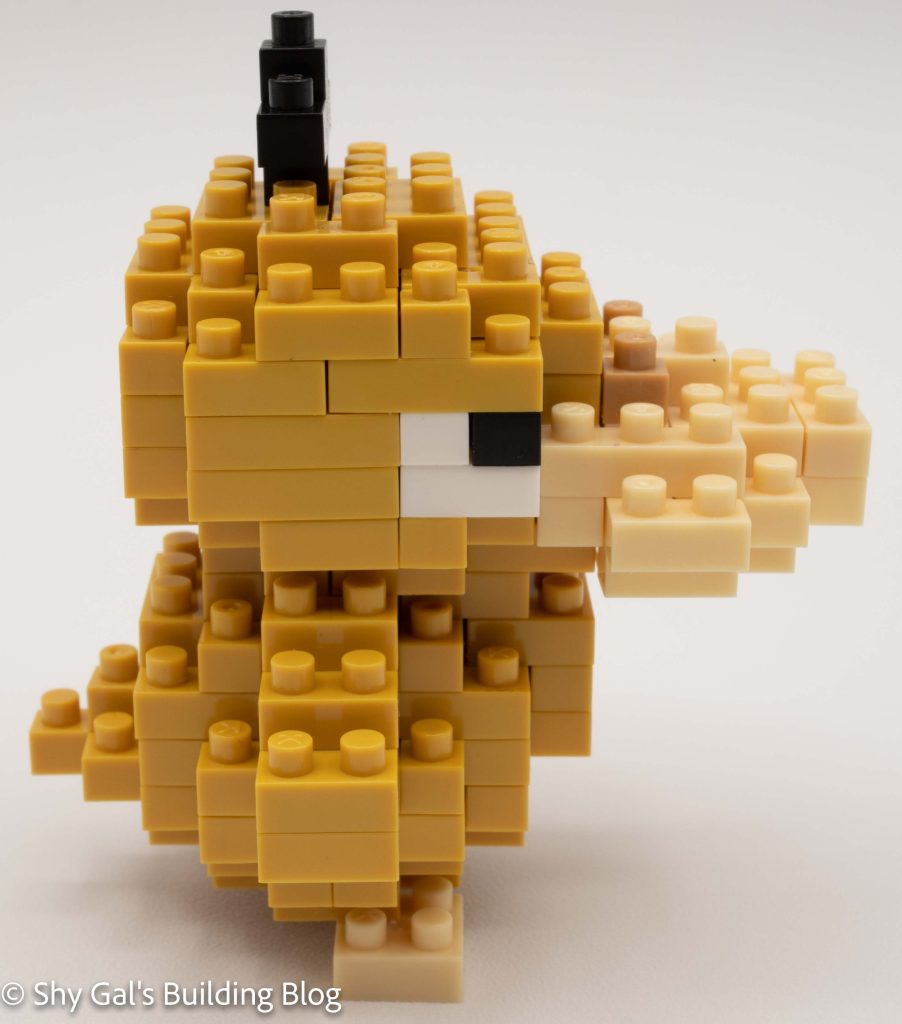
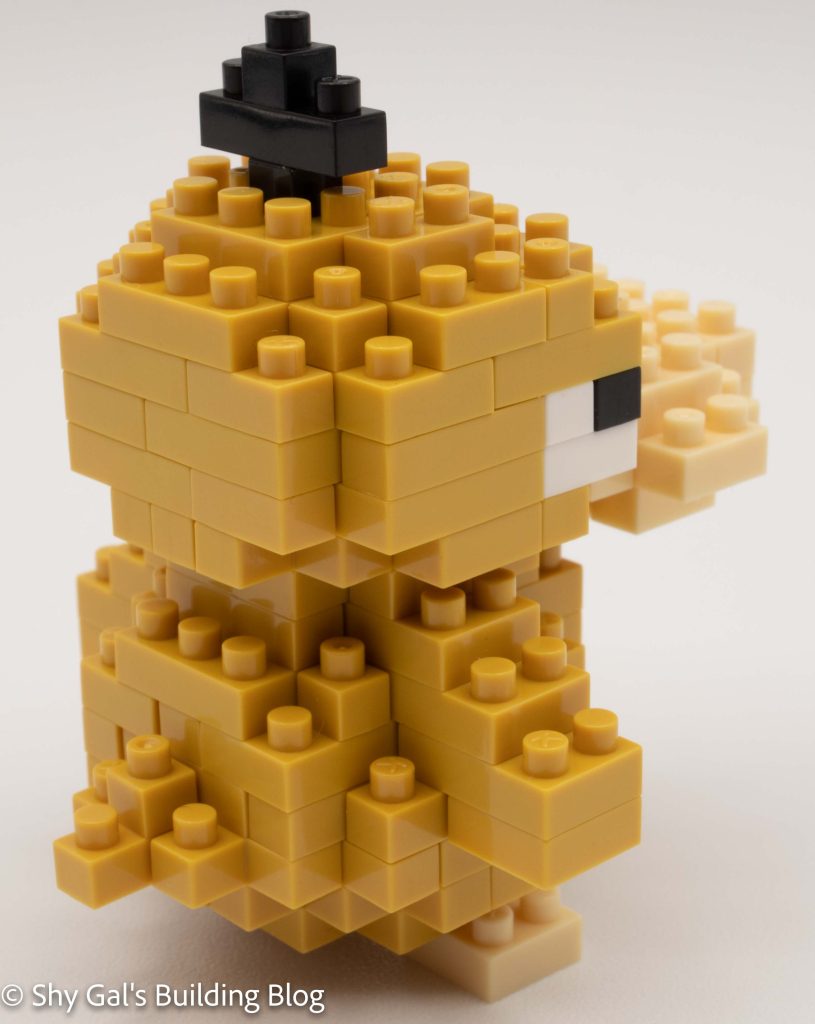
This post is a review of the nanoblock Psyduck build. Psyduck is part of the nanoblock Pokemon collection. Wondering what else is part of the Pokemon Collection? Click Here for a list.
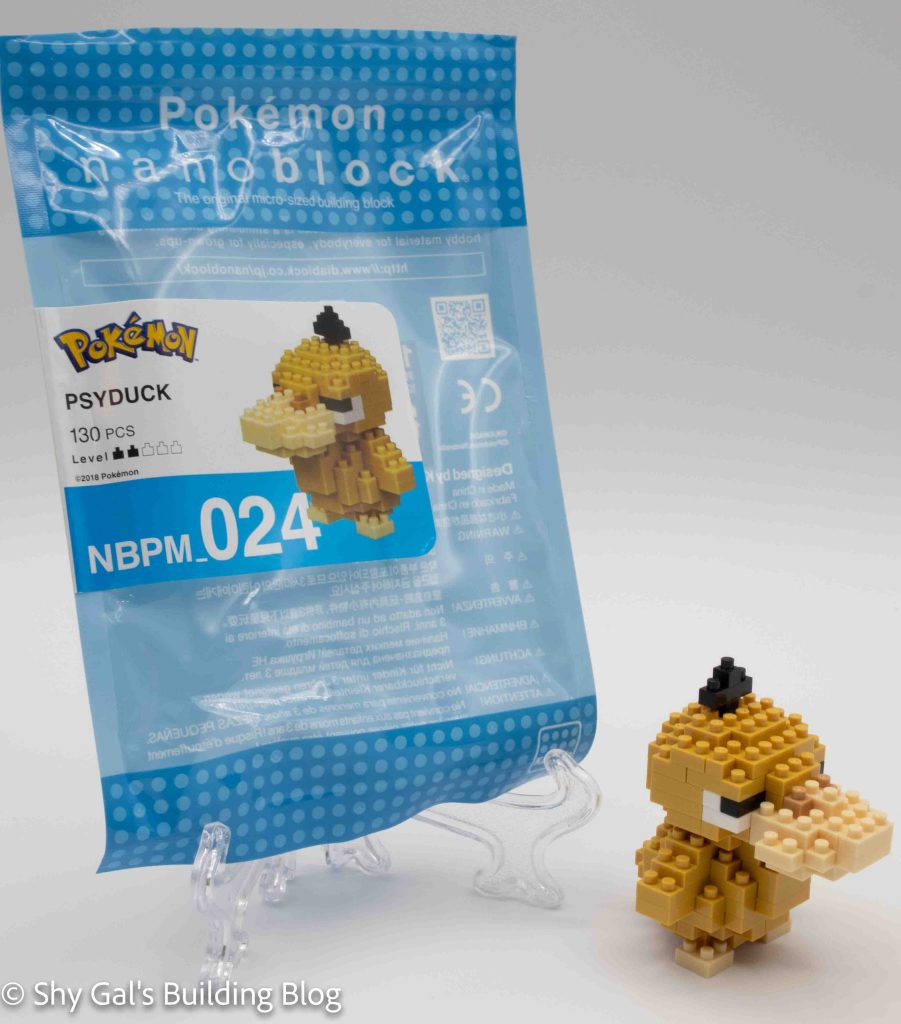
Number: NBPM_024
Number of Pieces: 130
Difficulty Rating: 2/5
Psyduck is a generation 1 pokemon that is known for having constant headaches. The headaches give Psyduck access to psychic abilities. Misty had a Psyduck that would always pop out of the Pokeball in the Anime.
Overall the build for Psyduck is building up from the bottom layer. Each layer builds on itself until you get up to the head. You separately make the duck beak and attach it to the head. After connecting the beak, you continue to add layers until you have a sealed-up duck. Then all that is left is to add the little black feathers at the top of its head.
I like the Psyduck build because it is recognizable. However, in my mind, Psyduck is more of a bright crayon yellow, and the color of the bricks used in the build are more of goldenrod. I do think the little feathers on the head are cute.
Things I liked:
The black bricks used to add the feather detail to the head
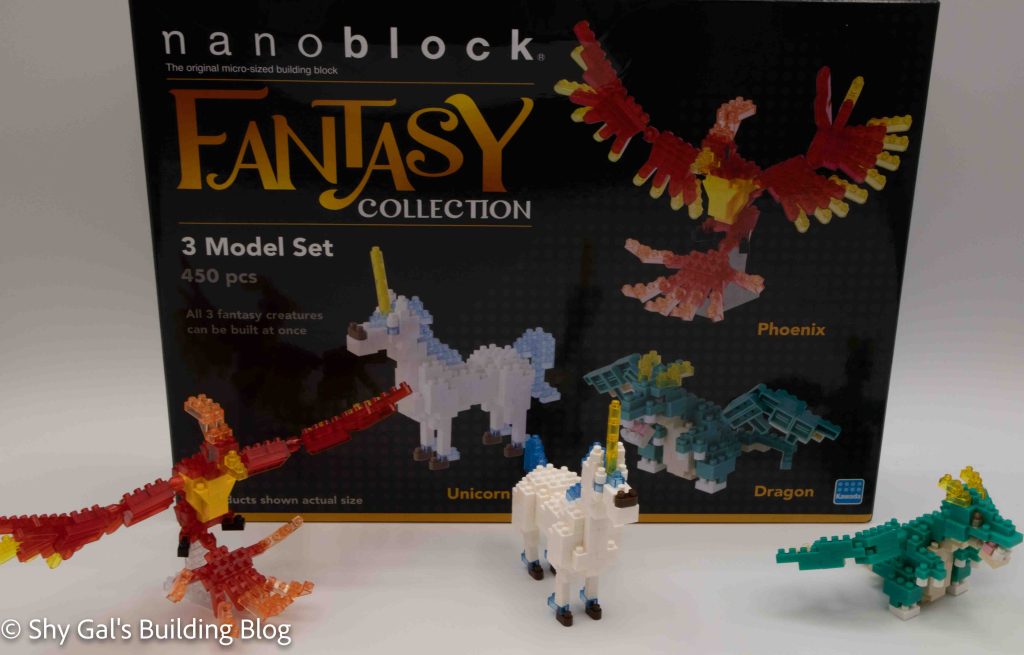
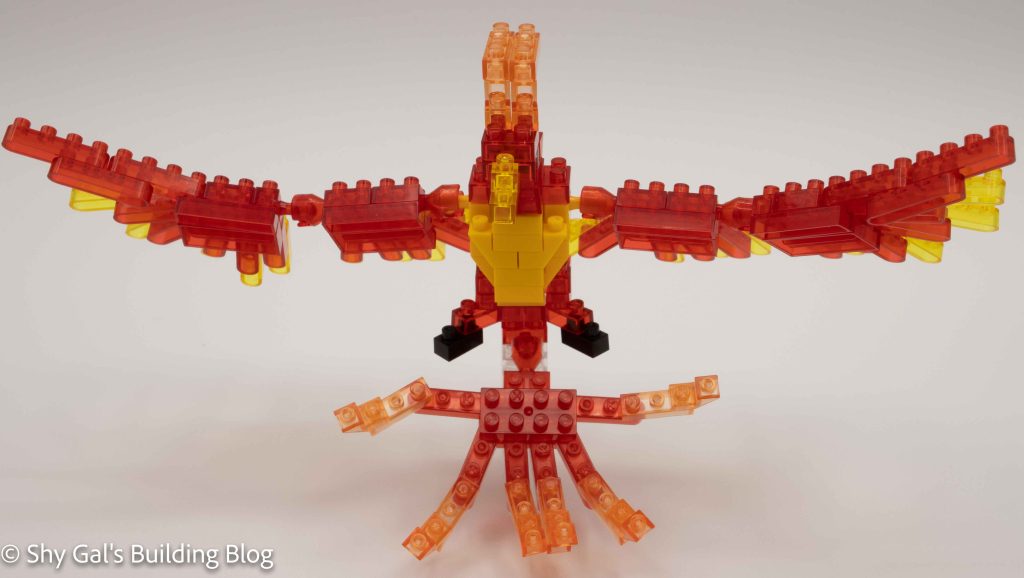
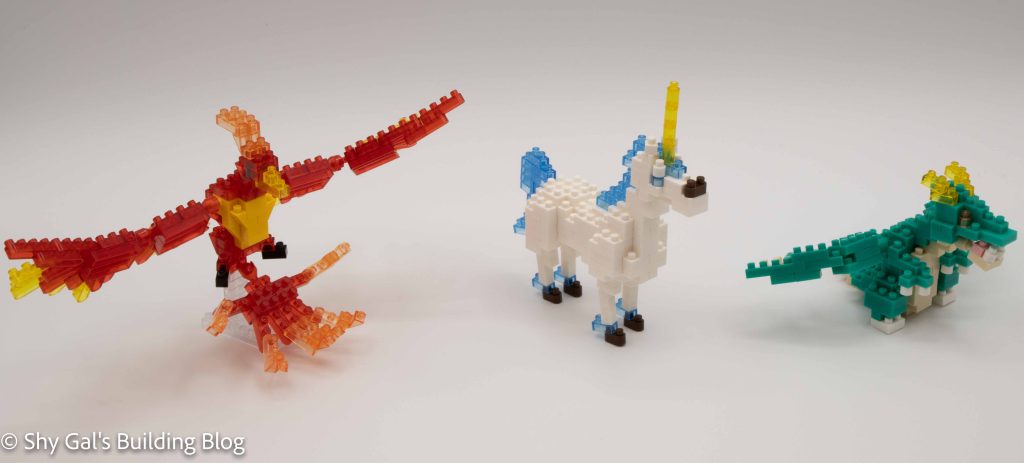
This review is for a collection of nanoblock builds in a box called Fantasy Collection. These builds are called Phoenix, Unicon, and Dragon. All of these builds are part of the nanoblock Mini Collection series. These were the first builds I made that used the ball joints to make moveable parts. Each set is available separately, so I will try to provide links to the individual builds if I can find them.
Phoenix
Phoenix was by far my favorite of these three builds. It looks like the classic phoenix rising from the ashes. It uses the ball joints to create the outstretched wings and the tail. It is made of almost all transparent blocks and appears to float while sitting on a stand as a build. I found working with so many transparent tricky because they seem to stretch more than the standard solid nanoblocks. The hardest part of the build was to get the Phoenix to stand on its base. If things aren’t just layered just right or the tail isn’t centered, the build will just tip over.
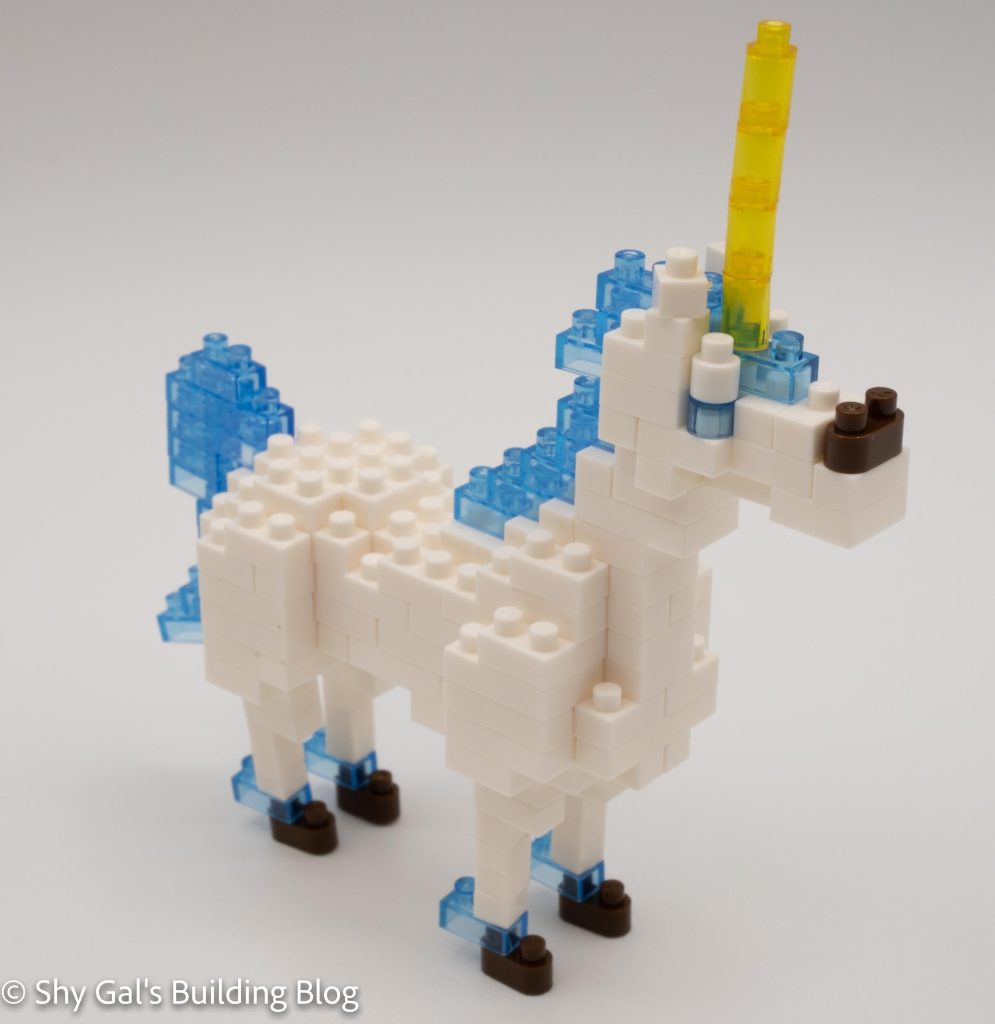
The Unicorn is probably the most straightforward of all the builds. It doesn’t have any ball joints, and it mostly layers up the body of the Unicorn. It is almost all white with a transparent mane and horn. The Unicorn has narrow legs that are stacked 1 stud thick going up. I was worried that the build would have a hard time standing up but was pleasantly surprised when I tried to stand it up. The main thing I don’t like about the Unicorn is I think the horn is too long and wide for the head of the Unicorn.
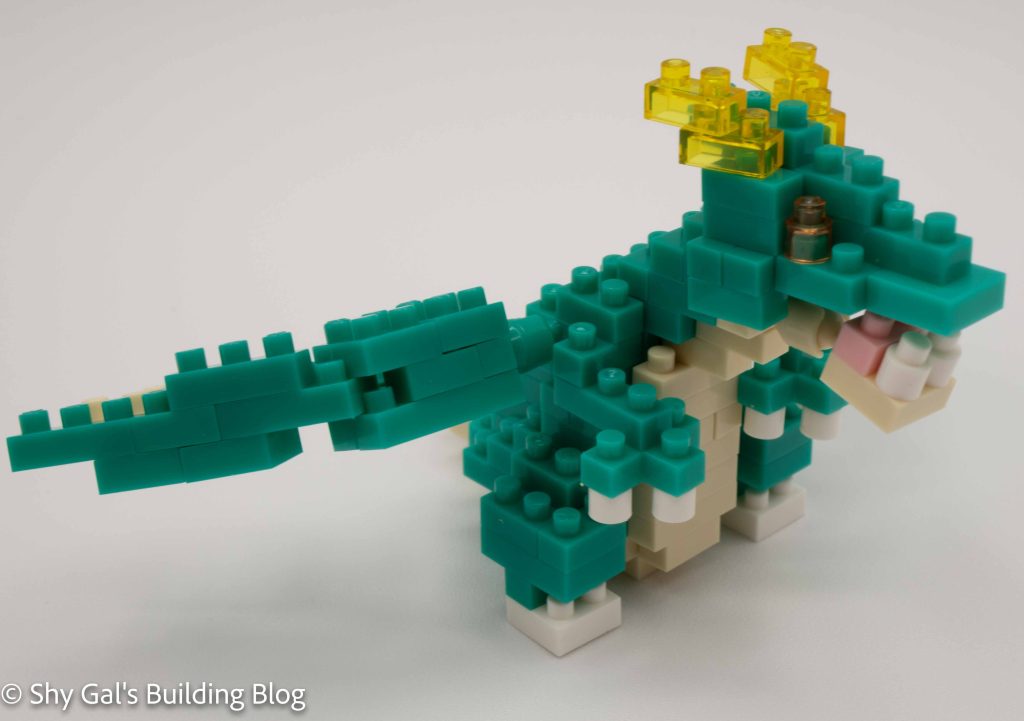
The dragon build is relatively straightforward. First, you build the body. The hardest part of making the body is getting the arms lined up because it’s a chain held together by one brick. Second, you build the head, which is again relatively simple. The mouth is held together with a ball joint, allowing it to move. The last step is to build and attach wings that contain ball joints so that the wings can move. Overall, I enjoyed the build, and I really like the color of the dragon, which is a reasonably unique color.
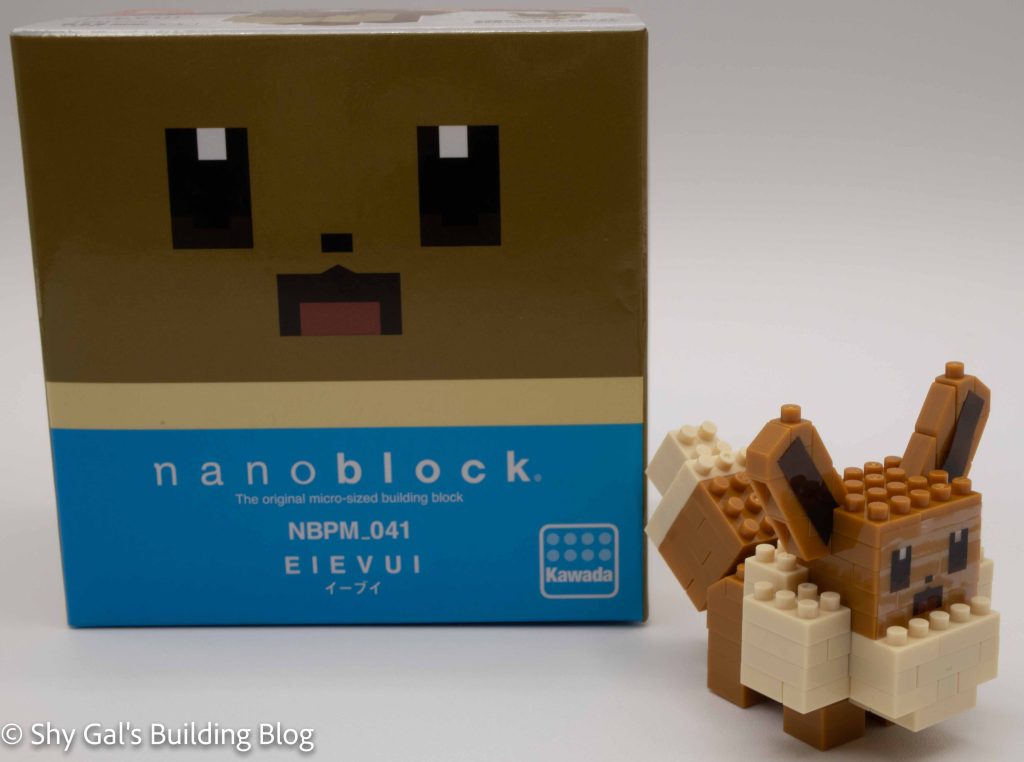
This post is a review of the nanoblock Pokemon Quest Eevee build. Pokemon Quest Eevee is part of the nanoblock Pokemon collection. Wondering what else is part of the Pokemon Collection? Click Here for a list.
Names:
English: Eevee
Japanese: Eievui
Number: NBPM_041
Number of Pieces: 120
Difficulty Rating: 2/5
Inside the primary collection of Pokemon, there have been a couple of subcollections, one being the collection for Pokemon Quest (numbers 36-42). Under the Pokemon Question collection, most Pokemon are simply squares stacked on each other to create a body and head. Each of these also depends on stickers to make a face. Read here for my opinion of nanoblock stickers. So while I own everything in the Pokemon Quest collection, I have only built and will likely only build Eevee. I made Eevee before I knew about the stickers.
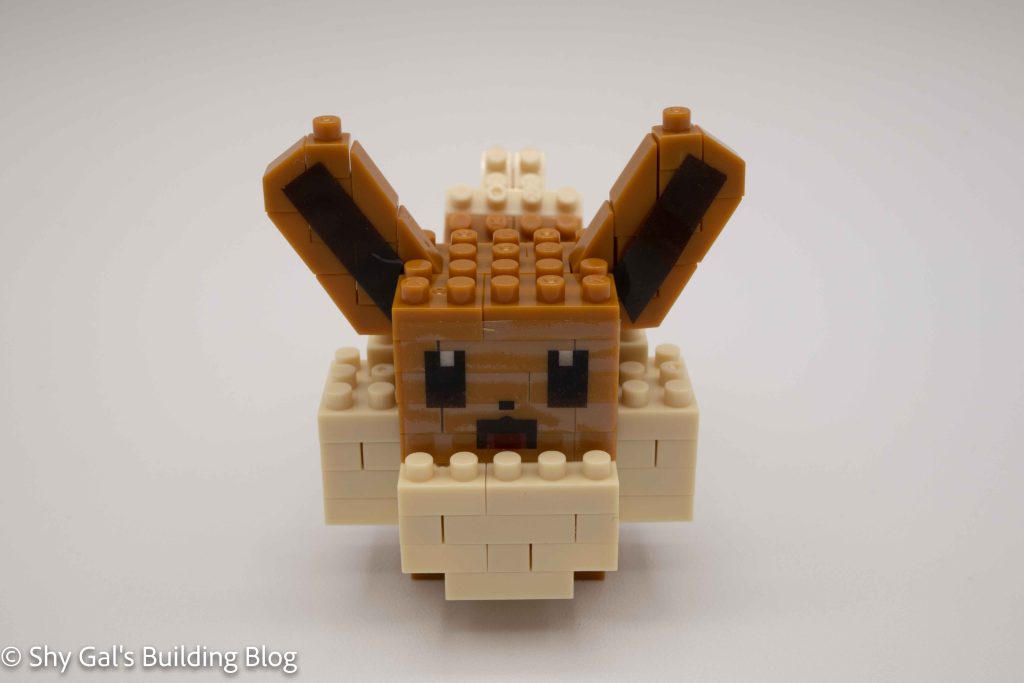
The build was really straightforward at the beginning. Starting with a base and building up. This may have been the first time I had seen the ball joint, but it was definitely the first time I had needed to build around the ball. Building Eevee is just building layers to create the Pokemon until you get to the ears.
The ears are my favorite detail but building them took more time and attention since they are slanted. After making the ears, you need to add stickers. My stickers were off-center, so it was a pain to line up; sadly, one of my stickers even ripped even though we were being super careful and using tweezers. The rip isn’t noticeable when you look at the build now that the ears are attached.
You add on Eevee’s tiny feet after building and attaching the ears. The final building step is to connect the tail. Now you have completed the Eevee body! The last step is to add the sticker for its face. Again you need to be careful, so the sticker doesn’t rip and is placed right because you only get one shot.
I think this Eevee is just as cute if not cuter than the original one (NBPM_005). I really like the details of having a moveable tail. However, I had real problems getting the stickers to stick in the right place. Also, even though it has been sitting in a display cabinet for a couple years, the stickers no longer adhere entirely to the build.