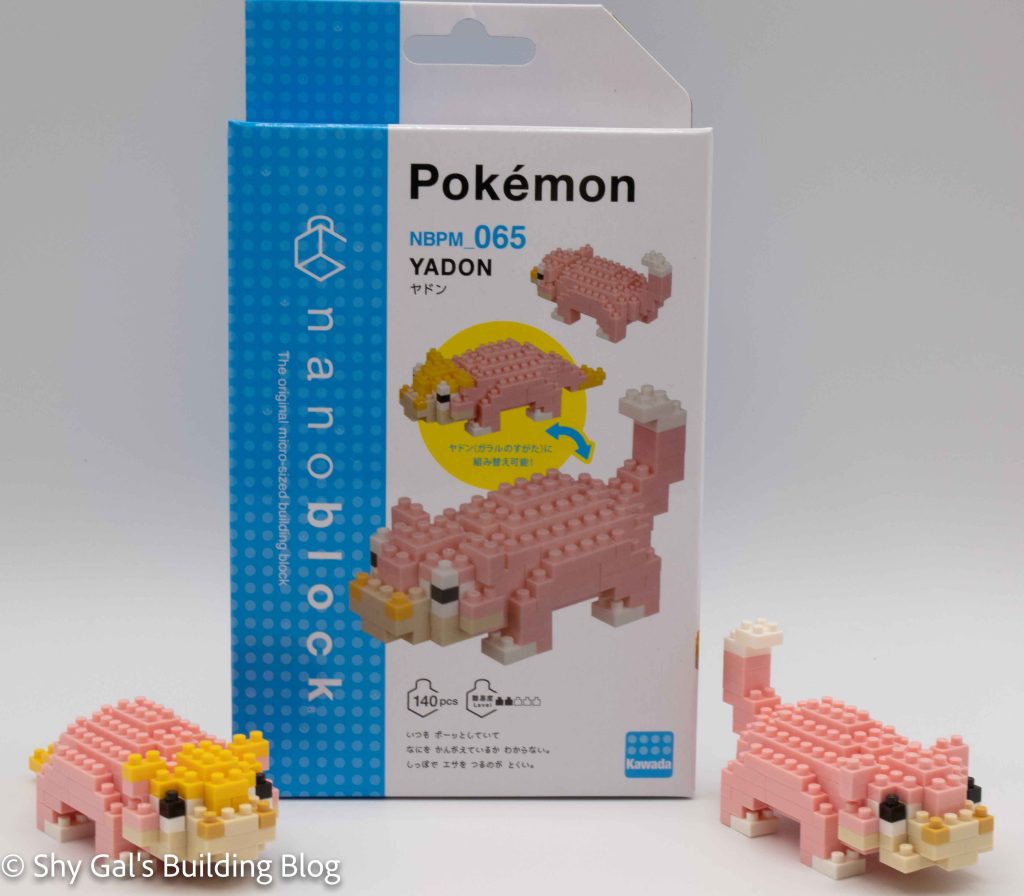
This post is a review of the nanoblock Slowpoke builds. Slowpoke is part of the nanoblock Pokemon collection. Wondering what else is part of the Pokemon Collection? Click Here for a list.
Names:
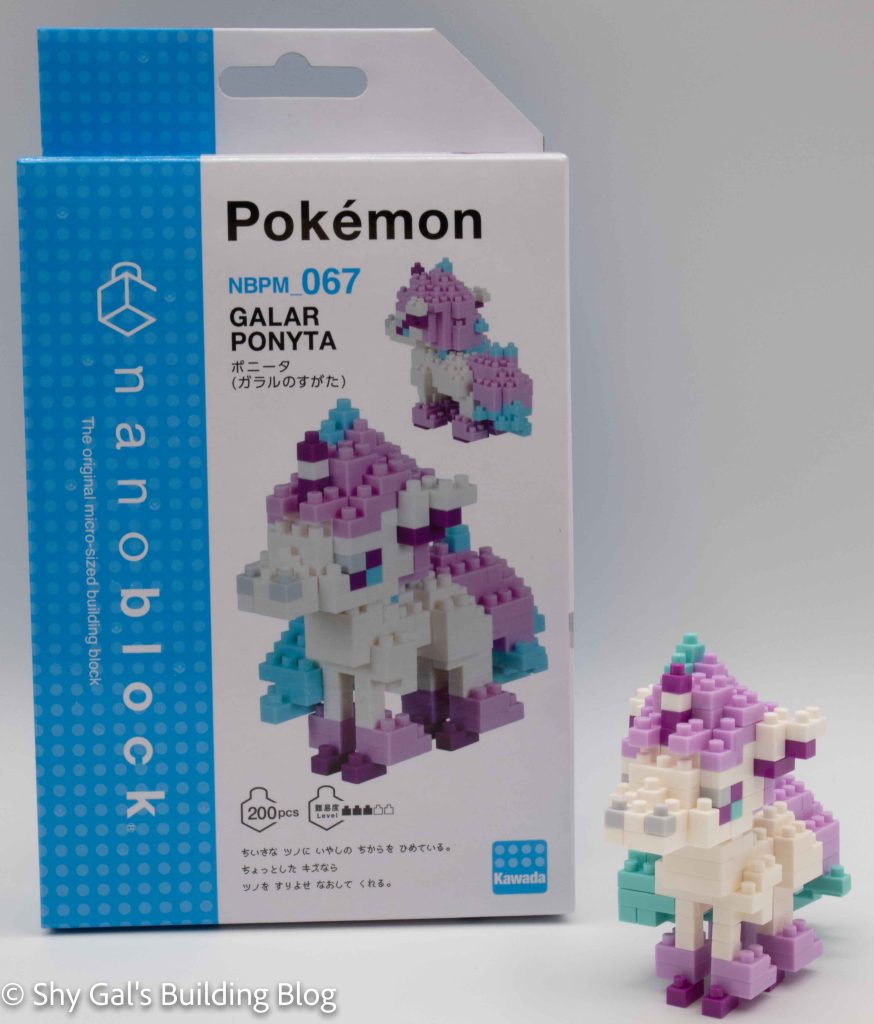
- English: Slowpoke
- Japanese: Yadon
Number: NBPM_065
Number of Pieces: 140
Difficulty Rating: 2/5
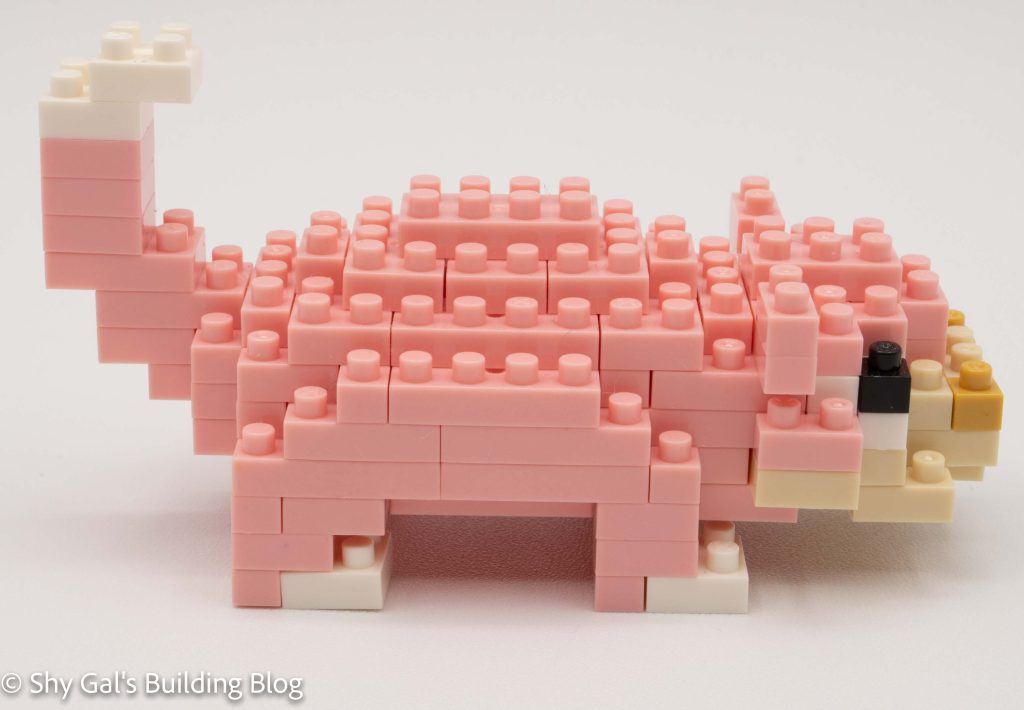
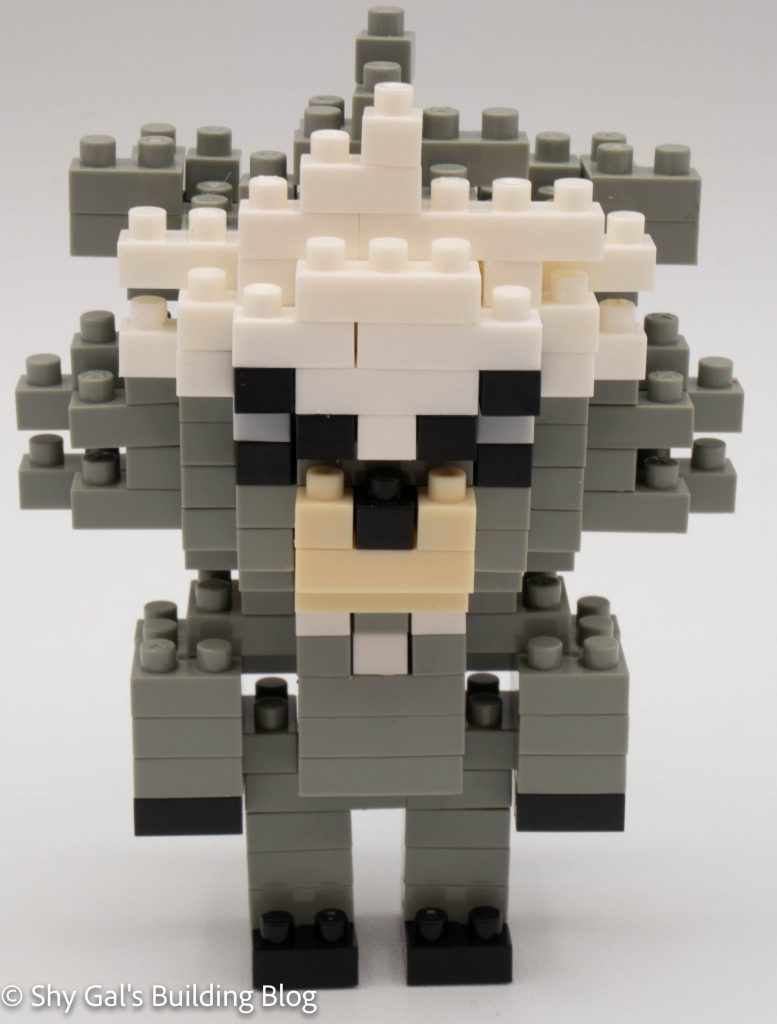
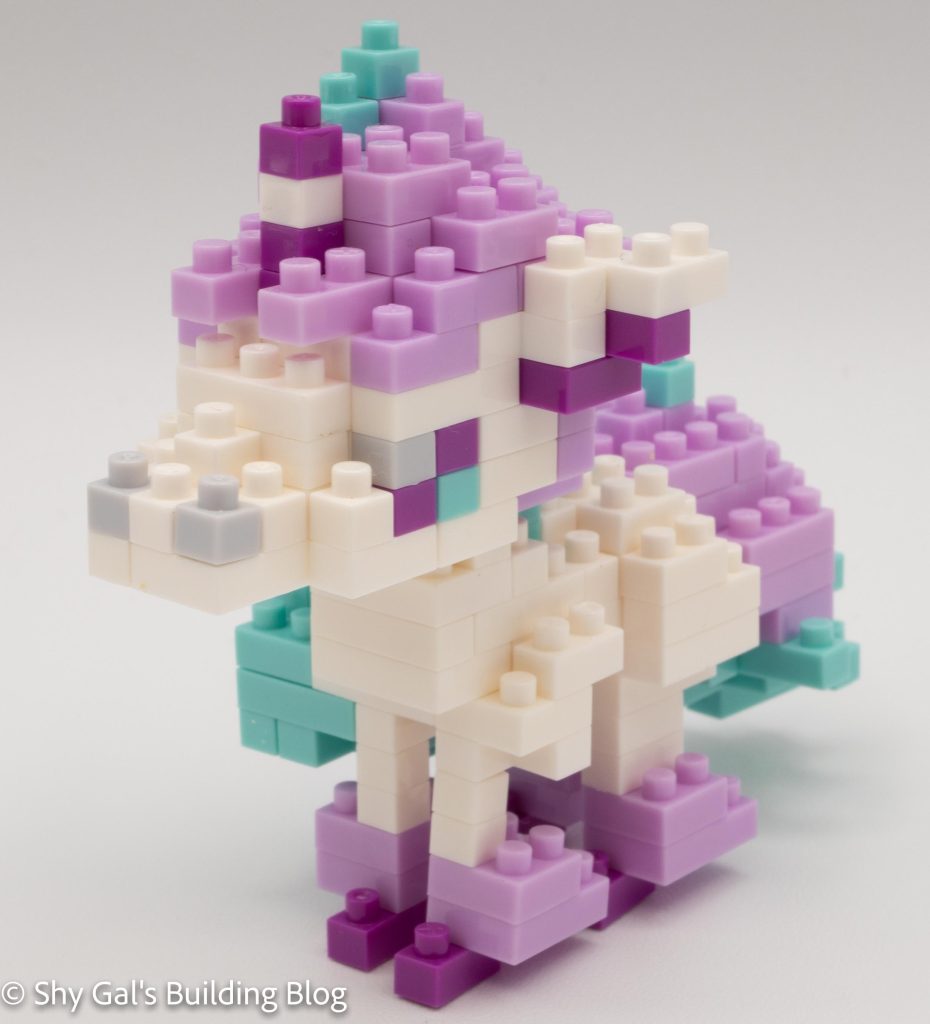
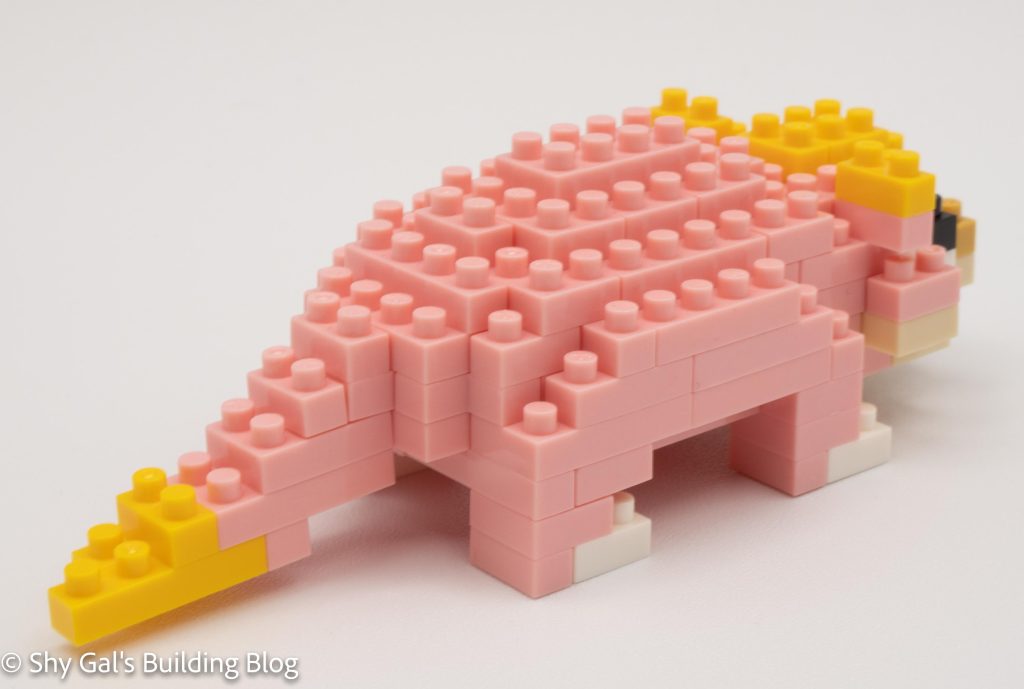
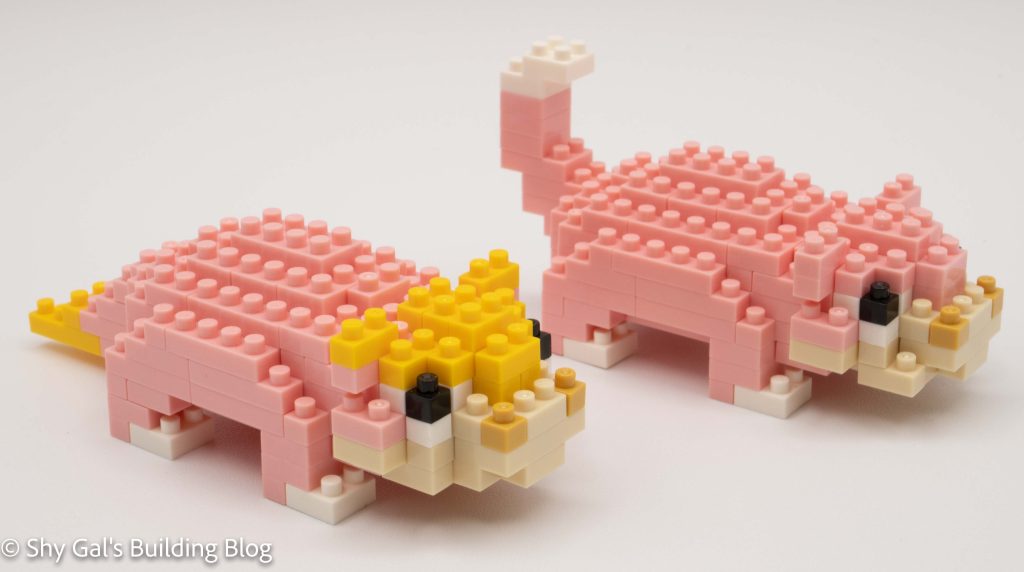
Slowpoke is a Pokemon that started in Generation 1 as a water/psychic-type. In Kanto and all the regions until generation 8, Slowpoke is a pink pokemon with a white tail. Unlike a lot of other Pokemon, it evolves into 2 different forms. In generation 8 in the downloadable content, Slowpoke is just a psychic-type with a yellow tail and more yellow on its head. It still has the same two evolutions.
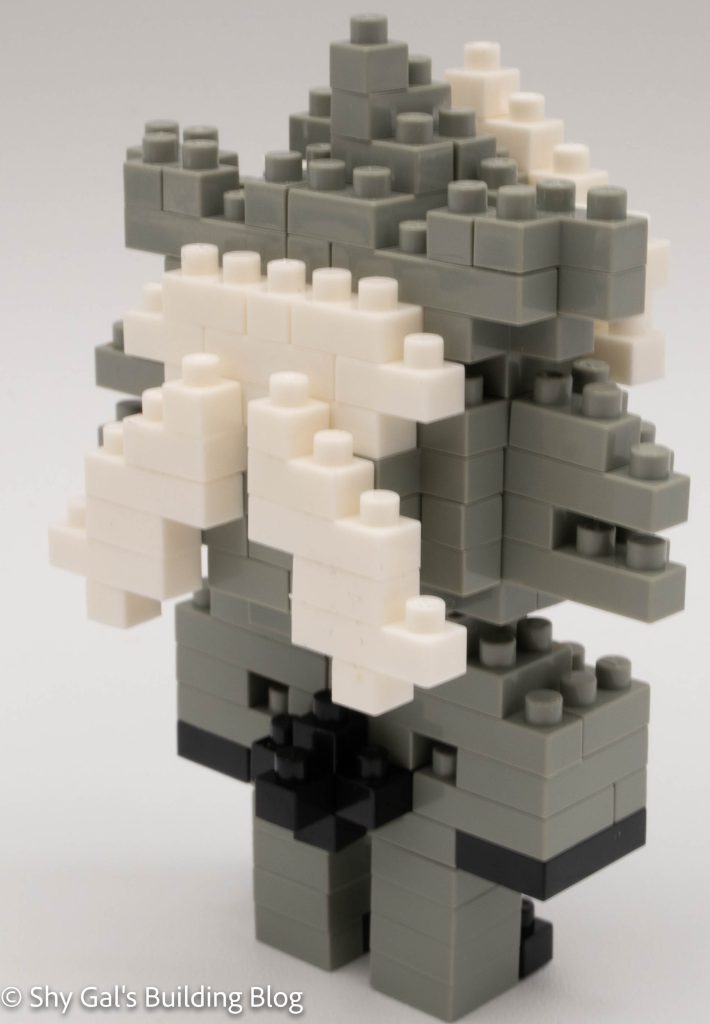
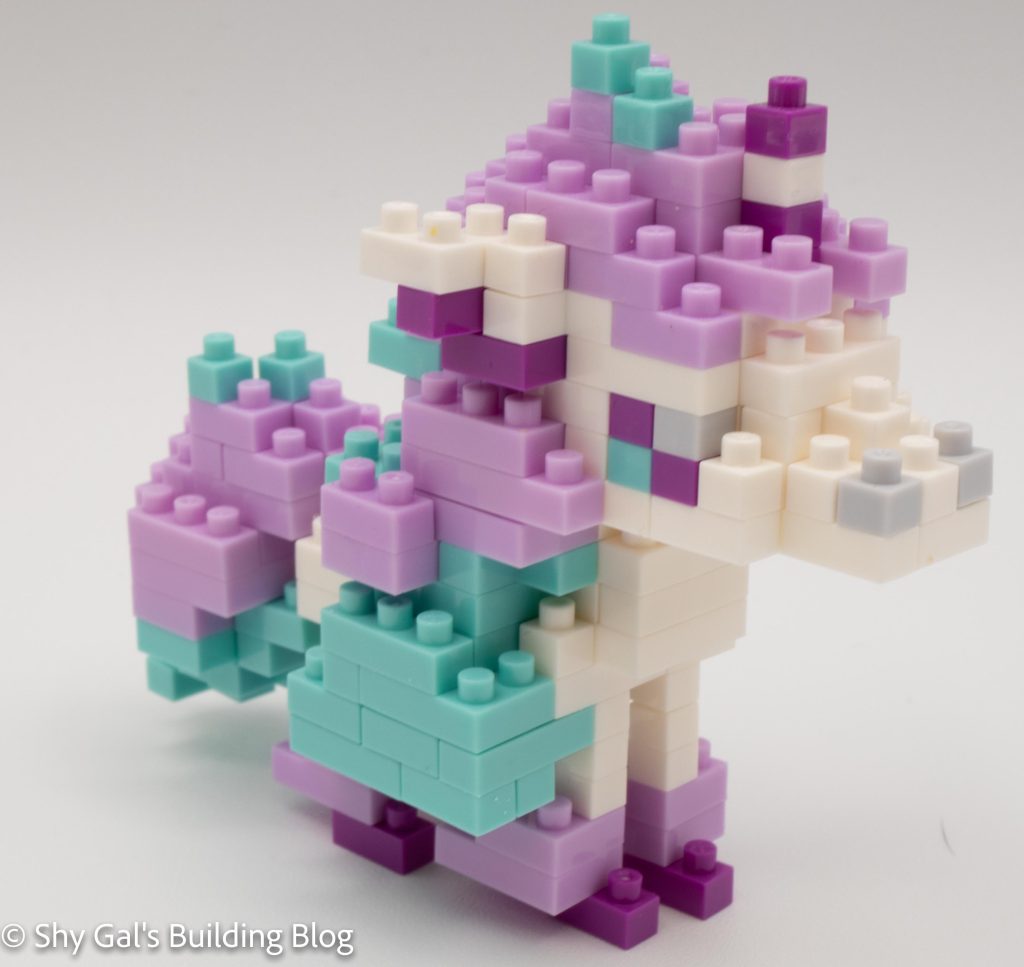
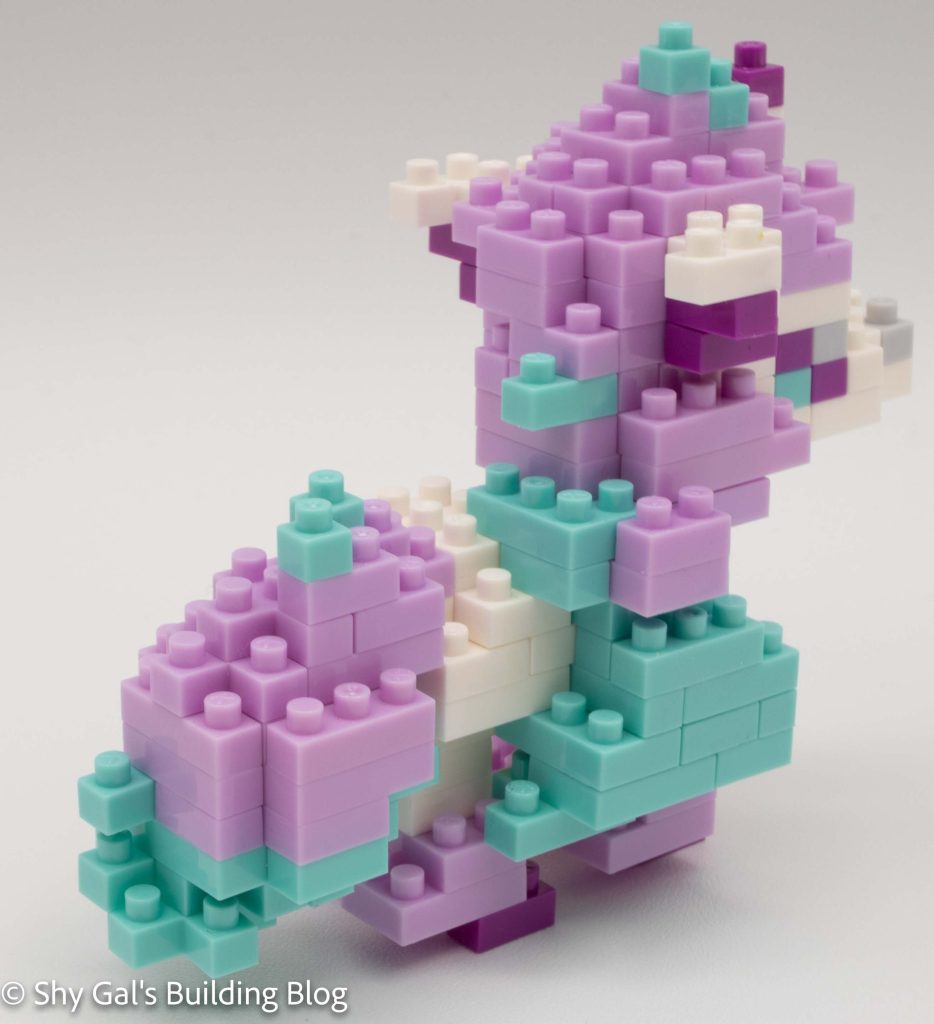
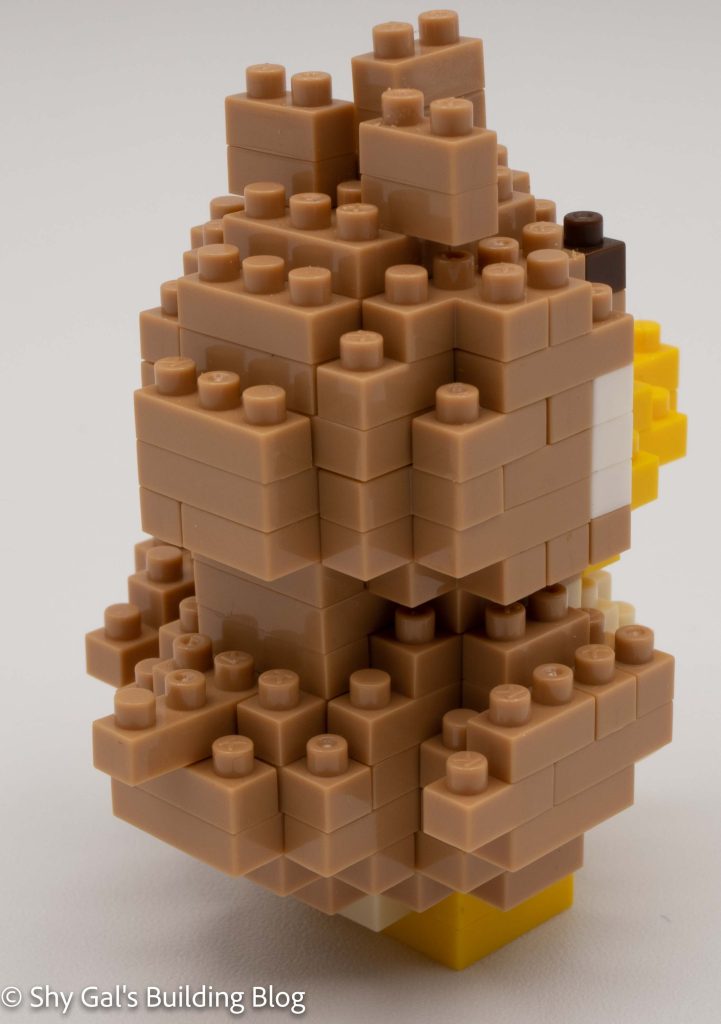
The build begins by building 2 separate base pieces and connecting them together. You then build the rest of the Pokemon up from the edges and up and around. Once you close up the top of the Pokemon, you attach the feet. Then you have a choice to make, and you going to make the Kanto variant with more pink and white or the Galar variant with yellow. Once you pick your build, you finish off the head and attach the tail to complete the build.
I was super excited that you got to pick which variant you wanted to build. I really like how both of the Slowpoke look, so I bought 2 kits to have one of each. I think both builds are recognizable and enjoyable.
Things I liked:
- That there are 2 forms in 1 package