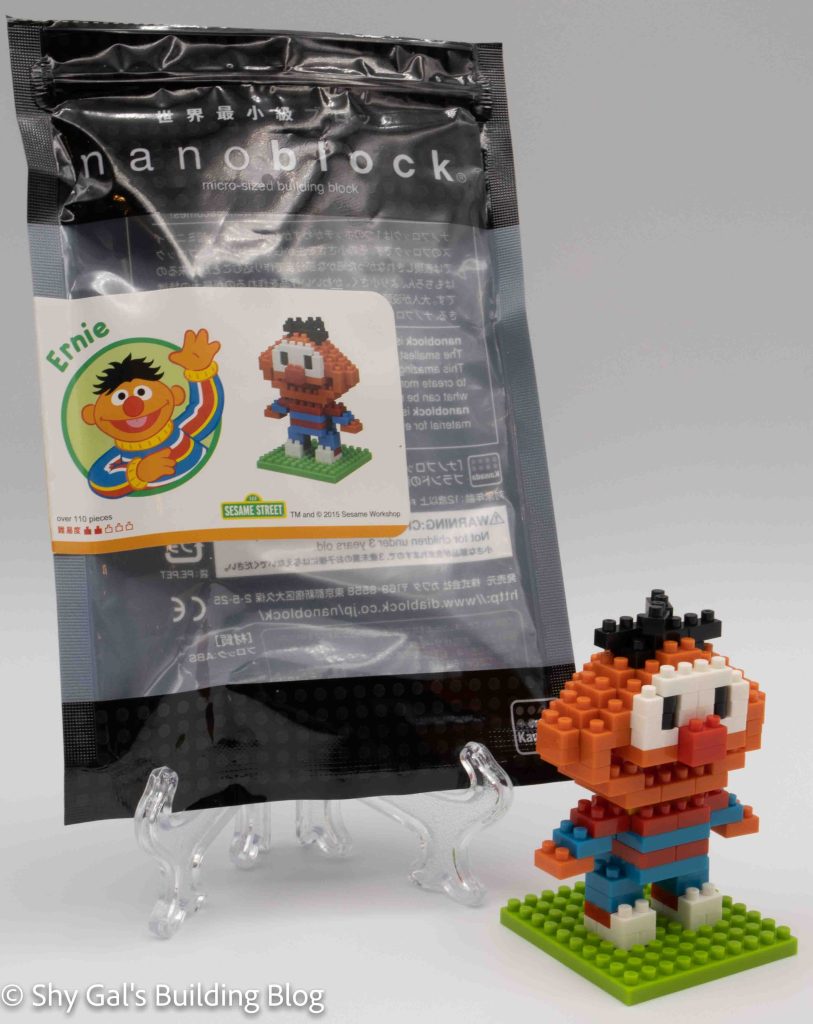
This post is a review of the nanoblock Ernie build. Ernie is one of the Universal Studios Japan (USJ) nanoblock kits. Wondering what else is part of the USJ builds collection? Click here for a list.
Number of Pieces: 110
Difficulty Rating: 2/5
Ernie is one of the muppets that live on Sesame Street. He lives with Bert and constantly annoys him. Ernie is always connected with rubber ducks because of his friend Rubber Ducky.
This set would have originally only been available at Universal Studios Japan, so I had to get it on eBay.
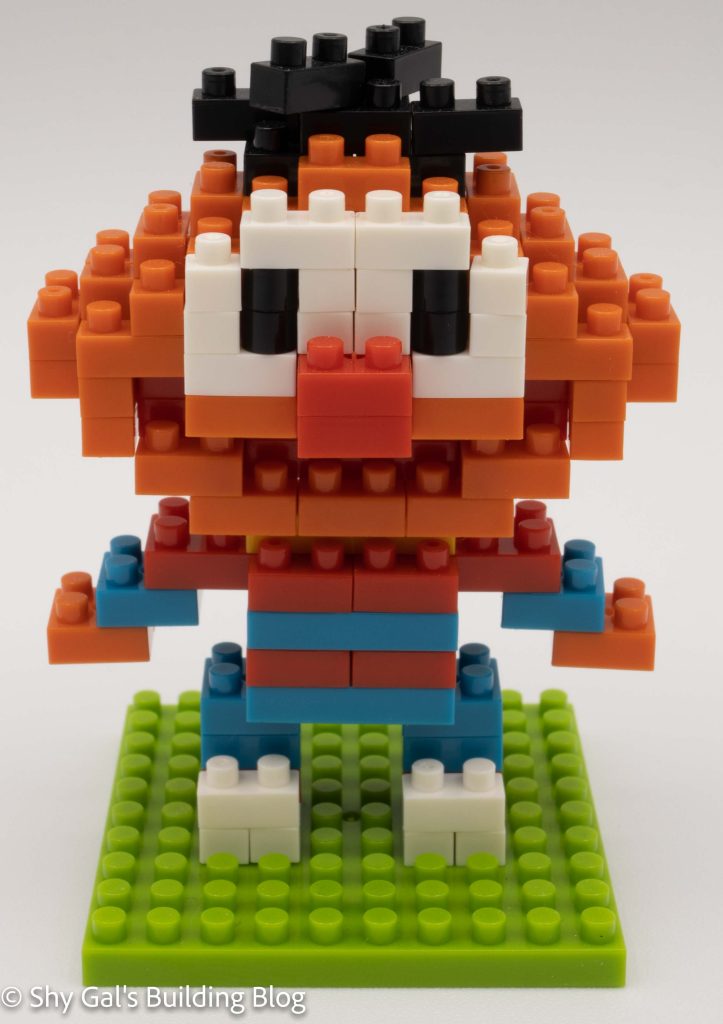
This nanoblock build is broken into 2 parts, the head, and the body. The body begins by building the white sneakers on a 10×10 base. Next, you build up the blue pants by adding layers of bricks. Then you add the stripy shirt with a yellow shirt collar. You also add the arms, which expands the stripes and the hands.
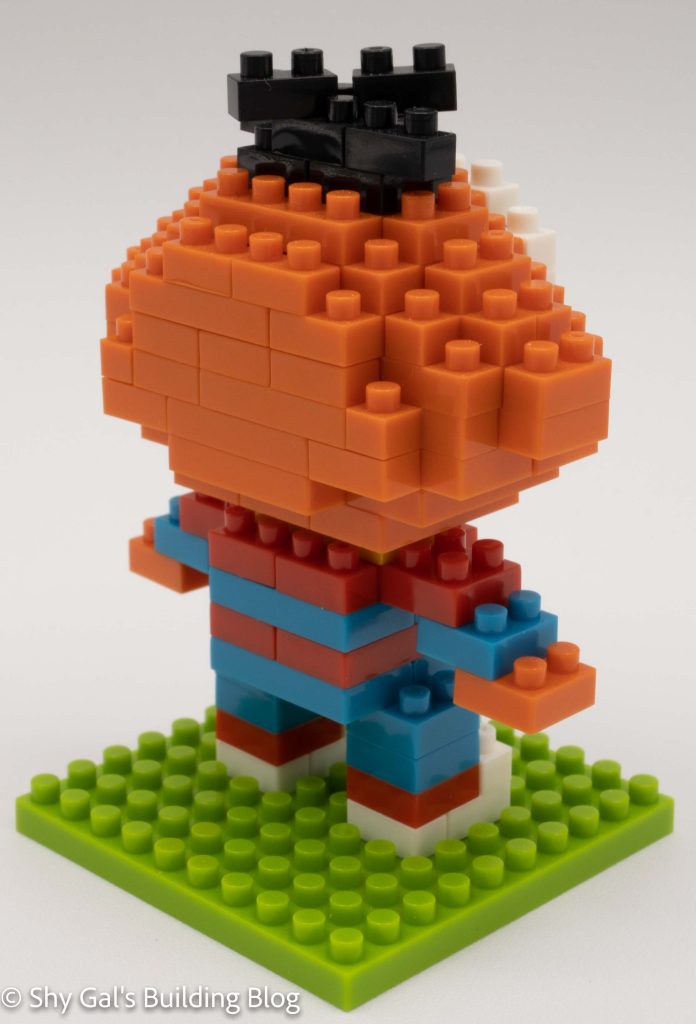
Then it is time to build the head. You begin with a base layer of bricks. Next, you add on more layers of bricks. By adding these bricks, you will create the inset mouth. Continue adding layers until you close up the head. Once you close the head, the final step is to add Ernie’s messy hair.
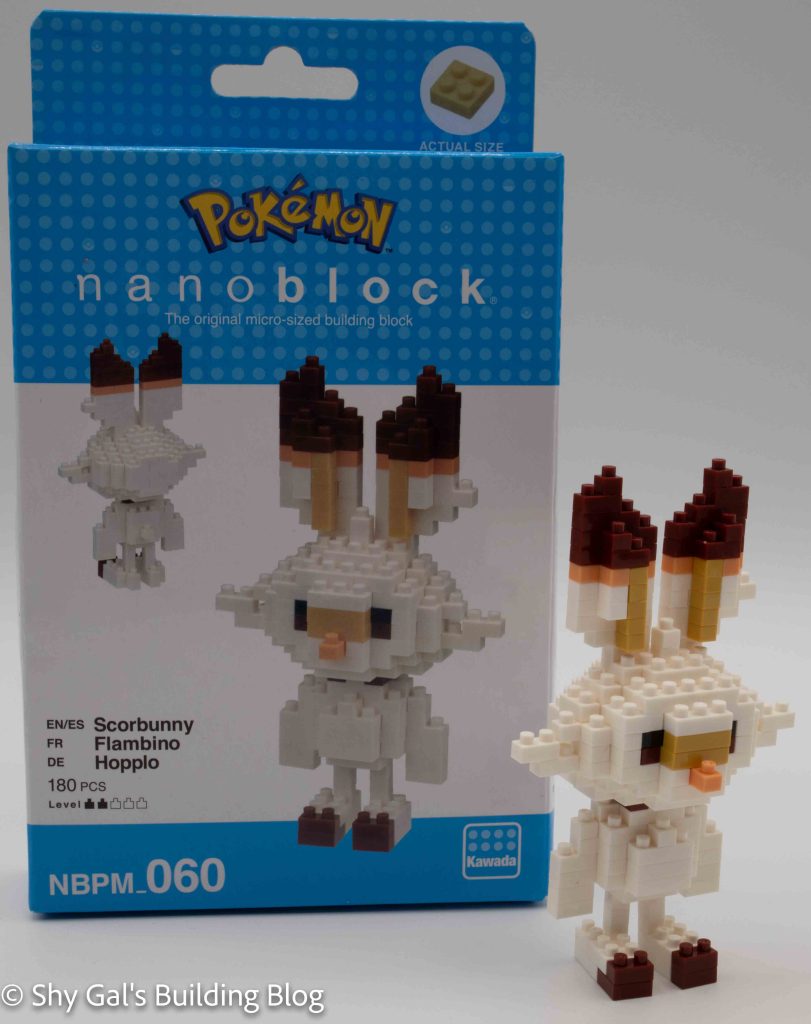
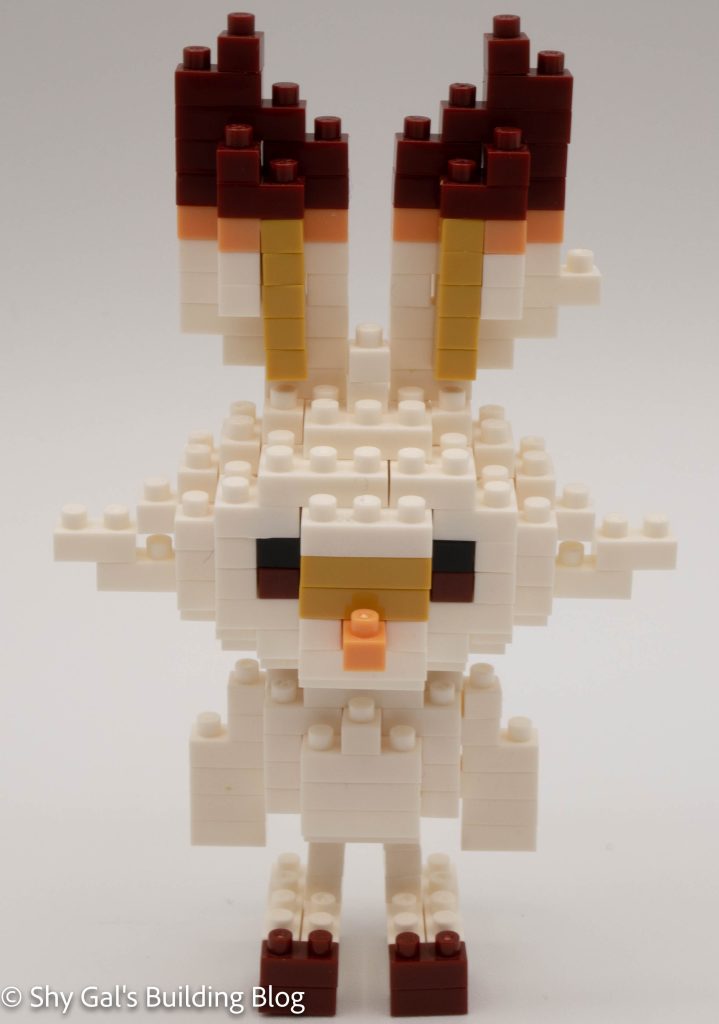
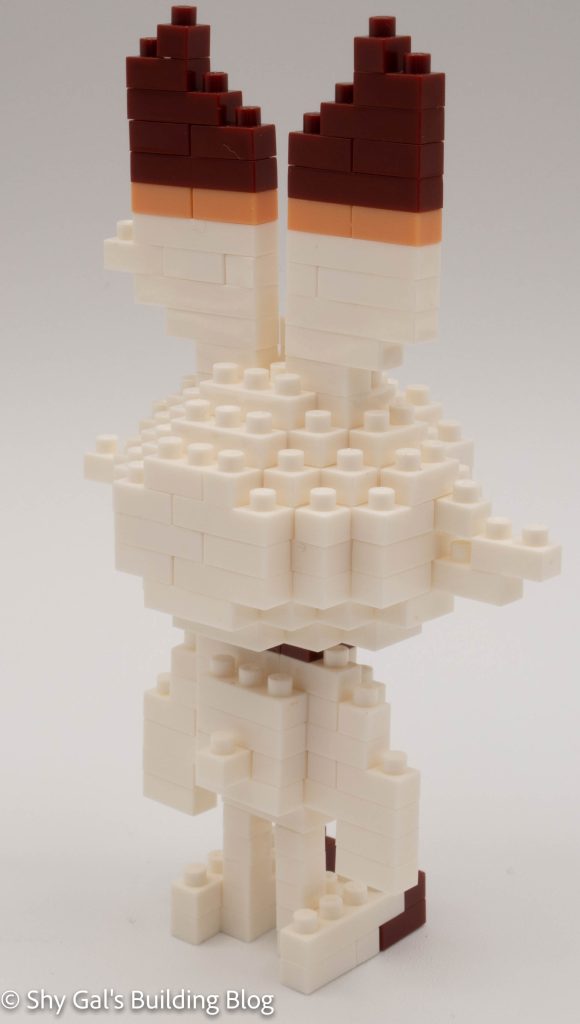
This post is a review of the nanoblock Scorbunny build. This build is part of the nanoblock Pokemon collection. Wondering what else is part of the Pokemon Collection? Click Here for a list.
Number: NBPM_060
Number of Pieces: 180
Difficulty Rating: 2/5
Scorbunny is the fire-type starter from generation 8. Scorbunny has orange ear tips in the games, which are very different from the maroon in the model.
As to the build, there are the body and head to build. In an unusual style for nanoblock, it is hard to tell the difference between what gets added in the current step and what was there in the step before. I think this is so much of Scorbunny is white. If you can keep the layers apart, it is pretty easy to build both the body and the head. I was worried that the model would have difficulty standing on his feet because his head was so large. I was pleasantly surprised to find that he could stand just fine. The colors don’t look right to me, and I find Scorbunny highly muted.
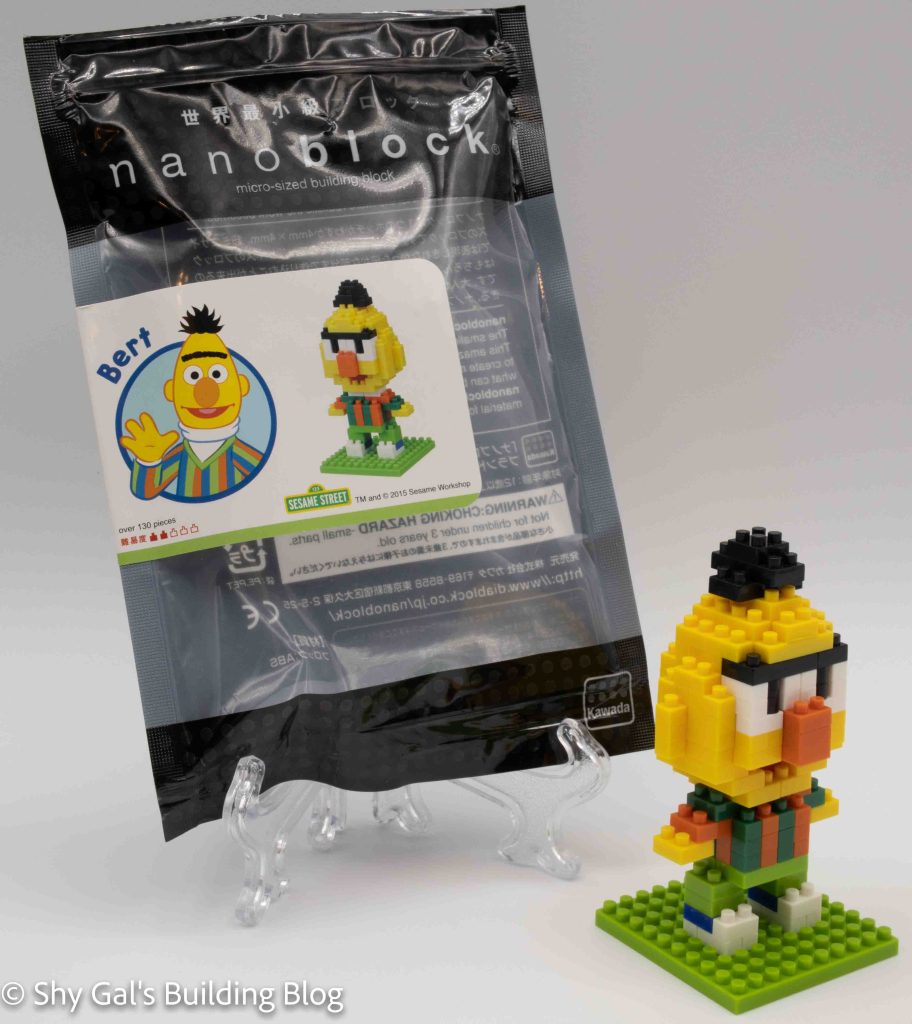
This post is a review of the nanoblock Bert build. Bert is one of the Universal Studios Japan (USJ) nanoblock kits. Wondering what else is part of the USJ builds collection? Click here for a list.
Number of Pieces: 130
Difficulty Rating: 2/5
Bert is one of the muppets that live on Sesame Street. He likes paperclips and pigeons. Bert lives with the overly energetic Ernie and is regularly annoyed by Ernie.
This nanoblock set would have originally only been available at Universal Studios Japan, so I had to get it on eBay.
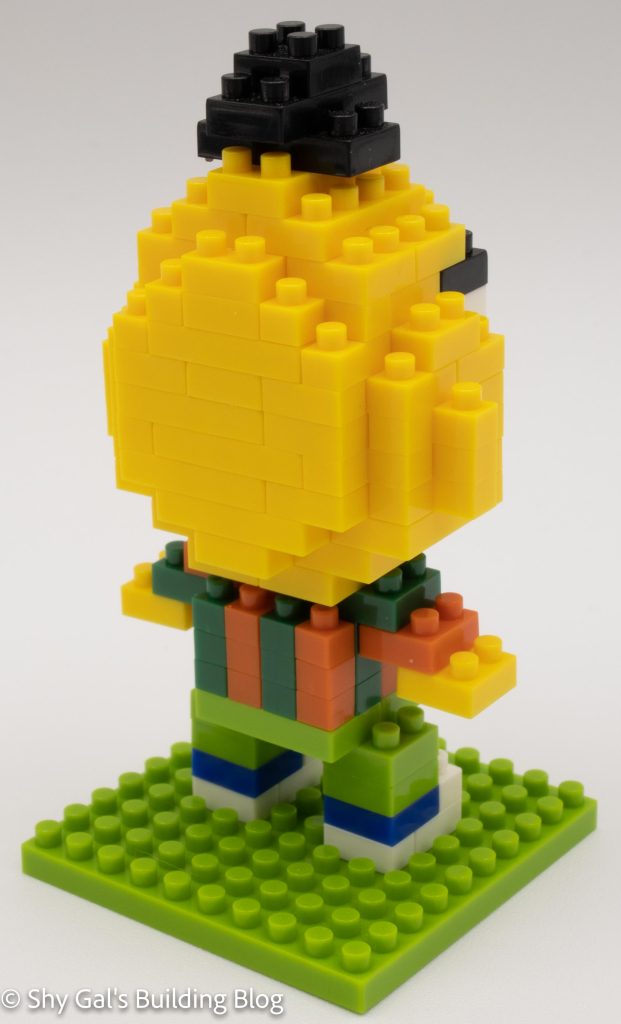
There are 2 parts to this build: the head and the body. Bert’s body begins by putting shoes on a 10×10 green base. Next, you layer up the legs using just green bricks. Then you build the striped shirt out of orange and dark green bricks. The final step of the body build is to attach the arms and hands.
After you finish the body, you need to build Bert’s head. The head starts with a base of yellow bricks. You then build up layers creating an inset mouth. After making the mouth, you go directly to Bert’s massive nose in the next layer. You continue adding layers and details like eyes until you reach the top of the yellow head. The last step for this build is to add the hair, which is basically a pyramid stacked on the top. Now that you have the completed head attach it to the body and have a completed build.
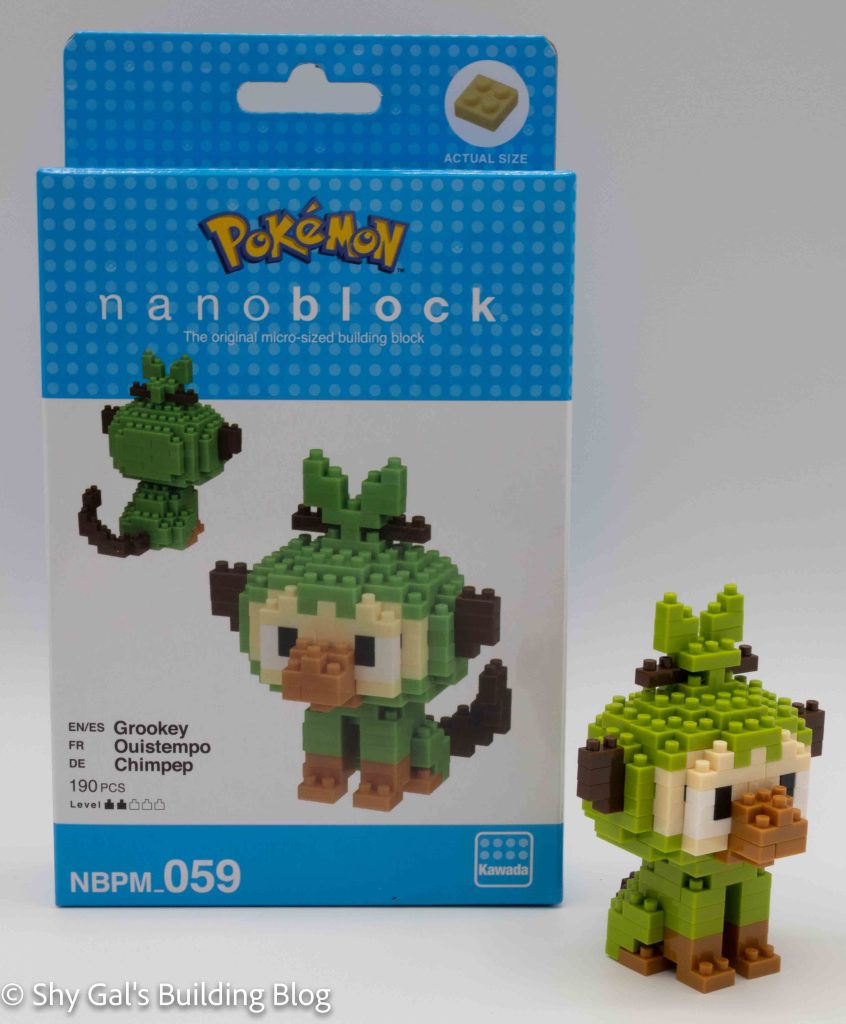
This post is a review of the nanoblock Grookey build. Grookey is part of the nanoblock Pokemon collection. Wondering what else is part of the Pokemon Collection? Click Here for a list.
Number: NBPM_059
Number of Pieces: 190
Difficulty Rating: 2/5
Grookey is the grass starter from generation 8. It’s known for poking things which shouldn’t be much of a surprise because its final evolution is a drummer.
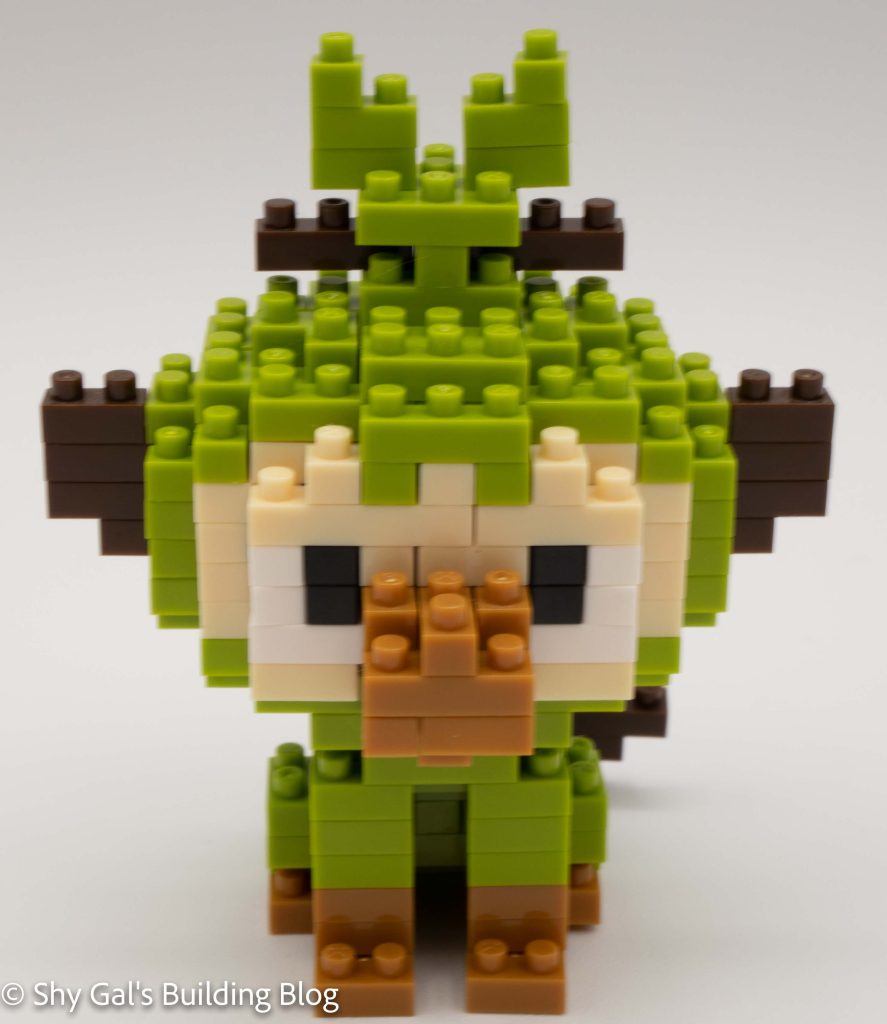
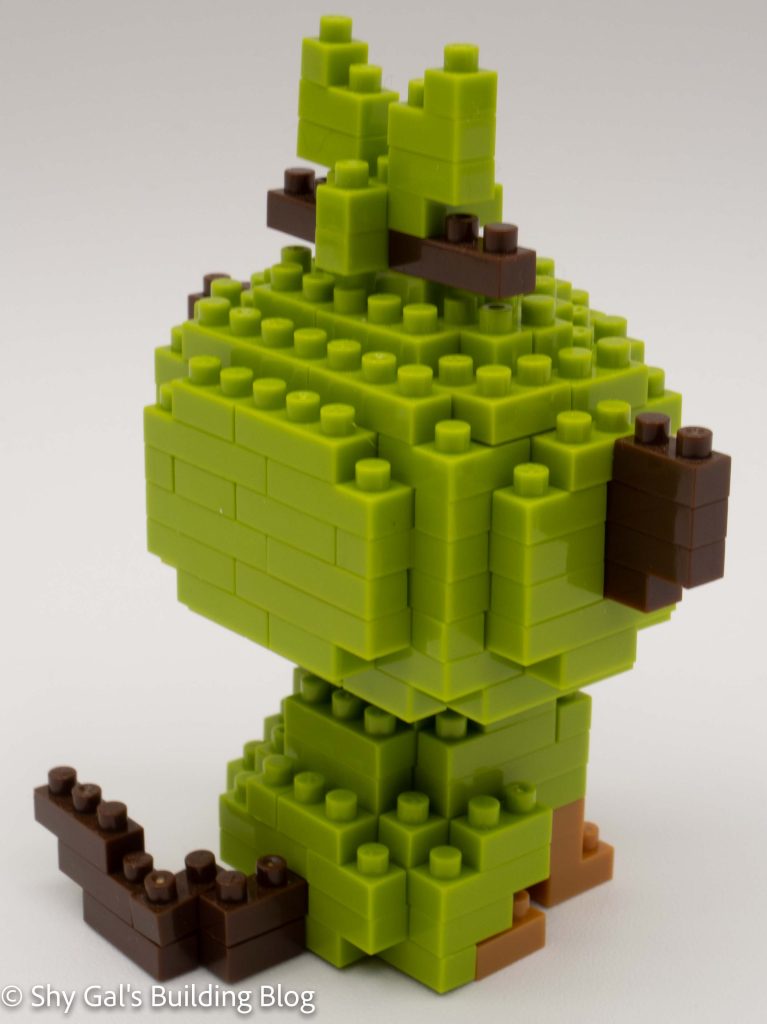
The build is broken up into 2 builds the body and the head. It is hard to tell the difference between the brown and golden brown in the directions. The body is a straightforward build that is built up by adding layers of bricks to create a hunched-over body. It can be a bit tippy when it’s done if you don’t attach the base feet quick enough. The head is an average sphere build where you start with a base and build around the outside and eventually close up the sphere. Then you add Grookey’s branch and top fur.
Overall I really like the build, and I feel that Grookey is highly recognizable. I think that the colors match the pokemon overall very well.
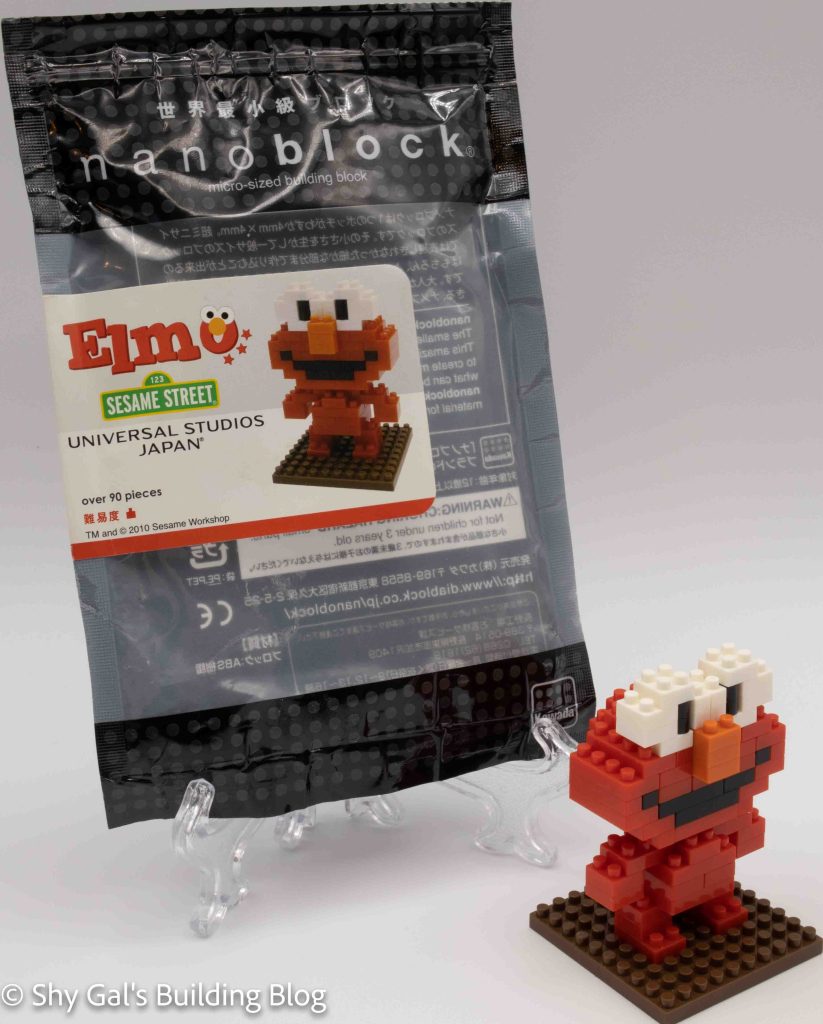
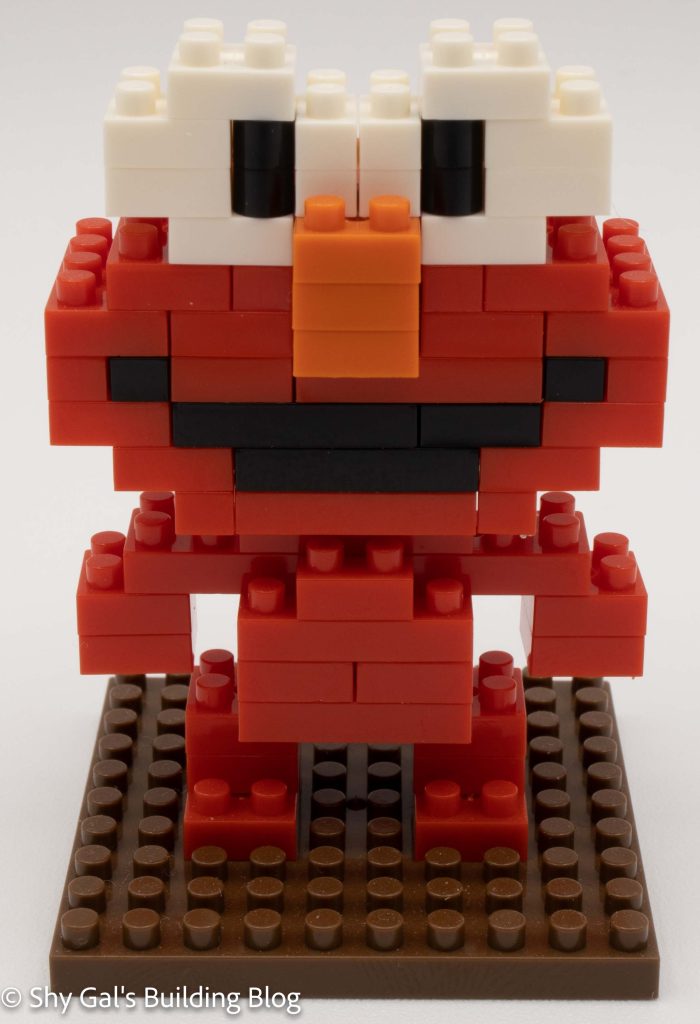
This post is a review of the nanoblock Elmo build. Elmo is one of the Universal Studios Japan (USJ) nanoblock kits. Wondering what else is part of the USJ builds collection? Click here for a list.
Number of Pieces: 90
Difficulty Rating: 1/5
Elmo is a muppet monster that lives with his parents on Sesame Street. He is a very curious little monster.
This nanoblock set would have originally only been available at Universal Studios Japan, so I had to get it on eBay.
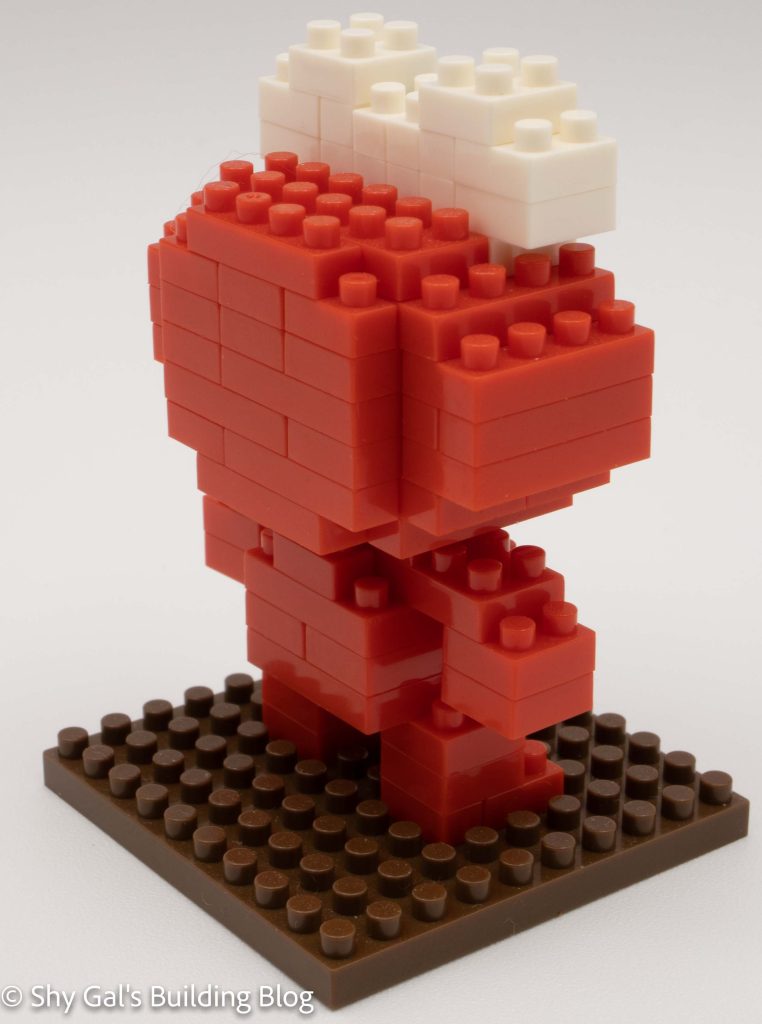
This build is broken into 2 parts: a body and a head. Elmo stands on a brown 10×10 base. The first step is to add the feet to the base. After adding the feet, you add the legs and the torso to the bottom. Then you add the little arms and lock the arms to the body with a brick.
Once you have completed the body, it’s time to move on to the head. The head starts with a base of red bricks. You then build the head up in layers. Unlike the other Sesame Street builds, the mouth isn’t inset and is flat with the rest of the mouth. So you simply build up the head by adding layers. They add the details of the mouth, nose, and eyes.
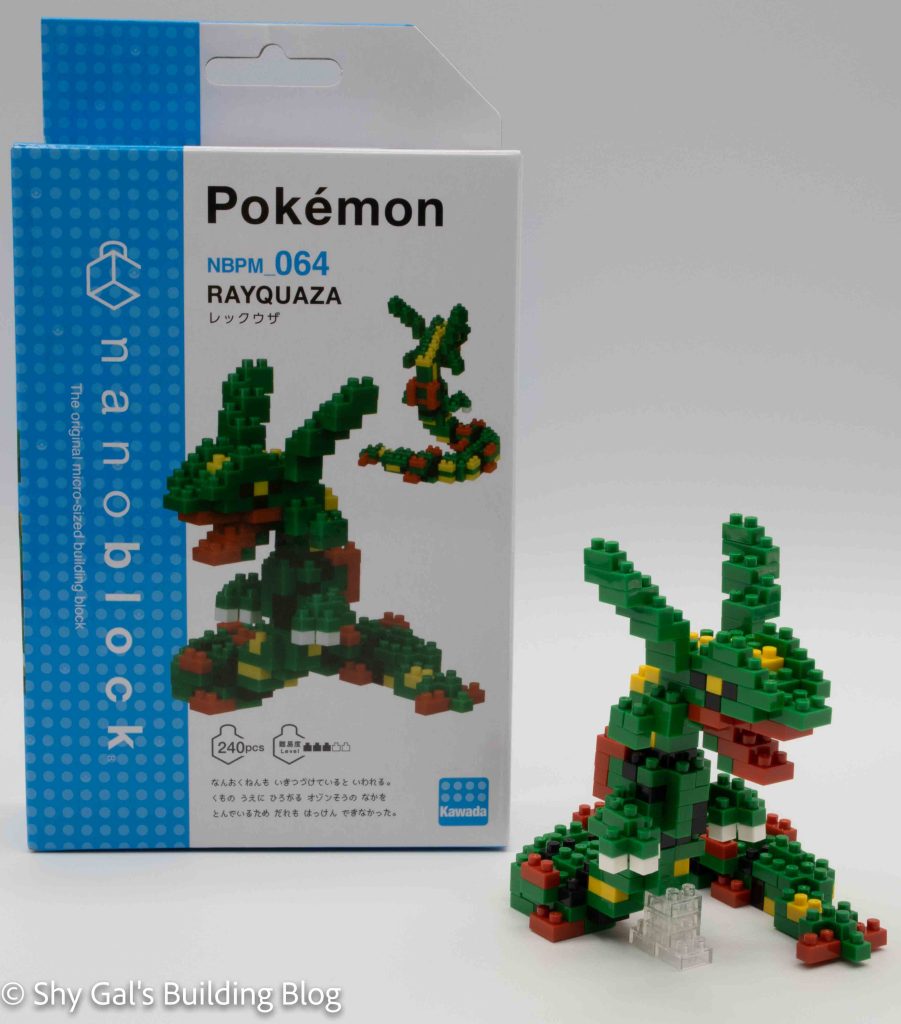
This post is a review of the nanoblock Rayquaza build. Rayquaza is part of the nanoblock Pokemon collection. Wondering what else is part of the Pokemon Collection? Click Here for a list.
Number: NBPM_064
Number of Pieces: 240
Difficulty Rating: 3/5
Rayquaza is one of the 3 legendary Pokemon from generation 3. The 3 legendary pokemon from generation 3 are extremely popular and have appeared in most games since gen 3. The three legendary Pokemon, Kyogre, Groudon, and Rayquaza, all remind me a little bit of the traditional art of the Native Americans of the Pacific Northwest with how their lines are drawn and the use of rings.
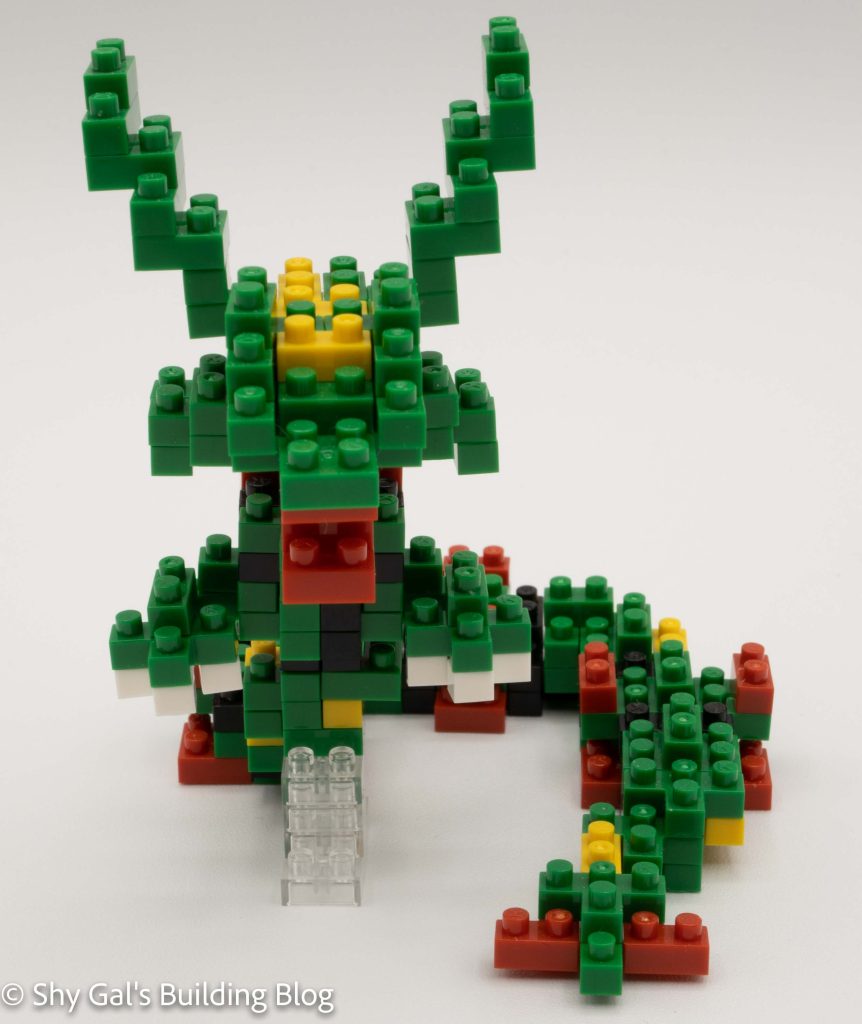
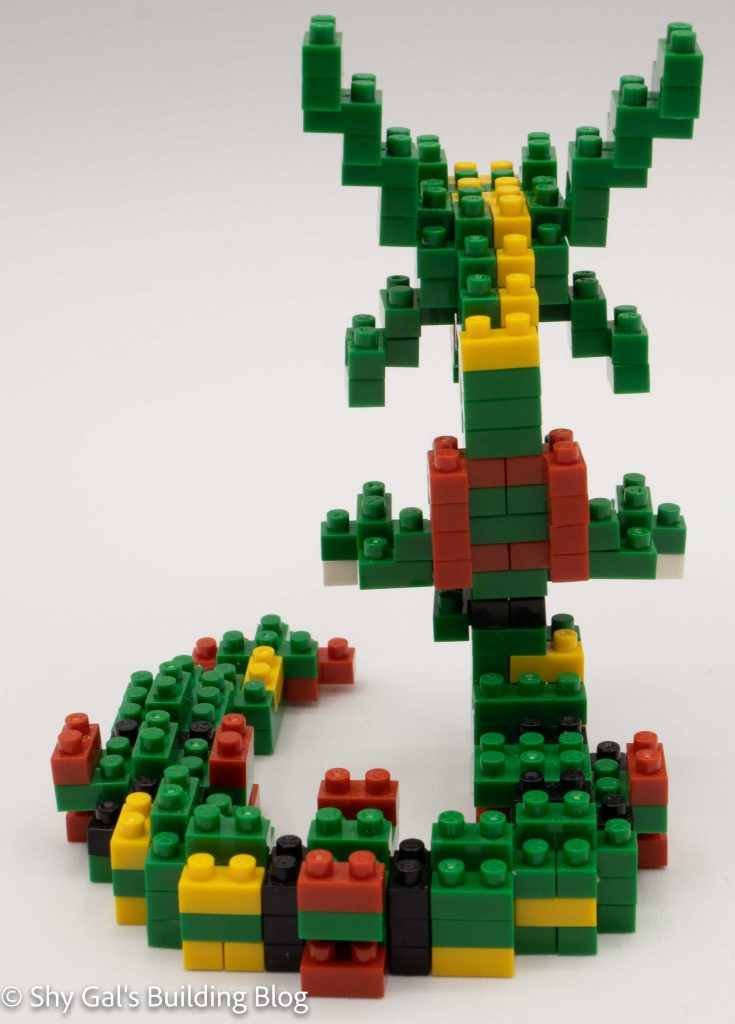
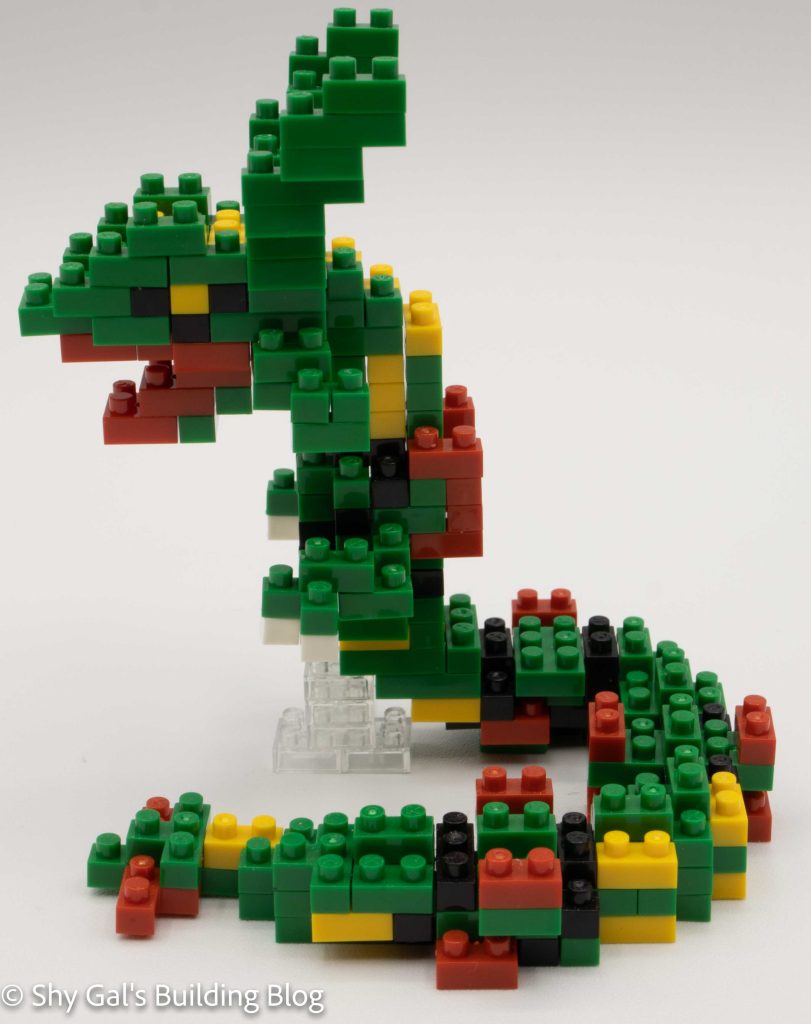
In my opinion, this build should be a 4/5, not a 3/5, because of how tricky it is to get everything up. Rayquaza is a very long narrow Pokemon, more like a snake than anything else. Things are different from an average Pokemon build from the beginning because the base is in the shape of an L instead of a square or rectangle. As you build up from the bottom, you constantly have one or 2 studs hanging over. Next, you build another chain of brick similar to the base. Then you add the chunk of the body that is straight up and down to hold the head. This includes adding the arms that are chains connected by single studs. The final step is to add the head. The head is a much more straightforward build than getting the body together. You then connect the body to the base and have completed Rayquaza.
Rayquaza is a highly detailed Pokemon; generally, it is green with red and yellow markings. I really like how the build includes those details. The build is more complicated than many of the level 3s I have completed because of the balancing act of creating the build.
Things I liked:
The amount of detail in the final build from the use of color
Things I didn’t like:
The final build feels flimsy, so I’m always nervous about moving it.
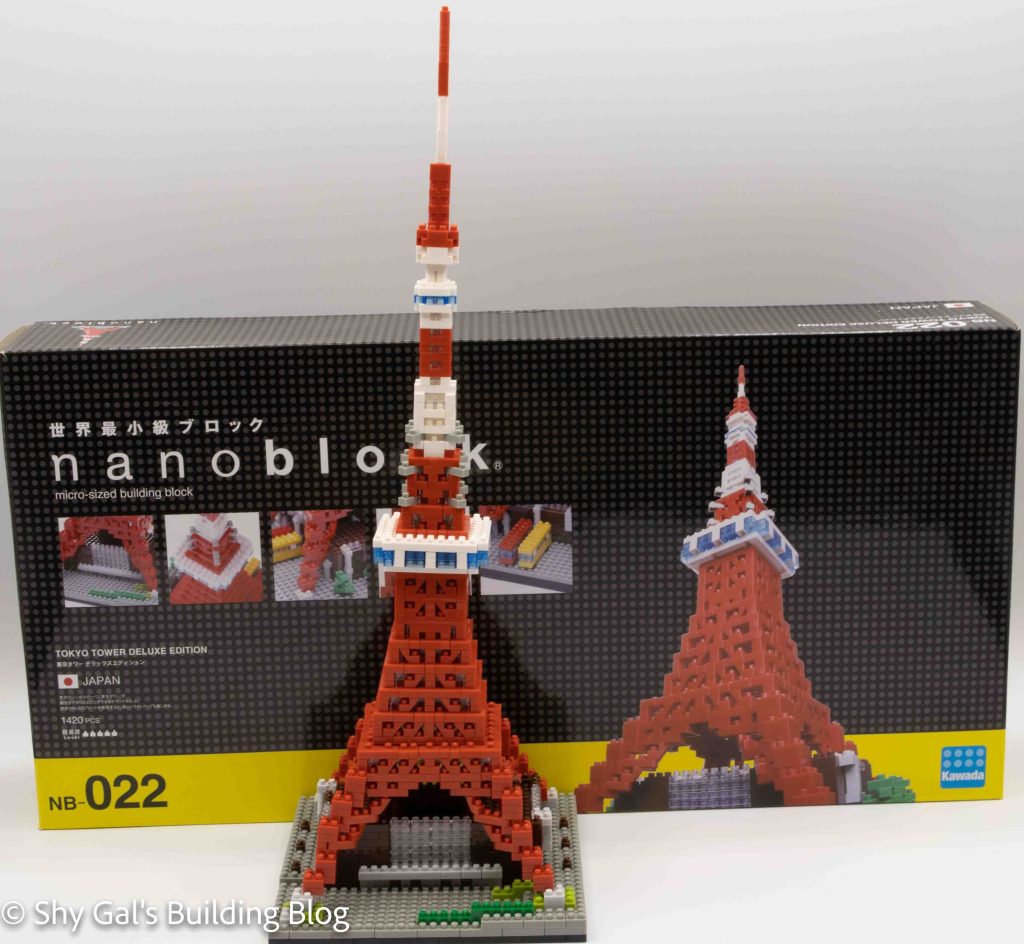
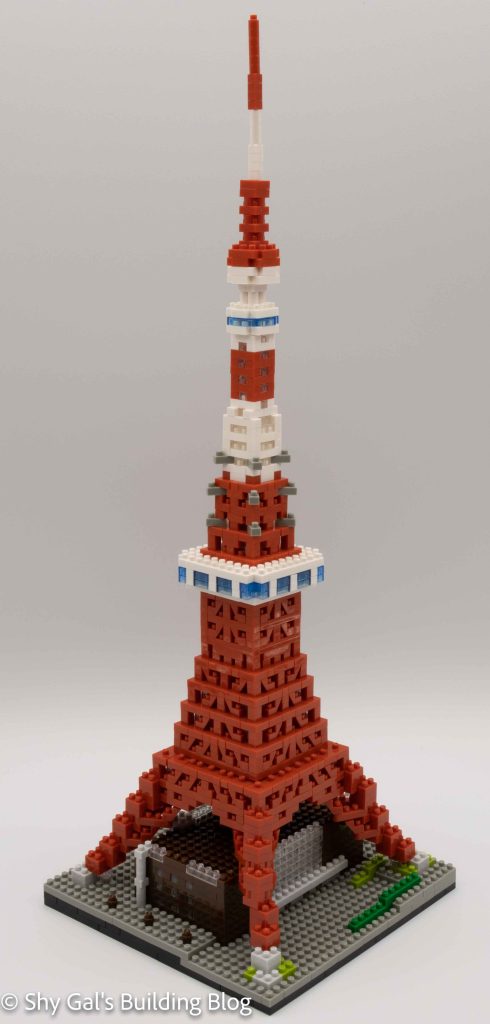
Tokyo Tower is one of the more recognizable sites in Tokyo, Japan. It is the landmark you often see in movies or anime that tells you that the events are happening in Tokyo. It is a red and white radio tower. I haven’t had the chance to see it in person, but it is on my travel list when I go to Tokyo. The Deluxe build for Tokyo Tower is like no other nanoblock kit I have made before. I’m sure there are similar builds in the other deluxe builds, but I haven’t gotten there yet.
The build is broken up into sections A-E. Each section is the base or a section of the tower that is similar. I built things a section at a time. Overall, steps A and B included the most areas that I had to rebuild.
The first thing I had to figure out was how to organize all the nanoblocks. While working on the build, I tried several different methods. I’ll share my opinions on brick storage for just standard storage and working on large builds in another post.
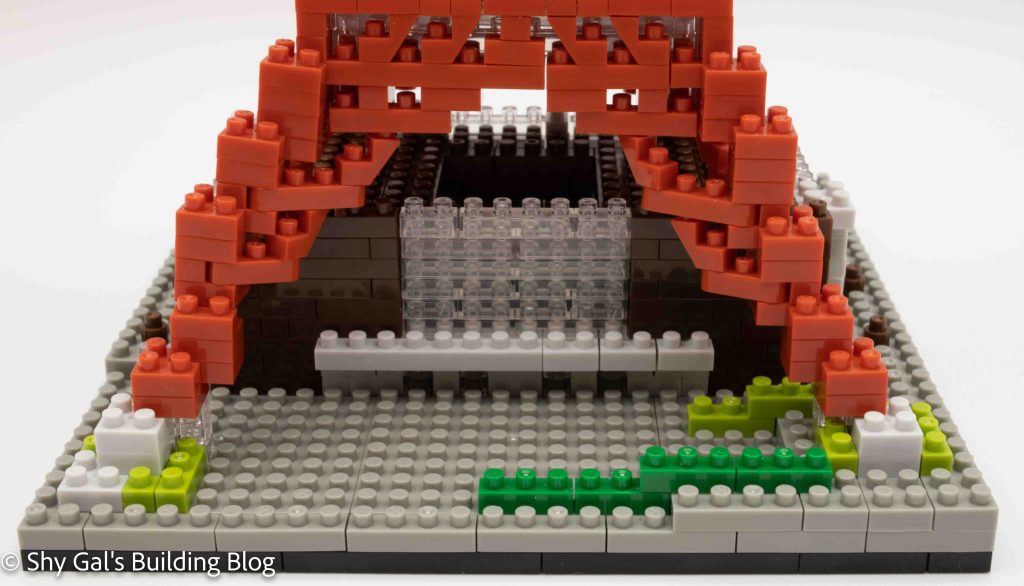
Section A is the base of the tower. Unlike the lego builds I have done, nanoblock doesn’t have baseplates, so you need to make your own. You do this by laying out 2 by something size bricks in squares and placing 10x1o squares on top. This part was a bit tricky because it doesn’t like to lie flat, so I ended up investing in one of the rubber hammers that people use to make sure LEGOs are together. Section A includes the building at the base. The building requires excellent attention to detail because it can be hard to distinguish between the clear and light grey brick. Section A also includes the brinks to connect the tower to the base.
Section B is the first part of building the tower. You begin by making a square that ends up being at the top of Section B. You then build the legs that connect the tower to the base. I found this part to be tricky because the legs are flexible and shift from side to side. It was also tricky getting all four legs into the exact spot needed to attach to the base.
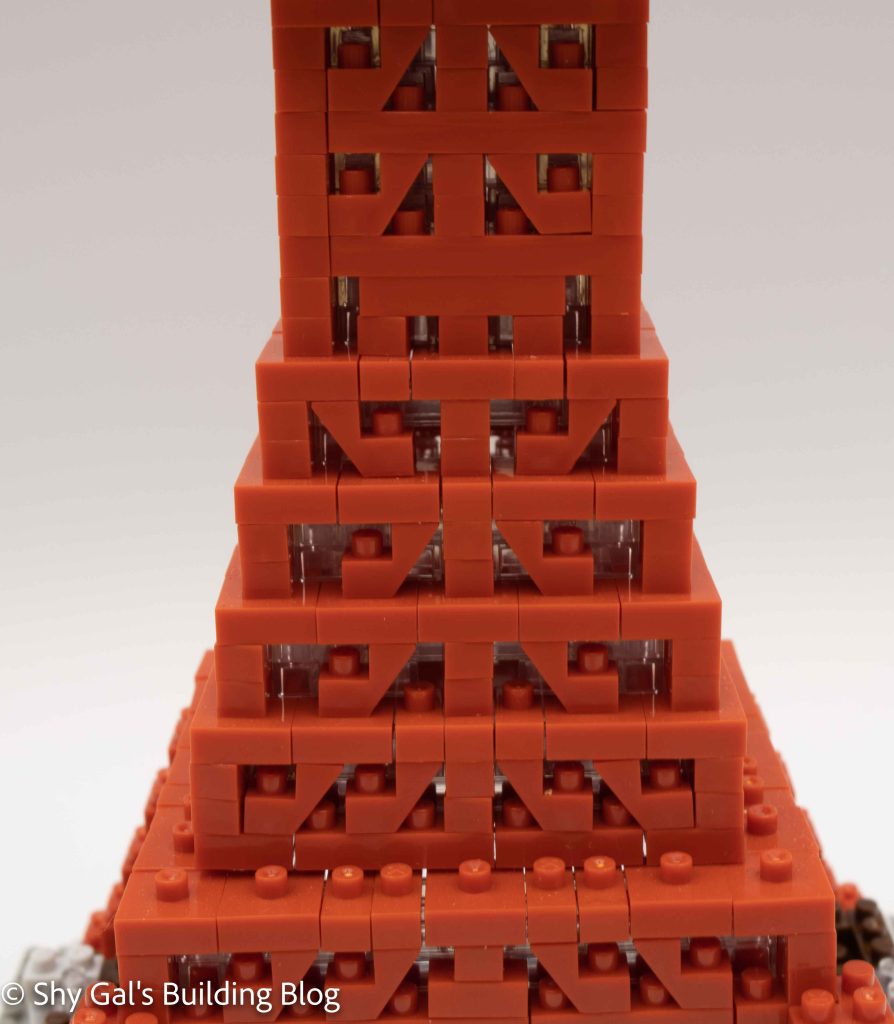
Section C is a reasonably straightforward build. It is working to build the height of the tower. You start with a square outline and build up from there. The directions to make the lattice are clear, so you know that you build the right thing.
Section D has the observation level and the first white stripe that gives Tokyo Tower its distinctive look. Once you build the observation deck, you continue to build up the tower’s height.
Section E is the top of the tower. It is primarily a pillar made of 1×1 nanoblocks.
Overall I really enjoyed each layer of the tower. I really enjoy the lattice on the tower and how it really looks like the actual tower. I’m saddened that my base doesn’t sit flat, even though I was really careful while building.
Things I liked:
The amount of detail and how it looks like the lattice of the real tower
Things I didn’t like:
The top of the tower is a line of single bricks so it is hard to get it straight.
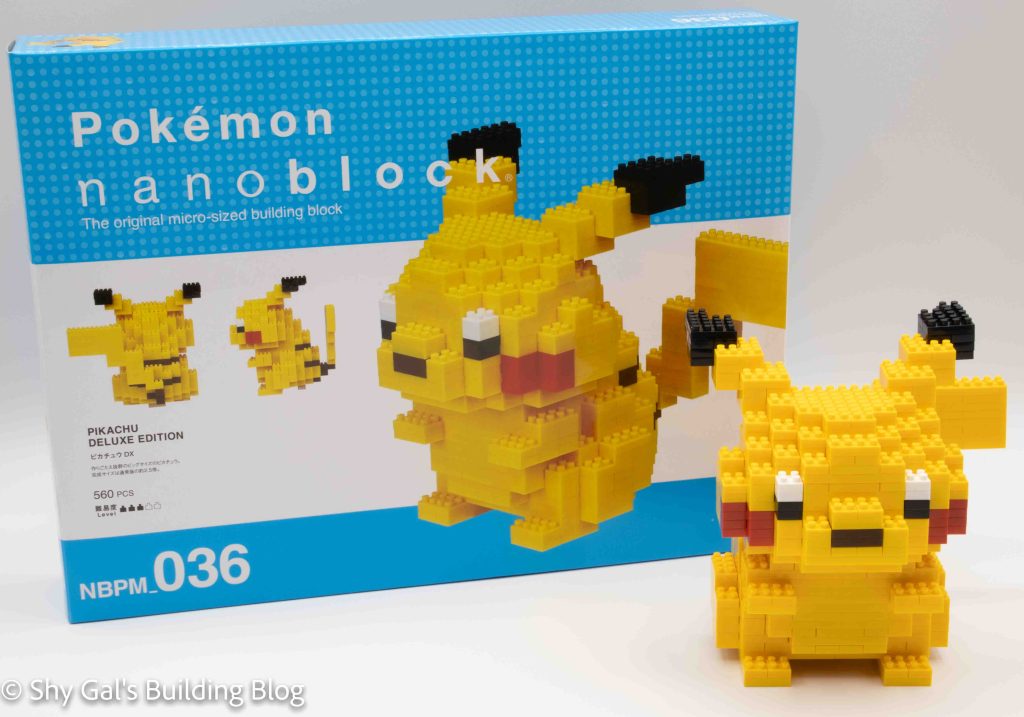
This post is a review of the nanoblock Pikachu Deluxe Edition build. This build is part of the nanoblock Pokemon collection. Wondering what else is part of the Pokemon Collection? Click Here for a list.
Number: NBPM_036
Number of Pieces: 560
Difficulty Rating: 3/5
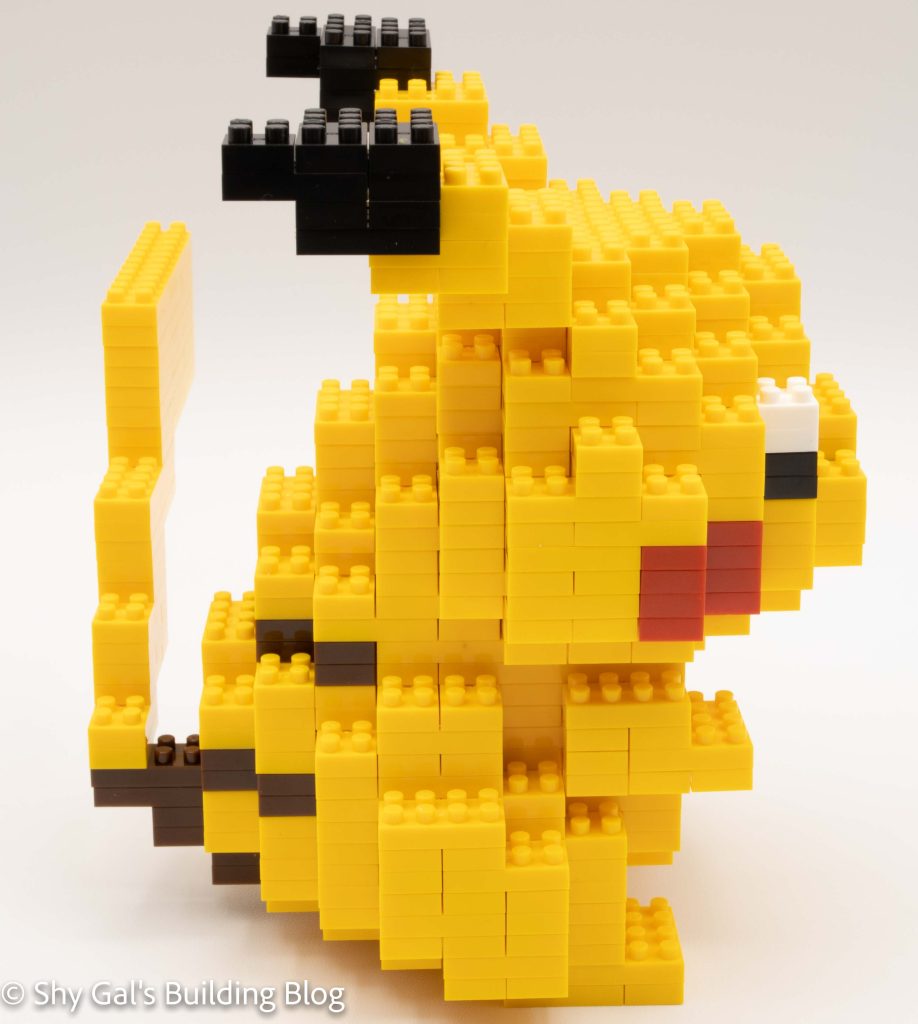
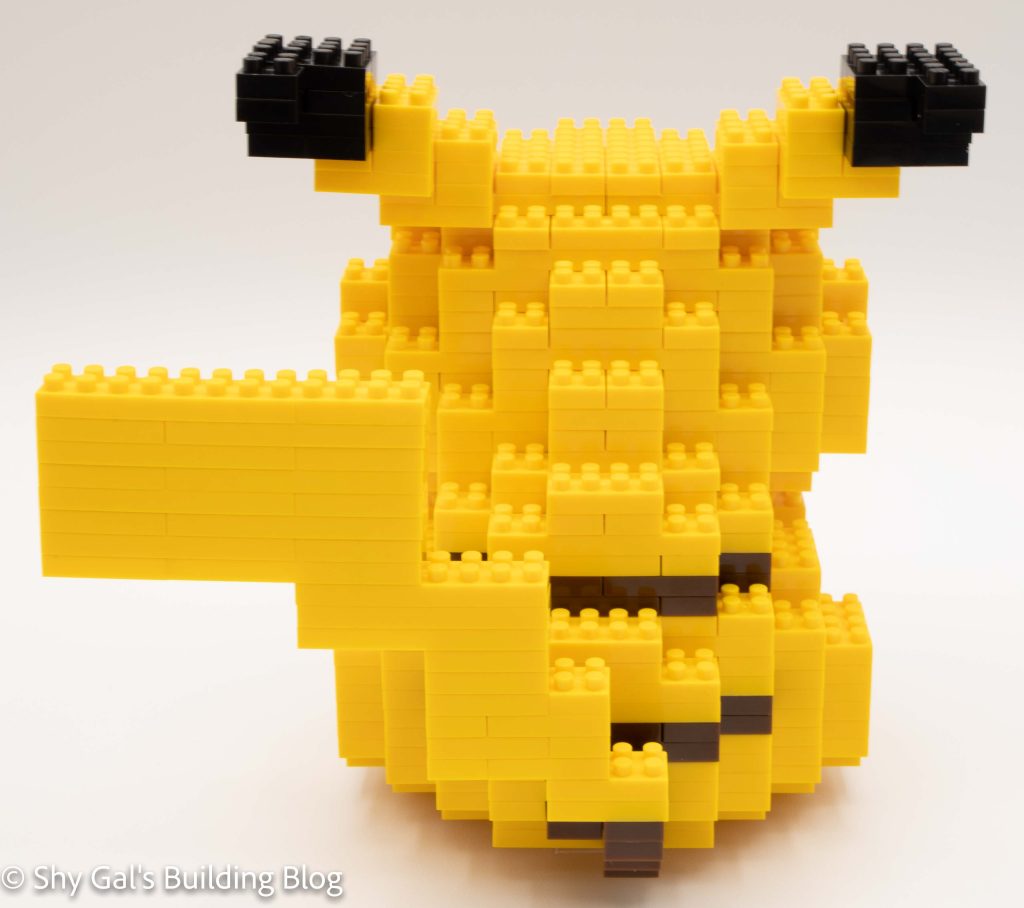
Deluxe Pikachu was the first deluxe Pokemon kit. I love my giant Pikachu, and he usually sits ready to stomp on one of my Lego cityscapes.
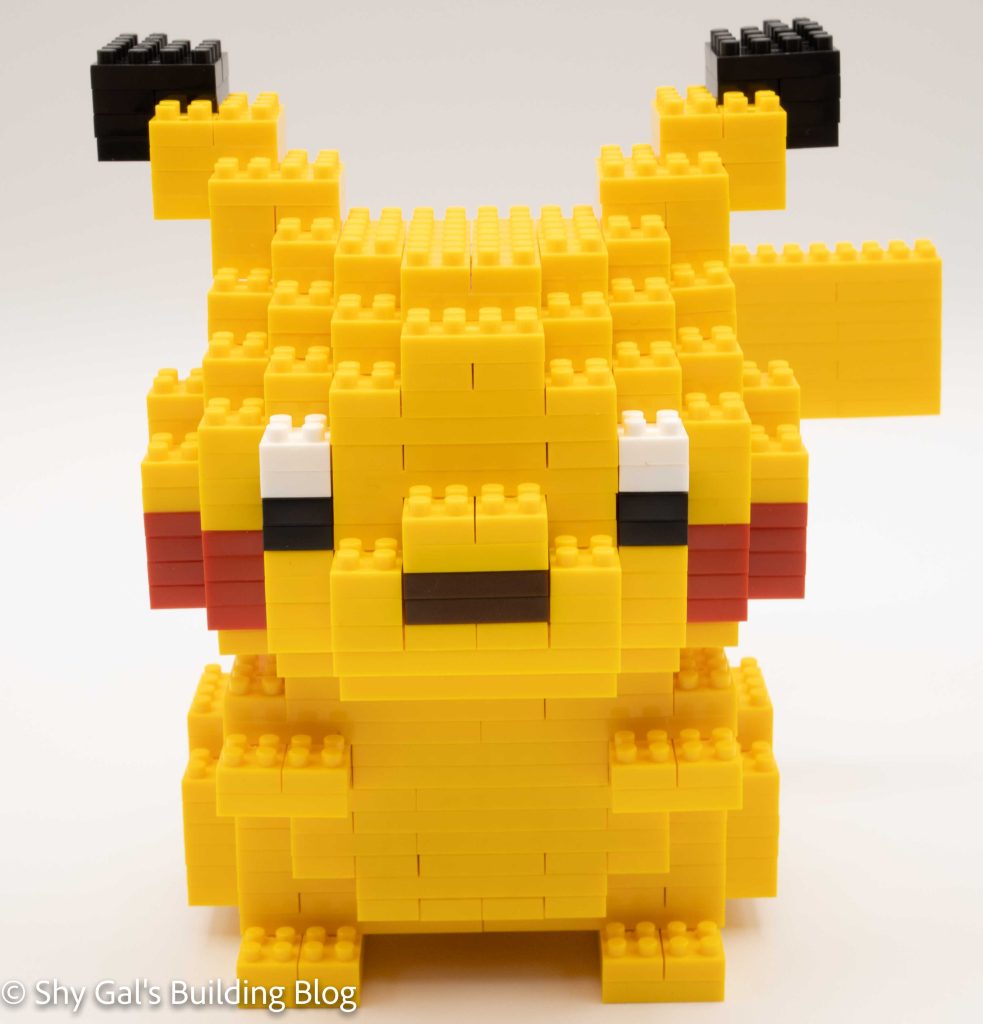
Deluxe Pikachu is similar to normal Pikachu (NBPM_001), but it uses much larger bricks. The largest brick is 2 X 8, which is larger than anything in most non-deluxe Pokemon sets. Overall, Deluxe Pikachu starts with a solid base and builds up in layers from the bottom up. Bricks of various colors create the stripes and the cheeks. I find that the most challenging part of Pikachu, and the thing I keep fixing, is his tail. The tail itself stays together without a problem. The problem is that the tail doesn’t want to remain attached to the 2×2 brick it is supposed to stay on.
Overall I really like Deluxe Pikachu. I think he looks super cute, especially for where nanoblocks were at the time. Based on the other Pokemon kits that came out at similar times to when Deluxe Pikachu was released, the slanted blocks didn’t really exist, so Pikachu had no choice but to be blocky. If the kit came out today, I could see Pikachu being more curved.