
This post is a review of the nanoblock Slime Knight build. The Slime Knight is part of the nanoblock Dragon Quest series. Wondering what else is part of the Dragon Quest series? Click Here for a list.
Number of Pieces: 140
Difficulty Rating: 2/5
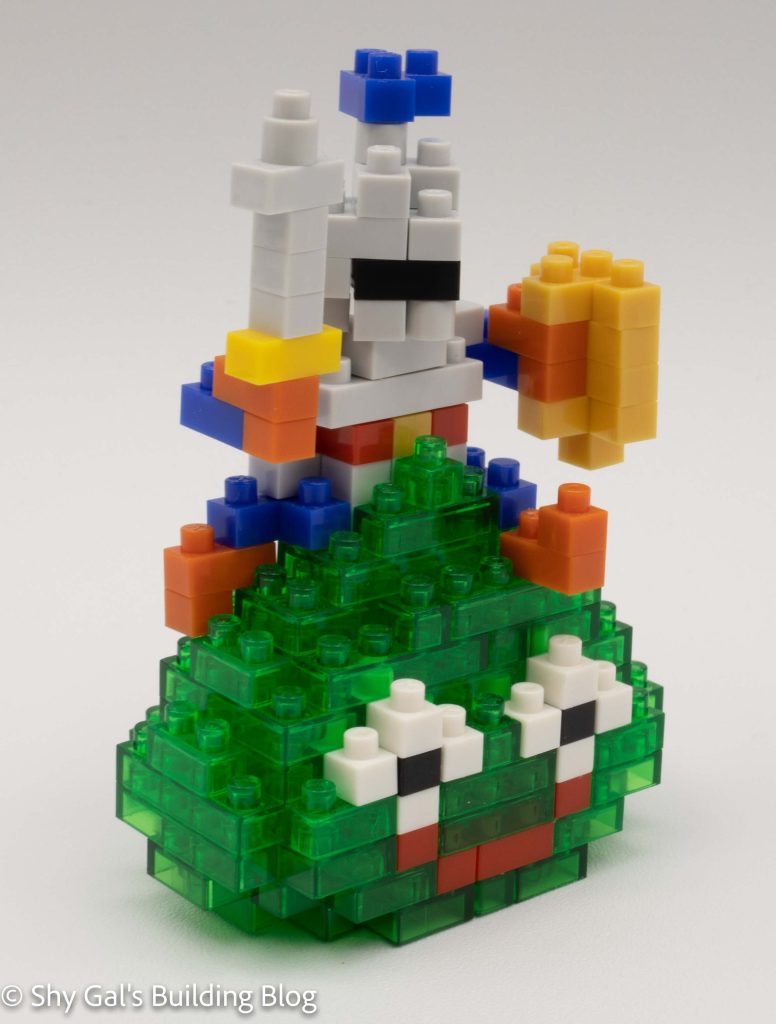
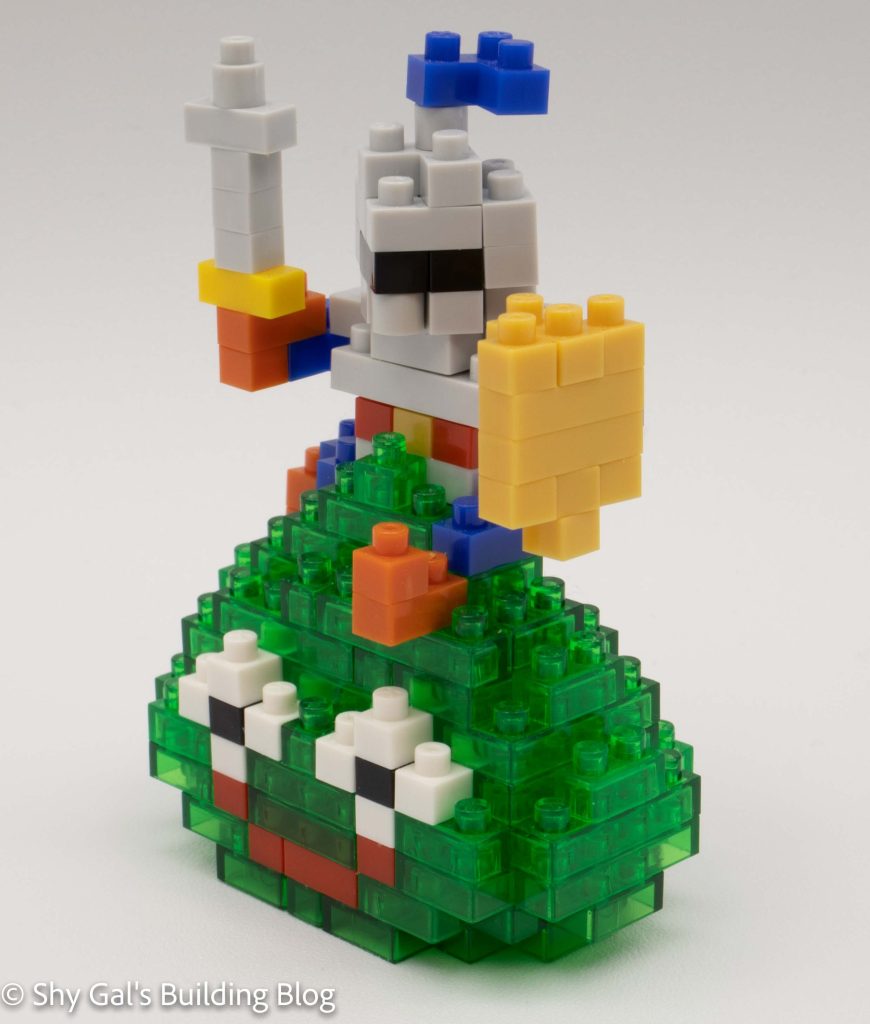
The Slime Knight is a reasonably common monster in the Dragon Quest series. It looks like a knight that is riding on the slime. When I initially looked at the set, I was worried that the kit would be super hard. I was pleasantly surprised when I got around to building how great the directions were. The build is made of 2 parts the slime and the knight.
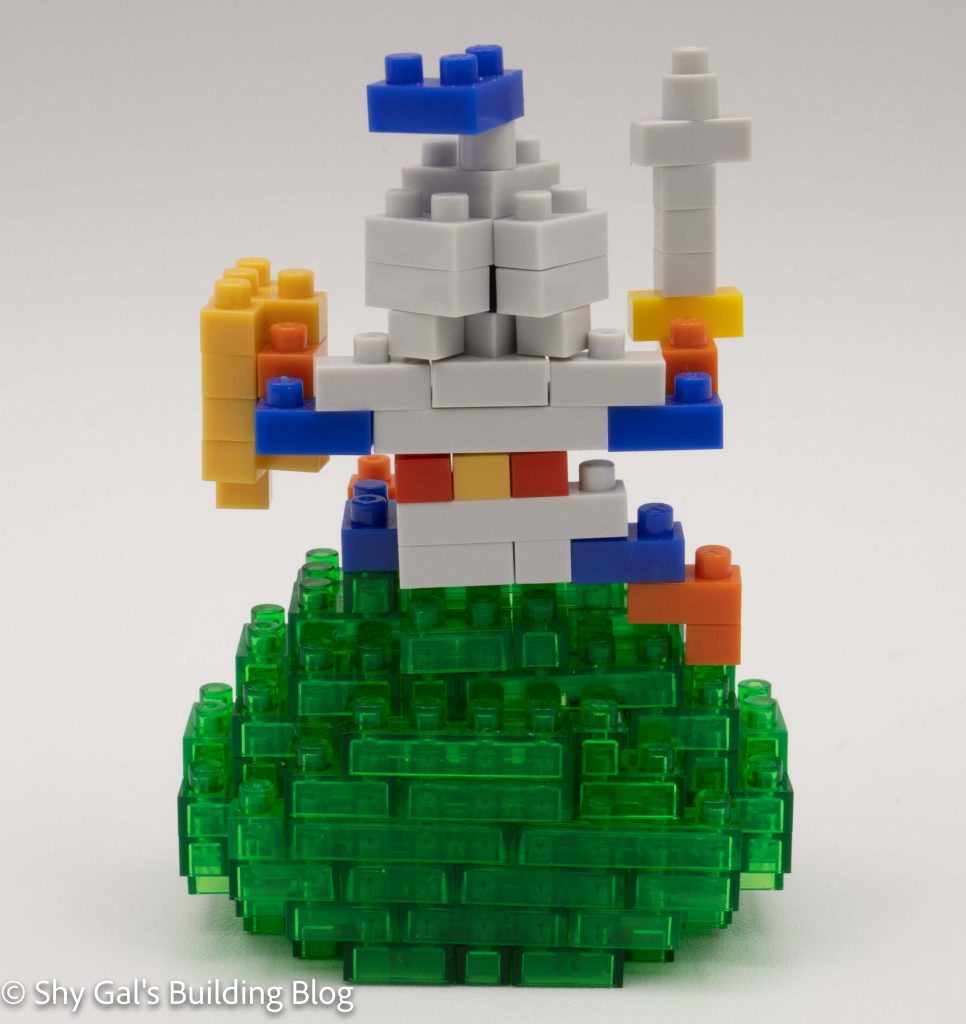
The slime begins with a base, and you start building up like the other slime builds. In the second layer, you begin to develop the face of the slime. Over the next 4 steps, you create the rest of the face and close up the top of the slime. Starting in stage 6, you begin to build the knight, but you also add the final bits to make the slime a teardrop.
One of the things I really like about the knight is that none of its limbs are symmetrical. You build the knight on your almost completed slime. You start with legs going in two different directions. Next, you add the knight’s body. After making the body, it’s time to attach the arms. One arm holds a sword, and one arm holds the shield. Both arms have a ton of detail, so you can really tell what the knight is holding. The final detail is the head. It is seated at an angle, so it is lined up with the front of the slime.
Things I liked:
- The amount of detail and how both sides of the knight don’t match
Things I didn’t like:
- I don’t love the clear with the solid color on the slime